
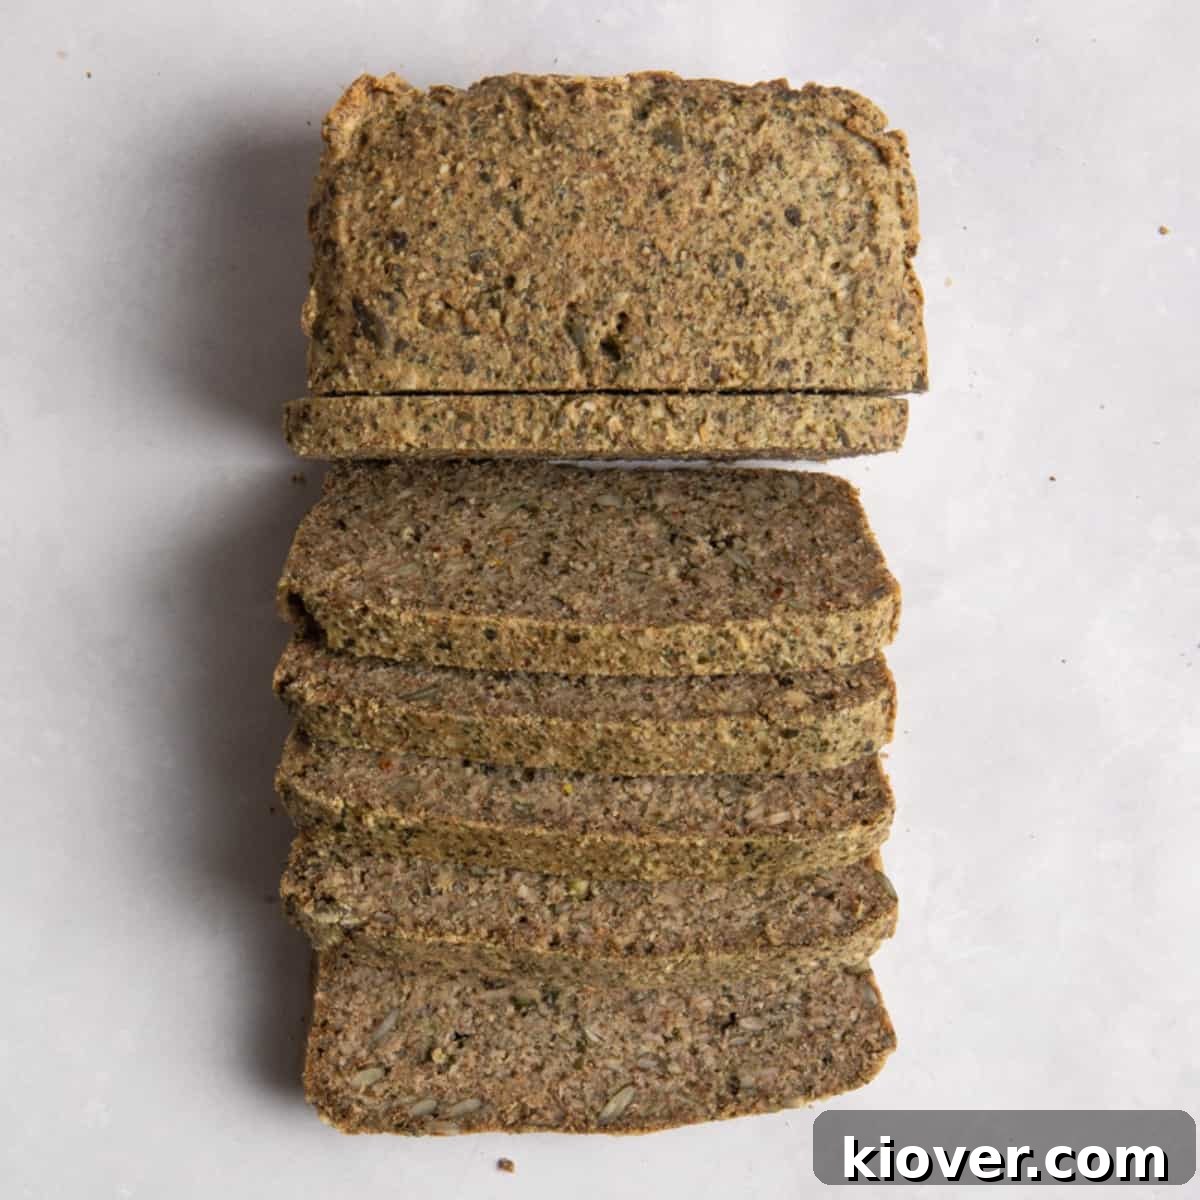
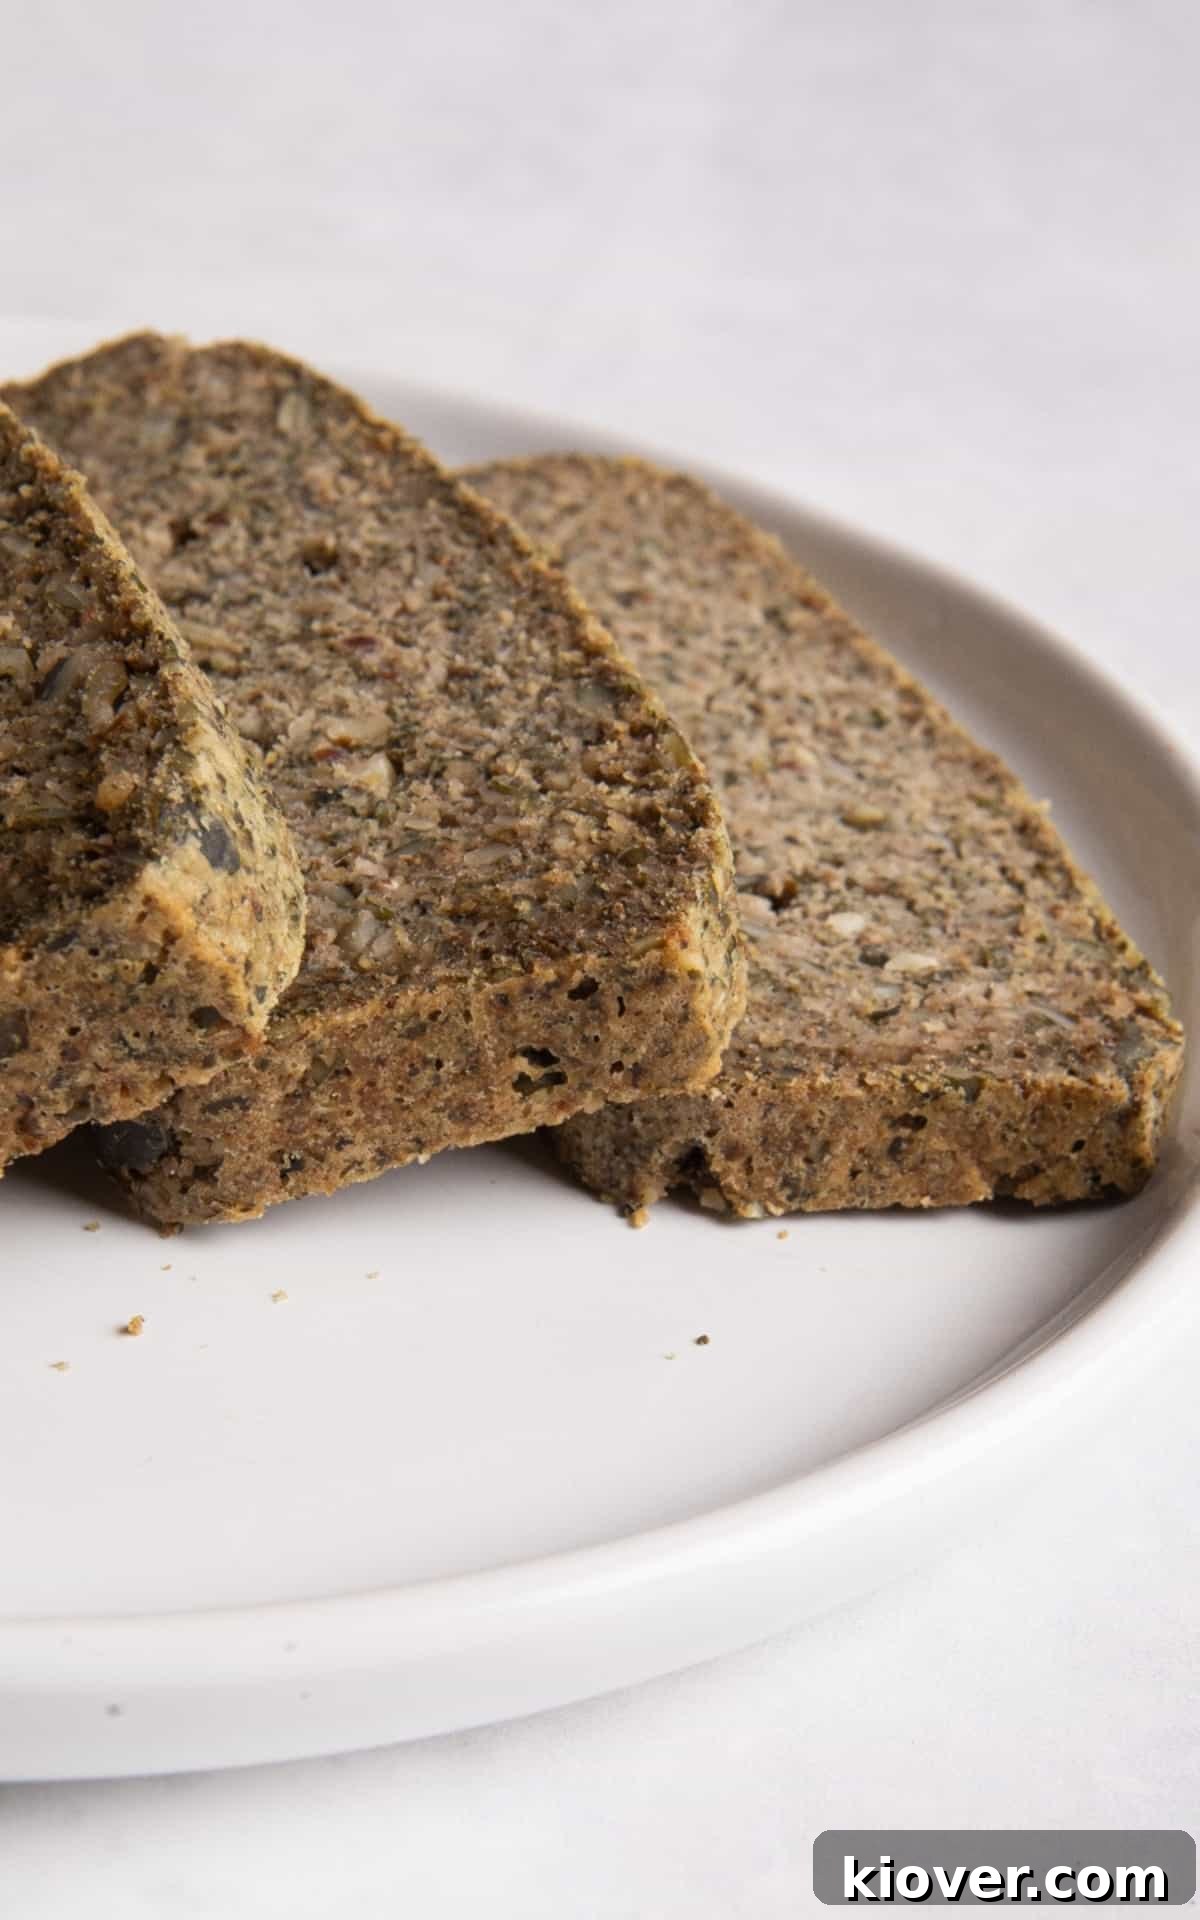
Are you searching for a truly wholesome, easy-to-make, and utterly delicious bread that fits your dietary needs? Look no further! This incredible Gluten Free Seeded Bread recipe is not only naturally vegan but also remarkably simple to whip up right in your own kitchen. For many, finding healthy, wheat-free bread options on the market can be a challenge. Often, store-bought alternatives contain eggs or artificial ingredients, falling short of being truly nourishing. This hearty, homemade seeded loaf offers the perfect solution, providing a satisfying and flavorful bread that you can enjoy with complete peace of mind. Say goodbye to compromise and hello to what might just become your new favorite – the best gluten-free bread you’ll ever bake!
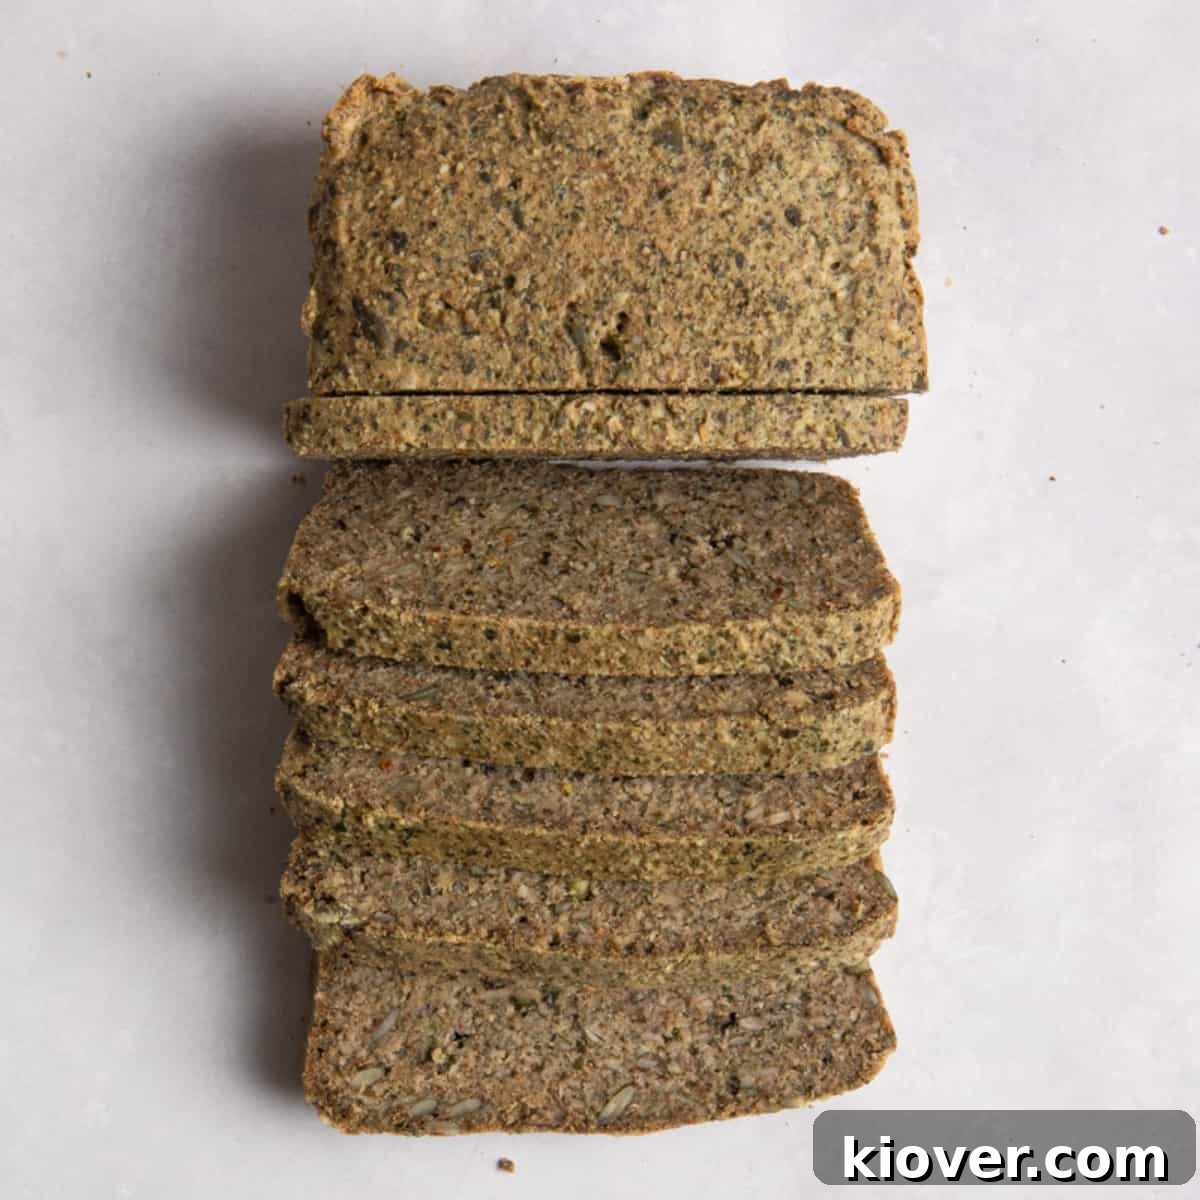
Recipe Difficulty – Easy
Table of Contents
- Why This Gluten-Free Seeded Bread Recipe Is a Game-Changer
- Essential Ingredients for Your Healthy Seeded Loaf
- Smart Substitutions for Your Seeded Bread
- Exciting Variations for Your Gluten-Free Loaf
- Step-by-Step Guide to Baking Your Gluten-Free Seeded Bread
- Storing Your Homemade Seeded Bread
- Frequently Asked Questions About Gluten-Free Seeded Bread
- Gluten Free Seeded Bread Recipe Card
Why This Gluten-Free Seeded Bread Recipe Is a Game-Changer
Having a reliable, go-to gluten free bread recipe on hand is a true culinary asset, perfect for any season or occasion! This incredibly easy seeded bread recipe is designed to become your new kitchen staple, offering a superior alternative to store-bought loaves. From crafting the perfect sandwich to enjoying a warm slice of toast, the unparalleled taste and texture of homemade gluten-free bread effortlessly surpasses traditional store-bought options. Beyond the rich, satisfying flavor, making your own bread comes with a wealth of health benefits. You have complete control over the ingredients, ensuring a wholesome and nourishing product free from unwanted additives and preservatives.
One of the most appealing aspects of this particular vegan seeded bread is its sheer simplicity. Forget about complex baking techniques; this recipe requires no stand mixer, no specialized dough hooks, and perhaps best of all, no kneading! It’s an approachable recipe for bakers of all skill levels, delivering a fresh, delicious loaf with minimal fuss. This quick-to-make bread promises a delightful aroma that fills your home and a taste that you’ll undoubtedly fall in love with.
This versatile loaf is not just for toast and sandwiches. It makes an excellent accompaniment to a variety of dishes. Explore more delicious gluten-free options with my Gluten Free Focaccia or Gluten Free Naan Bread. For a truly decadent experience, top a slice of this hearty seeded bread with my Garlic Mushrooms on Toast recipe. It’s also wonderfully suited for dipping into comforting bowls of Beetroot Soup, or enjoying alongside creamy spreads like Beetroot Hummus or savory Creamy Butterbeans. The possibilities are endless!
Essential Ingredients for Your Healthy Seeded Loaf
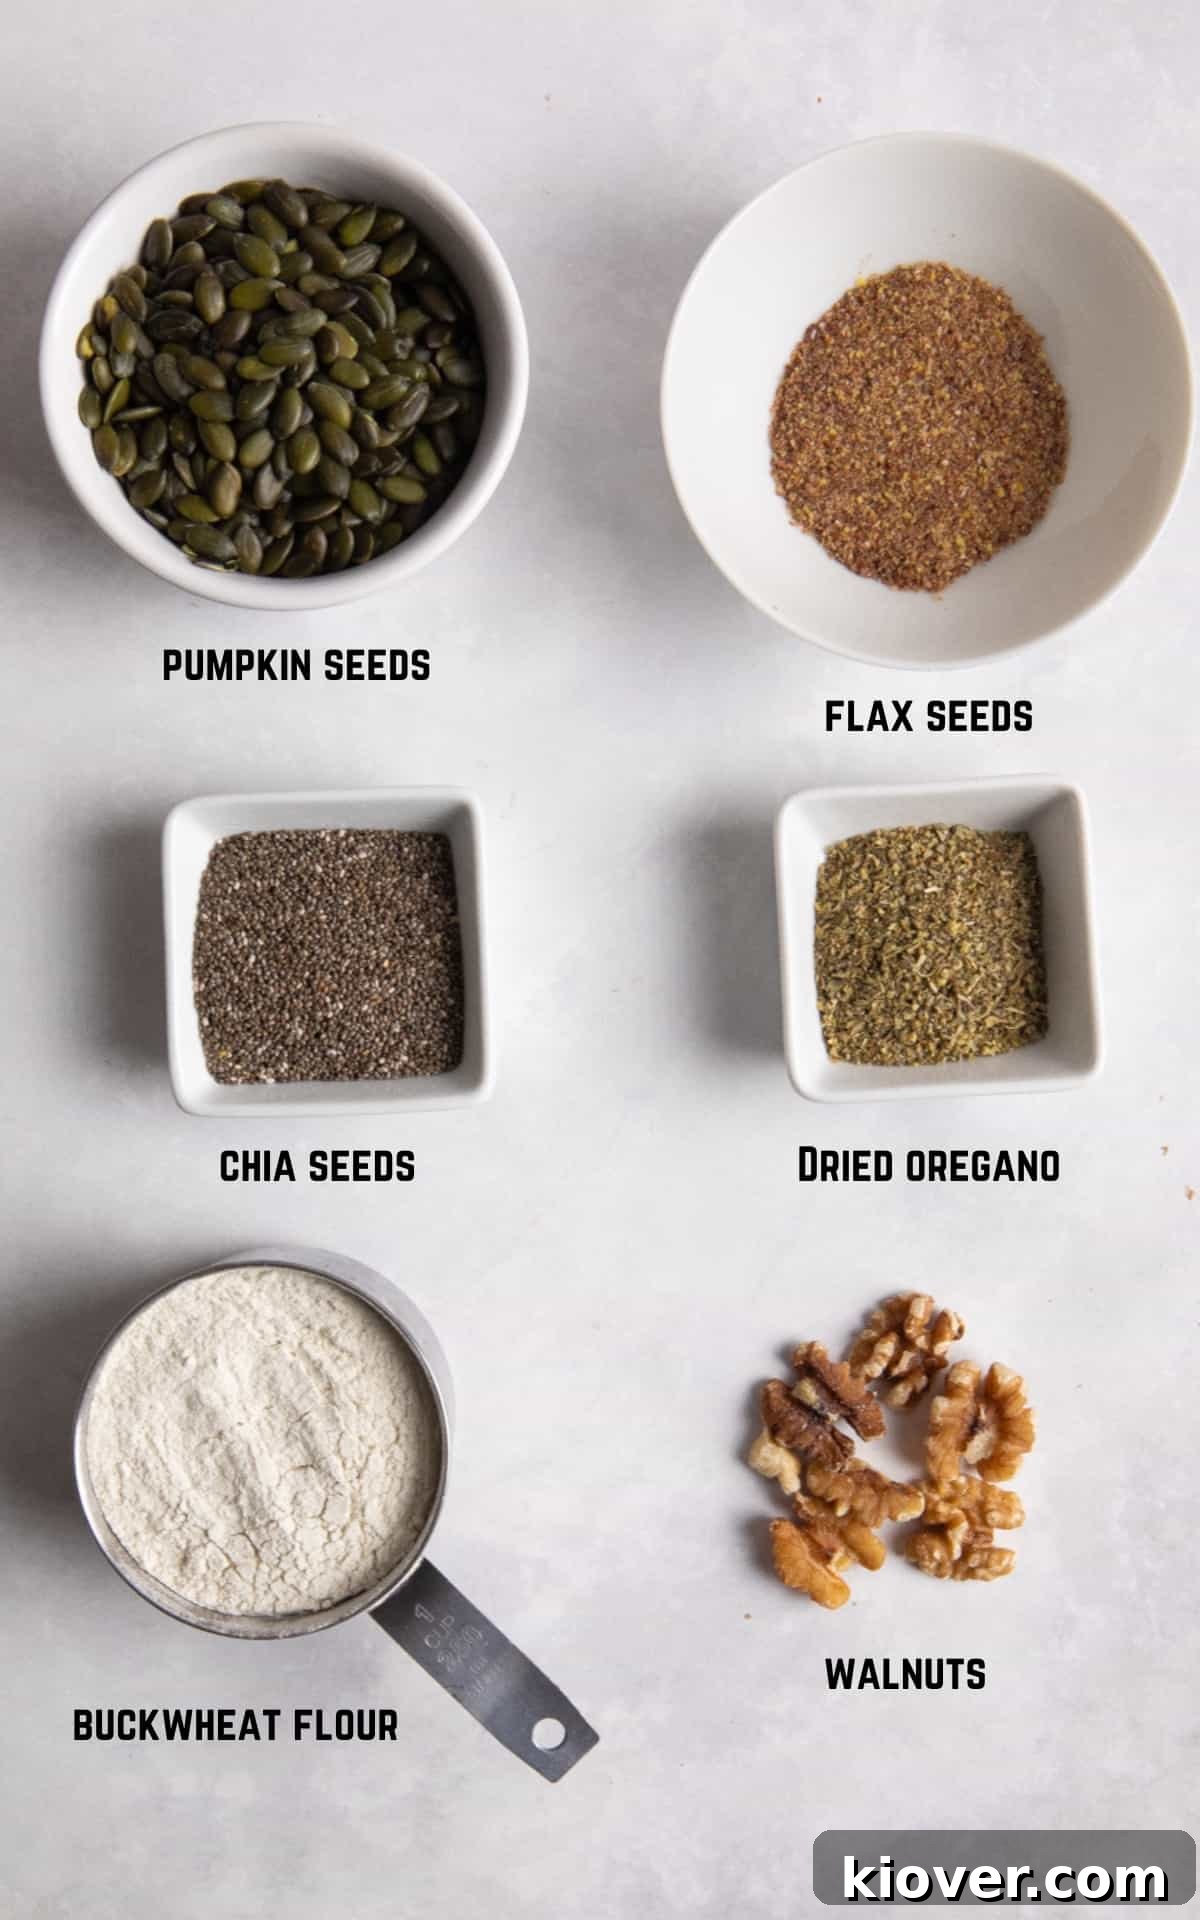
Crafting this exceptional gluten-free seeded bread relies on a thoughtful selection of ingredients, each contributing to its unique flavor, texture, and nutritional profile. Here’s a closer look at the key components:
- Walnuts – These provide a rich, earthy depth of flavor that complements the seeds beautifully. Beyond taste, walnuts are packed with omega-3 fatty acids, antioxidants, and essential nutrients, making them a fantastic addition to this wholesome bread.
- Pumpkin Seeds – Known for their slightly sweet and nutty taste, pumpkin seeds add a delightful crunch and are incredibly nutritious. They are an excellent source of magnesium, zinc, and other vital vitamins and minerals, contributing significantly to the bread’s overall health benefits.
- Chia Seeds – These tiny powerhouses are essential for both texture and nutrition. Chia seeds are renowned for their ability to absorb liquid and create a gel-like consistency, which helps bind the bread together in the absence of gluten. Furthermore, they are fantastic for gut health, offering a generous dose of fiber and omega-3s, supporting a healthy digestive system.
- Ground Flax Seeds – Similar to chia seeds, ground flax seeds act as a crucial binder in gluten-free baking. They are a rich source of plant-based omega-3 fatty acids, lignans (powerful antioxidants), and dietary fiber. Their binding properties ensure your bread holds together perfectly. If you happen to have extra on hand, consider using them in my delicious Gluten Free Carrot Cake recipe!
- Dried Oregano – This might seem like an unexpected ingredient for bread, but it truly is a hero in this recipe! Dried oregano infuses the loaf with a wonderfully aromatic, savory flavor that elevates it from good to extraordinary. It adds a Mediterranean touch that will surprise and delight your taste buds.
- Buckwheat Flour or Brown Rice Flour – The choice of flour dictates the grain profile of your bread. If you prefer a completely grain-free bread, buckwheat flour is your ideal choice. For those seeking a hearty, whole-grain gluten-free bread, brown rice flour provides an excellent alternative, offering a slightly different texture and flavor profile. Both flours are specifically chosen to ensure the bread remains delicious and suitable for those with gluten sensitivities.
- Water, Salt, and Pepper – These basic ingredients are fundamental to any bread recipe. Cold water is preferred in this recipe, despite the absence of yeast, to help achieve the best texture and consistency. Salt enhances all the flavors, while a pinch of pepper adds a subtle kick.
For precise measurements and detailed quantities, please refer to the comprehensive recipe card located at the end of this post.
Smart Substitutions for Your Seeded Bread
One of the beauties of this gluten-free seeded bread recipe is its flexibility. Don’t worry if you’re missing an ingredient or want to tailor it to your specific preferences; there are plenty of excellent substitutions you can make without compromising on taste or texture:
- Walnuts – While walnuts impart a distinct flavor, you can easily substitute them with other nuts. Pecans are a fantastic alternative, offering a similar buttery richness and texture. Almonds or cashews, finely chopped, could also work well if you prefer a milder flavor.
- Seeds – The medley of pumpkin, chia, and flax seeds creates a wonderful profile, but feel free to get creative! If you don’t have one of the seeds listed, or simply want to experiment, you can substitute with other nourishing varieties. Great options include sunflower seeds for a softer crunch, sesame seeds for a distinct nutty aroma, hemp seeds for extra protein, or poppy seeds for a subtle visual and textural appeal. Just maintain the overall quantity of seeds for best results.
- Flour – This recipe is designed to be gluten-free, primarily using buckwheat and brown rice flours. However, the world of gluten-free flours is vast! You could experiment with a pre-mixed gluten-free bread flour blend, or even individual flours like oat flour (ensure certified GF) or sorghum flour, keeping in mind that different flours absorb liquids differently, so minor adjustments to water might be needed. If you don’t have gluten restrictions, feel free to use whole wheat flour for a wholesome option or all-purpose flour for a lighter texture.
- Herbs & Spices – While dried oregano is our “hero ingredient,” you can switch it up! Consider a pinch of dried rosemary for an earthy note, some thyme for a more delicate herbaceous flavor, or even a touch of garlic powder or onion powder for an extra savory kick.
These substitution options ensure that you can always enjoy a fresh, homemade loaf, even with variations in your pantry!
Exciting Variations for Your Gluten-Free Loaf
This versatile gluten-free seeded bread serves as an excellent canvas for creativity. Whether you’re craving something savory, sweet, or simply want to make it extra special, here are some delightful variations to try:
- Spicy Twist – If you love a bit of heat, this bread can be a fantastic companion to spicy dishes. While I generally wouldn’t recommend adding chili flakes directly to the dough (as it can sometimes alter the texture), the true potential for spice comes in how you serve it! Imagine this hearty bread toasted and generously topped with my vibrant Spicy Butterbeans on Toast recipe – a truly invigorating combination! You could also try a sprinkle of smoked paprika or a touch of cayenne pepper in your spread for a subtle warmth.
- Deluxe Enhancements – Elevate your seeded bread experience by experimenting with luxurious toppings and inclusions. For a gourmet lunch, thinly sliced avocado seasoned with a pinch of salt and chili flakes creates a simple yet elegant meal. This bread is also a perfect companion for dipping into rich, comforting soups, absorbing all the delicious flavors. For a delightful contrast, consider adding a handful of dried cranberries, raisins, or chopped apricots to the dough for a slightly sweeter, fruit-studded loaf – perfect for breakfast or a sweet snack. And for a truly sophisticated appetizer, serve slices topped with my flavorful Smoked Mackerel Pate.
- Kid-Friendly Options – Making healthy choices enjoyable for children is key, and this bread is an excellent way to introduce nutritious options into their diet. Use it as the base for their favorite sandwiches – from classic peanut butter and jelly to wholesome ham and cheese, it’s a far healthier alternative to many conventional white breads found in stores. Another fantastic idea is to transform it into delectable French Toast, drizzled with a touch of maple syrup and fresh berries for a special breakfast treat. For an even quicker kid-friendly option, you might also want to try my incredibly simple 3-Ingredient Gluten Free Flatbread.
- Herb & Garlic Infusion – For a more aromatic savory bread, finely chop fresh rosemary or thyme and mix it into the dough. You could also add a teaspoon of garlic powder along with the dried oregano for an extra flavor boost. This variation is particularly good when served with Italian-inspired meals or simply toasted with a dollop of hummus.
- Cheese Lovers Delight (Dairy-Free) – If you’re a fan of cheesy bread but need a vegan option, consider adding nutritional yeast to the flour mixture for a subtle, savory, cheesy flavor. For a more pronounced taste, you could incorporate vegan shredded cheese into the dough or sprinkle it on top before baking for a delightful crust.
Step-by-Step Guide to Baking Your Gluten-Free Seeded Bread
Baking this delicious and healthy gluten-free seeded bread is incredibly straightforward. Follow these simple steps, and you’ll have a freshly baked loaf in no time!
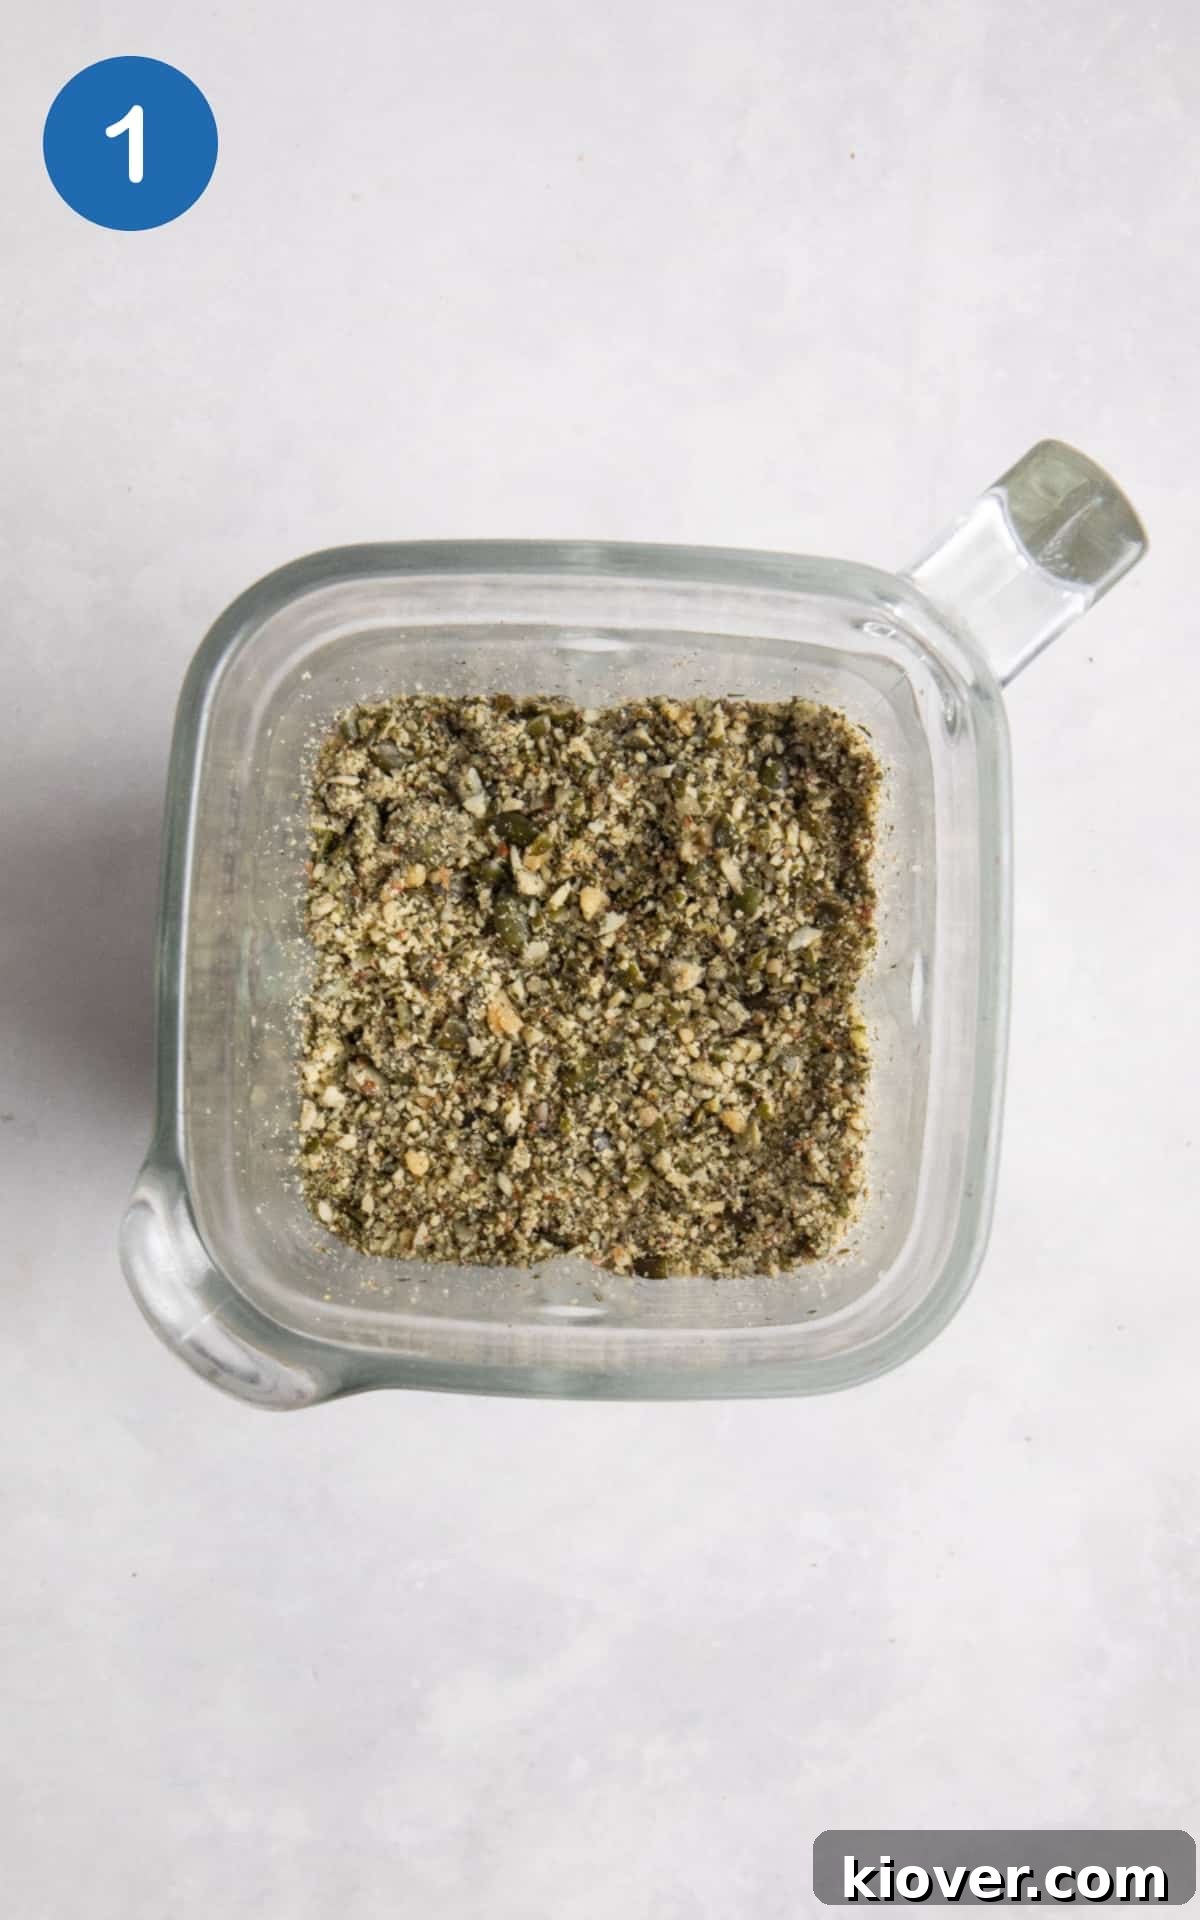
Step 1: Process the Seeds and Herbs. Begin by adding the walnuts, pumpkin seeds, chia seeds, flax seeds, and dried oregano into your food processor or blender. Process these ingredients until they transform into fine, crumb-like pieces. For optimal results, this typically takes about 45 seconds to achieve the perfect consistency.
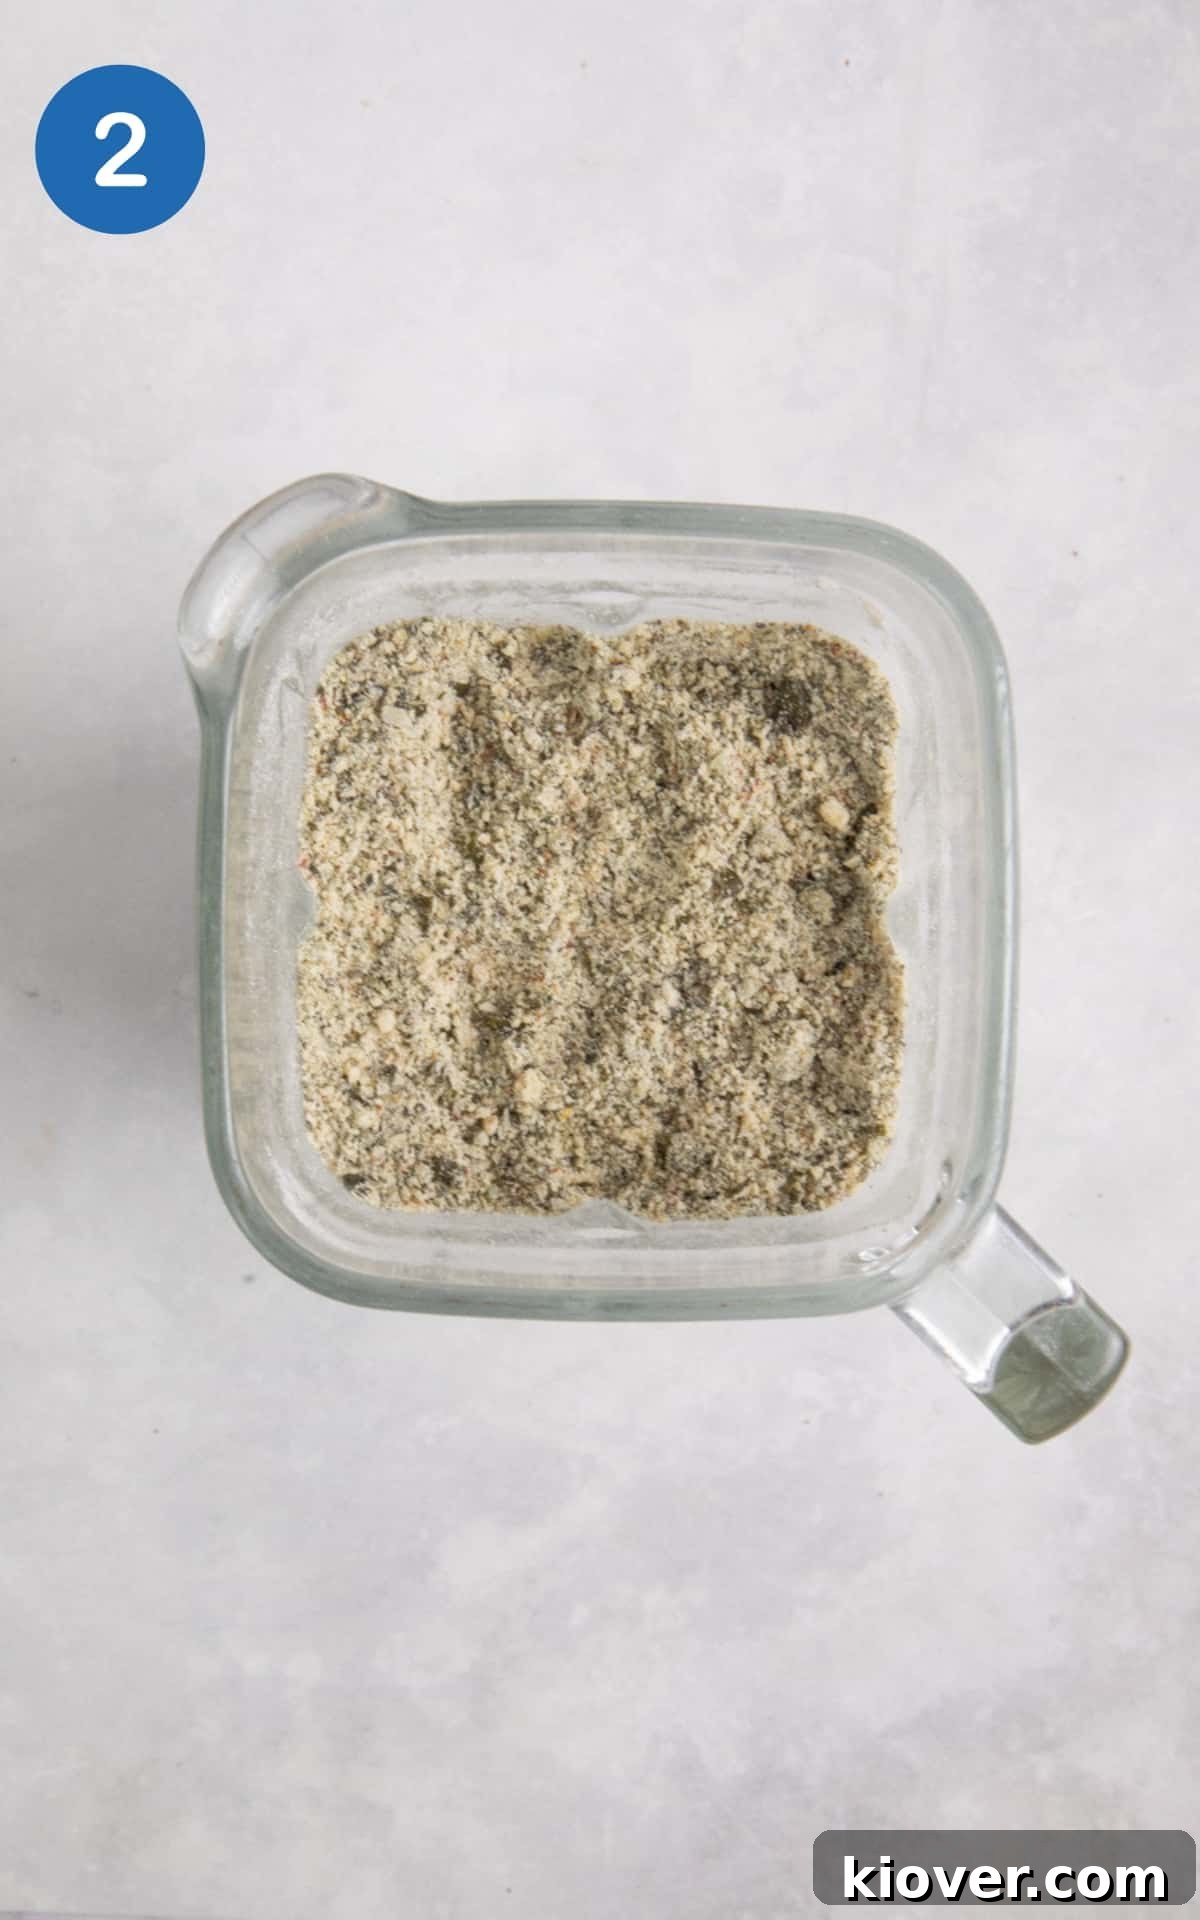
Step 2: Incorporate the Flour. Next, add your chosen flour (buckwheat or brown rice flour) to the processed seed mixture in the food processor. Blend again for approximately 10 seconds. This short blend ensures that the flour is thoroughly combined with the seeds, creating a uniform dry mixture for your bread dough.
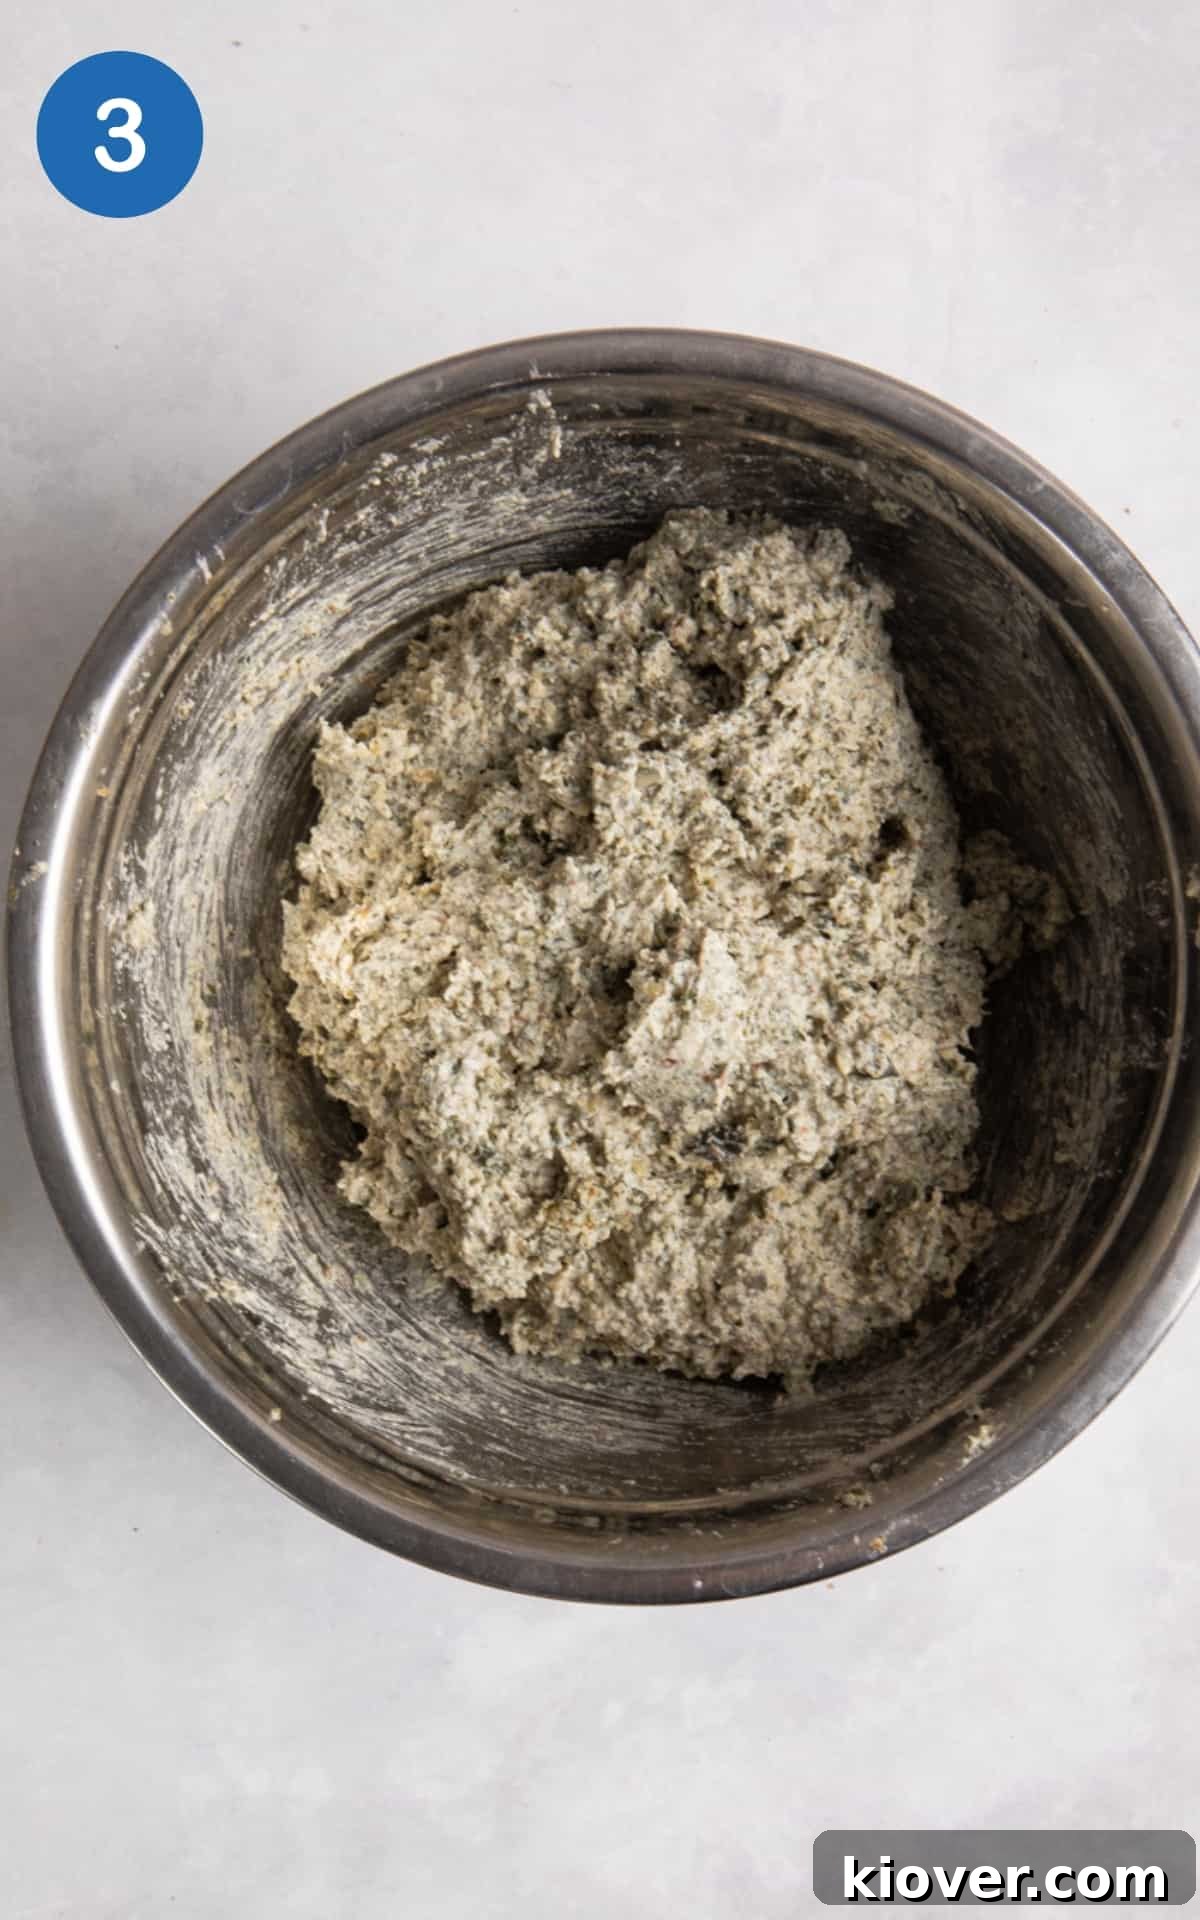
Step 3: Mix Wet and Dry Ingredients. Transfer the combined dry mix into a large mixing bowl. Now, add the cold water, a pinch of salt, and pepper. Use your hands to thoroughly mix all the ingredients until a cohesive dough forms. Once mixed, allow the dough to rest for 10 minutes. This resting period helps the seeds absorb moisture, contributing to a better texture.
Hint: Even without yeast or gluten, I’ve found that using cold water consistently yields superior results in this particular recipe.
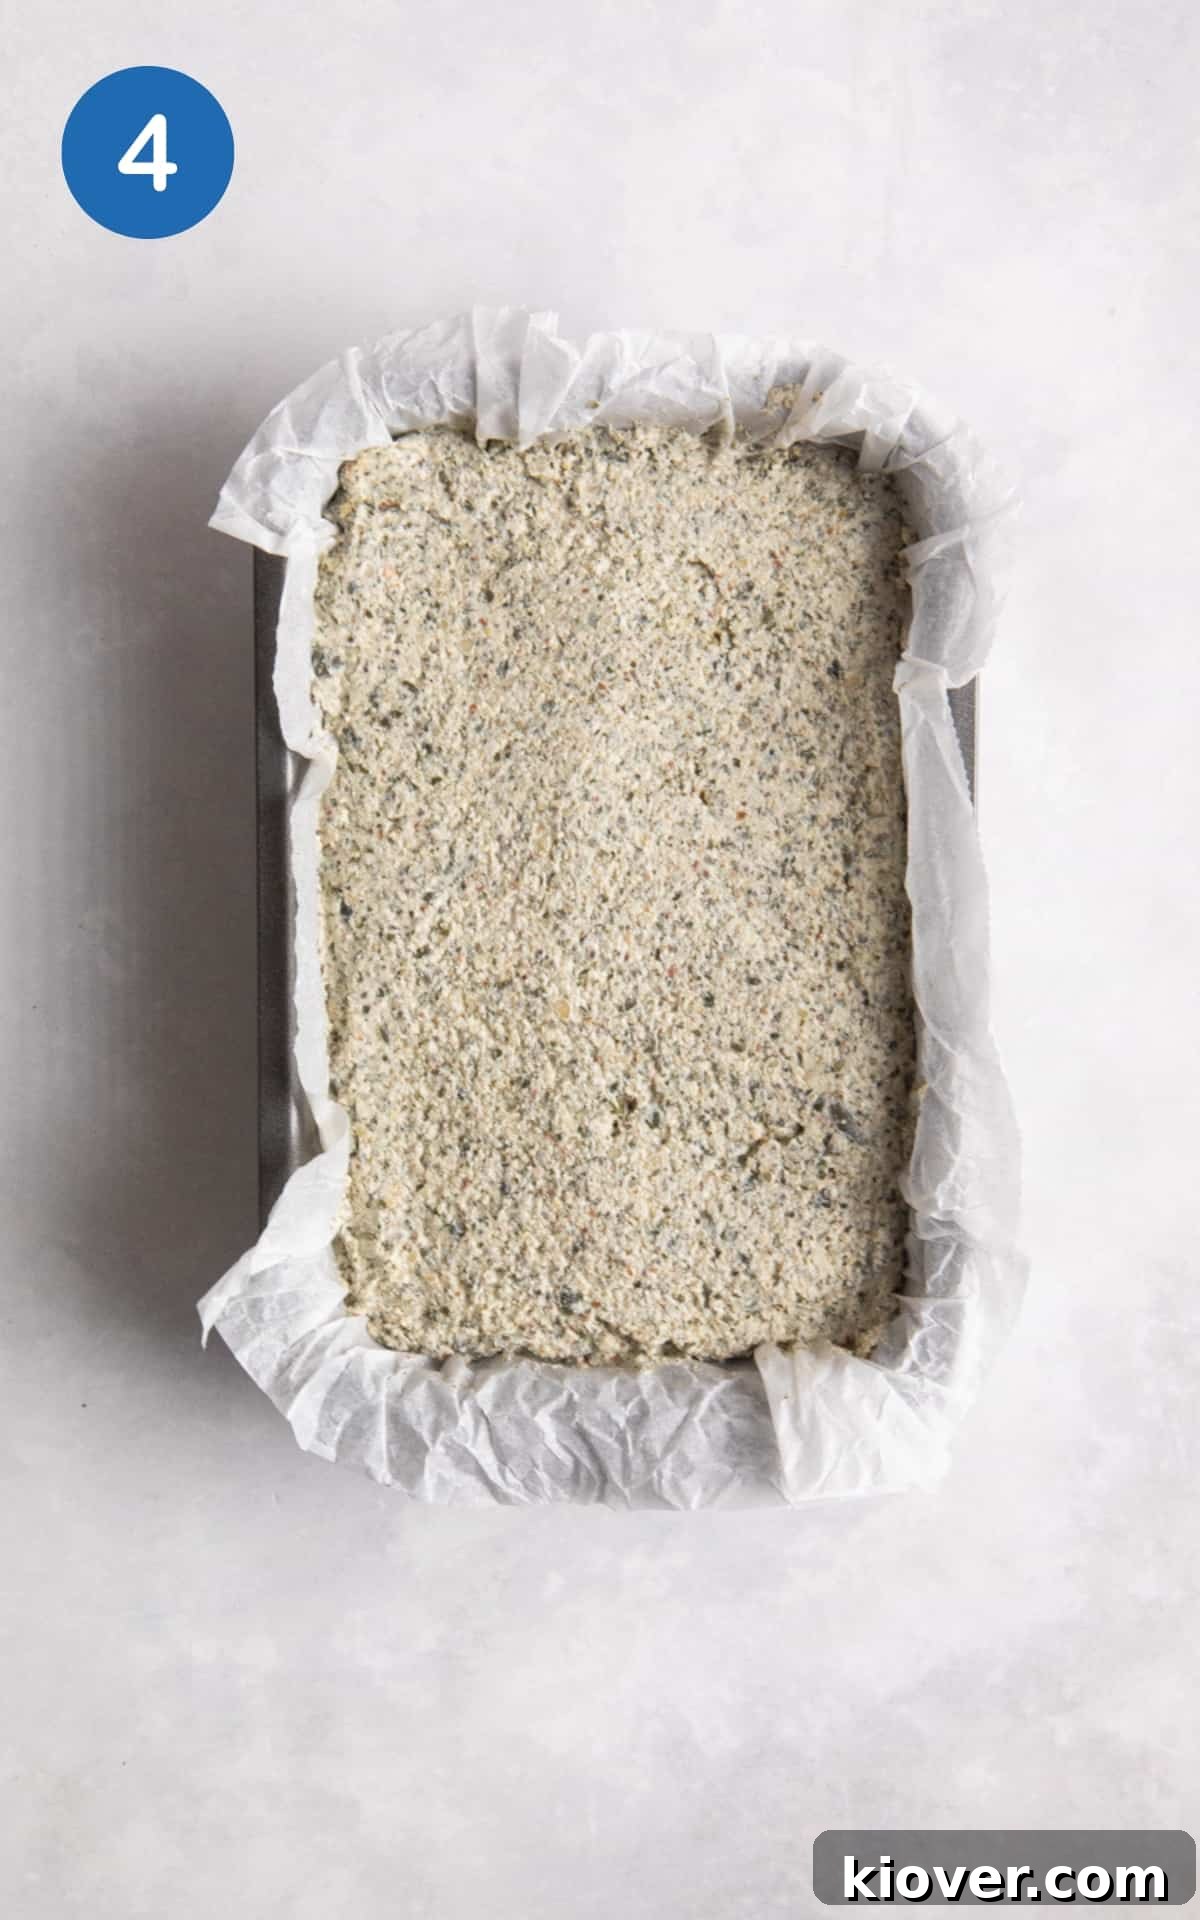
Step 4: Prepare for Baking. While the dough rests, preheat your oven to 180°C (360°F). Line a standard loaf pan with parchment paper, ensuring it overhangs slightly for easy removal. Grease the parchment paper and the exposed sides of the pan (coconut oil works wonderfully here) to prevent sticking. After the 10-minute resting period, transfer the dough into the prepared baking tray. Gently press the mixture down flat and evenly across the bottom of the pan. Place the loaf pan into the preheated oven and bake for 45 minutes.
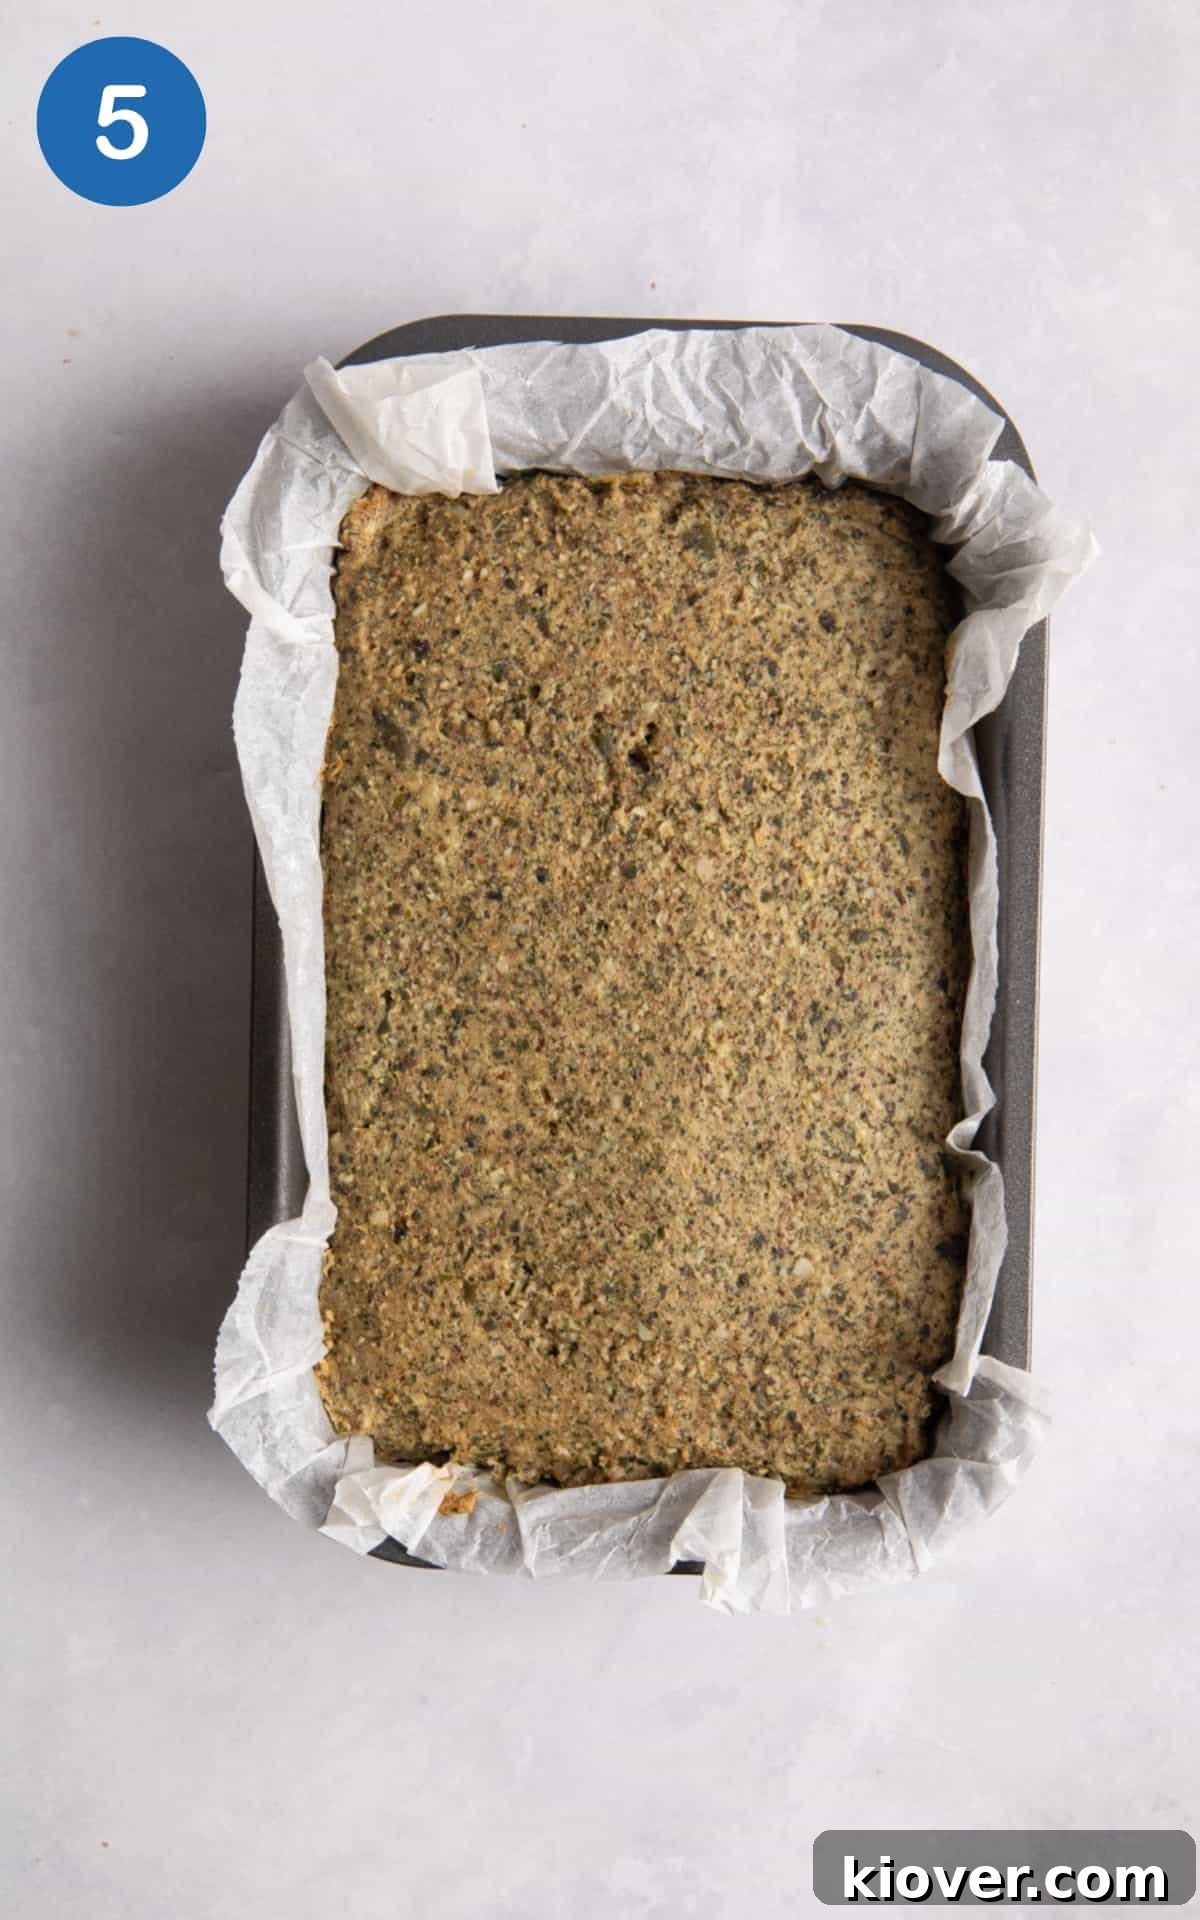
Step 5: Cool and Slice. Once the baking time is complete, carefully remove the loaf pan from the oven. It’s crucial to let the bread cool adequately before slicing to ensure it sets properly and has the best texture. Allow the bread to cool in the pan for at least 20 minutes before gently lifting it out using the parchment paper overhang. Transfer it to a wire rack to cool completely before slicing and serving.
Baking Tip: For a loaf with consistent texture and even baking, ensure you press the dough down fairly low and evenly into the baking tin. Aim for a thickness of roughly 4cm (about 1.5 inches) across the entire loaf.
Storing Your Homemade Seeded Bread
Proper storage is key to enjoying your delicious gluten-free seeded bread for as long as possible. If you find yourself with leftover slices, here’s how to keep them fresh:
- Room Temperature Storage: For the best texture and flavor, store your bread at room temperature. It will stay fresh and palatable for approximately 3-4 days when stored correctly. Ensure it’s kept in an airtight container, a bread bag, or tightly wrapped in plastic wrap or aluminum foil to prevent it from drying out.
- Avoid Refrigeration: It’s generally advised not to store this bread in the refrigerator. The cool, dry environment of a fridge tends to accelerate the staling process, making the bread dry and crumbly more quickly.
- Freezing for Longer Freshness: For longer-term storage, freezing is an excellent option. Slice the cooled bread into individual portions and place them in a freezer-safe bag or container, separated by parchment paper if desired, to prevent sticking. When you’re ready to enjoy a slice, simply remove it from the freezer and allow it to defrost at room temperature for a few hours. A quick toast in a toaster or toaster oven will bring it back to its delicious, crispy best.
By following these simple storage tips, you can extend the life of your homemade seeded bread and enjoy its wholesome goodness whenever a craving strikes.
Frequently Asked Questions About Gluten-Free Seeded Bread
Got questions about making or enjoying this wholesome seeded bread? Here are some common inquiries and their comprehensive answers to help you get the most out of your baking experience:
For this recipe, my absolute favorite combination includes pumpkin, chia, and flax seeds. This trio offers a fantastic blend of flavor, texture, and nutritional benefits, making for a truly robust multi-seed bread. However, the world of seeds is vast, and many others work wonderfully! Consider incorporating sunflower seeds for a softer bite and a good source of Vitamin E, or sesame seeds for their distinctive nutty flavor and calcium content. Hemp seeds are another excellent choice, providing a boost of plant-based protein and healthy fats. Poppy seeds can also add a subtle crunch and visual appeal. Don’t hesitate to experiment with a mix of your preferred seeds to customize your loaf.
Seeded bread, particularly this homemade gluten-free and vegan version, offers a wealth of significant health benefits, making it a far superior choice to many commercial breads. The combination of nuts and seeds provides a concentrated source of healthy monounsaturated and polyunsaturated fats, which are crucial for heart health. Furthermore, these ingredients are incredibly rich in dietary fiber, known to aid digestion, promote satiety, and significantly help in lowering cholesterol levels. Beyond healthy fats and fiber, you’ll benefit from an array of essential vitamins and minerals like magnesium, zinc, iron, and B vitamins, along with powerful antioxidants that support overall well-being. It’s a truly nourishing bread that fuels your body with goodness.
In this particular recipe, I’ve found the most effective method is to incorporate the seeds directly into the dough mixture. By blending the walnuts, pumpkin, chia, and flax seeds into fine crumbs along with the dried oregano before mixing with the flour, you ensure they are evenly distributed throughout the loaf. This technique also helps the seeds release their natural oils and flavors, integrating them seamlessly into the bread’s texture and taste. If you have extra seeds or prefer a rustic look, you can also sprinkle a handful of whole seeds on top of the dough before baking for an added crunch and visual appeal.
The versatility of this wholesome seed bread is one of its greatest assets! It can be enjoyed in countless ways, much like any other sliced bread, but with added nutritional value. It’s absolutely delicious when toasted and spread with some creamy vegan cream cheese, or a generous dollop of homemade avocado smash for a healthy breakfast or snack. For a savory treat, consider whipping up a batch of vegan garlic butter to spread on slices, then air fry or grill them until golden for an irresistible garlic bread alternative. Beyond spreads, it pairs beautifully with soups, stews, or even as a base for open-faced sandwiches with your favorite plant-based toppings. Its robust flavor stands up well to both sweet and savory accompaniments, making it a truly adaptable loaf for any meal.
YOU MIGHT ALSO LIKE…
More Healthy Recipes
Lunch
10 Minute Creamy Tomato Soup
Breakfast
Garlic Mushrooms on Toast
Sides
Gluten Free Flatbread
Sides
Best Gluten Free Naan Bread
Tried this Gluten Free Seeded Bread recipe? Please leave a star rating below and let me know how you get on. Hearing positive feedback is one of the best parts of creating recipes so please review it below and leave a comment!
P.S Never miss a new recipe! Get more healthy recipes sent straight to your inbox weekly – Subscribe and receive a free recipe eBook!
Print Recipe
★
★
★
★
Gluten Free Seeded Bread
Equipment
-
Food blender
-
large mixing bowl
-
bread baking tin
-
baking paper
Ingredients
- 1 cup walnuts
- 3 cups pumpkin seeds
- 2 tbsp chia seeds
- 2 tbsp ground flax seeds
- 1 tbsp dried oregano
- 1 cup buckwheat flour or brown rice flour
- 2 cups cold water
- pinch salt + pepper
Instructions
-
Firstly, add the walnuts, pumpkin seeds, chia seeds, flax seeds and oregano to the blender and whiz into fine crumbs (takes around 45 seconds in my processor)
-
Now add the flour and blend again for roughly 10 seconds until thoroughly mixed
-
Place the mix into a large bowl and add the water, salt and pepper. Hand mix thoroughly and allow to rest for 10 minutes
-
Meanwhile, pre-heat the oven to 180C / 360F and line a bread baking tin with baking paper and grease (I use coconut oil to grease)
-
After 10 minutes, place the mix into the baking tray, pressing the mixture down flat and place in the oven for 45 minutes. Once cooked, remove from the oven and allow to cool for 20 minutes
Notes
Substitutions & Variations: I have included a list of these in the post above.
To Store: At room temperature for around 3-4 days. Storing it in the refrigerator will dry it out.
To Freeze: Simply slice and freeze separately. Allow to defrost at room temperature for a few hours and stick it in the toaster.
Tip 1: To keep the cost down you could leave out sunflower seeds.
Tip 2: Make sure to grease the bread baking tin or line it with baking paper.
Tip 3: Best served freshly baked.