
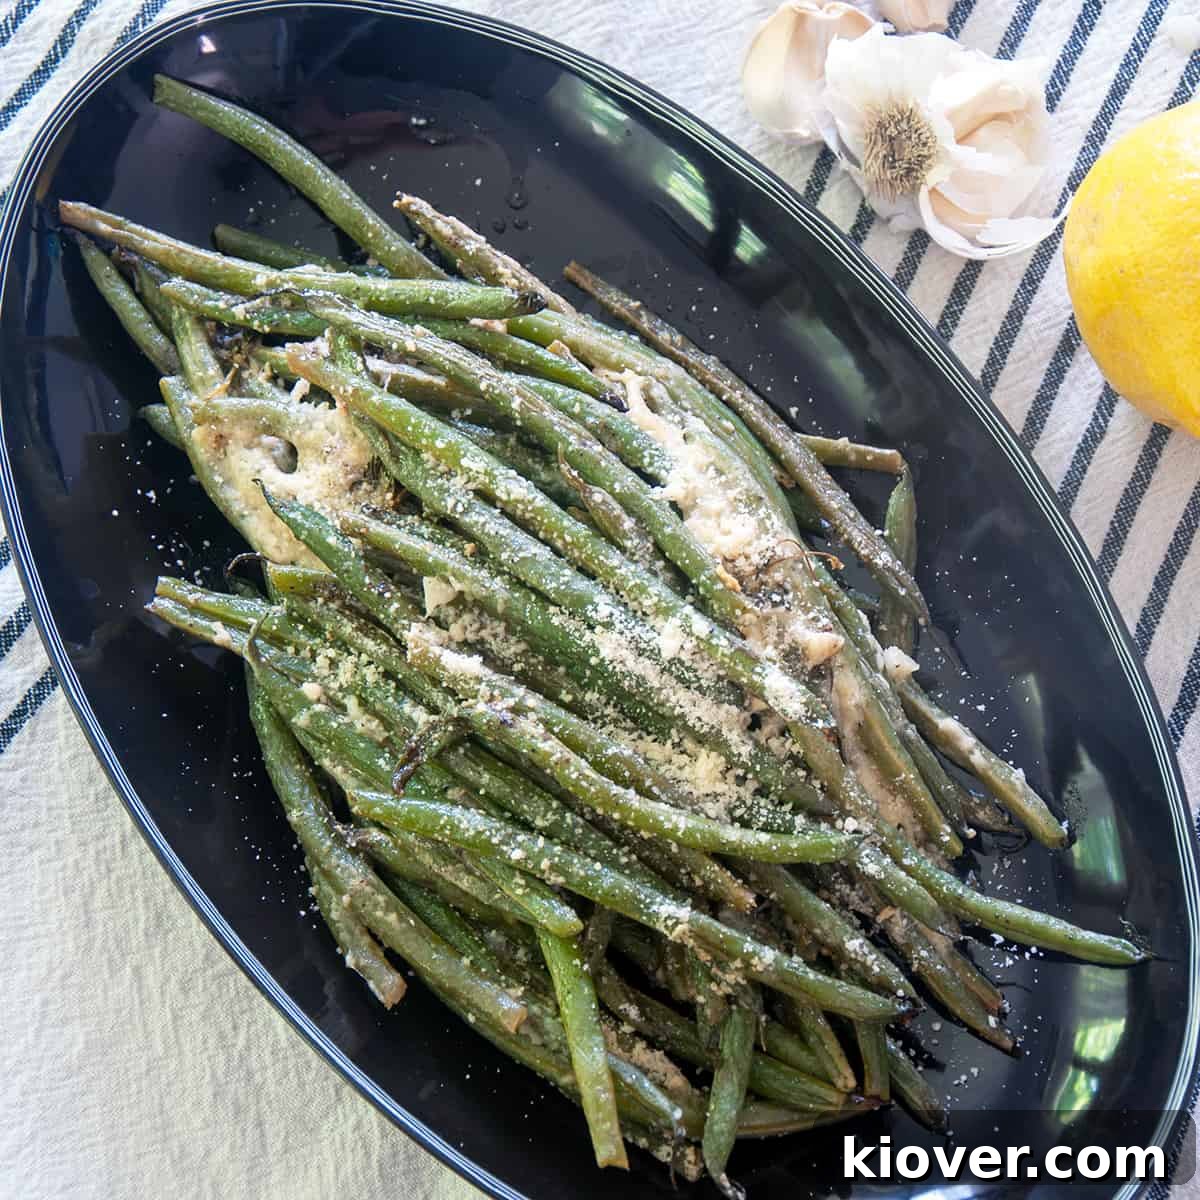
Summer grilling season is about more than just sizzle; it’s an opportunity to truly elevate your culinary creations. While burgers and steaks often steal the spotlight, the truth is that a truly memorable barbecue spread is built on exceptional side dishes. And when it comes to healthy, flavorful, and incredibly easy accompaniments, these Grilled Green Beans in a Foil Packet are poised to become your new summer sensation. They’re quick to prepare, cook effortlessly alongside any main, and promise a burst of fresh flavor with every bite.
What sets this recipe apart? It’s the magical combination of char-kissed green beans, aromatic herbs, savory cheese, and a zesty squeeze of fresh lemon juice – all perfectly cooked within a humble foil packet. This isn’t just another vegetable side; it’s the ultimate summer dish that brings both freshness and vibrant flavor to your outdoor dining experience, ensuring your barbecue is a resounding success from start to finish. Get ready to impress your guests with minimal effort and maximum taste!
Why Grilled Green Beans in a Foil Packet Are a Must-Try Summer Side Dish
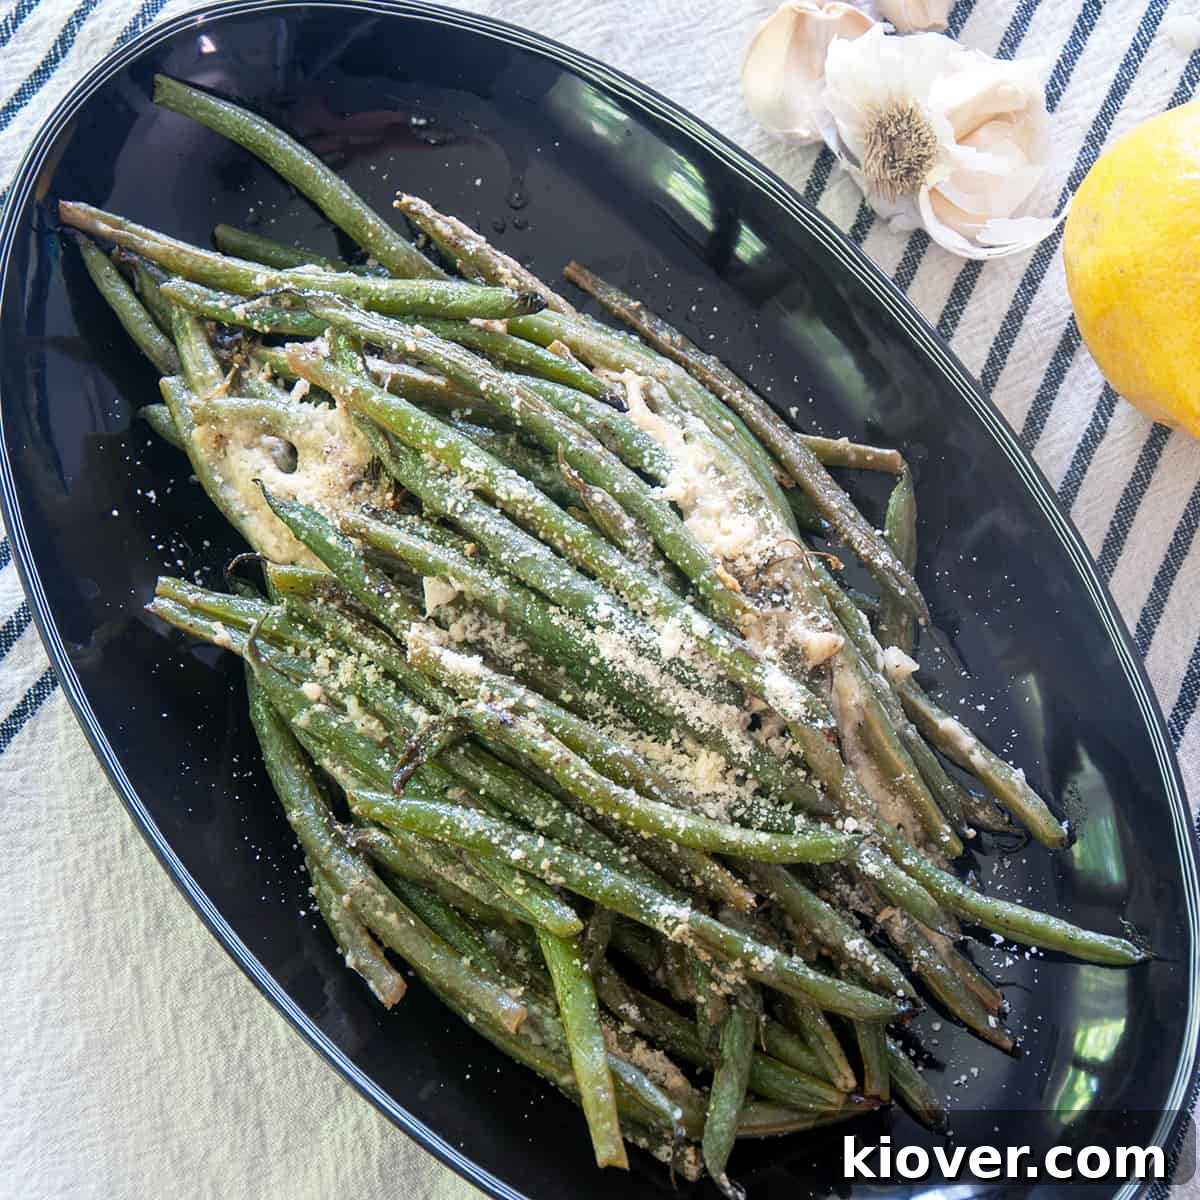
Forget bland, boiled green beans! This recipe takes a beloved classic and transforms it into a culinary star using the power of the grill and the cleverness of a foil packet. The experience goes far beyond simple steaming; we’re infusing these crisp-tender beans with a delightful char and a subtle smoky aroma that only direct grilling can provide. This simple technique elevates a humble vegetable into something truly special, making it an indispensable part of your summer cooking repertoire.
One of the greatest advantages of using a foil packet is its efficiency and the incredible flavor it locks in. As the green beans grill, they slowly steam and absorb the savory notes of fresh thyme, the pungent warmth of minced garlic, and the rich, nutty depth of Parmesan cheese. A finishing touch of fresh lemon juice adds a bright, zesty contrast, ensuring every mouthful is a harmonious blend of textures and tastes. This method also means minimal cleanup, allowing you to spend more time enjoying your company and less time scrubbing pans.
Beyond the fantastic flavor, grilling green beans in a foil packet is an ingenious way to maximize your grill space. While your main course — be it juicy burgers, savory brats, or succulent grilled chicken — cooks to perfection, your green beans can cook right alongside, utilizing the existing heat. This makes it a perfect pairing for any quick-grilling dish, streamlining your entire outdoor cooking process. It’s an unsung hero of the summer kitchen, promising a gourmet-level side dish with effortless preparation.
If you’re looking for main grilling recipes to accompany these delicious green beans, consider trying a classic Best Grilled Sirloin Burger recipe, some perfectly cooked grilled brats, or this tender Grilled Chicken Legs recipe. No matter your choice, treating yourself to a fantastic meal is always the goal!
Essential Ingredients for Flavorful Grilled Green Beans
At the heart of any great recipe are quality ingredients, and these grilled green beans are no exception. While the beans are undoubtedly the star, the supporting cast of seasonings and fresh aromatics truly makes this dish sing. Here’s a detailed look at what you’ll need and why each component is crucial for crafting the perfect side:
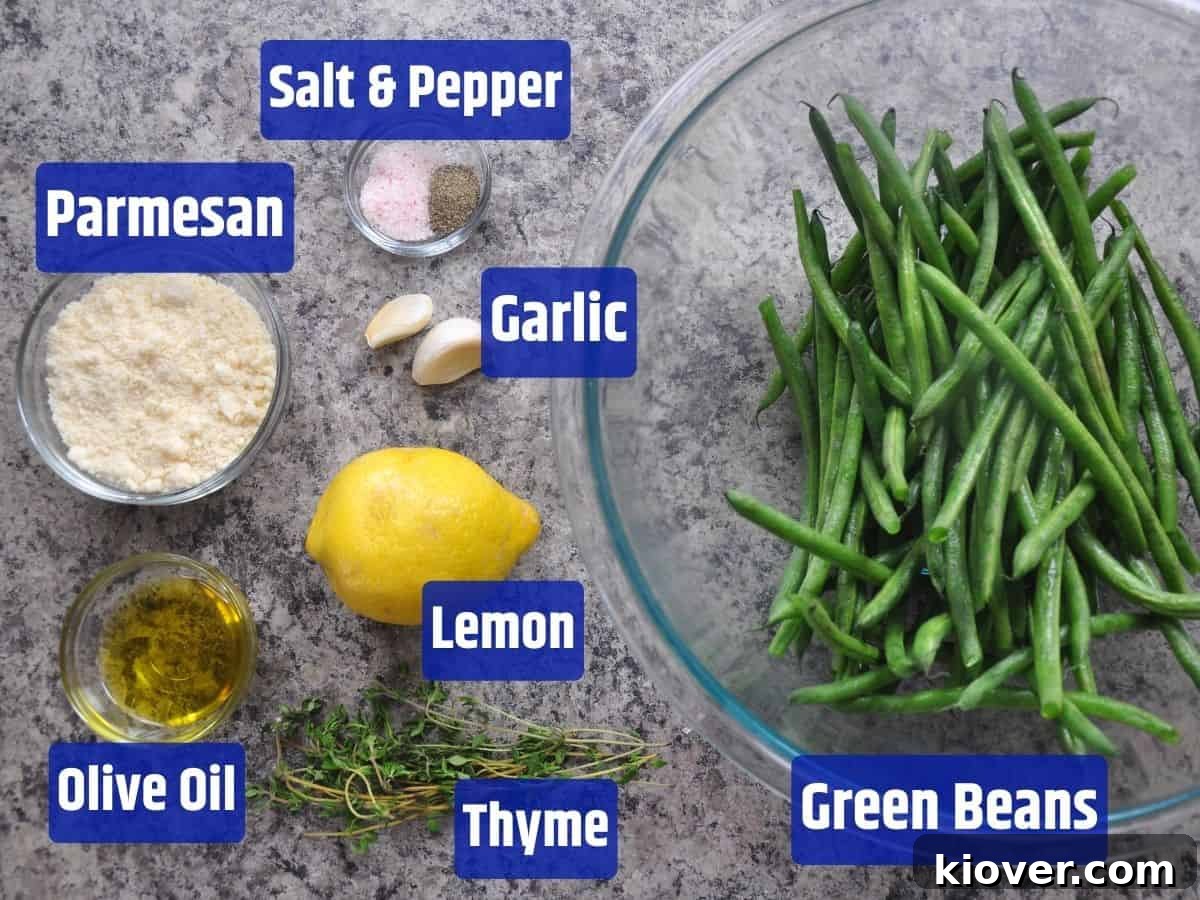
- Green Beans (1 pound, cleaned): The foundation of our dish. Opt for fresh, firm, and vibrant green beans. Cleaning them involves trimming the tough ends. Their natural crispness will transform into a tender-crisp texture with a smoky char on the grill.
- Olive Oil (2 Tablespoons): This acts as a binder for the seasonings and helps the beans cook evenly without sticking. It also contributes a subtle, fruity richness that enhances the overall flavor profile.
- Salt (1 teaspoon + more to taste): Essential for seasoning. Salt brings out the natural sweetness of the green beans and balances the other flavors. Don’t be shy, but always taste and adjust.
- Pepper (1/2 teaspoon): Freshly ground black pepper adds a mild kick and aromatic depth, complementing the other spices beautifully.
- Garlic (2 cloves, minced): A cornerstone of flavor. Minced garlic infuses the beans with a warm, pungent aroma that becomes mellow and slightly sweet as it cooks in the foil packet. For extra garlic lovers, feel free to add another clove!
- Fresh Thyme (8 medium sprigs, or about 2 teaspoons dried thyme): Thyme is an incredibly aromatic herb with earthy, slightly floral notes. Using fresh sprigs imparts a more vibrant and nuanced flavor than dried, but dried thyme is a perfectly acceptable substitute when fresh is unavailable.
- Parmesan Cheese (1/2 cup, freshly grated): This hard, salty, and savory cheese creates a delightful crust and adds an irresistible umami depth to the green beans. Freshly grating it ensures the best texture and flavor.
- Lemon Juice (1 Tablespoon, about 1/2 lemon): A crucial finishing touch! The bright acidity of fresh lemon juice cuts through the richness of the cheese and the smokiness of the grill, providing a refreshing zing that awakens all the flavors.
These simple ingredients, when combined and cooked in a foil packet, create a side dish that is far greater than the sum of its parts. Consult the recipe card below for exact quantities and detailed steps.
Step-by-Step Grilling Mastery: Crafting Perfect Foil Packet Green Beans
Creating these sensational grilled green beans is incredibly straightforward, requiring just a few simple steps and a hot grill. Let’s walk through the process to ensure you achieve perfectly tender, smoky, and flavorful results every time.
- Preheat Your Grill to Perfection: Begin by firing up your grill to an ideal temperature of approximately 375° Fahrenheit (about 190° Celsius). A properly preheated grill ensures even cooking and helps achieve those desirable char marks without burning.
- Prepare and Season Your Green Beans: In a spacious mixing bowl, combine your cleaned green beans with the olive oil, salt, pepper, and minced garlic. Toss everything thoroughly, ensuring that every single bean is generously coated with the seasonings. This is where the initial flavor foundation is built, so don’t skimp on the mixing!
- Lay Out Your Foil Foundation: Tear off a large sheet of heavy-duty aluminum foil. You’ll want a piece generous enough to comfortably hold all your beans and allow for a secure seal. This foil will be the protective and flavor-infusing vessel for your green beans.
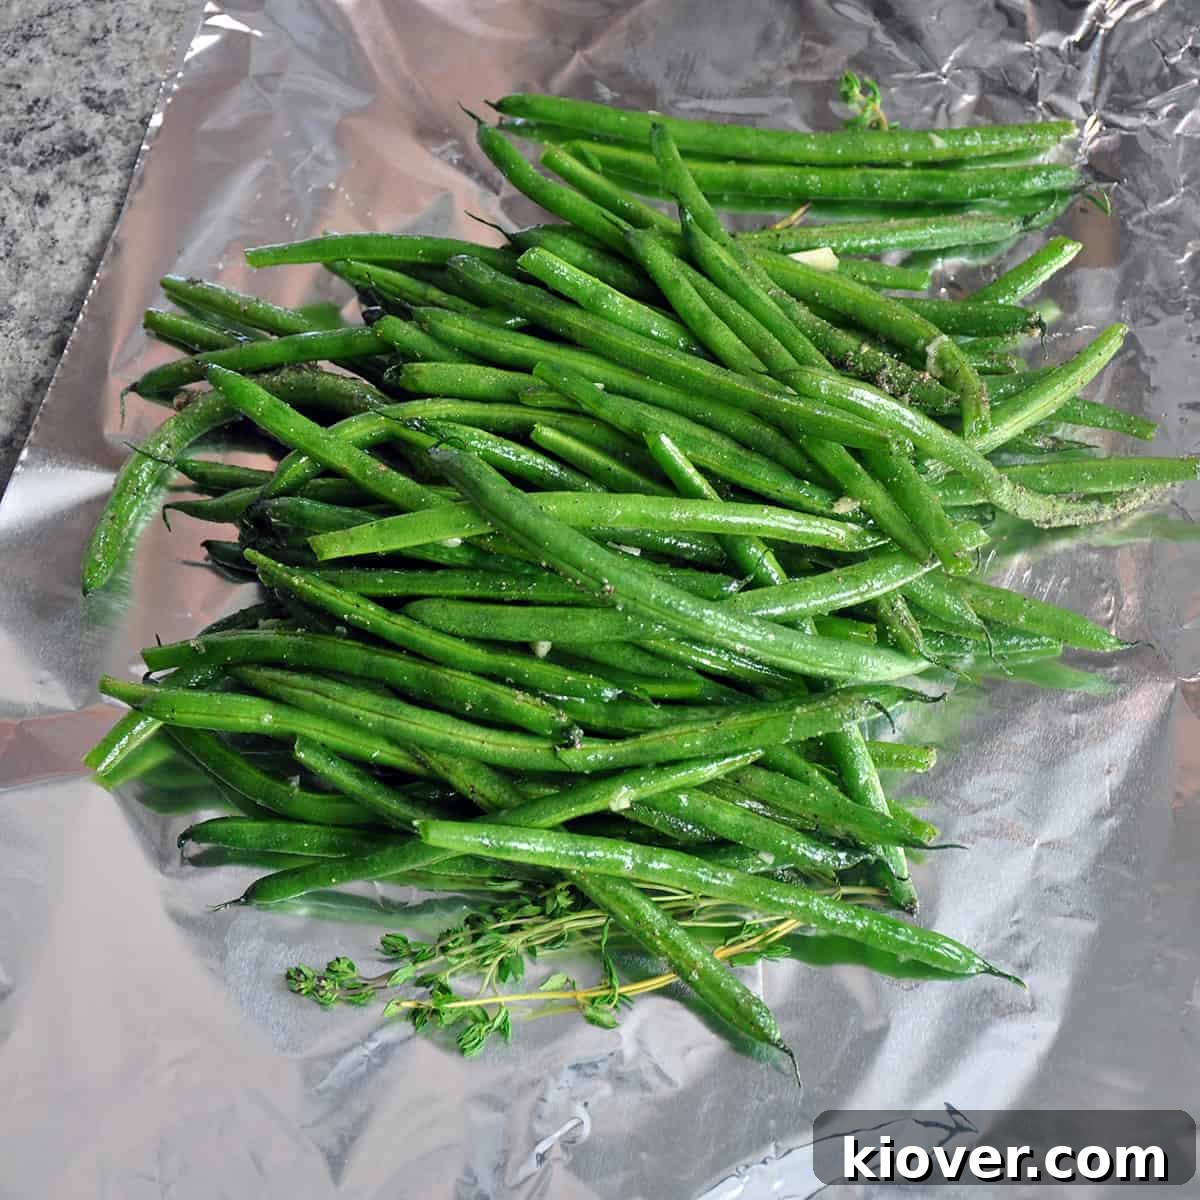
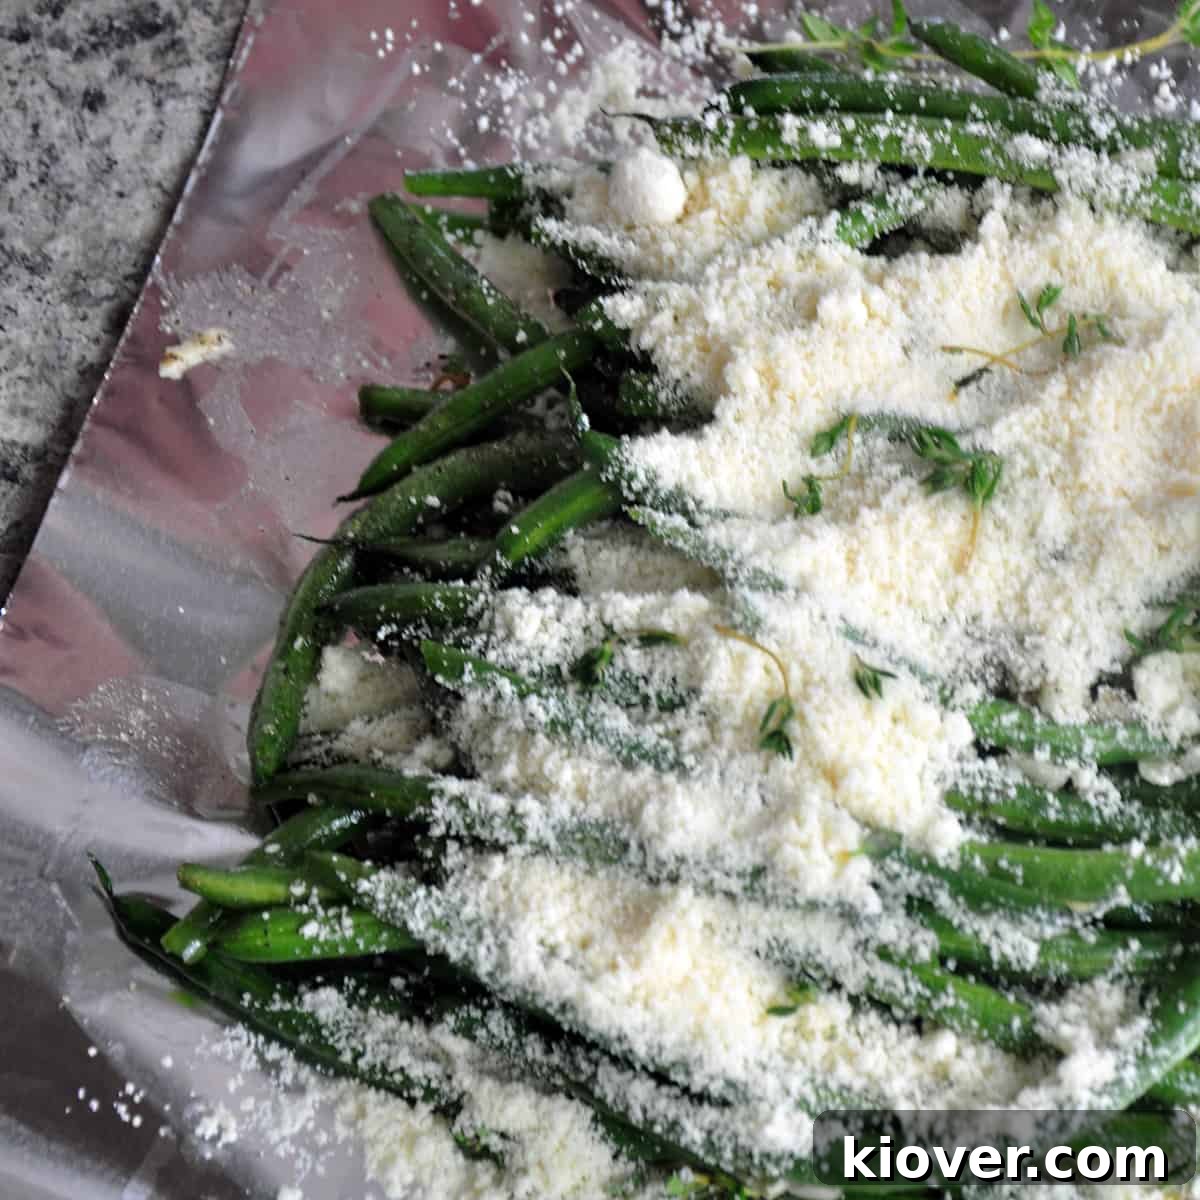
- Build the Flavor Layers: Start by arranging four sprigs of fresh thyme directly onto the center of the foil sheet. This creates an aromatic bed for the beans. Next, pile your seasoned green beans on top of the thyme. Scatter the remaining cleaned thyme leaves over the beans for an extra burst of herbal freshness. Finally, sprinkle the grated Parmesan cheese evenly over the entire bean mixture. As it cooks, the Parmesan will melt and create a delicious, savory crust.
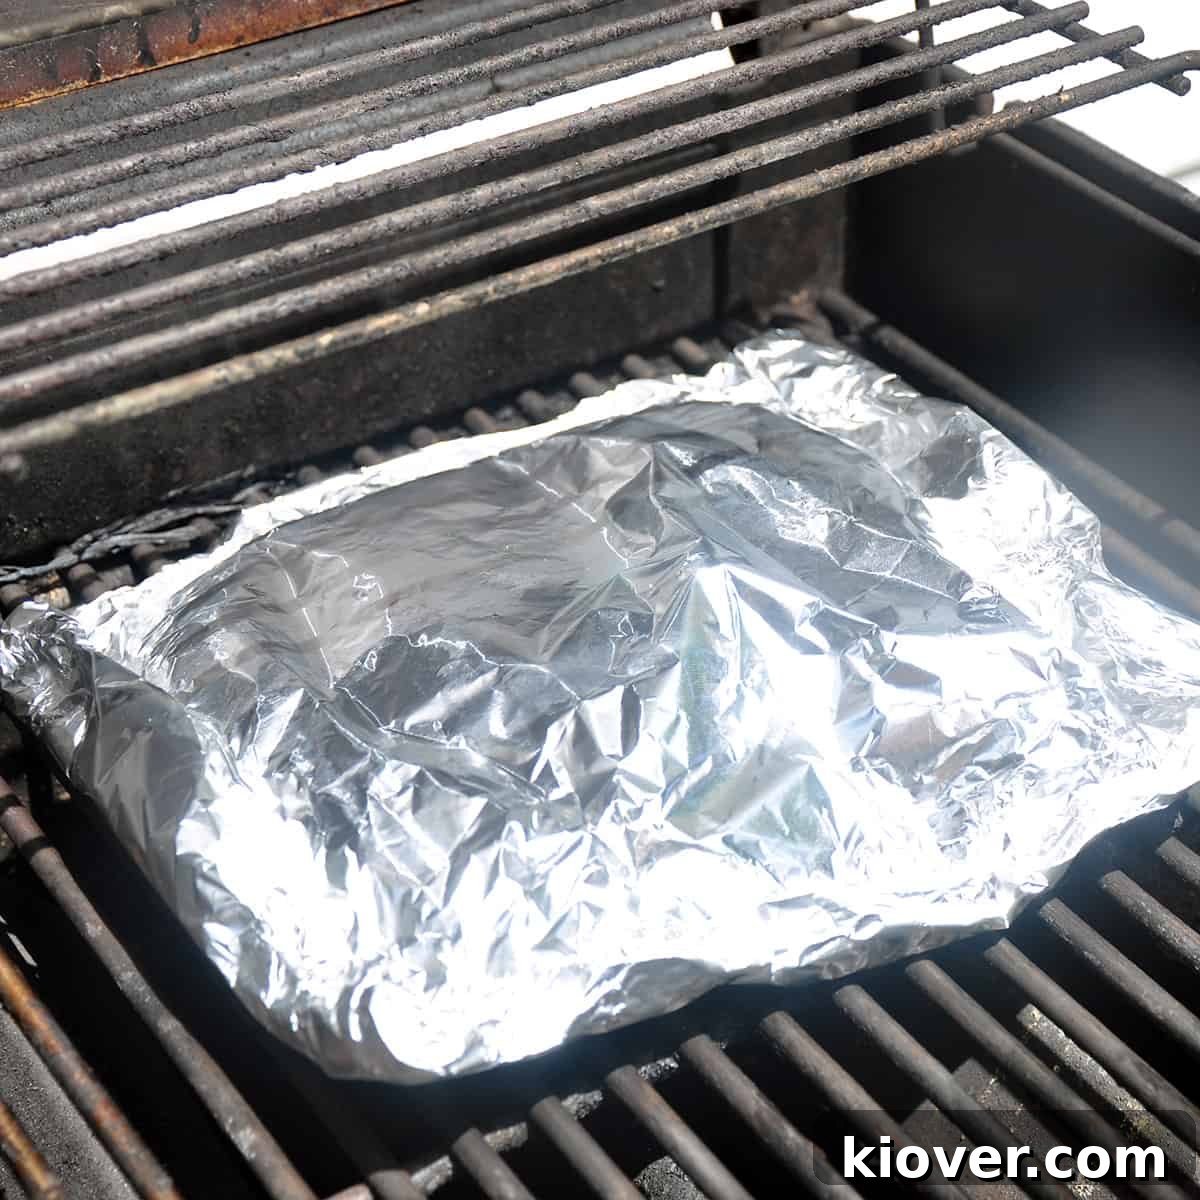
- Seal the Packet for Success: Carefully place a second sheet of aluminum foil over the beans. Bring the edges of the top and bottom foil sheets together and tightly crimp them shut on all sides. The goal is to create a secure, airtight packet that traps all the steam and flavors inside, preventing any precious juices or aromas from escaping.
- Grill Over Direct Heat: Once your grill is at the target temperature, place your sealed foil packet directly over the heat source. This direct exposure will allow the beans to soften and develop those signature smoky, charred notes.
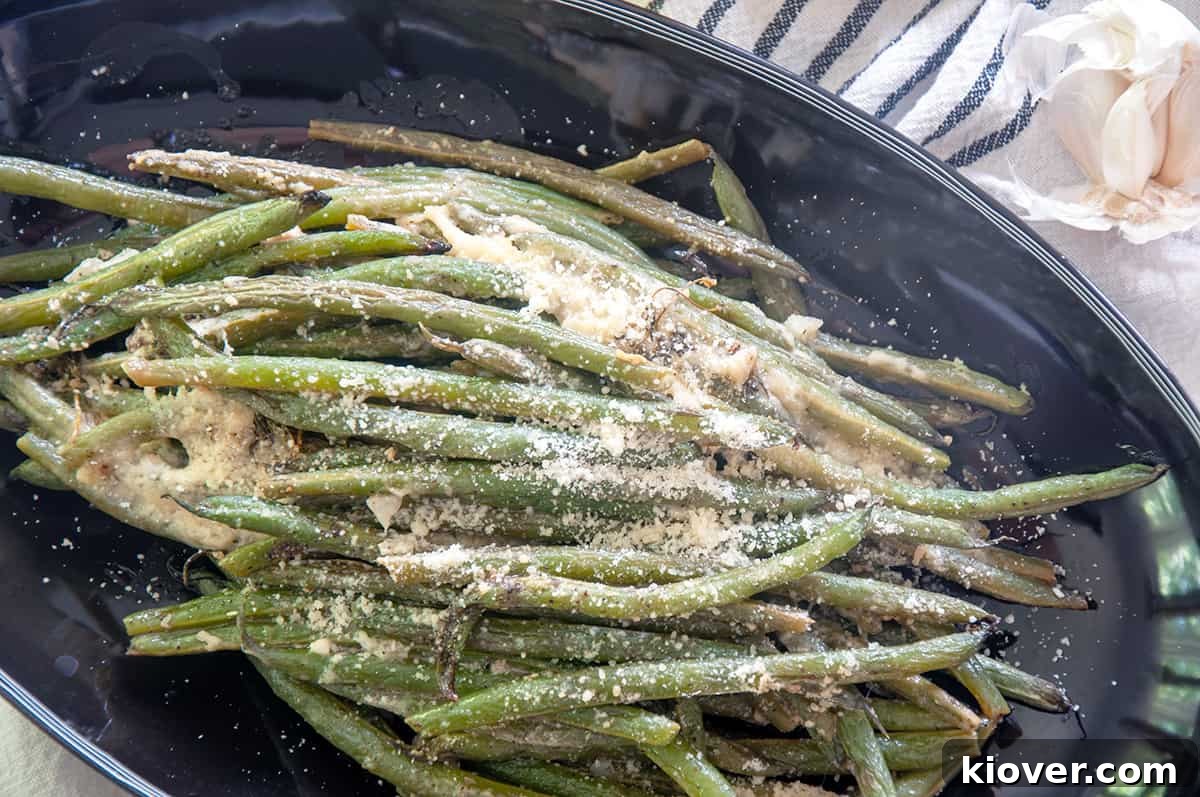
- Cook to Tender Perfection and Serve: Set your timer for 15 minutes. During this time, the beans will cook to a perfect tender-crisp consistency. Once the timer signals, carefully remove the packet from the grill. Exercise caution when opening the foil packet, as a rush of hot steam will escape. A delightful whiff of savory, smoky aroma will confirm that you’ve successfully created something truly amazing. Serve immediately and enjoy your perfectly grilled green beans!
Substitutions and Creative Variations for Your Grilled Green Beans
One of the beauties of this foil packet green bean recipe is its incredible versatility. While the core recipe is fantastic on its own, it also serves as a perfect canvas for culinary experimentation. Feel free to adapt it to your taste preferences or whatever ingredients you have on hand. The key is to maintain a balance of flavors while exploring new combinations.
Herb Alternatives:
- Rosemary: If thyme isn’t your favorite, robust rosemary offers a piney, earthy aroma that pairs wonderfully with grilled vegetables.
- Basil: For a fresher, more Italian-inspired twist, tear a few fresh basil leaves over the beans before sealing the packet.
- Oregano or Italian Seasoning: A sprinkle of dried oregano or a pre-mixed Italian seasoning blend can add a familiar, savory depth.
- Dill: For a bright, slightly tangy flavor profile, especially if serving with fish or lemon-marinated chicken, try fresh dill.
- Cilantro: If you enjoy a more vibrant, almost citrusy kick, fresh cilantro added at the end can be a delightful addition.
Cheese Swaps:
- Pecorino Romano: A great alternative to Parmesan, Pecorino Romano offers a saltier, sharper, and tangier flavor that stands up well to grilling.
- Feta Cheese: For a crumbly, tangy, and slightly briny addition, a sprinkle of crumbled feta cheese adds a Mediterranean flair.
- Asiago or Smoked Gouda: These cheeses offer a richer, nuttier, or even smoky dimension that can be incredibly satisfying.
- Nutritional Yeast: For a dairy-free alternative that still provides a cheesy, umami flavor, nutritional yeast is an excellent option.
Aromatic & Spice Enhancements:
- Shallots: If you find raw garlic too strong, thinly sliced shallots provide a milder, sweeter oniony flavor that caramelizes beautifully.
- Red Pepper Flakes: For those who love a little heat, a pinch of red pepper flakes tossed with the beans will add a spicy kick.
- Lemon Pepper Seasoning: Combine the zest and pepper in one with a dedicated lemon pepper seasoning blend.
- Smoked Paprika: A dash of smoked paprika can amplify the smoky flavor of the grill and add a beautiful reddish hue.
Veggies & Other Add-ins:
- Cherry Tomatoes: Halved cherry tomatoes added to the packet will burst and release their sweet juices, creating a lovely sauce.
- Sliced Bell Peppers or Onions: Thinly sliced bell peppers (any color) or red onions can add extra crunch, sweetness, and vibrant color.
- Mushrooms: Sliced mushrooms add an earthy, umami quality that deepens the flavor profile.
- Toasted Nuts: A sprinkle of toasted slivered almonds, pine nuts, or chopped walnuts added after grilling can provide a wonderful textural contrast.
- Balsamic Glaze: A drizzle of balsamic glaze after cooking can add a sweet and tangy finish.
The beauty of these substitutions lies in finding what you love. Don’t be afraid to experiment with different combinations to create your signature grilled green bean side dish. Each bite should be a delightful culinary adventure, so have fun and enjoy the process of making these beans uniquely yours!
Storage Solutions: Keeping Your Grilled Green Beans Fresh
It’s always a good idea to make a generous batch of these delicious grilled green beans, as leftovers are just as delightful! Proper storage ensures they retain their flavor and texture for future enjoyment. Here’s a simple guide to saving your extra green beans:
- Allow to Cool Completely: Before storing, it’s crucial to let your grilled green beans cool down to room temperature. Packaging them while warm can trap moisture, leading to sogginess and a shorter shelf life.
- Airtight Containers are Key: Transfer the cooled green beans into airtight containers. This prevents air exposure, which can dry out the beans and cause them to lose their vibrant flavor. Glass containers or high-quality plastic containers with secure lids work best.
- Refrigeration: For short-term storage, place the airtight container in the refrigerator. Your grilled green beans will remain fresh and delicious for approximately 3 to 4 days. They make a fantastic addition to packed lunches or quick weeknight sides.
- Freezing for Longer Term: If you have a larger quantity or want to preserve them for an extended period, freezing is an excellent option. Place the cooled beans in freezer-safe bags or containers, removing as much air as possible to prevent freezer burn. They can be stored in the freezer for up to 3 months.
- Reheating for Optimal Enjoyment:
- From the Fridge: Reheat refrigerated beans gently on the stovetop in a skillet with a tiny bit of olive oil, in the microwave until just warm, or even briefly in a foil packet on a warm grill to regain some char.
- From the Freezer: Thaw frozen green beans overnight in the refrigerator before reheating. Once thawed, follow the same reheating methods as refrigerated beans. Avoid overcooking during reheating to maintain their tender-crisp texture.
With these storage tips, you can enjoy the smoky, savory goodness of your grilled green beans long after your barbecue is over. Every reheated bite will be a delicious reminder of your grilling success!
A Journey Through Time: The Fascinating History of Green Beans
Beyond their role as a versatile and delicious side dish, green beans boast a rich and captivating history that spans continents and millennia. These vibrant legumes have been a staple in human diets for thousands of years, evolving from wild plants into the tender, stringless pods we enjoy today.
The origins of green beans trace back to Central and South America, where they were cultivated by indigenous populations as early as 7,000 years ago. Ancient civilizations, including the Incas, relied on beans as a crucial source of protein and nutrition. They were often grown alongside corn and squash in a sustainable agricultural practice known as the “Three Sisters,” where each plant supported the others’ growth.
It wasn’t until the European exploration of the Americas in the 15th and 16th centuries that green beans began their global journey. Spanish explorers brought these “new world” vegetables back to Europe, from where they subsequently spread to Africa and Asia, becoming a truly global staple. However, the green beans consumed by early Europeans were likely quite different from those on our plates today. They were often tougher and had prominent fibrous “strings” along their seams.
The transformation into the tender, stringless green beans we know and love is a testament to generations of agricultural innovation. Throughout history, plant breeders and farmers meticulously selected and cultivated plants that exhibited desirable traits – longer pods, better flavor, and, crucially, the absence of those tough strings. This selective breeding process, spanning centuries, gradually refined the green bean into the tender, easy-to-eat vegetable that graces our grills and dinner tables today.
So, the next time you’re enjoying a forkful of these perfectly grilled green beans, take a moment to appreciate their incredible journey. You’re not just savoring a delicious side dish; you’re connecting with a piece of agricultural history that has nourished and delighted people across the globe for thousands of years.
Frequently Asked Questions About Grilled Green Beans
How do I know when my grill is at the right temperature for green beans?
The most accurate way is to use a reliable grill thermometer. For these green beans, aim for a consistent temperature of about 375° Fahrenheit (190° Celsius). If you don’t have a thermometer, you can use the hand test: hold your hand about 5 inches above the grate. If you can only keep it there for 5-7 seconds, it’s medium-hot, which is suitable.
Can I grill frozen green beans instead of fresh?
Yes, you certainly can, but it’s best to thaw them thoroughly first. After thawing, pat them very dry with paper towels. Excess moisture can make them steam rather than char, affecting the texture. Once dry, proceed with the recipe as directed.
How can I prevent my green beans from burning on the grill?
The foil packet is your best friend here! It acts as a protective barrier, shielding the beans from direct flame while still allowing them to cook through and absorb smoky flavors. The packet also helps them cook evenly. Ensure your packet is tightly sealed to prevent direct exposure to the heat source.
What’s the best way to clean my grill after cooking?
For optimal results and longevity, clean your grill grates while they are still warm (but not scorching hot). Use a sturdy wire grill brush to scrape off any food residue. For tougher spots, a grill cleaning solution or a cut onion can also work wonders. Always remove any leftover food bits to prevent sticking and flavor transfer in future cooks.
Can I grill other types of beans or vegetables using this foil packet method?
Absolutely! This foil packet method is incredibly versatile. You can grill other types of fresh beans like wax beans or even vegetables like asparagus, broccoli florets, or sliced bell peppers. Keep in mind that cooking times may vary depending on the vegetable and its density, so always check for doneness before serving.
What are some excellent dishes to serve with grilled green beans?
These grilled green beans are incredibly versatile and pair well with a wide array of main courses. They’re fantastic with classic barbecue fare like grilled chicken, steak, pork chops, or fish. They also make a refreshing addition to summer salads, can be served alongside roasted meats, or even as a standalone healthy snack.
Top Tips and Tricks for Grilling Green Bean Perfection
Achieving perfectly grilled green beans in a foil packet is simple, but a few expert tips can elevate your results from good to exceptional. Follow these guidelines to ensure your beans are tender-crisp, smoky, and bursting with flavor every time:
- Always Preheat Your Grill: A hot grill is paramount for even cooking and achieving those desirable char marks. Aim for a consistent temperature of around 375° Fahrenheit (190° Celsius) before placing your foil packet on the grates. This allows the heat to penetrate quickly and cook the beans efficiently.
- Mix Ingredients Thoroughly: Don’t just dump and go! Take the time to toss your green beans vigorously with the olive oil, salt, pepper, and garlic in a mixing bowl. Every single bean should be well-coated to ensure uniform seasoning and maximum flavor in every bite.
- Strategic Layering for Flavor: When building your foil packet, consider the layers. Start with a few sprigs of thyme on the bottom layer of the foil, then add your seasoned beans. Sprinkle the remaining thyme leaves and finally, the Parmesan cheese on top. This layering technique allows the flavors to meld and infuse into the beans as they cook, creating a delicious synergy.
- Seal the Packet Tightly: A well-sealed foil packet is crucial for two main reasons: it traps steam, which helps cook the beans to tender perfection, and it locks in all the precious flavors and juices. Make sure all sides are crimped tightly to prevent any steam or flavorful liquids from escaping.
- Exercise Caution When Opening: Once the grilling time is complete, be extremely careful when opening the foil packet. Hot steam will escape rapidly, and it can cause burns. Use tongs to gently peel back the foil, allowing the steam to dissipate before reaching in. Letting them cool for just a minute or two can also help prevent steam burns before serving.
Recommended Tools for Grilling Perfection
While you don’t need a full arsenal of specialized equipment to make these grilled green beans, having a few key tools can make the process even smoother and more enjoyable:
- Quality Grill: A reliable grill (gas or charcoal) that can maintain a consistent temperature is essential.
- Sturdy Tongs: A good pair of long-handled tongs is invaluable for safely handling the hot foil packet on and off the grill.
- Heavy-Duty Aluminum Foil: Using heavy-duty foil prevents tearing and ensures the packet remains sealed throughout the cooking process.
- Mixing Bowl: A large mixing bowl is perfect for tossing your green beans with oil and seasonings.
- Sharp Knife and Cutting Board: For cleaning and trimming the green beans and mincing garlic.
Share Your Culinary Success!
We absolutely love hearing about your cooking adventures! If you gave this Grilled Green Beans in a Foil Packet recipe a try, we’d be thrilled to hear your feedback. Please consider leaving a rating in the comment section below – it helps us know how we’re doing and assists other home cooks in discovering delicious recipes. Don’t forget to share your beautifully grilled creations on Pinterest or your favorite social media platforms! Thank you for visiting and making our recipes a part of your kitchen.