
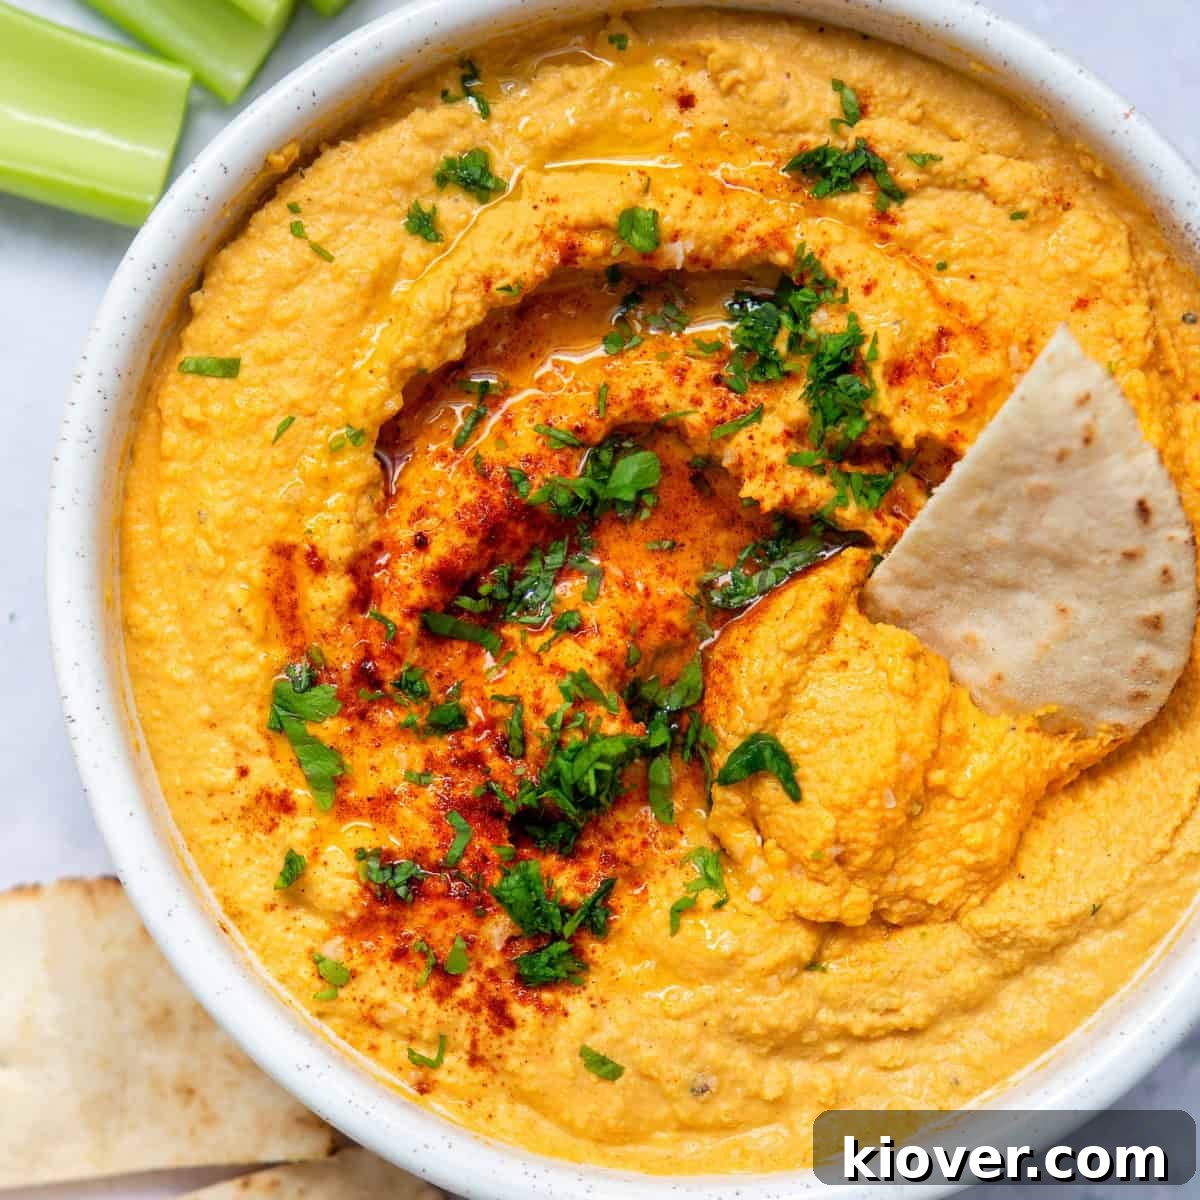
Welcome to the ultimate guide for crafting the most delightful and creamy Garlic Hummus recipe right in your own kitchen! Forget about store-bought versions that often fall short on flavor and freshness. This homemade hummus will revolutionize your snacking and meal prep, offering a superior taste and texture that’s simply unbeatable. Best of all, it requires just six common ingredients you likely already have on hand and can be whipped up in under 5 minutes. Get ready to save money and impress your taste buds with this vibrant, healthy, and incredibly easy dip.
Recipe Difficulty – Very Easy
Table of Contents
- Why This Recipe Works: The Secret to Perfect Hummus
- Essential Ingredients for Your Garlic Hummus
- Smart Substitutions for Every Palate
- Delicious Variations to Elevate Your Hummus
- Step-by-Step Guide: How to Make Creamy Garlic Hummus
- Storing Leftovers: Keep Your Hummus Fresh
- Creative Serving Ideas for Garlic Hummus
- Explore More Healthy & Delicious Dips
- Share Your Experience & Rate This Recipe
- Garlic Hummus Recipe Card
Why This Recipe Works: The Secret to Perfect Hummus
Crafting your own batch of hummus is surprisingly simple, and this particular recipe stands out for several compelling reasons. It delivers an unparalleled creamy texture and a robust garlic flavor that truly sets it apart from any store-bought alternative. This isn’t just a dip; it’s a versatile, healthy staple that’s perfect for a variety of occasions.
The magic lies in its simplicity and the use of fresh, high-quality ingredients. Unlike commercial hummus, which often contains preservatives and fillers, our homemade version ensures you get pure, wholesome goodness. It’s naturally gluten-free, dairy-free, and vegan, making it an excellent choice for almost any dietary preference. Its vibrant flavor profile makes it an ideal companion for crisp fresh vegetables, warm pita bread, or even as a spread in sandwiches and wraps. Whether you’re hosting a lively gathering, preparing a quick snack, or simply looking for a healthy addition to your meals, this garlic hummus recipe is your go-to solution. It even pairs wonderfully with other homemade dips like our delightful Beetroot Hummus, creating a colorful and flavorful spread for any occasion.
Essential Ingredients for Your Garlic Hummus
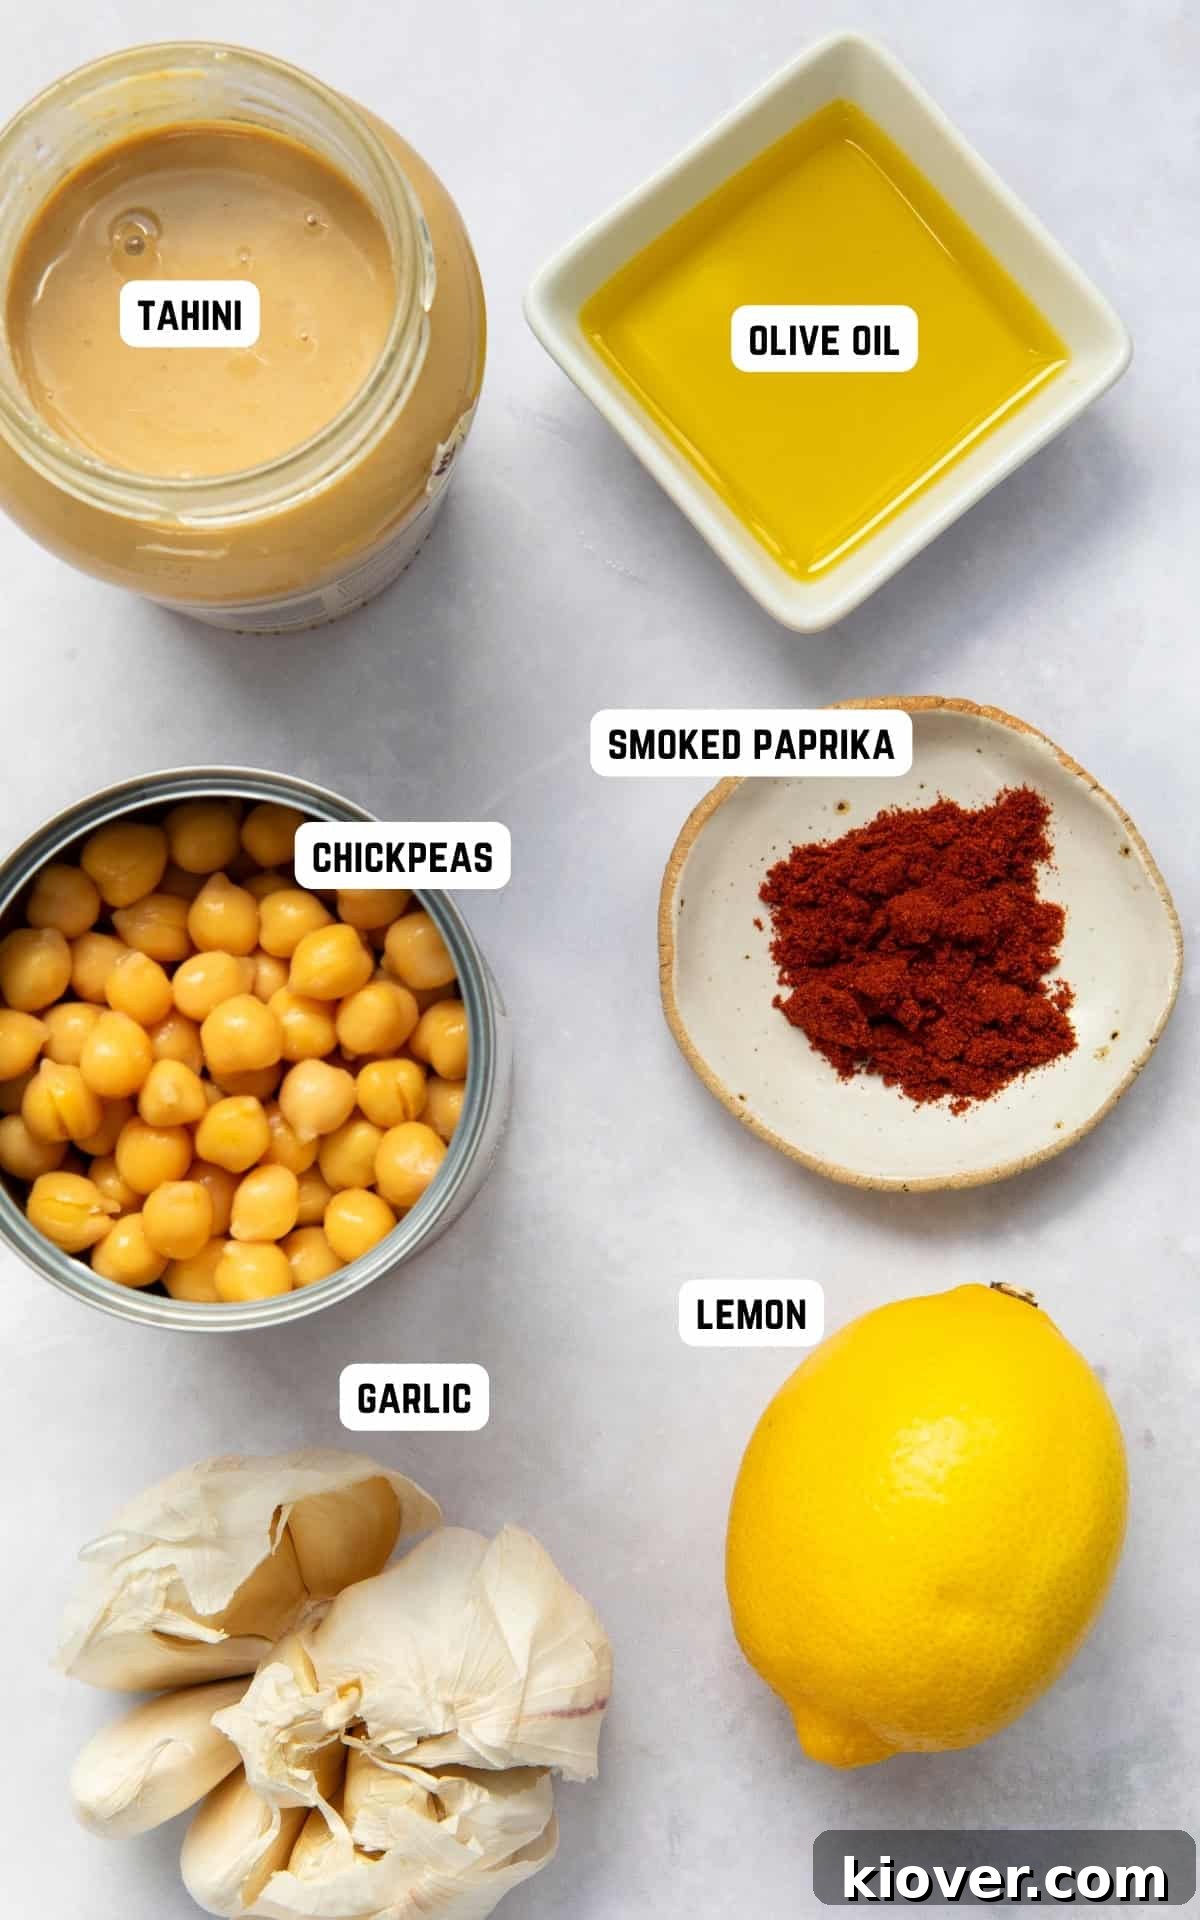
Achieving a truly exceptional garlic hummus starts with understanding the role each ingredient plays. This recipe leverages just a handful of core components to create a harmonious and unforgettable flavor profile.
- Canned Chickpeas (Garbanzo Beans): These legumes form the backbone of any classic hummus. Canned chickpeas are incredibly convenient, significantly speeding up the preparation process without sacrificing quality. They provide the essential creamy base and a subtle nutty flavor. For an even smoother consistency, some chefs recommend gently peeling the skins off the chickpeas after draining, though this is an optional step for those seeking the ultimate velvety texture.
- Tahini: A rich paste made from ground sesame seeds, tahini is crucial for achieving hummus’s signature creaminess and depth of flavor. It introduces a slightly bitter, nutty undertone that balances the other ingredients beautifully. Look for a good quality tahini that is smooth and pourable, as this will contribute to a silkier finished product. You can find tahini in most major grocery stores, often in the international or baking aisle.
- Fresh Lemon Juice: The bright acidity of fresh lemon juice is non-negotiable in hummus. It cuts through the richness of the tahini and chickpeas, lifting the flavors and adding a refreshing zest. Always opt for freshly squeezed lemon juice over bottled for the best results. For an extra citrusy punch, consider adding a pinch of lemon zest to the blender.
- Garlic Clove: As the star of this recipe, raw garlic infuses the hummus with its distinctive pungent and aromatic flavor. While one large clove provides a balanced taste, garlic lovers can certainly add more to their preference. For a milder, sweeter garlic flavor, roasting the garlic beforehand is an excellent alternative.
- Smoked Paprika (Optional): This spice adds a beautiful depth of color and a subtle smoky warmth to the hummus. It’s optional but highly recommended for an added layer of complexity. If you prefer a less smoky flavor, sweet paprika can be used, or simply sprinkle some on top as a garnish when serving.
- Extra Virgin Olive Oil: Beyond its role in lubrication during blending, extra virgin olive oil contributes significantly to the overall flavor and luscious, creamy texture of the hummus. A good quality olive oil will impart fruity and peppery notes that elevate the entire dish. It’s also perfect for drizzling generously over the finished hummus before serving.
For precise measurements and detailed instructions, please refer to the comprehensive recipe card below.
Smart Substitutions for Every Palate
While the classic garlic hummus recipe is perfect as is, it’s also incredibly forgiving and adaptable. Don’t hesitate to experiment with these thoughtful substitutions to cater to your dietary needs or simply to explore new flavor dimensions.
- Canned Chickpeas: For the quickest preparation, canned chickpeas are ideal. However, if you have more time and want to achieve an ultra-smooth, restaurant-quality hummus, consider starting with dried chickpeas. Soak them overnight, then boil until very tender. Removing the individual chickpea skins after cooking will result in an unbelievably silky texture that’s worth the extra effort for special occasions.
- Tahini: The rich, nutty flavor and creamy texture of tahini are foundational to traditional hummus. If tahini is unavailable or if you have a sesame allergy, sunflower seed butter or cashew butter can be surprisingly good alternatives. These will lend a similar nutty depth, though the overall flavor profile will shift slightly. While these can work, tahini truly adds a unique silkiness that is hard to replicate.
- Raw Garlic Clove: The sharp, invigorating bite of raw garlic defines this recipe. For a softer, sweeter, and more mellow garlic flavor, transform this into a roasted garlic hummus recipe. Simply roast a whole head of garlic until soft and caramelized before adding the cloves to your blender. This creates a deeply aromatic and less intense garlic experience.
- Smoked Paprika: This ingredient is entirely optional and primarily enhances color and a subtle smoky undertone. If smoked paprika isn’t your preference, feel free to omit it. Other excellent alternatives include sweet paprika for a milder flavor, or a pinch of red pepper flakes if you enjoy a hint of heat.
- Extra Virgin Olive Oil: While extra virgin olive oil provides the best flavor, you can swap it for a more neutral-tasting oil like rapeseed oil or vegetable oil if desired. However, be aware that a significant portion of the hummus’s richness and Mediterranean character comes from the quality of the olive oil.
Delicious Variations to Elevate Your Hummus
Once you’ve mastered the basic garlic hummus, the possibilities for customization are endless. Get creative with these variations to tailor your dip to any craving or occasion.
- Spicy Garlic Hummus: For those who love a kick, transforming your hummus into a spicy sensation is easy. Incorporate a pinch of cayenne pepper, a dash of hot sauce (like sriracha), or a generous amount of red pepper flakes directly into the blender. Adjust the amount to your preferred level of heat.
- Deluxe Hummus Platter: Elevate your hummus for entertaining by dressing it up. Drizzle generously with extra virgin olive oil, sprinkle with toasted pine nuts for a delightful crunch, add a dash of paprika, and a shower of freshly chopped parsley. For an even more luxurious experience, blend in some roasted red peppers to create a vibrant red pepper hummus, or swirl a dollop of a flavorful pesto on top before serving.
- Kid-Friendly Hummus: Introducing hummus to younger palates can be fun and easy. For a milder version, consider reducing the amount of raw garlic or using roasted garlic. Omit the smoked paprika, as its strong flavor might be too intense. Serve it with crunchy pita chips, carrot sticks, or cucumber slices for an appealing and healthy snack.
- Herb-Infused Hummus: Add a handful of fresh herbs like cilantro, basil, or mint to the blender for a burst of fresh flavor.
- Sun-Dried Tomato Hummus: Blend in a few rehydrated sun-dried tomatoes (oil-packed or soaked in warm water) for a sweet and tangy twist that complements the garlic beautifully.
Step-by-Step Guide: How to Make Creamy Garlic Hummus
Creating this rich and flavorful garlic hummus is surprisingly straightforward. Follow these simple steps for a perfect batch every time. The key is to blend thoroughly and gradually add liquid to achieve your desired consistency.
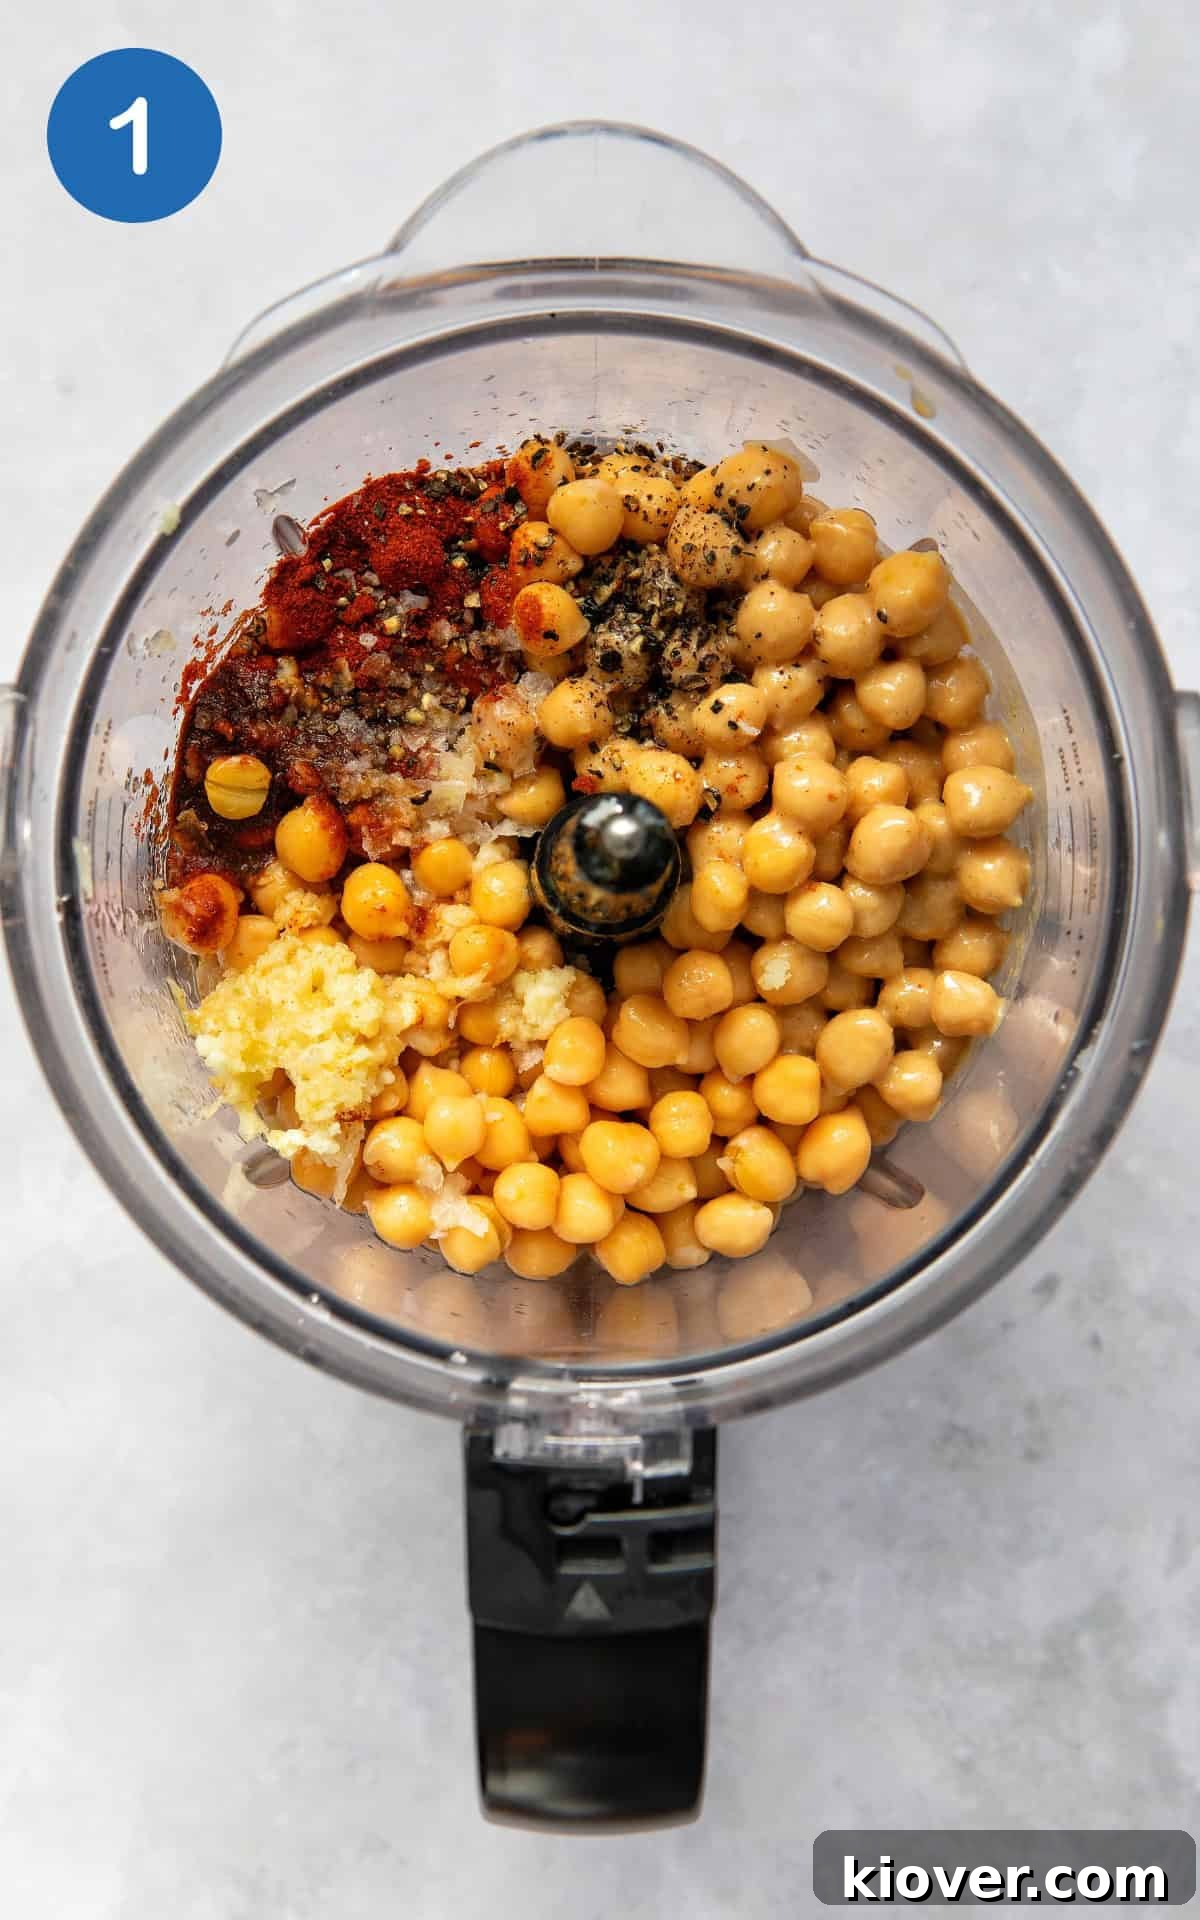
Step 1: Combine Ingredients for Blending. Begin by thoroughly draining your canned chickpeas. If you’re going for an extra-smooth hummus, you can gently rub them between your fingers to remove the skins, though this is optional. Transfer the drained chickpeas to the bowl of a high-speed blender or food processor. Add the extra virgin olive oil, tahini, fresh lemon juice, crushed garlic clove (or roasted garlic, if using), smoked paprika (if desired), and a generous pinch of sea salt and freshly ground black pepper. These are the foundational flavors that will blend into a cohesive and delicious dip.
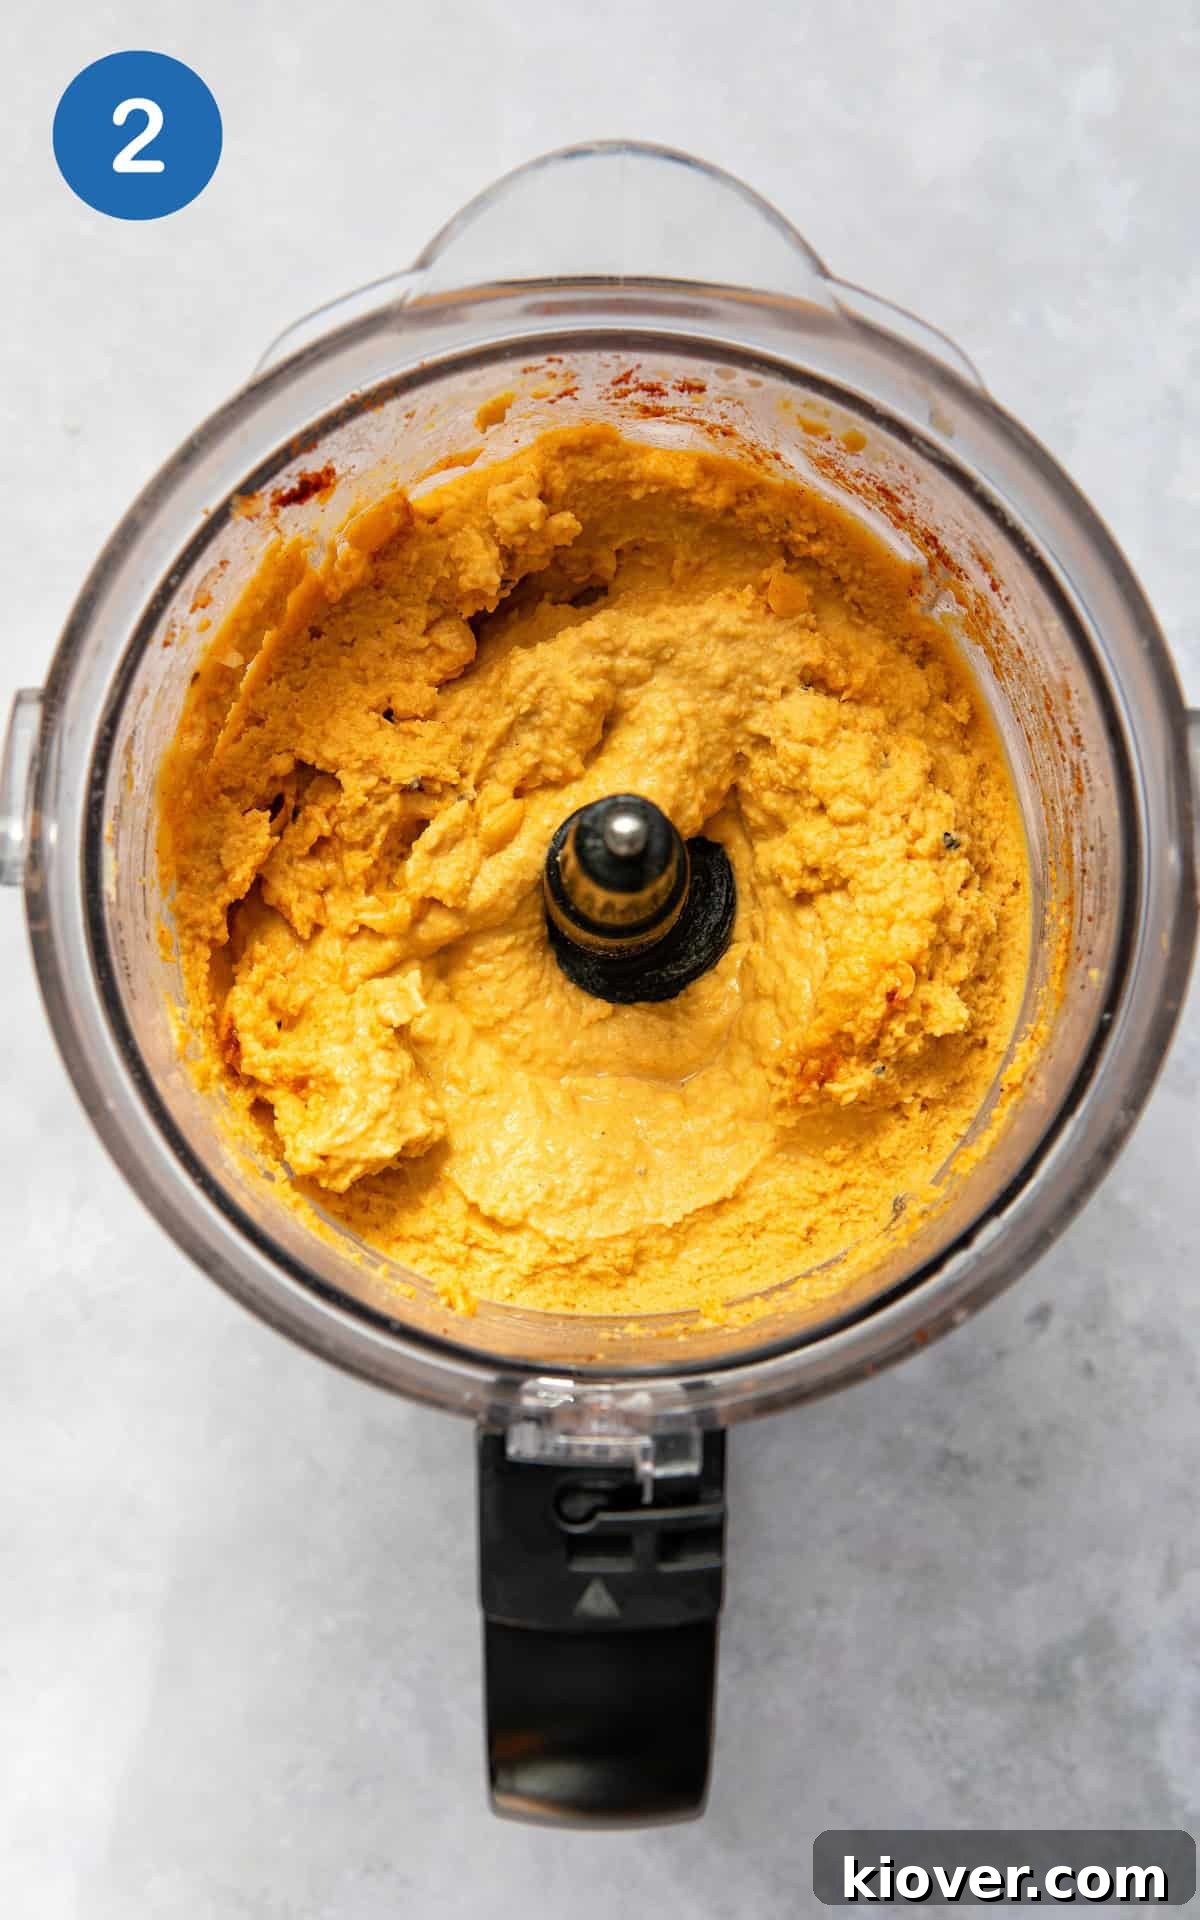
Step 2: Achieve Desired Creaminess. Secure the lid on your blender or food processor and begin to process the mixture. While it’s blending, slowly pour in cold water through the feed tube until the hummus reaches your desired consistency. I typically use around 1/2 cup of water, but you might need slightly more or less depending on the dryness of your chickpeas and how thick or thin you prefer your hummus. For an incredibly light and airy texture, some chefs even recommend adding a few ice cubes during this step, as the cold temperature helps emulsify the ingredients and achieve maximum creaminess. Continue blending until the hummus is completely smooth and free of lumps, scraping down the sides as needed.
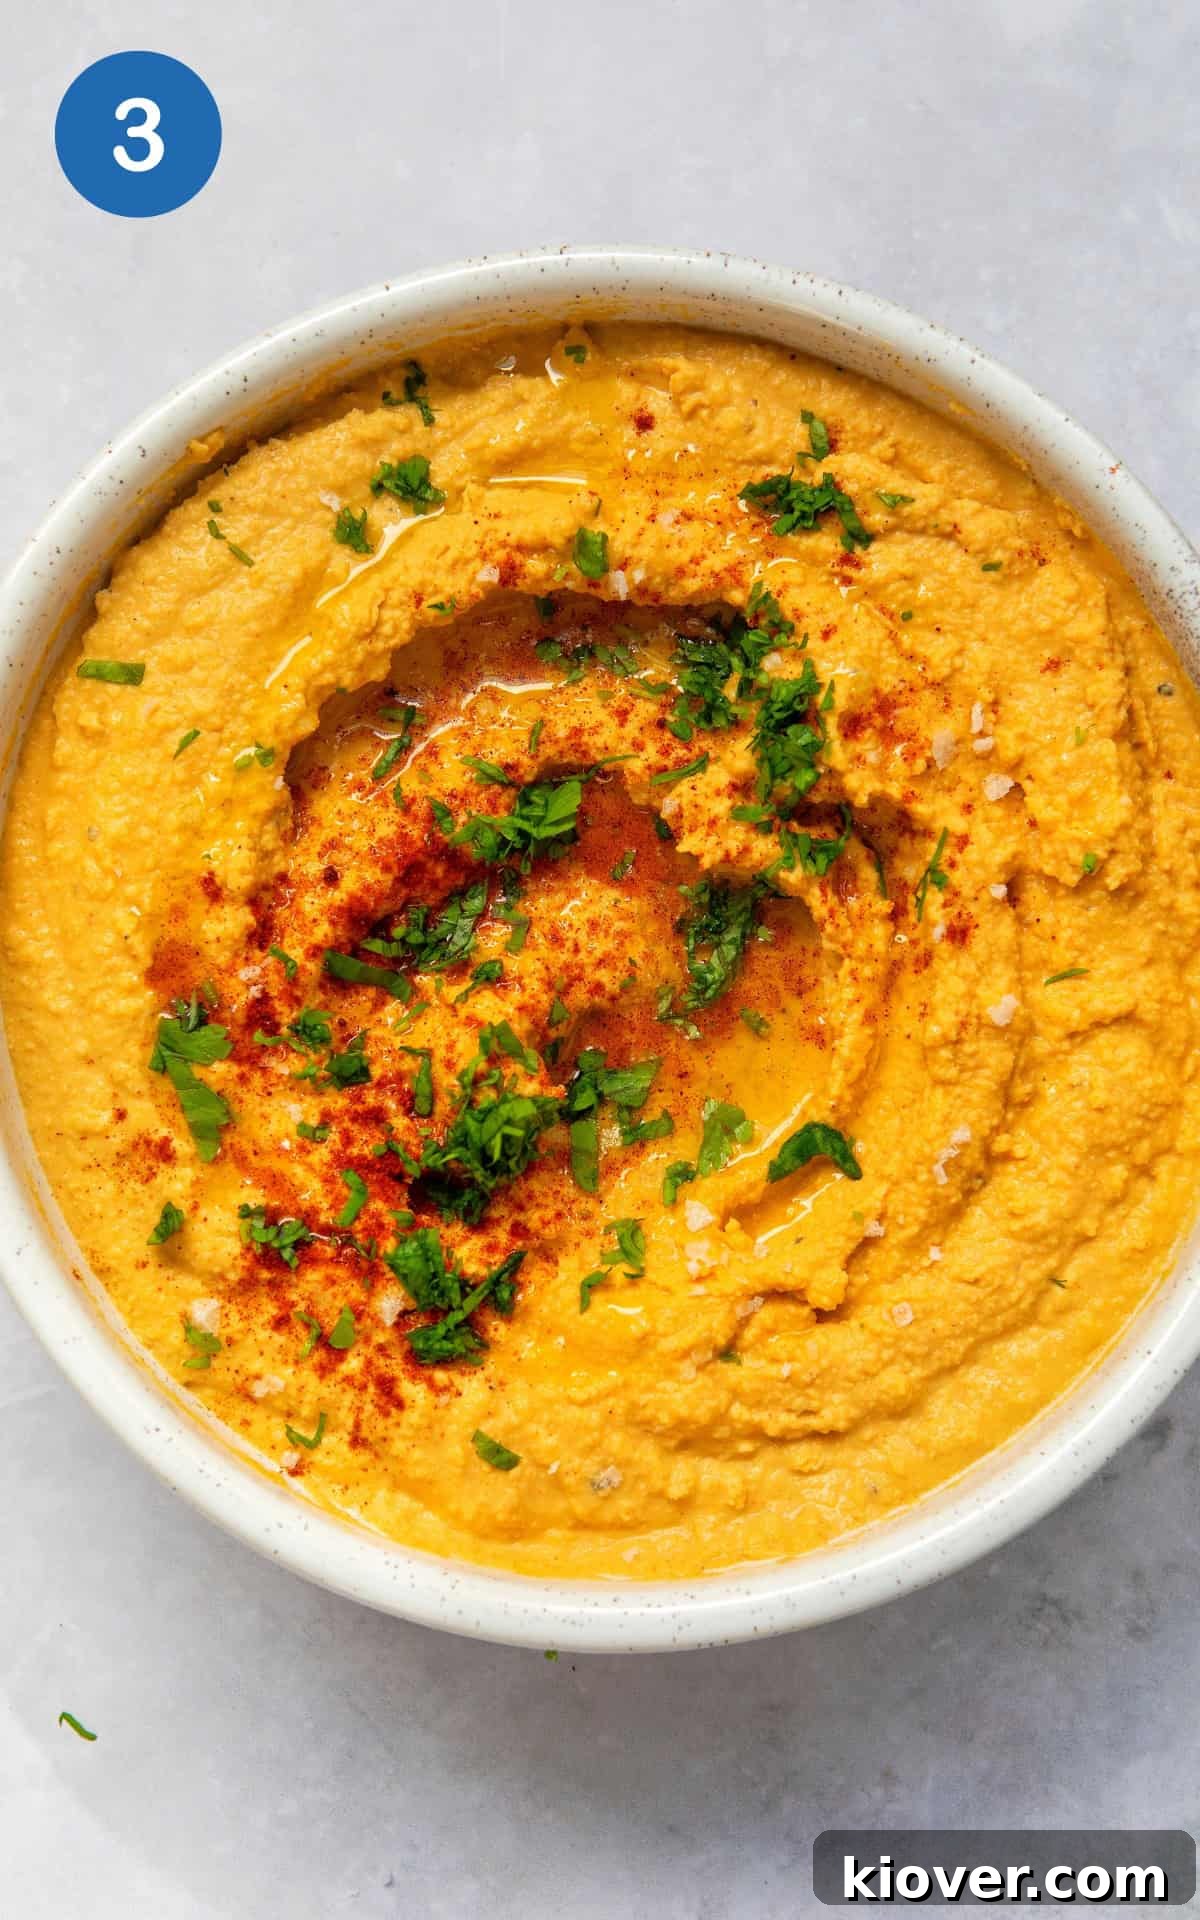
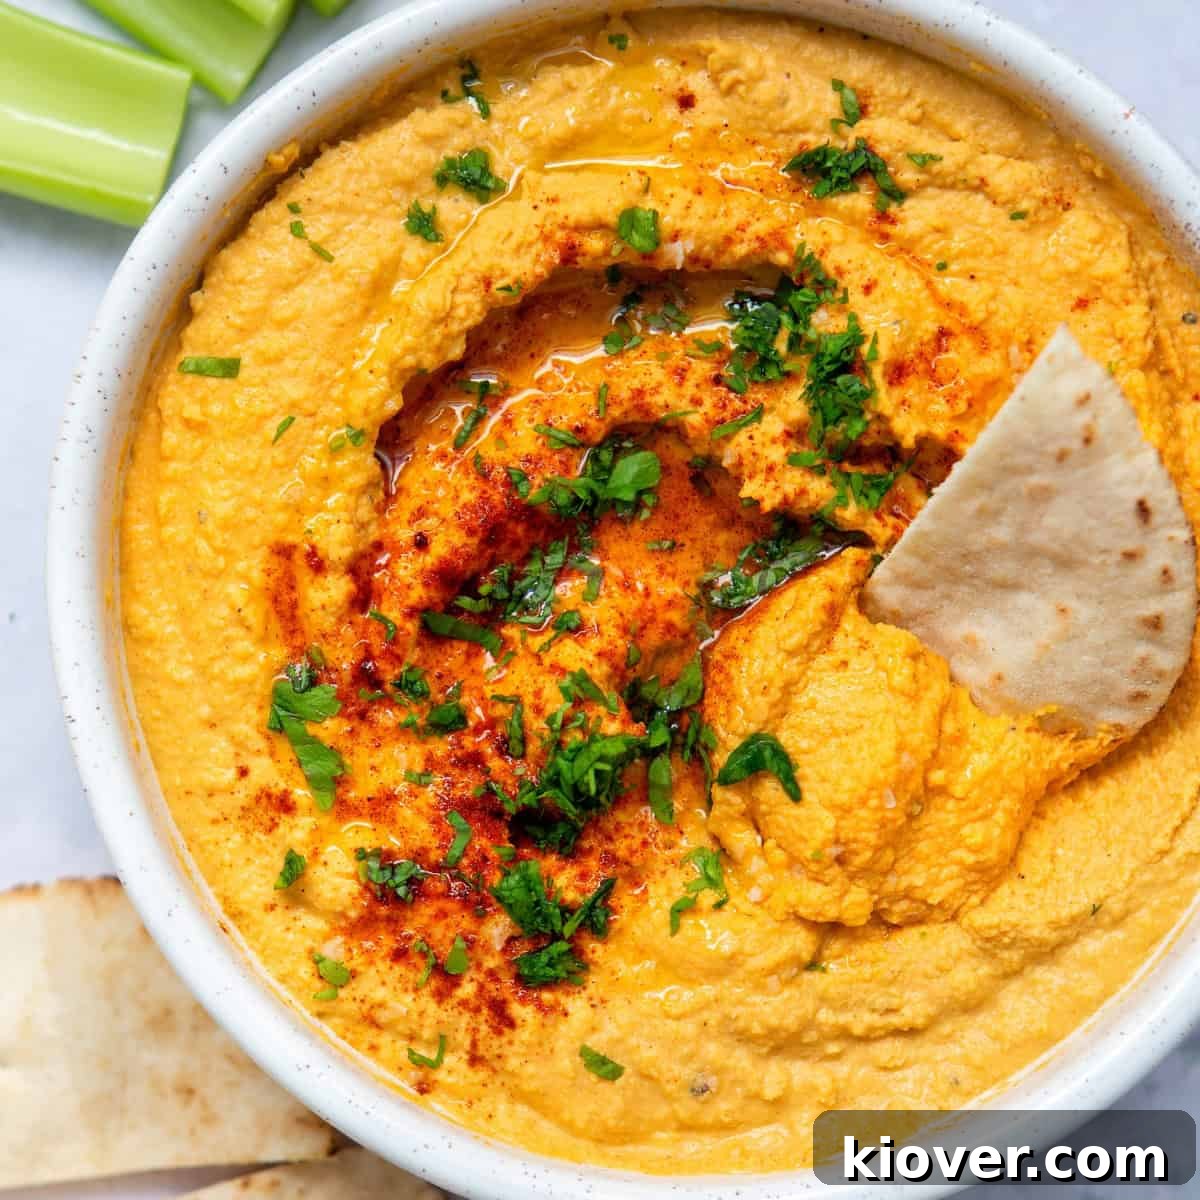
Step 3: Serve and Garnish. Once your hummus has reached its perfect creamy consistency, transfer it from the blender to a serving bowl. For an appealing presentation and an extra layer of flavor, drizzle generously with additional extra virgin olive oil. Sprinkle with more smoked paprika for color and a touch of smokiness, and finish with a pinch of sea salt, black pepper, and a scattering of freshly chopped herbs like parsley or cilantro. Serve immediately with your favorite dippers and enjoy the fresh, homemade taste!
Storing Leftovers: Keep Your Hummus Fresh
One of the many advantages of homemade garlic hummus is its excellent shelf life when stored correctly. You can easily prepare a larger batch and enjoy it throughout the week.
To ensure your hummus remains fresh and delicious, transfer any leftovers to an airtight container. Press a piece of plastic wrap directly onto the surface of the hummus to prevent a skin from forming and to minimize air exposure. Store it in the refrigerator, where it will maintain its quality for up to 4 days. In fact, many people find that the flavors meld and deepen slightly after a day or two in the fridge, making it even more delicious! Remember to give it a quick stir before serving leftovers.
For longer storage, homemade garlic hummus freezes beautifully. Simply transfer it to a freezer-safe airtight container or a heavy-duty freezer bag, leaving a little headspace as it may expand slightly. It can be frozen for up to 4 months. When you’re ready to enjoy it again, simply defrost it overnight in the refrigerator. Once thawed, give it a good stir, and if needed, add a touch more olive oil or a splash of cold water to revive its creamy texture. This makes it a fantastic make-ahead option for busy weeks or unexpected guests.
Creative Serving Ideas for Garlic Hummus
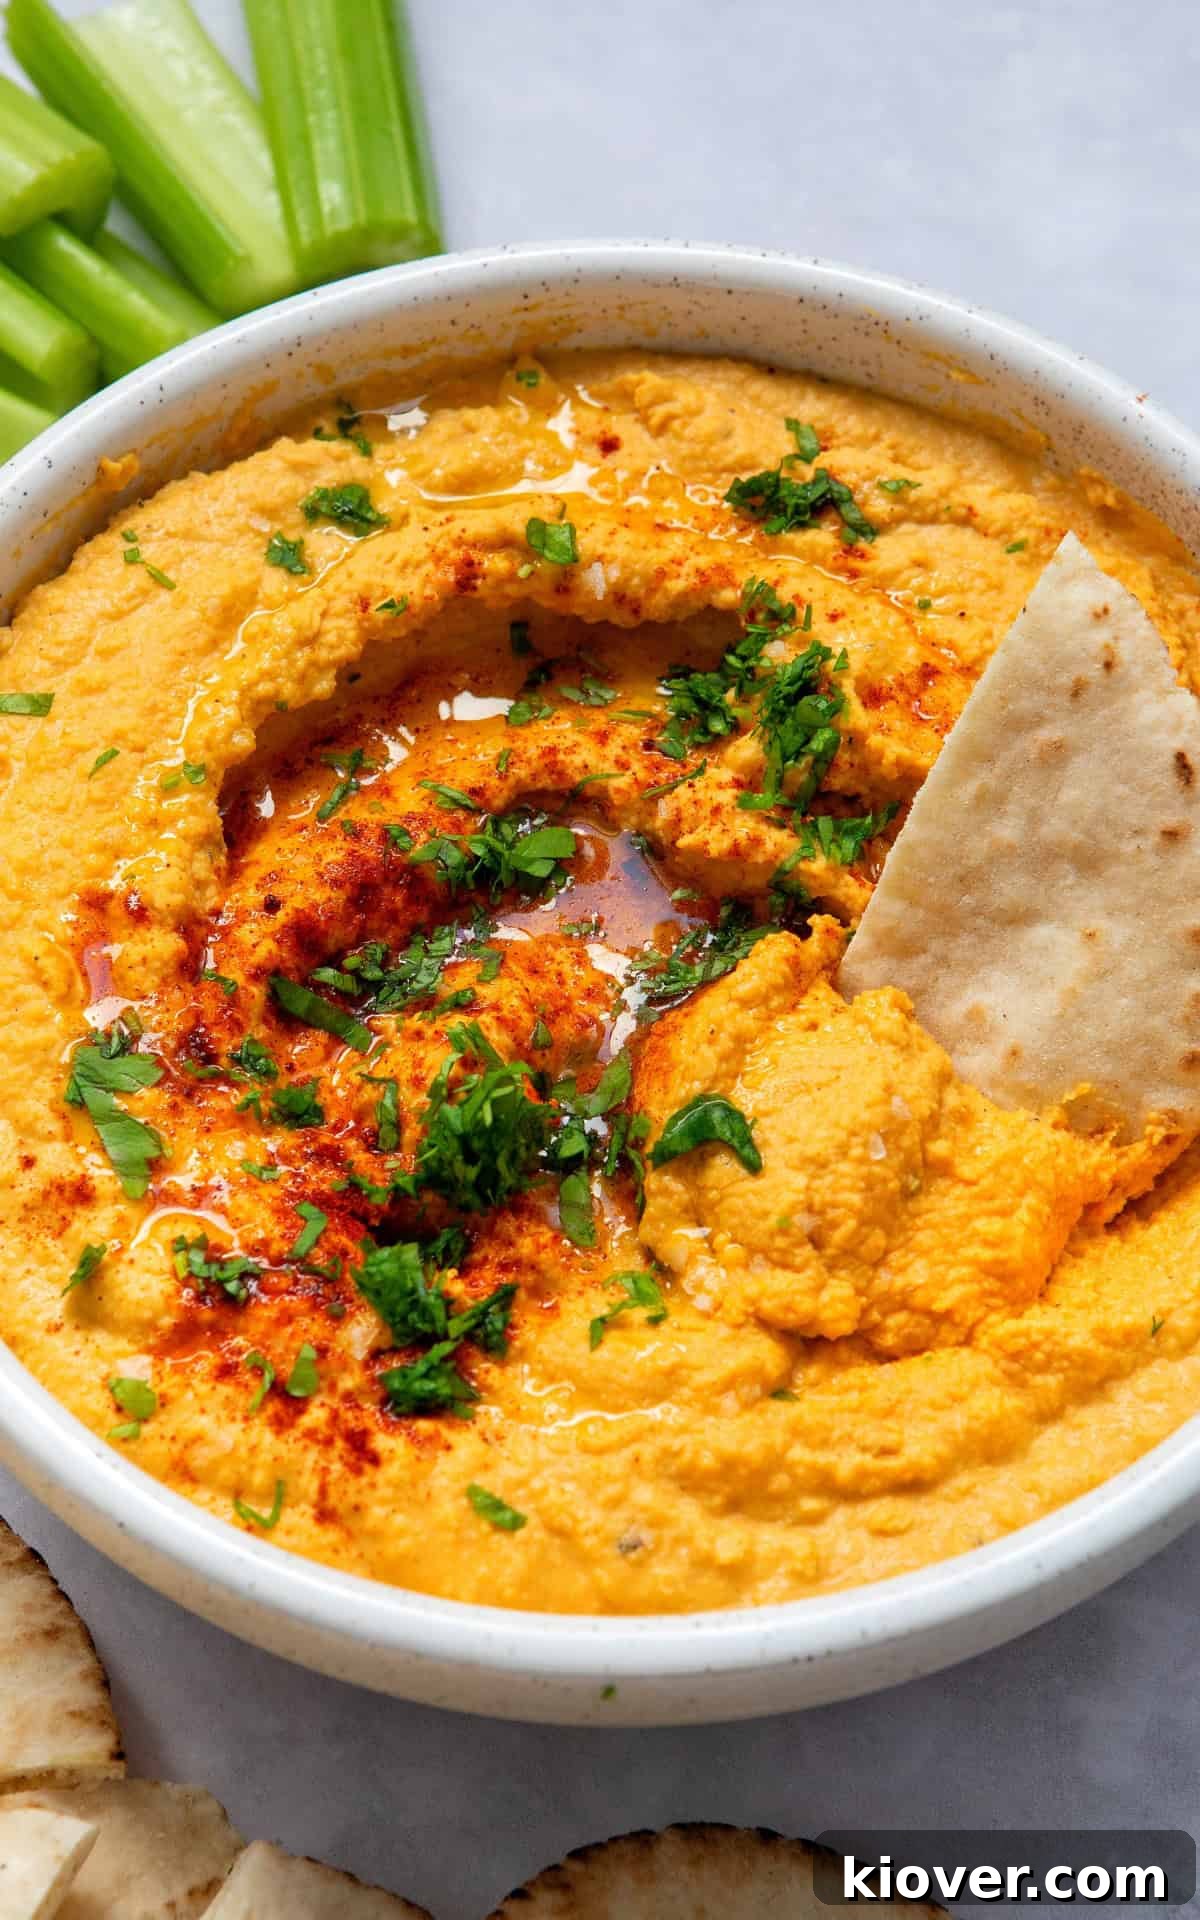
Garlic hummus is incredibly versatile and pairs wonderfully with a wide array of foods. Beyond the classic pita and veggie sticks, here are some of my favorite ways to enjoy this healthy and flavorful dip:
- Homemade Naan Bread: Warm, fluffy naan is perfect for scooping up generous amounts of creamy hummus.
- Crispy Falafels: The ultimate Middle Eastern pairing! Serve your hummus alongside homemade falafels for a satisfying and authentic meal.
- Rustic Focaccia: The soft, airy texture of focaccia, especially a gluten-free version, makes an excellent vehicle for dipping.
- Simple Flatbreads: Quick and easy flatbreads are ideal for a casual snack or appetizer.
- Three Bean Salad: Add a dollop of garlic hummus to your bean salad for an extra protein boost and creamy dressing.
- Golden Potato Rosti: The crispy exterior and soft interior of potato rosti provide a delightful contrast to the smooth hummus.
- Classic Pita Bread/Pita Chips: Always a crowd-pleaser, fresh pita bread or crunchy pita chips are perfect for dipping.
- Fresh Vegetable Sticks: A healthy and refreshing option! Think carrot sticks, celery, cucumber slices, bell pepper strips, cherry tomatoes, and radish rounds.
- Sandwich and Wrap Spread: Ditch the mayonnaise! Hummus makes a flavorful and healthier spread for sandwiches, wraps, and even burgers.
- Salad Dressing Base: Thin out a spoonful of hummus with a little lemon juice and water to create a creamy, tangy salad dressing.
- Mezze Platter: Arrange your garlic hummus with olives, feta cheese, sundried tomatoes, grilled halloumi, and various fresh vegetables for an impressive mezze spread.
- As a Side with Grilled Meats or Fish: The bright, savory flavor of hummus complements grilled proteins beautifully.
Explore More Healthy & Delicious Dips
Dips/Sauces
Beetroot Hummus
Discover this stunningly vibrant and earthy beetroot hummus. It’s a fantastic way to add a pop of color and extra nutrients to your dipping platters, boasting a slightly sweet undertone that complements its savory counterparts beautifully. Perfect for impressing guests or enjoying a healthy snack.
Dips/Sauces
Cooling Vegan Tzatziki
Craving something cool and refreshing? This vegan tzatziki offers all the classic flavors of cucumber, garlic, and dill, but with a plant-based twist. It’s an excellent accompaniment to grilled dishes, wraps, or as a light and zesty dip on its own.
Dips/Sauces
Easy Homemade Vegan Mayonnaise
Master the art of making your own silky smooth vegan mayonnaise at home. This simple recipe proves that a rich, creamy mayo can be entirely plant-based, perfect for sandwiches, salads, and all your favorite dishes.
Sides
Smoked Mackerel Pate
For something a little different, try this flavorful smoked mackerel pate. It’s a fantastic option for appetizers or a light lunch, offering a rich, smoky taste that’s both comforting and sophisticated.
Share Your Experience & Rate This Recipe
Have you tried this incredible Garlic Hummus recipe? We would love to hear your feedback! Please take a moment to leave a star rating below and share your thoughts in the comments section. Your positive feedback is incredibly valuable and truly one of the best parts of creating and sharing these recipes. Tell us how it turned out, what you served it with, or any variations you tried! Your insights help other home cooks and inspire us to keep creating delicious, healthy meals.
P.S. Don’t miss out on any new recipes! Get more healthy and delicious recipes sent straight to your inbox weekly by subscribing to our newsletter. As a special thank you, you’ll also receive a free recipe eBook!
Print Recipe
Garlic Hummus
To save this recipe for later, subscribe to our newsletter and get it sent directly to your inbox!
Ingredients
- 2 cans of chickpeas (800g), drained
- 4 tbsp extra virgin olive oil, plus extra for drizzling
- 2 tbsp tahini
- 1 lemon for juicing
- 1 large garlic clove, crushed
- 2 tsp smoked paprika, (optional)
- sea salt and pepper
- 1/2 cup cold water
- freshly chopped herbs (optional)
Instructions
-
Drain the chickpeas thoroughly and add them to a high-speed blender or food processor along with the olive oil, tahini, fresh lemon juice, crushed garlic, smoked paprika (if using), and a pinch of sea salt and pepper. Blend until the mixture is smooth.
-
While the blender is running, slowly pour in approximately 1/2 cup of cold water through the feed tube until you achieve your desired creamy consistency. Continue blending until completely smooth.
-
Transfer the finished hummus to a serving bowl. Garnish with an extra drizzle of olive oil, a sprinkle of smoked paprika, a dash of sea salt and pepper, and a scattering of freshly chopped herbs (optional) before serving.
Notes
Substitutions & Variations: Refer to the sections above for a full list of ingredient substitutions and delicious variations to customize your hummus.
To Store: Store leftover garlic hummus in an airtight container in the refrigerator for up to 4 days. It tastes fantastic on subsequent days!
To Freeze: For longer preservation, place the hummus in an airtight container or freezer bag and freeze for up to 4 months. Thaw overnight in the refrigerator before serving.
Tip 1: Always ensure your chickpeas are thoroughly drained before blending to avoid a watery consistency.
Tip 2: Add the cold water gradually while blending to precisely control the final texture of your hummus.
Tip 3: Experiment with your favorite spices or always finish with a generous drizzle of olive oil and a pinch of salt for enhanced flavor.