
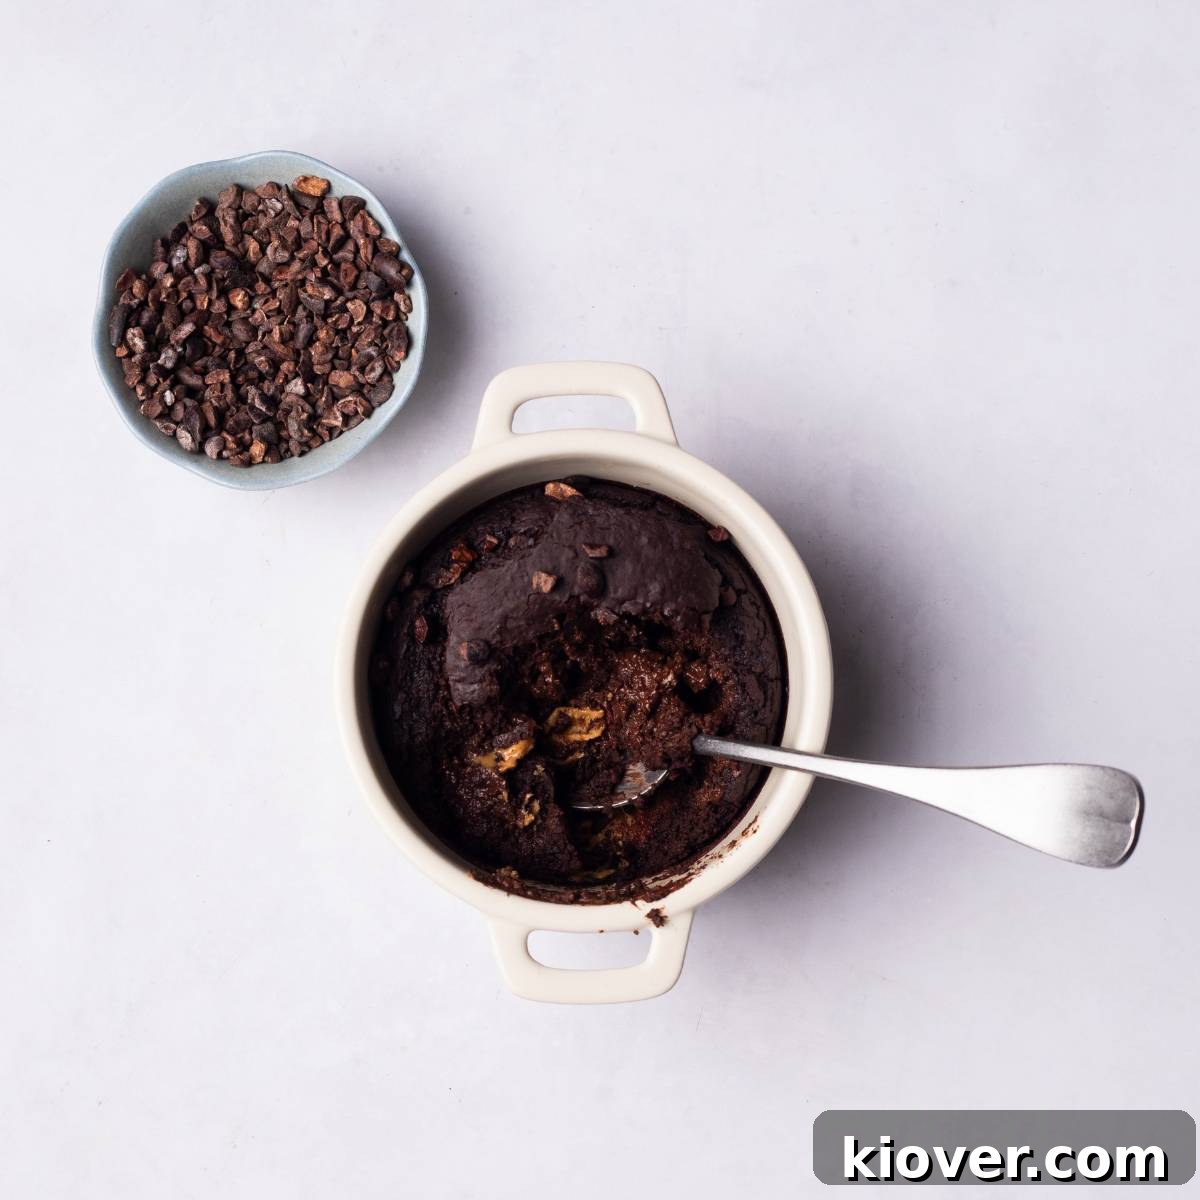
Indulge in the ultimate quick and easy dessert experience with this utterly irresistible Gluten-Free Chocolate Pot. Boasting a rich, decadent flavor and a wonderfully gooey, molten center, this recipe is perfect for satisfying chocolate cravings in an instant. Crafted with just six simple ingredients, it’s a testament to how effortless gourmet desserts can be. As an added bonus, this delightful chocolate lava cake is completely gluten-free and vegan, making it an ideal treat for those with dietary preferences or allergies. Imagine, a mere 1 minute of prep time and 10 minutes of baking stand between you and a warm, ooey-gooey chocolate masterpiece that the whole family will adore.
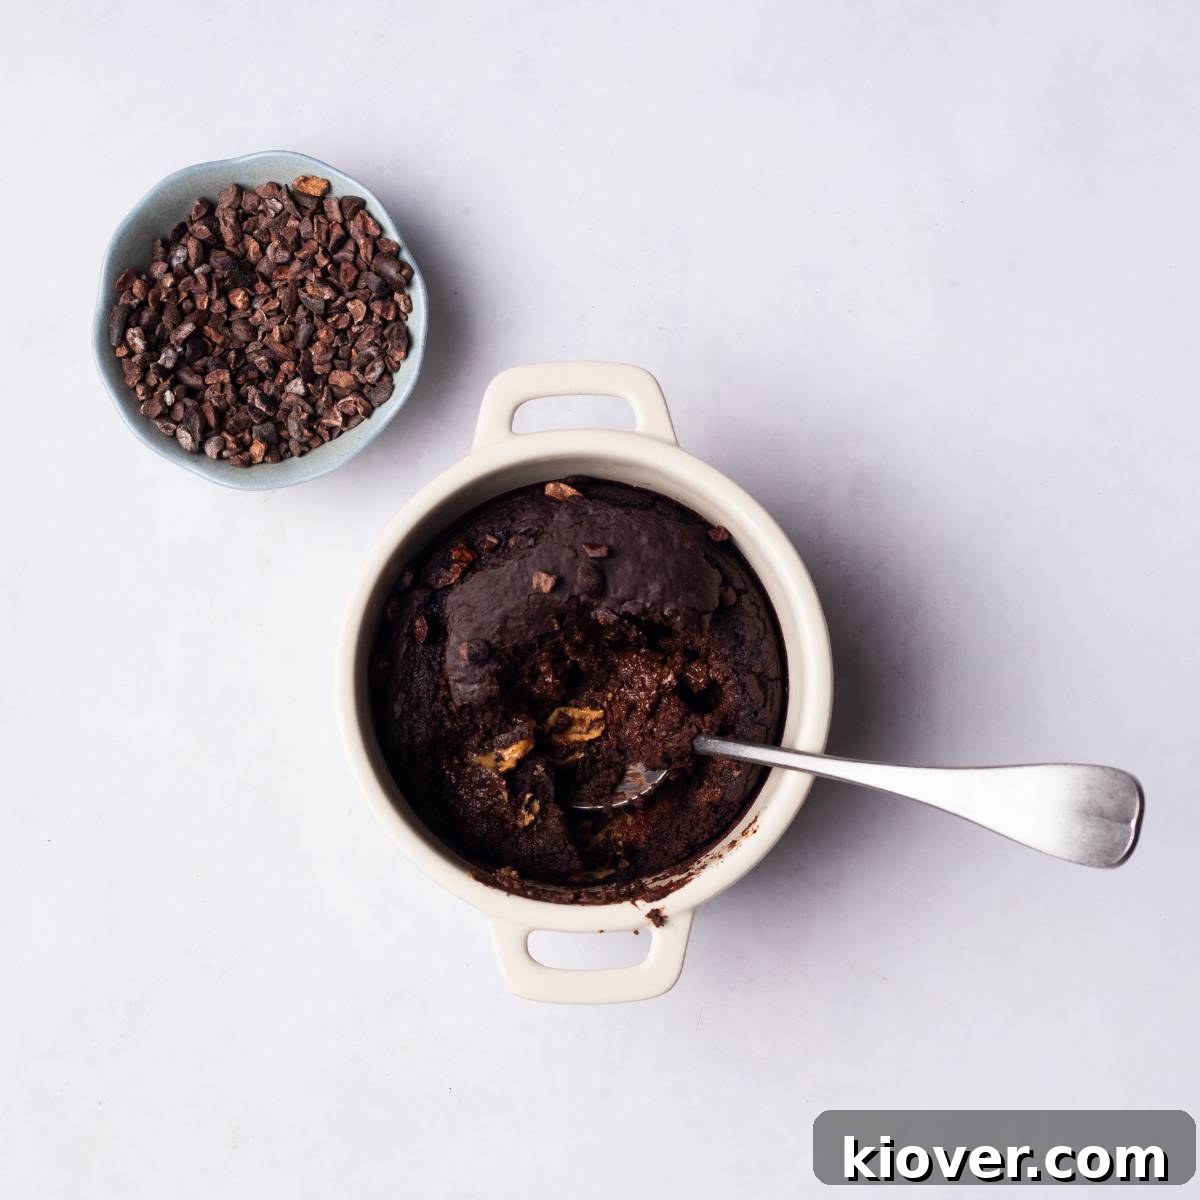
Recipe Difficulty – Very Easy
Table of Contents
- Why This Recipe Works
- Essential Ingredients for Your Chocolate Pot
- Smart Substitutions
- Delicious Variations to Try
- How to Make Chocolate Pot: Step-by-Step Guide
- Leftovers and Storage Tips
- Recipe FAQs
- Chocolate Pot Recipe Card
Why This Recipe Works: Your New Favorite Gooey Chocolate Dessert
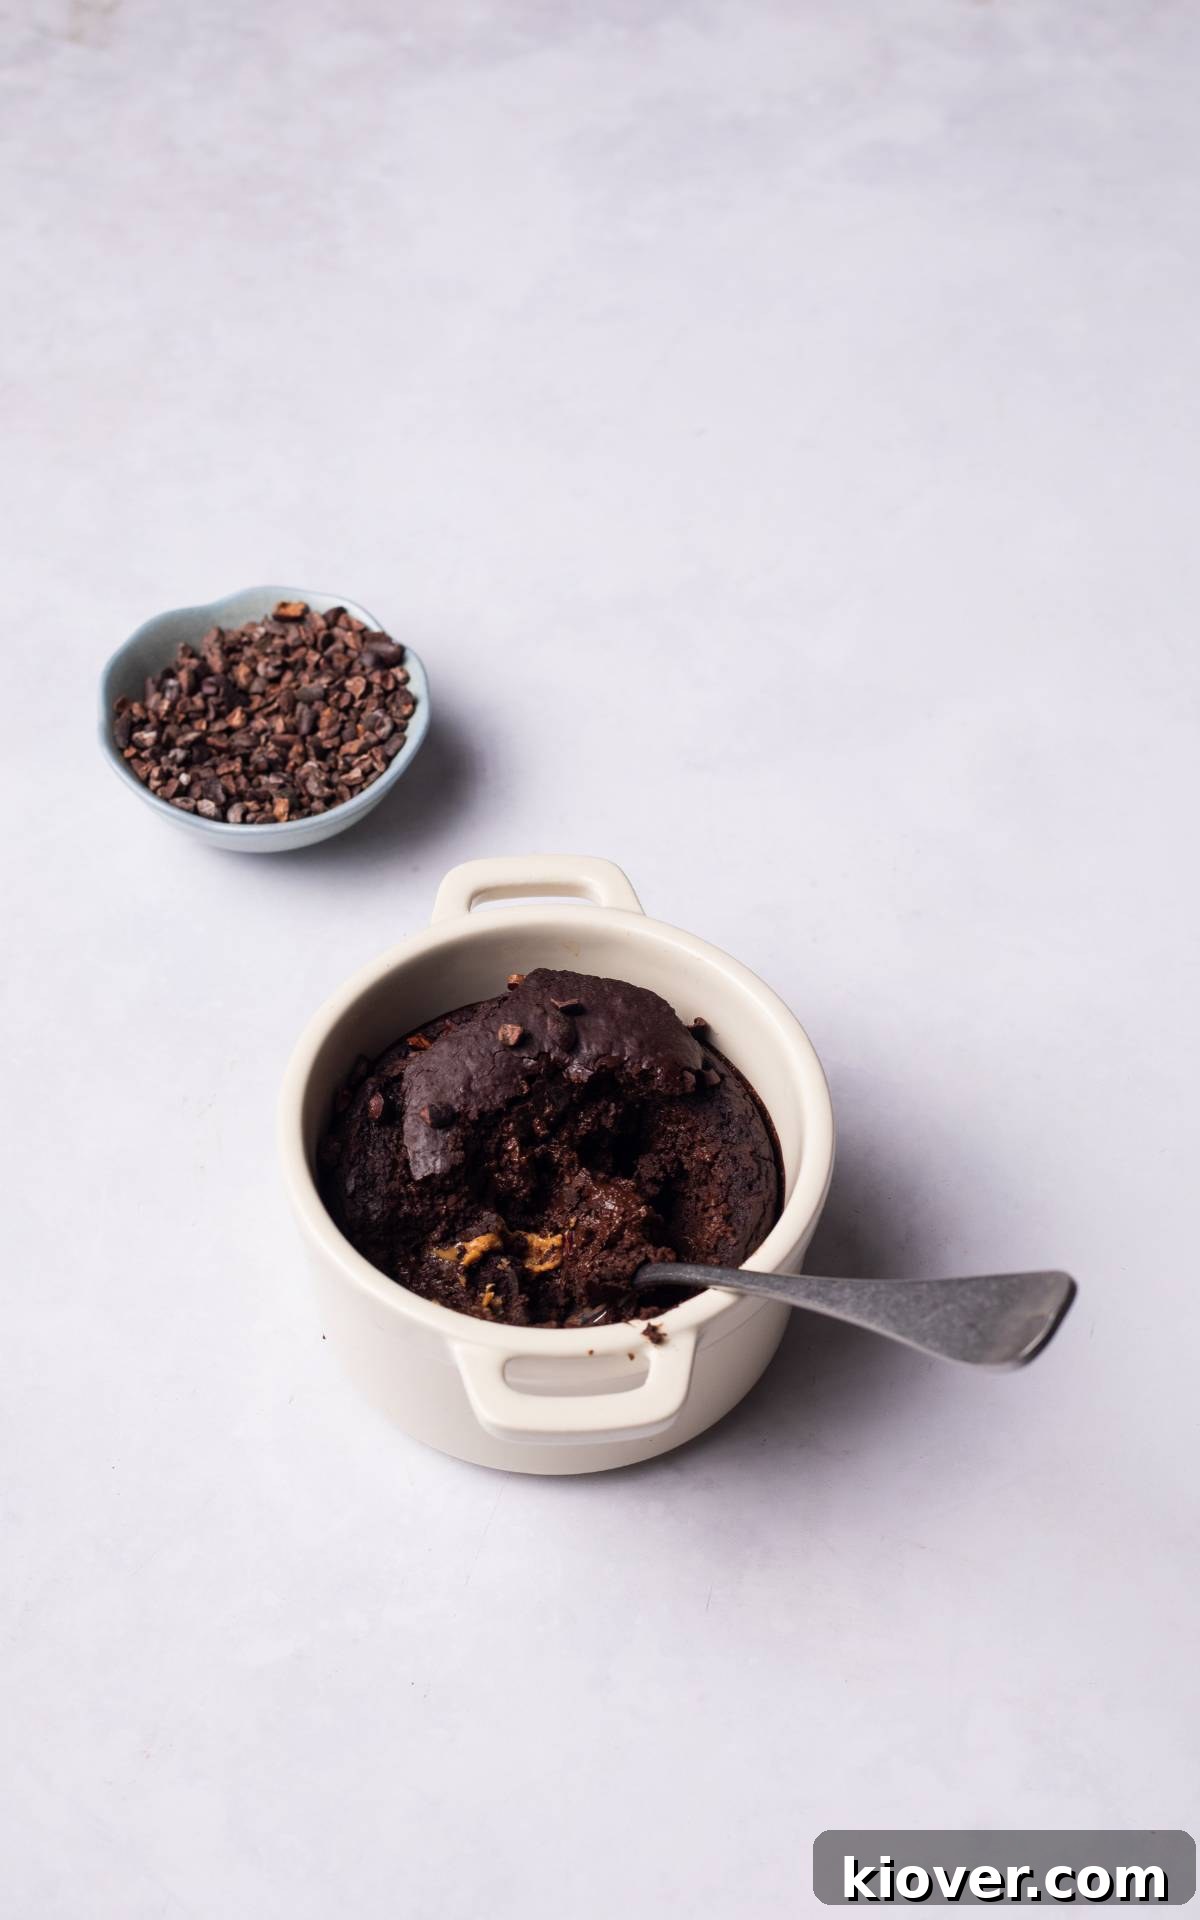
If the mere thought of rich nut butter combined with decadent chocolate makes your mouth water, then this dessert is unequivocally for you! Our gluten-free chocolate lava cake offers a sublime texture, reminiscent of a classic chocolate fondant. The experience begins with a delicate, slightly firm top layer, which, once pierced, reveals a glorious cascade of warm, molten nut butter and chocolate. The contrast between the firm exterior and the luxuriously gooey interior is pure bliss. This dessert is super light yet incredibly rich and decadent, making it an absolutely perfect treat that’s surprisingly simple to create.
Beyond its incredible taste, this recipe shines for its remarkable versatility. Not only can you easily customize the type of nut butter (or omit it entirely for a pure chocolate experience), but you also have the flexibility to cook it in either a traditional oven or a microwave, catering to your time constraints and kitchen setup. This makes it a go-to for impromptu dessert cravings or planned entertaining.
Our vegan chocolate pot is meticulously crafted to be gluten-free, dairy-free, eggless, and refined sugar-free. This makes it an inclusive dessert option, perfect for individuals with common food allergies or those following specific dietary lifestyles. You’ll impress yourself and your guests, feeling like a true master chocolatier with minimal effort. This quick chocolate dessert is a healthier alternative without compromising on flavor or indulgence.
This recipe is also a fantastic way to get kids involved in the kitchen! They will absolutely love the interactive process of making these mini chocolate pots and watching their gluten-free mug cake transform into a “chocolate volcano” with delicious molten lava spilling down the sides. It’s a fun and engaging activity for a birthday party, Christmas celebration, or just a cozy family night in. The indulgent experience is often compared to popular restaurant desserts like Chili’s Molten Lava Cake or Domino’s Lava Crunch Cakes, but with the added benefits of being homemade and accommodating dietary needs.
This irresistible recipe was inspired by my Easy Gluten-Free Chocolate Cake, which shares a similar commitment to delicious, allergen-friendly baking. For an elevated serving experience, try drizzling your warm chocolate pot with a dollop of my homemade Cashew Cream or pairing it with a comforting mug of my amazing Christmas Hot Chocolate. This Chocolate Pot has also earned its place in my curated collections, including my 21 Gluten-Free Easter Recipes, my selection of the 33 Best Vegan Desserts, 35 Gluten-Free Desserts, and a roundup of 10 Healthy Baking For Kids Recipes, highlighting its broad appeal and versatility.
Essential Ingredients for Your Gooey Chocolate Pot
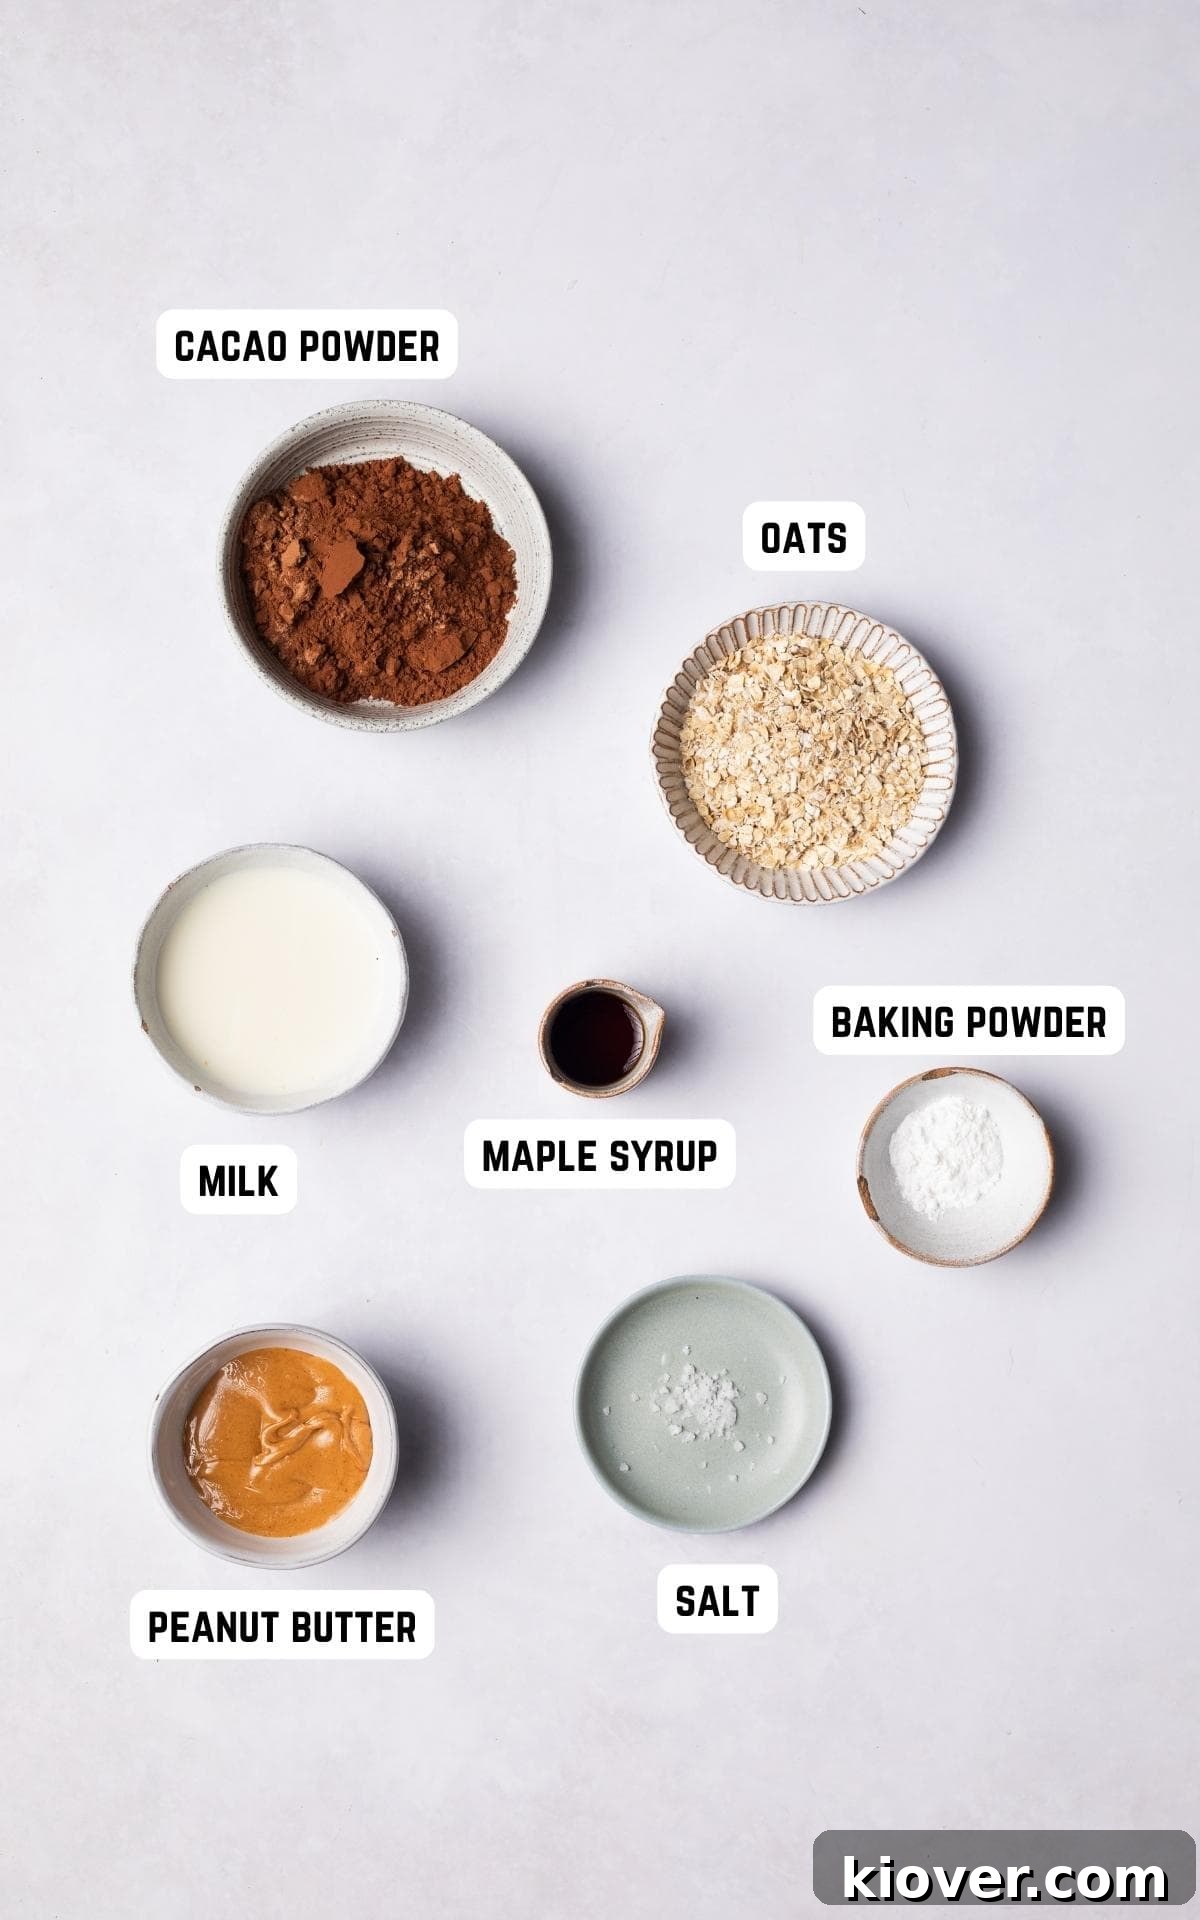
This minimalist recipe uses just a handful of accessible ingredients to create maximum impact. Each component plays a crucial role in achieving the perfect texture and flavor profile of this vegan chocolate lava cake:
- Oat Flour: The foundation of our gluten-free dessert. You can easily make your own by blending rolled oats into a fine flour in a food processor or high-speed blender. This provides a light, wholesome base.
- Cacao Powder: This is where the magic happens! Cacao powder delivers a deeply rich, intense chocolate flavor that elevates this dessert, offering a more nuanced and sophisticated taste profile compared to regular cocoa. It’s also a star ingredient in my Vegan Chocolate Mousse.
- Baking Powder: A leavening agent that ensures our gluten-free lava cake rises beautifully, contributing to its light and airy texture while still maintaining that gooey center.
- Maple Syrup: Our natural sweetener of choice. Maple syrup not only adds a lovely sweetness but also a subtle depth of flavor that complements the chocolate perfectly, keeping the dessert refined sugar-free.
- Milk: I prefer unsweetened almond milk for its neutral flavor, but any unsweetened plant-based milk (like soy, oat, or cashew milk) will work wonderfully to achieve the desired consistency.
- Peanut Butter: While optional, a spoonful of creamy peanut butter transforms these chocolate pots, adding an incredible layer of nutty richness and an extra gooey surprise in the middle. It’s the secret to taking them to the next level of indulgence.
- Salt: A tiny pinch of salt is essential! It doesn’t make the dessert salty but rather enhances and balances all the sweet and rich chocolate flavors, making them pop.
For precise measurements and quantities, please refer to the full recipe card below.
Smart Substitutions for Your Chocolate Pot
Flexibility is key in the kitchen, and this recipe is incredibly adaptable. Don’t have a specific ingredient? No problem! Here are some smart substitutions to ensure you can still enjoy this delightful dessert:
- Oat Flour Alternatives: If you don’t have oats to blend, quinoa flakes can be a fantastic gluten-free alternative, providing a similar texture. You can also experiment with other gluten-free flours, keeping in mind that the liquid content might need slight adjustments.
- Cacao vs. Cocoa: While cacao powder offers a richer, more intense flavor, regular unsweetened cocoa powder can certainly be used in its place. Cocoa powder tends to be slightly sweeter and milder, which might appeal to some palates.
- Sweetener Swaps: Maple syrup is easily interchangeable with other natural liquid sweeteners such as honey (if not strictly vegan), agave nectar, or even date syrup. Adjust to your sweetness preference.
- Nut Butter Variety: The peanut butter is truly optional, but if you love a gooey center, feel free to replace it with any other nut butter you prefer – almond butter, cashew butter, or even sunflower seed butter (for a nut-free option) work beautifully. For an extra special touch, a dollop of my Homemade Nutella would be divine. I’ve also had success stories from followers who substituted peanut butter with a square of Bournville chocolate for a dark chocolate surprise!
Delicious Variations to Try
Once you’ve mastered the basic gluten-free chocolate pot, the possibilities for customization are endless. Elevate your dessert experience with these delightful variations:
- Deluxe Indulgence: To make this already luxurious dessert even more special, presentation is everything! Top your warm chocolate pot with a scoop of dairy-free vanilla ice cream, a drizzle of homemade salted caramel sauce, or a cloud of vegan whipped cream. For a touch of freshness and color, garnish with fresh raspberries, a thin orange slice, or sliced strawberries. A sprinkle of flaky sea salt can also beautifully enhance the chocolate flavor.
- Kid-Friendly Fun: This chocolate peanut butter mug cake is already a huge hit with kids, but you can make it even more appealing! Incorporate some of the “deluxe” tips – perhaps serve it with a small scoop of their favorite ice cream or a few colorful sprinkles. You could also offer a variety of nut butter options for them to choose from, or even mini chocolate chips mixed into the batter for extra chocolatey goodness.
For another incredibly simple yet satisfying chocolate treat, check out this Truffle version of this recipe on my website!
How to Make Chocolate Pot: A Step-by-Step Guide
Creating this rich and gooey vegan chocolate lava cake is incredibly straightforward. Follow these simple steps for a perfect dessert every time:
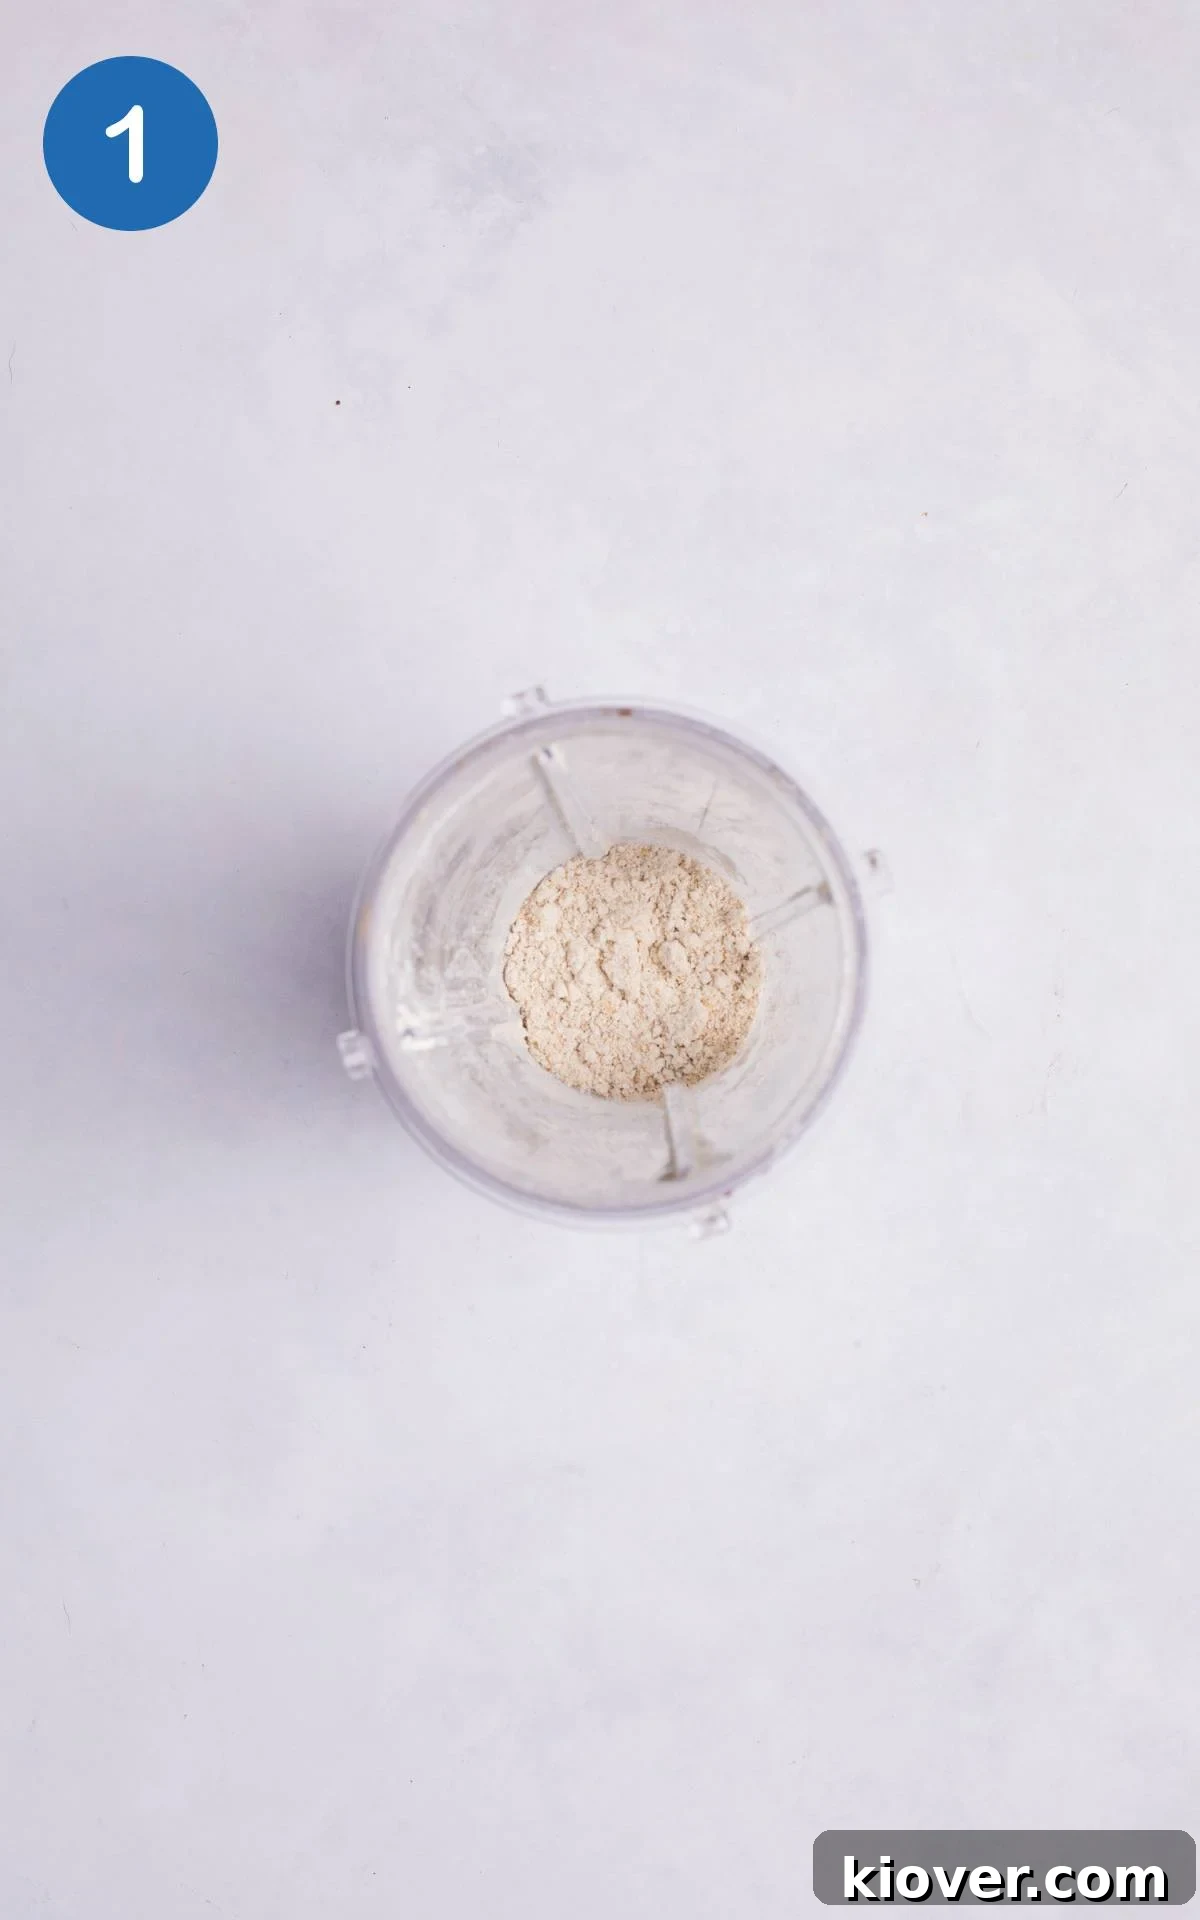
Step 1: Prepare Your Oven and Oat Flour. First, pre-heat your oven to 200°C (400°F). If you’re making your own oat flour, add rolled oats to a high-speed blender or food processor and blend for 30-60 seconds until a fine, consistent flour forms. This ensures a smooth batter.
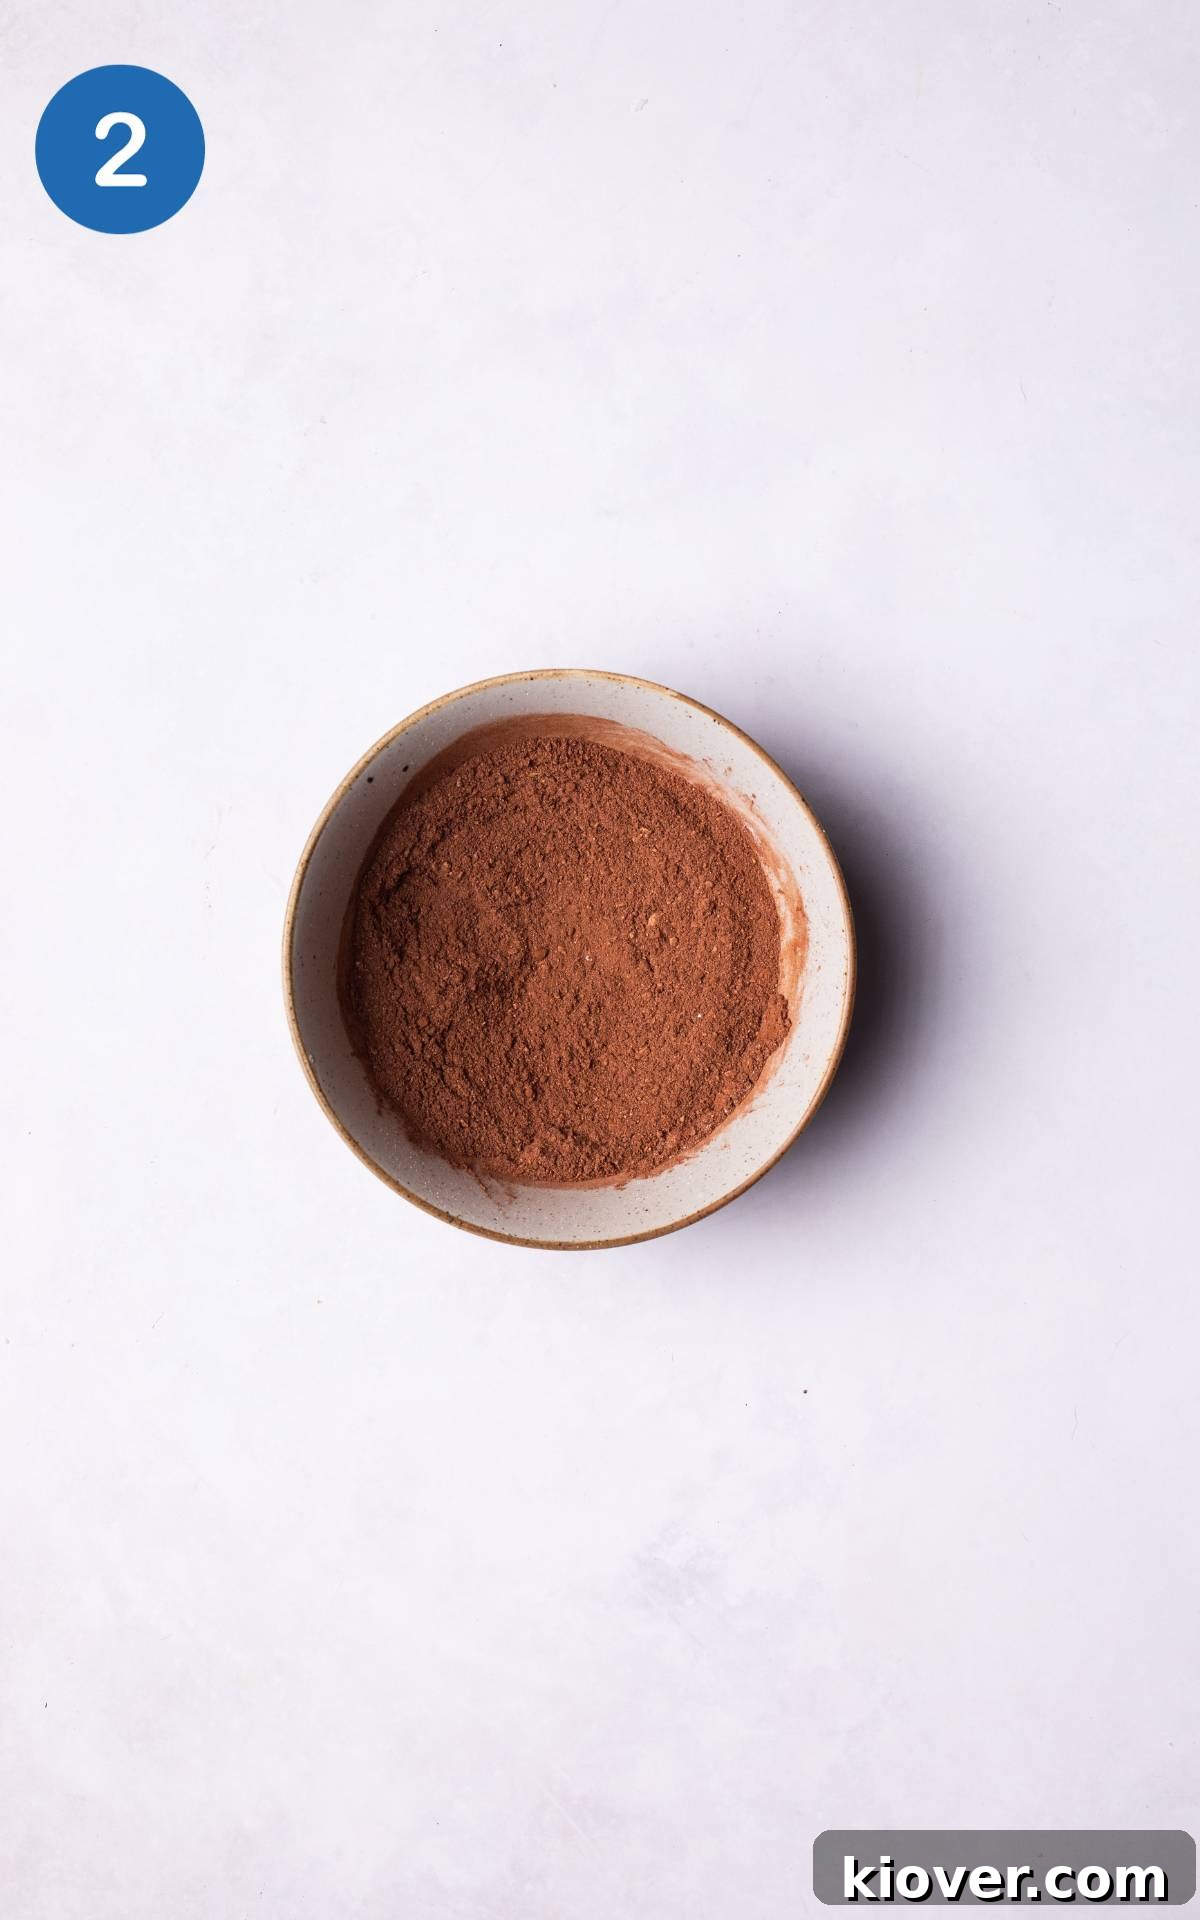
Step 2: Combine Dry Ingredients. In a medium mixing bowl, combine your freshly made or store-bought oat flour, cacao powder, baking powder, and a tiny pinch of salt. Whisk these dry ingredients thoroughly until they are well-mixed and no lumps remain. This step is crucial for an even texture in your lava cake.
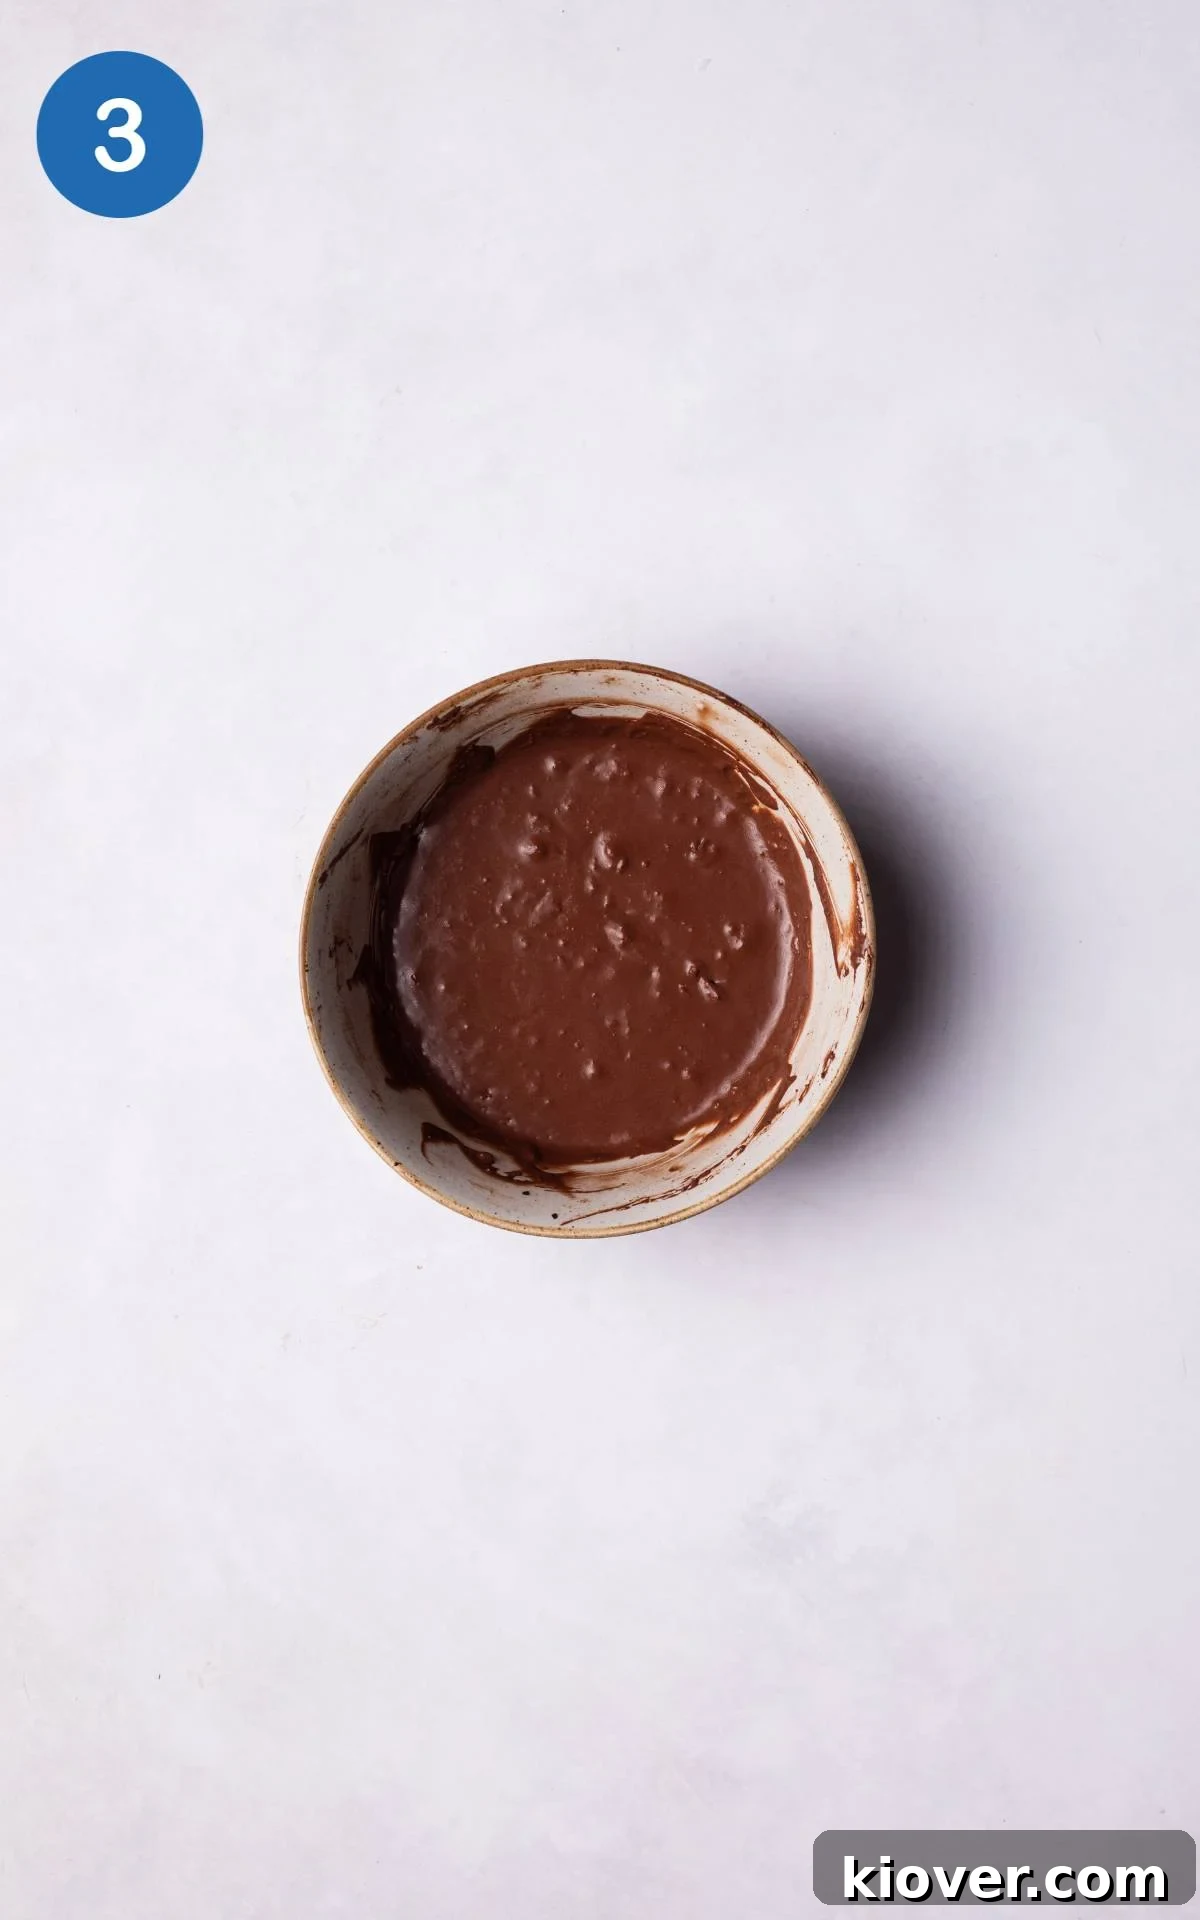
Step 3: Add Wet Ingredients. Now, add the maple syrup to the dry mixture. Slowly pour in the unsweetened milk while continuously whisking by hand. Continue whisking until the batter is completely smooth and free of any lumps. The consistency should be pourable – if it seems too thick, add a tiny bit more milk, a teaspoon at a time.
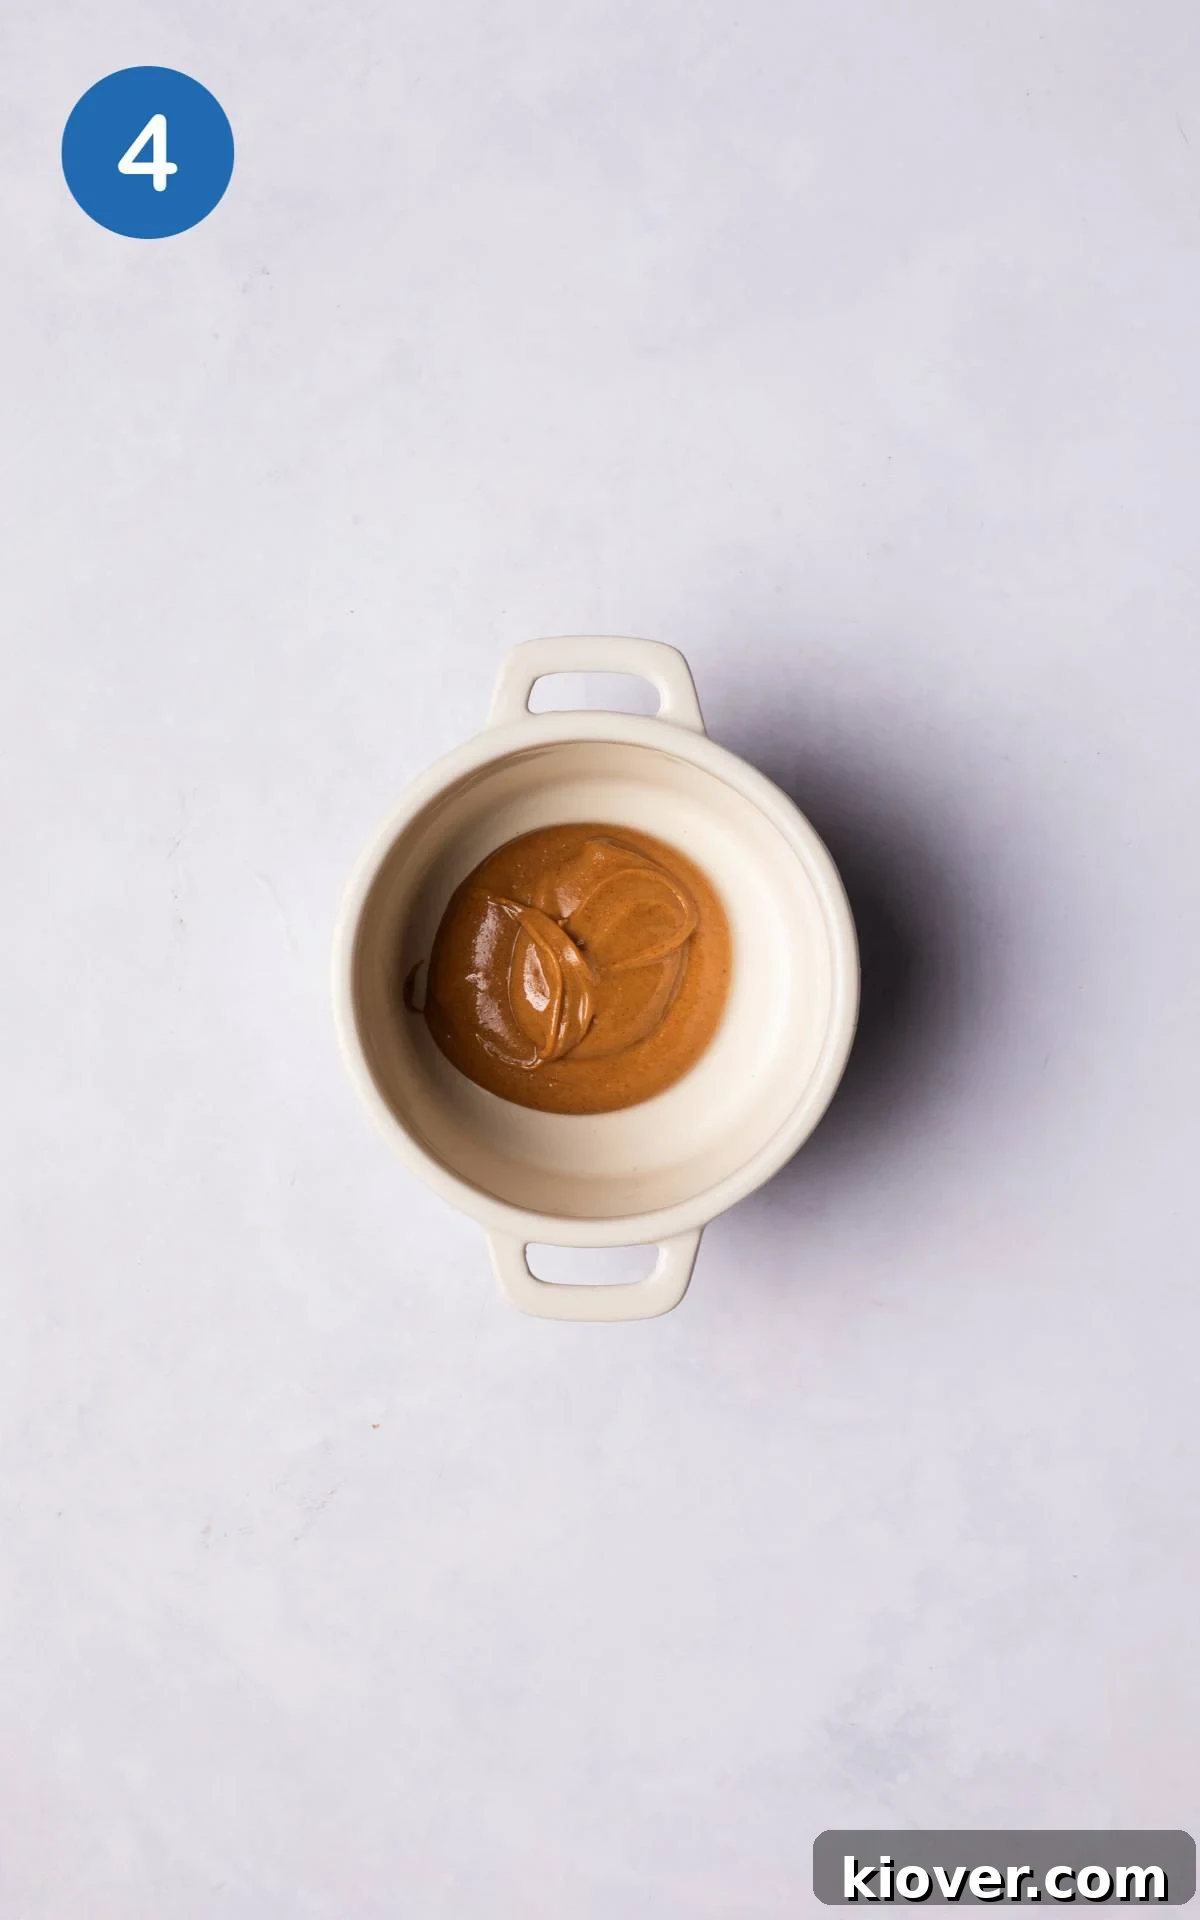
Step 4: Prepare Your Ramekin with Nut Butter (Optional). If you’re using nut butter for that extra gooey center, place a generous spoonful at the bottom of your ramekin. This will create a delightful molten core when baked. Gently spread it if you like, or leave it as a dollop.
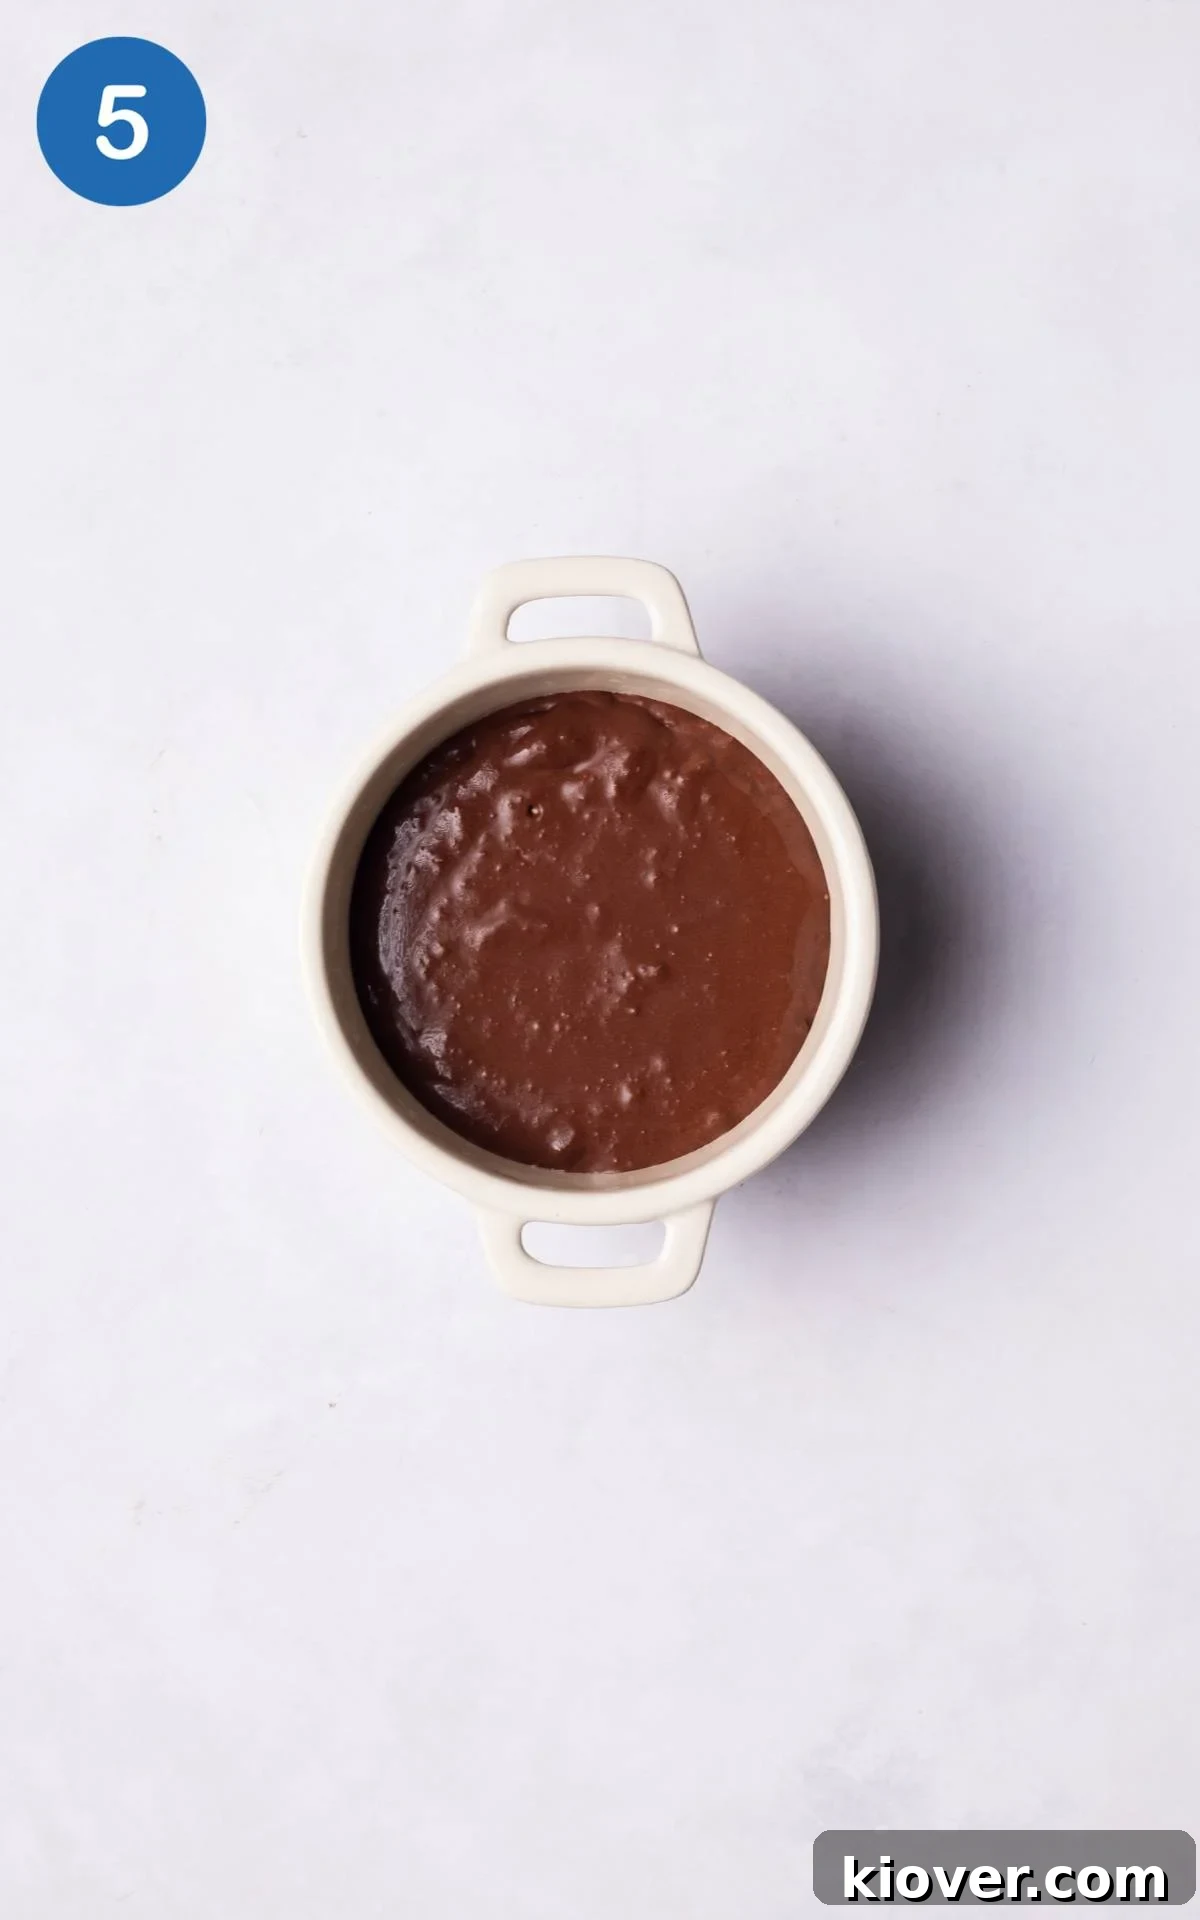
Step 5: Bake or Microwave. Carefully pour the chocolate mixture into the prepared ramekin, filling it about two-thirds full. For oven baking, place it in the pre-heated oven for 10-12 minutes. If using a microwave, cook for 40-80 seconds (timing can vary greatly by microwave strength). The goal is for the top and sides to be slightly firm, while the center remains wonderfully gooey. Remove from the oven or microwave and allow it to cool for just one minute before digging in. This brief rest helps the lava cake set slightly and makes the molten center even more dramatic.
Hint: The ideal chocolate pot should have a slightly firm top and sides, but once you spoon into it, a luscious, gooey chocolate and nut butter center should ooze out.
Leftovers and Storage Tips
While this gluten-free chocolate pot is best enjoyed fresh and warm, you can certainly store any leftovers. Simply place the cooled lava cake in an airtight container and refrigerate for up to 3-5 days. To reheat, gently warm it in the microwave for 20-30 seconds until the center becomes gooey again. I generally don’t recommend freezing this particular recipe as the texture can change upon thawing, but it’s so quick to make fresh!
Recipe FAQs
A ramekin, sometimes referred to as a soufflé dish, is a small, individual-sized ceramic bowl designed for baking and serving dishes. Its thick walls provide even heat distribution, perfect for molten lava cakes.
No ramekin? No problem! For microwave cooking, any heat-safe mug will work just as effectively to create a delicious chocolate mug cake. If you’re oven baking, a muffin tin can be used for smaller, individual portions, though the baking time might need slight adjustment.
The magic of a chocolate lava cake lies in its precise cooking time. It’s baked just long enough for the outer edges and top to solidify into a cake-like consistency, while the center remains beautifully undercooked and molten. When you cut or spoon into it, this gooey, “lava-like” middle flows out, creating that signature decadent experience.
Absolutely! This recipe specializes in being entirely vegan and gluten-free. It’s perfectly formulated to be both eggless and dairy-free, ensuring a rich, gooey, and satisfying chocolate pot that caters to various dietary needs without compromise on taste or texture.
YOU MIGHT ALSO LIKE…
Dessert
Easy Gluten Free Chocolate Cake
Dessert
Vegan Chocolate Tart
Dessert
Vegan Chocolate Truffles
Drinks
Christmas Hot Chocolate
Tried this Chocolate Pot recipe? Please consider leaving a star rating below and sharing your experience in the comments! Your positive feedback is one of the most rewarding parts of creating new recipes, so please let me know how it turns out!
P.S. Never miss a new recipe! Get more healthy, delicious recipes sent straight to your inbox weekly – Subscribe here and receive a free recipe eBook!
Chocolate Pot Recipe
By: James Wythe
A decadent, quick, and easy chocolate dessert that you can prepare and enjoy in around 10 minutes!
1 minute
10 minutes
11 minutes
1 pot
Ingredients
- 3 tbsp oat flour (make your own by simply blending oats into flour)
- 3 tbsp cacao powder
- 1/2 tsp baking powder
- 1 1/2 tbsp maple syrup
- 90 ml milk (1/3 cup, unsweetened almond milk recommended)
- 1 tbsp peanut butter (optional, for a gooey center)
- 1 pinch salt
Instructions
- Pre-heat your oven to 200°C (400°F). If making oat flour, blend rolled oats in a blender for 30-60 seconds until a fine flour forms.
- In a mixing bowl, combine the oat flour, cacao powder, baking powder, and a tiny pinch of salt. Whisk until well-mixed and no lumps remain.
- Add the maple syrup and slowly pour in the milk while continuously whisking by hand until the batter is smooth. Ensure the mixture is pourable; add a little more milk if too thick.
- If desired, add a spoonful of your preferred nut butter to the bottom of your ramekin.
- Pour the chocolate mixture into the ramekin. Bake in the oven for 10-12 minutes, or microwave for 40-80 seconds. The top and sides should be slightly firm, but the middle should remain wonderfully gooey. Let cool for a minute before enjoying.
Notes
- Step-by-Step Photos: For visual guidance, detailed step-by-step photos are included earlier in the blog post to help you through the recipe process.
- Substitutions & Variations: A comprehensive list of ingredient swaps and delicious variations is provided above in the main article.
- To Store: Store any leftover chocolate pot in an airtight container in the fridge for 3-5 days. Reheat gently in the microwave until warm and gooey.
- To Freeze: Freezing this recipe is not recommended, as it can affect the desired gooey texture.
- Tip 1: You can use either smooth or crunchy peanut butter, depending on your preference and what you have on hand.
- Tip 2: Always ensure the batter’s consistency is pourable. If it appears too thick, simply add a small amount of extra milk, a teaspoon at a time, until the desired consistency is achieved.
- Tip 3: For the best taste and texture, baking in the oven is generally preferred over microwaving. Aim for a slightly firm top before removing it from the oven to rest. Due to differences in ovens, it might take a couple of attempts to perfectly master the timing.
Nutrition
Tag @HealthyLivingJames on Instagram and use #HealthyLivingJames!