
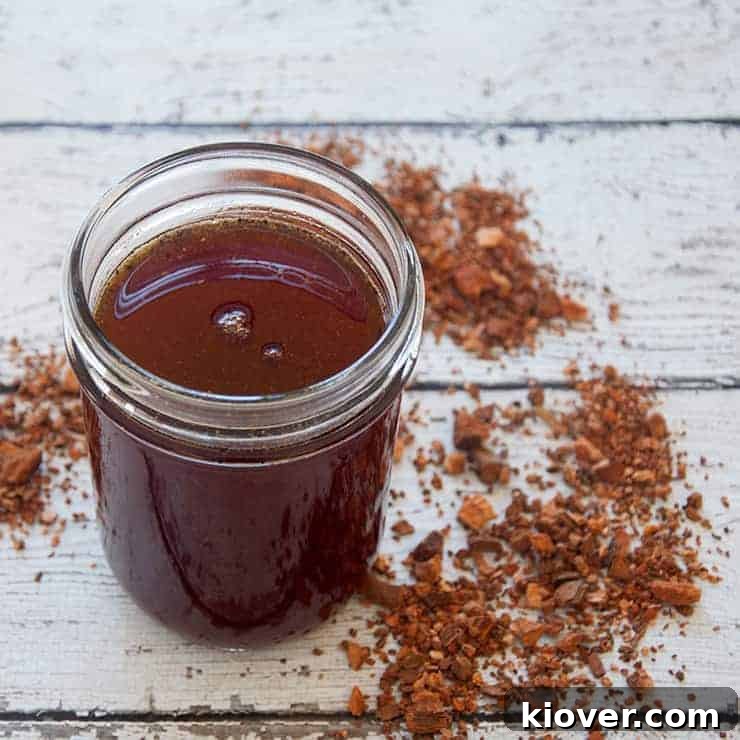
Embark on a delightful culinary adventure by crafting your own authentic Homemade Tonic Water. This simple yet rewarding endeavor allows you to elevate your favorite beverages, like a classic Gin and Tonic, with a bespoke tonic crafted precisely to your taste. Forget the mass-produced versions and discover the vibrant, complex flavors that only a truly great homemade tonic can offer.
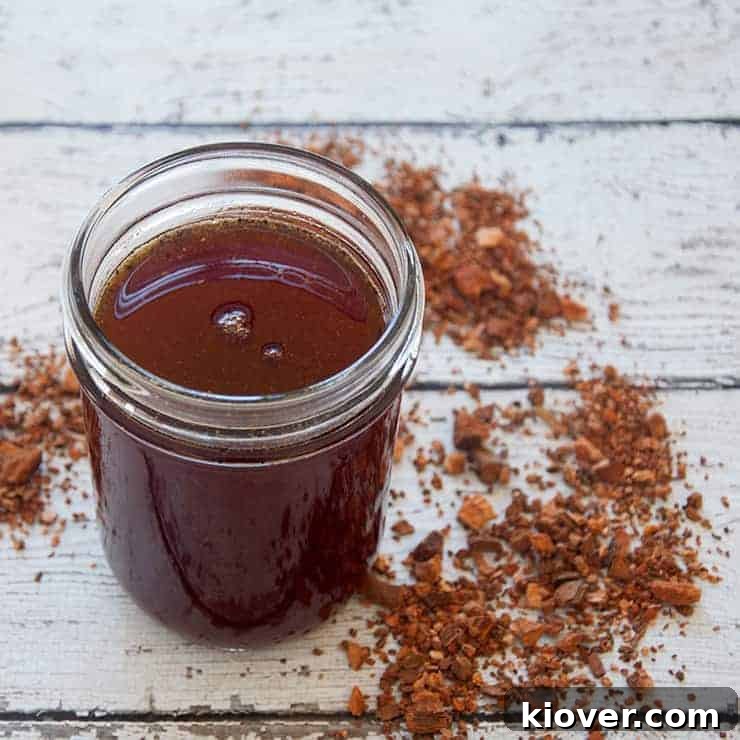
For many of us, there’s an undeniable allure to creating something from scratch, even when a store-bought alternative is readily available. This pursuit goes beyond mere convenience; it’s a journey into the heart of traditional craftsmanship, a quest for unparalleled taste, and a desire to connect more deeply with the ingredients we consume. Whether it’s to master a new skill, share in a rich culinary heritage, or simply to exercise greater control over our palate, the act of making becomes an experience in itself. Today, we invite you to join this rewarding tradition as we delve into the art of making homemade tonic water and its foundational component, tonic syrup.
Our inspiration for this recipe comes from the well-regarded recipe at Serious Eats. While often I adapt recipes to suit my personal preferences, for this particular venture into crafting artisanal tonic water, I’ve chosen to adhere closely to the original instructions. This approach allows us to appreciate the foundational elements of a quality homemade tonic before venturing into creative modifications.
Unveiling the Flavor Profile: What to Expect from DIY Tonic
Prepare yourself for a distinct taste experience that diverges significantly from the commercially available tonic waters you might be accustomed to. Using popular brands like Schweppe’s as a benchmark, you’ll find that homemade tonic water offers a remarkably different, and arguably more authentic, flavor. The most striking difference, in my experience, is the heightened sweetness. With a cup and a half of sugar in the syrup base, this homemade version presents a richer, more profound sweetness that truly transforms the drinking experience.
This vibrant sweetness lends itself well to various cocktail applications, perhaps even suggesting notes reminiscent of a gin gimlet or a whiskey sour. Yet, it seamlessly integrates the characteristic bitter undertones derived from quinine, creating a beautifully balanced and complex profile. Interestingly, while the bitterness is present and essential, it doesn’t dominate the palate as intensely as some commercial tonics. This could be attributed to the harmonious interplay of the sweet and citrus notes, which expertly mask some of the quinine’s sharper edges, resulting in a remarkably smooth and palatable tonic that is both refreshing and intriguing. This balance opens up a world of possibilities for customizing your drinks.
The Essential Ingredient: Quinine from Cinchona Bark
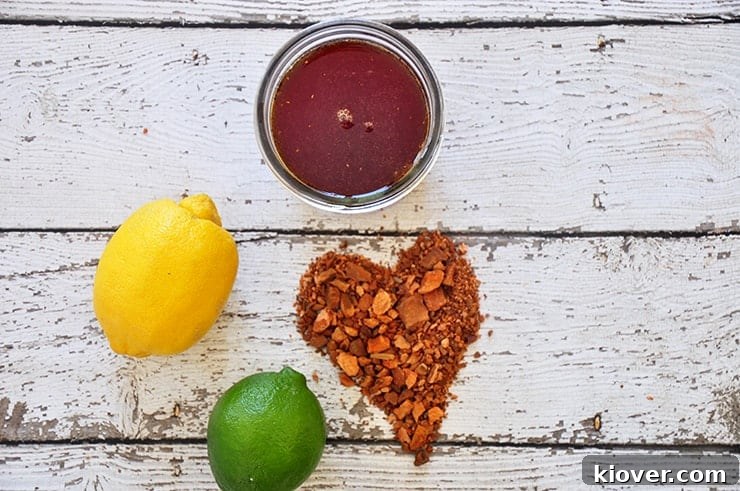
The distinctive bitter note in our homemade tonic water comes from Cinchona Bark, a readily available specialty ingredient found online, often on platforms like Amazon. This bark is the sole unique component required for this recipe, making the process surprisingly accessible for anyone interested in crafting their own beverages. For those who already own a Soda Stream or engage in homebrewing, creating your own carbonated water will be a familiar step, further streamlining the process of assembling your final tonic water.
Beyond its culinary application, cinchona bark holds a significant place in history. Native to South America, the bark of the cinchona tree has been revered for centuries for its medicinal properties, particularly its effectiveness in treating malaria. It was the original source of quinine, a powerful antimalarial compound that revolutionized medicine. Today, while synthetic alternatives exist, cinchona bark remains a natural and traditional source of quinine for beverages and herbal remedies. Understanding its origin adds another layer of appreciation to your homemade tonic, connecting you to centuries of botanical and pharmaceutical history.
Understanding Quinine: Safety and Informed Choices
When discussing homemade tonic water, it is imperative to address the potential side effects associated with quinine. While quinine is a natural compound, some individuals can be sensitive to it, and excessive consumption can lead to adverse reactions. It’s important to remember that commercial tonic waters also contain quinine, but the amount is strictly regulated by government agencies, such as the U.S. Food and Drug Administration (FDA), which limits its concentration to 83 milligrams per liter of liquid.
This information should not deter you from making your own tonic, but rather empower you to make informed decisions about its preparation and consumption. To illustrate, I meticulously calculated the potential quinine content in this recipe, based on the assumption that cinchona bark contains approximately 5% quinine and that 100% of this quinine infuses into the tonic water. While the latter is likely an overestimation based on practical experience, it provides a crucial maximum threshold for safety considerations.
The recipe calls for 2 teaspoons of cinchona bark for what yields roughly a pint of tonic syrup. If this syrup is diluted according to the recipe’s recommendations, and assuming full quinine extraction, my calculations suggest a final concentration of approximately 128 milligrams of quinine per liter. This figure is above the established legal limit for commercial products. It is important to note that I prepared and consumed the tonic as directed in the original recipe without any ill effects, and it tasted excellent. However, personal judgment and awareness are key. You may choose to adjust the dilution ratio of your syrup to soda water to ensure the quinine level falls within your comfort zone. For instance, a 1 part syrup to 6.5 parts soda water dilution would bring the quinine concentration closer to the legal limit, again, assuming complete extraction. Always prioritize your health and well-being when experimenting with homemade preparations.
The History and Science of Quinine
The story of quinine is a fascinating tale woven into the fabric of human history. For centuries, the indigenous peoples of South America utilized cinchona bark for its medicinal properties, particularly its ability to reduce fevers. European explorers and colonists later discovered its remarkable effectiveness against malaria, a disease that plagued vast regions of the world. Quinine quickly became a vital medicine, saving countless lives and playing a significant role in colonial expansion.
Scientifically, quinine works by interfering with the malaria parasite’s ability to metabolize hemoglobin, thereby preventing its replication. Its characteristic bitter taste, while often an acquired preference in beverages, is a direct consequence of this potent alkaloid. In tonic water, quinine serves a dual purpose: providing its signature bitterness and, historically, offering a prophylactic measure against malaria, particularly during the British Raj in India, where gin and tonic gained widespread popularity as a refreshing and medicinal drink.
Mastering Your Homemade Tonic Syrup: Tips for Success
Crafting your own tonic syrup is a rewarding process, and a few key tips can ensure a perfect batch every time. First, prioritize the quality of your ingredients. Fresh, organic citrus zests will impart the brightest, most aromatic flavors. Ensure your cinchona bark is food-grade and sourced from a reputable supplier. The freshness of your lemongrass will also significantly impact the final aroma and taste profile.
Second, proper straining is crucial for a clear and appealing syrup. After simmering, the mixture will contain fine particles of bark and zest. Using a fine mesh strainer or, ideally, cheesecloth, will remove these solids, leaving you with a beautifully translucent syrup. Repeat the straining process if necessary to achieve desired clarity.
Third, storage is important for maximizing shelf life. Once cooled, store your tonic syrup in an airtight container, such as pint mason jars, in the refrigerator. Properly stored, it can last for several weeks, if not longer. Always check for any signs of spoilage before use.
Finally, perfecting the dilution ratio is a matter of personal preference. While the recipe suggests a 1:4 syrup to soda water ratio, feel free to experiment. If you prefer a less sweet or less bitter tonic, adjust the soda water accordingly. Consider using high-quality soda water or sparkling water, as its purity will allow the subtle nuances of your homemade syrup to shine through. The beauty of DIY tonic is this complete control over the final product.
Beyond Gin and Tonic: Creative Uses for Your Artisanal Tonic
While homemade tonic water is undeniably a game-changer for a classic Gin and Tonic, its versatility extends far beyond this iconic pairing. The unique flavor profile of your artisanal tonic syrup opens up a world of creative mixology. Consider using it in a Vodka Tonic for a refreshing twist, or exploring its potential in non-alcoholic mocktails, pairing it with fresh fruit juices, herbs, or even a splash of bitters for a sophisticated, zero-proof drink.
For the adventurous, your tonic syrup can even find a place in culinary applications. Imagine a unique glaze for roasted chicken or pork, incorporating its citrusy, bitter, and sweet notes. It could also be used to infuse desserts, or perhaps as a surprising element in a complex salad dressing. Don’t limit your imagination; let your homemade tonic inspire new gastronomic experiences.
Conclusion: A Rewarding Culinary Journey
Making your own tonic syrup is a truly gratifying experience. While it might not become an everyday ritual, the effort invested is undeniably worth it for the unique flavor, the sense of accomplishment, and the ability to craft truly exceptional drinks. It’s an adventure in taste and tradition that provides a special touch for any occasion. We encourage you to explore further and dive into other delightful concoctions within our Gin and Tonic series.
Recommended Tools and Ingredients
- Cinchona Bark
- Fine Strainer
- Pint Mason Jars
Print Recipe Card
How to Make Authentic Homemade Tonic Syrup for the Perfect Tonic Water
5 Stars 4 Stars 3 Stars 2 Stars 1 Star
5 from 6 reviews
Author: Ben Myhre
Prep Time: 20 Minutes
Cook Time: 1 Hour
Total Time: 1 Hour 20 Minutes
Yield: 20 Servings
Category: Drinks
Method: DIY
Cuisine: Traditional
Description
Craft your very own authentic tonic syrup from scratch, a simple yet incredibly rewarding process. Elevate your cocktail game, particularly for an unforgettable Gin and Tonic, with this unique and flavorful recipe. Enjoy the control and satisfaction of DIY mixology!
Ingredients for Homemade Tonic Syrup
- 1 whole lemon, zested and juiced
- 1 whole lime, zested and juiced
- 1.5 Cups granulated sugar
- 2 teaspoons Cinchona Bark (powdered or finely crushed)
- 1.25 Ounces food-grade citric acid
- 1 fresh lemongrass stalk, roughly chopped
- 2 cups filtered water
- Soda water or sparkling water (for serving)
Instructions for Crafting Homemade Tonic Syrup
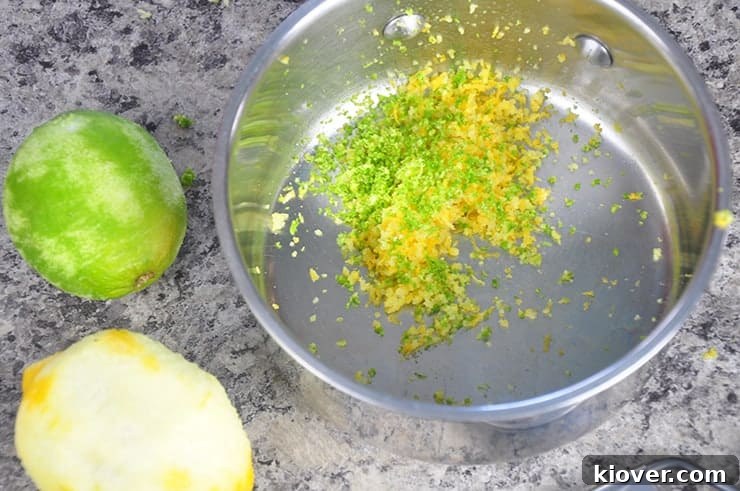
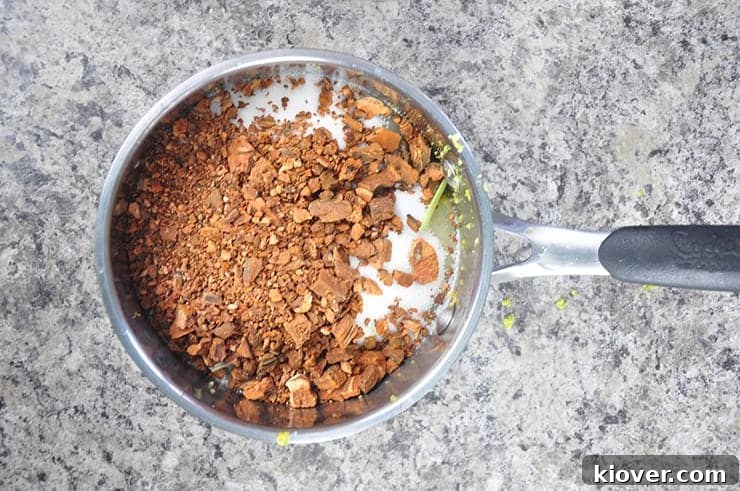
- Carefully zest the entire lemon directly into a medium-sized saucepan.
- Add the zest of the whole lime to the same saucepan, ensuring you only get the flavorful outer peel and avoid the bitter white pith.
- Juice both the zested lemon and lime directly into the saucepan, collecting all the fresh citrus liquid.
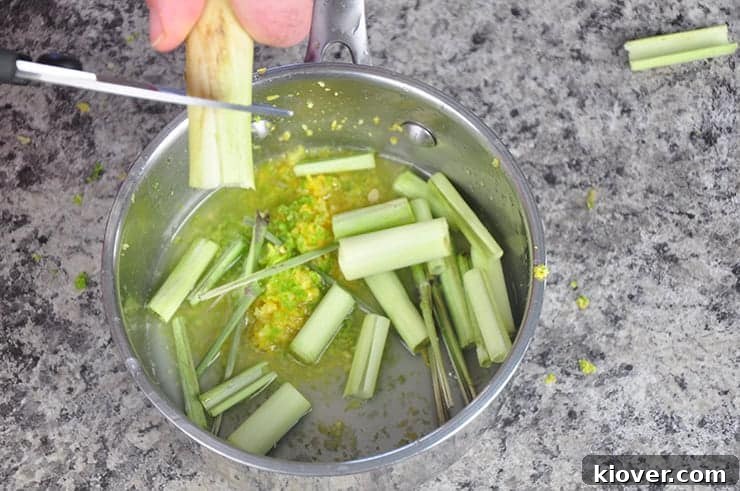
- Incorporate all the remaining ingredients (sugar, Cinchona Bark, citric acid, lemongrass stalk, and water) into the saucepan with the citrus zest and juice.
- Bring the mixture to a rolling boil over medium-high heat, stirring occasionally to dissolve the sugar.
- Once boiling, reduce the heat to medium-low and allow the syrup to gently simmer for approximately 45 minutes, letting the flavors meld and deepen.
- Remove the saucepan from the heat and let the syrup steep and cool for an additional 20 minutes. This allows for further flavor extraction.
- Using several layers of cheesecloth or a very fine mesh strainer, strain the cooled syrup into a clean pint container, such as a mason jar, to remove all solid particles.
- Transfer the strained tonic syrup to the refrigerator and allow it to cool completely before use.
- When you are ready to enjoy your homemade tonic water, mix one part tonic syrup with four parts chilled soda water or sparkling water. Adjust the ratio to your preferred taste, adding more syrup for a stronger flavor or more soda water for a lighter drink.