
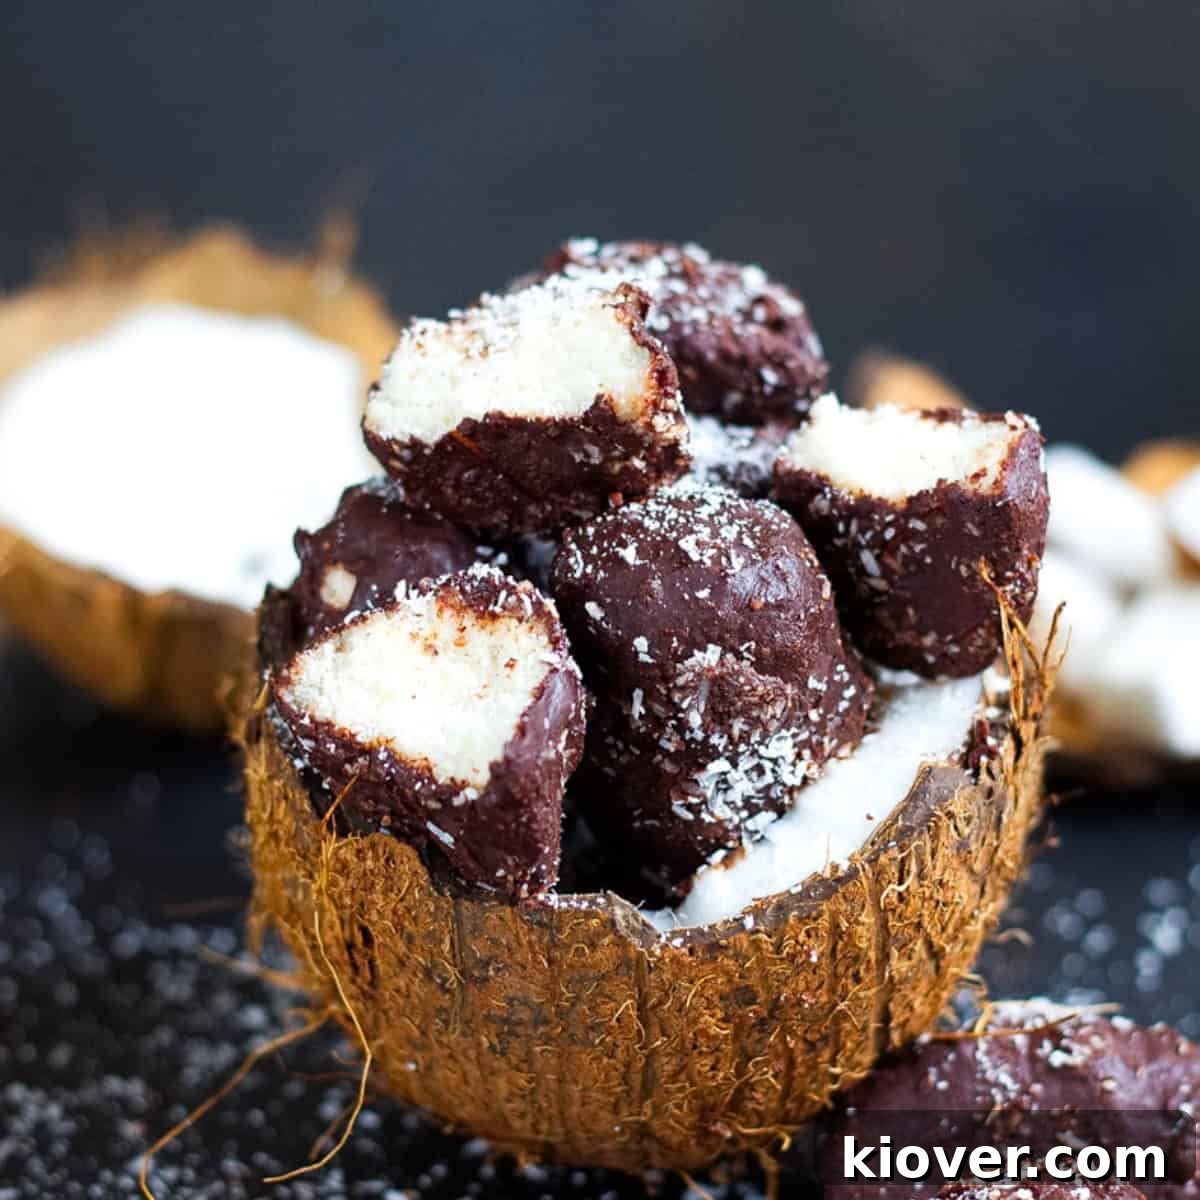
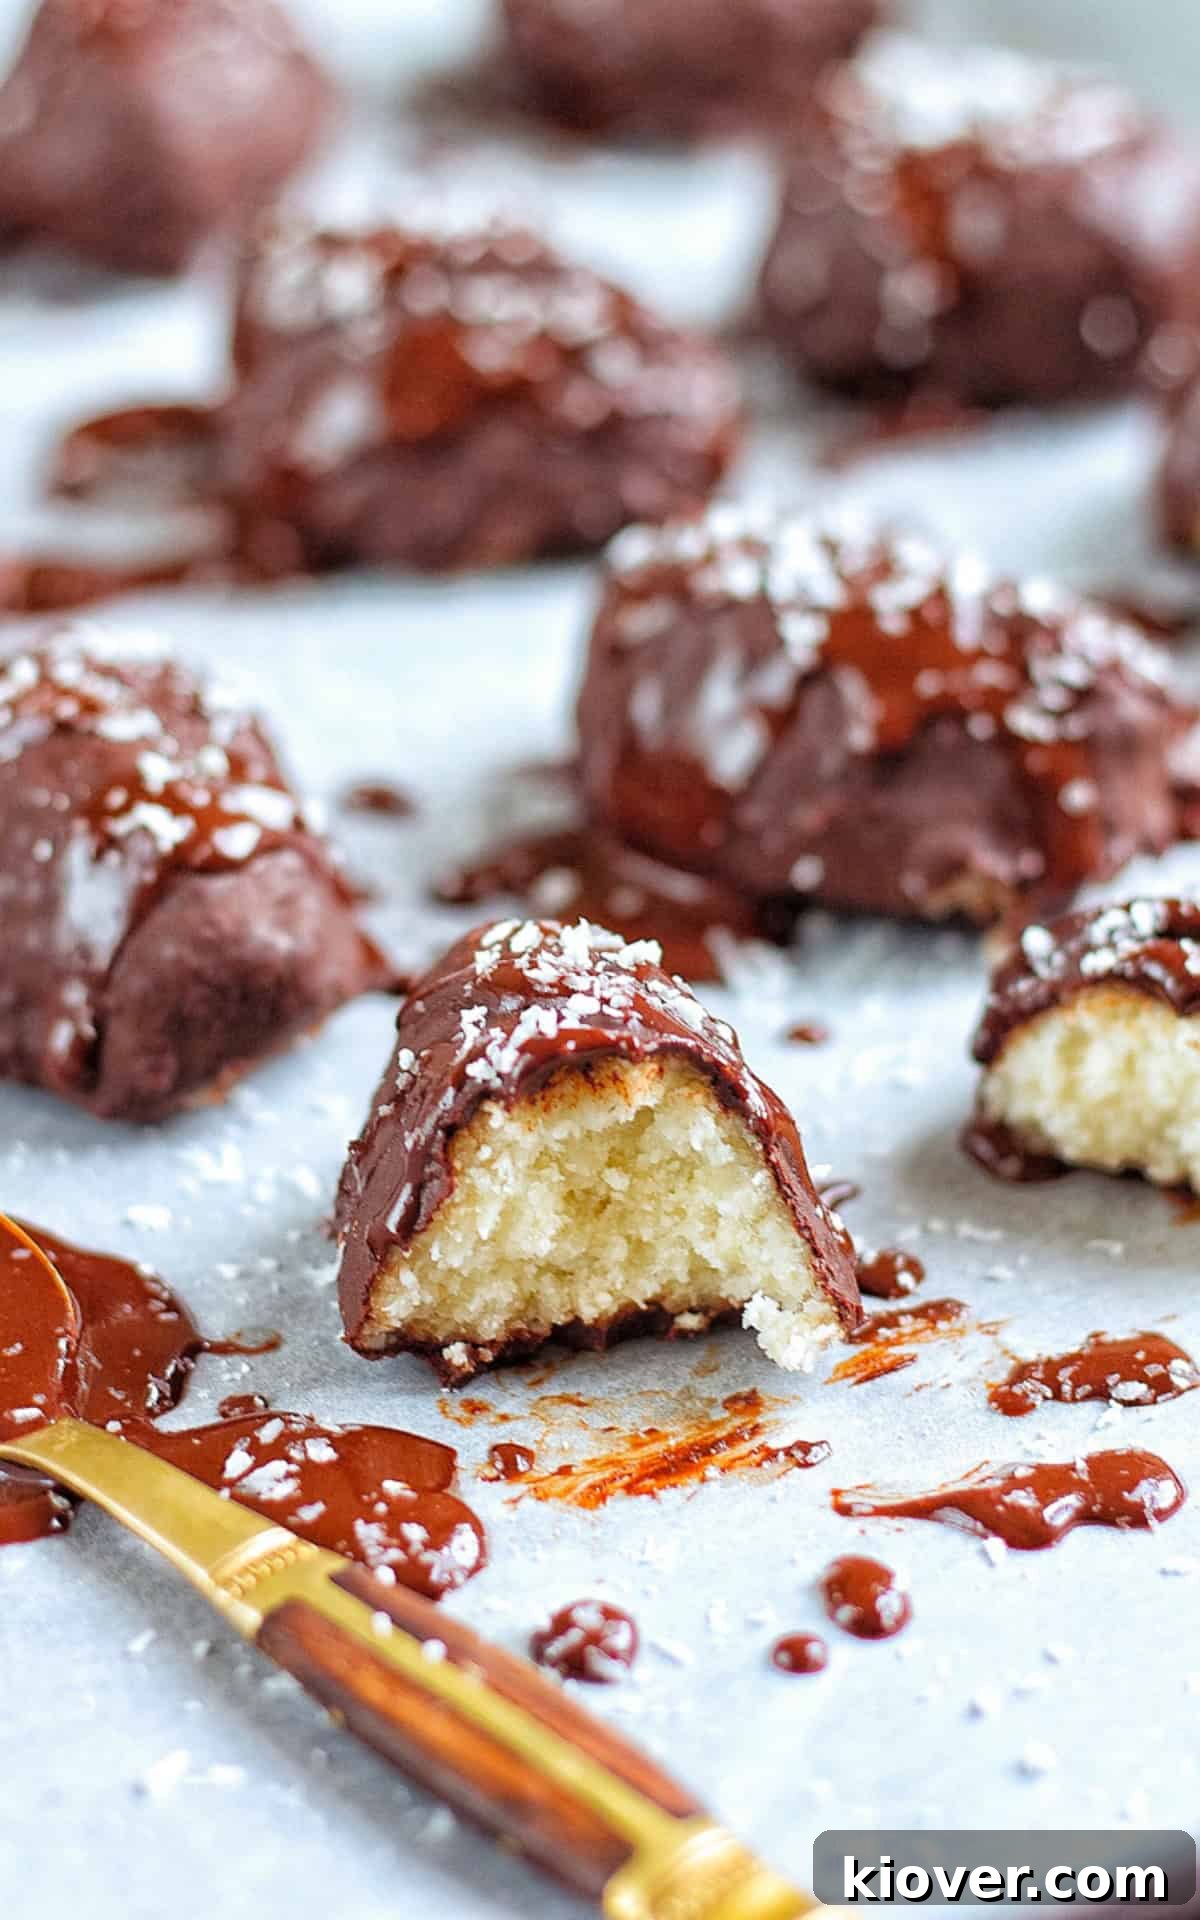
Craving a delightful, **homemade treat** that’s both indulgent and wholesome? These **Homemade Bounty Bars** are your answer! Often referred to as **DIY coconut candy bars**, these irresistible delights are about to become your family’s new favorite **healthy dessert or snack**. Crafted with **just 5 simple ingredients**, this **easy-to-make recipe** is perfect for anyone looking for a **gluten-free, dairy-free, and vegan treat** that doesn’t compromise on flavor. Prepare to be amazed by how effortlessly you can recreate the iconic taste of your beloved chocolate coconut bar right in your own kitchen.
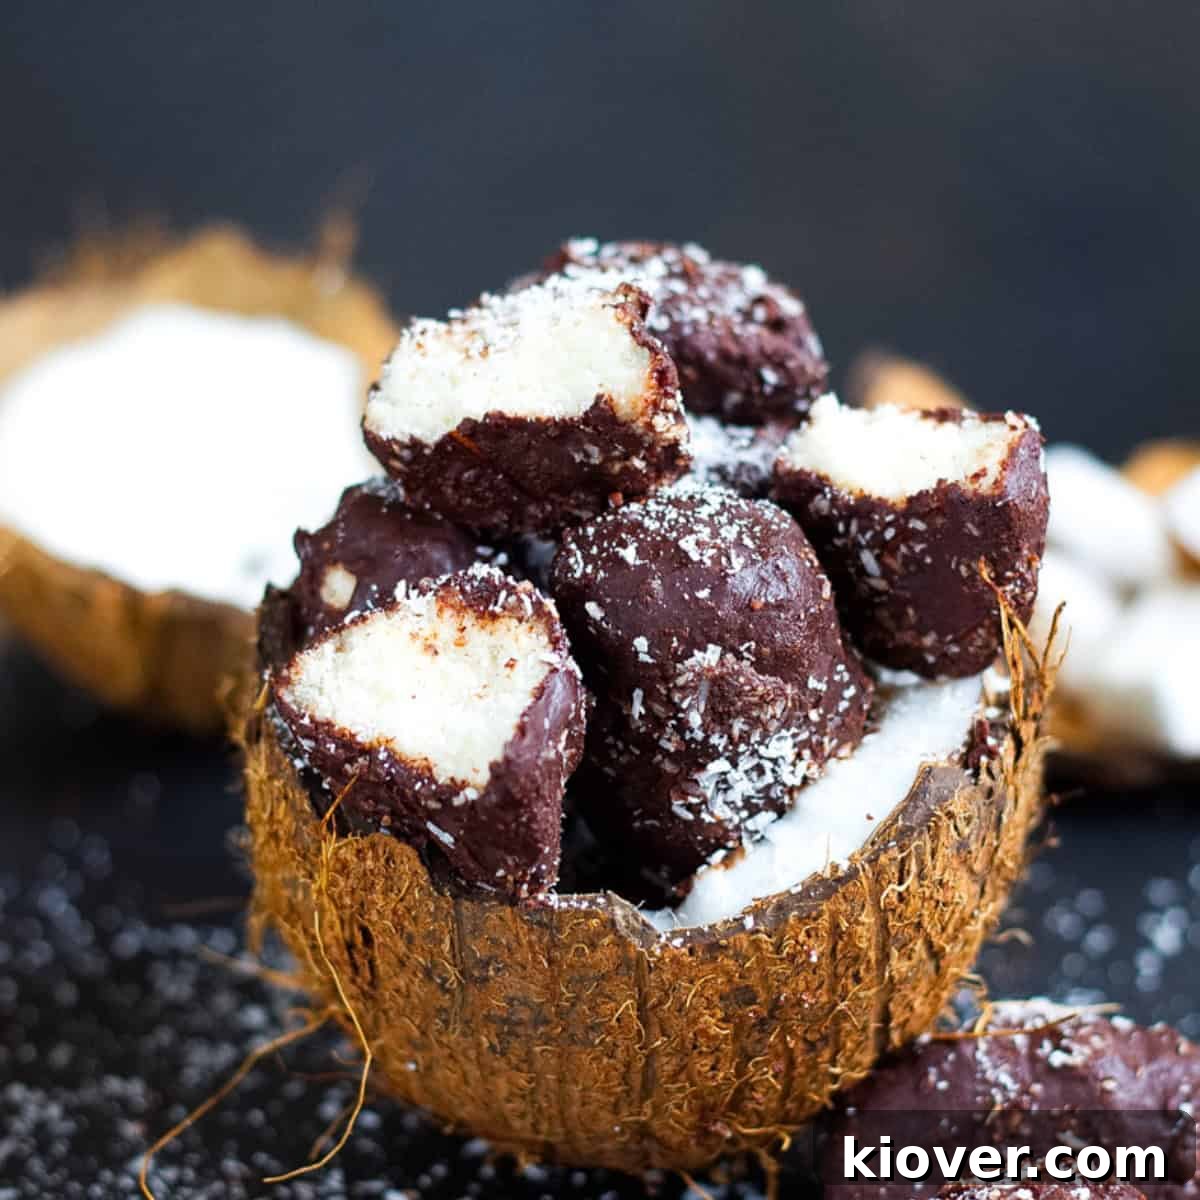
Recipe Difficulty – Easy
Table of Contents
- Why This Recipe Works
- Essential Ingredients for Homemade Bounty Bars
- Smart Substitutions
- Exciting Variations
- How to Make Homemade Bounty Bars: Step-by-Step Guide
- Storage & Leftovers
- Recipe FAQs
- More Indulgent Chocolate Recipes
- You Might Also Like
- Rate This Recipe…
- Homemade Bounty Bars Recipe Card
Why This Recipe Works: The Ultimate DIY Coconut Chocolate Bar
For many, the classic Bounty bar, known as Mounds or Almond Joy in the U.S., evokes a powerful sense of nostalgia. It was a childhood favorite, a perfect blend of sweet coconut and rich chocolate. However, traditional store-bought versions often contain numerous artificial ingredients, dairy, and gluten, making them less suitable for those with dietary restrictions or a preference for healthier options. That’s precisely why this **homemade Bounty bar recipe** stands out as an exceptional alternative.
This recipe transforms the beloved classic into a **healthy homemade version** that is naturally **gluten-free, dairy-free, and completely vegan**. Unlike the original, which can contain a dozen or more ingredients, our simple recipe uses **just 5 easily sourced ingredients**. This minimalist approach not only makes the **coconut bars** healthier but also incredibly clean and pure in flavor. You get all the luscious, creamy coconut wrapped in decadent chocolate without any of the guilt or hidden additives. The difference in taste and quality is truly remarkable.
What’s not to love about a delightful coconut mixture generously coated in velvety melted chocolate? This **easy no-bake dessert** is not only a fantastic way to satisfy your sweet tooth but also a wonderful activity for the whole family. If you have little helpers, invite them to join in the fun! Kids absolutely adore shaping the coconut centers and dipping them into the chocolate, turning snack time into an enjoyable culinary adventure. It’s a perfect **kid-friendly recipe** that yields delicious results every time. These **DIY Bounty bars** are more than just a treat; they’re a testament to how delicious and wholesome homemade sweets can be.
Essential Ingredients for Homemade Bounty Bars
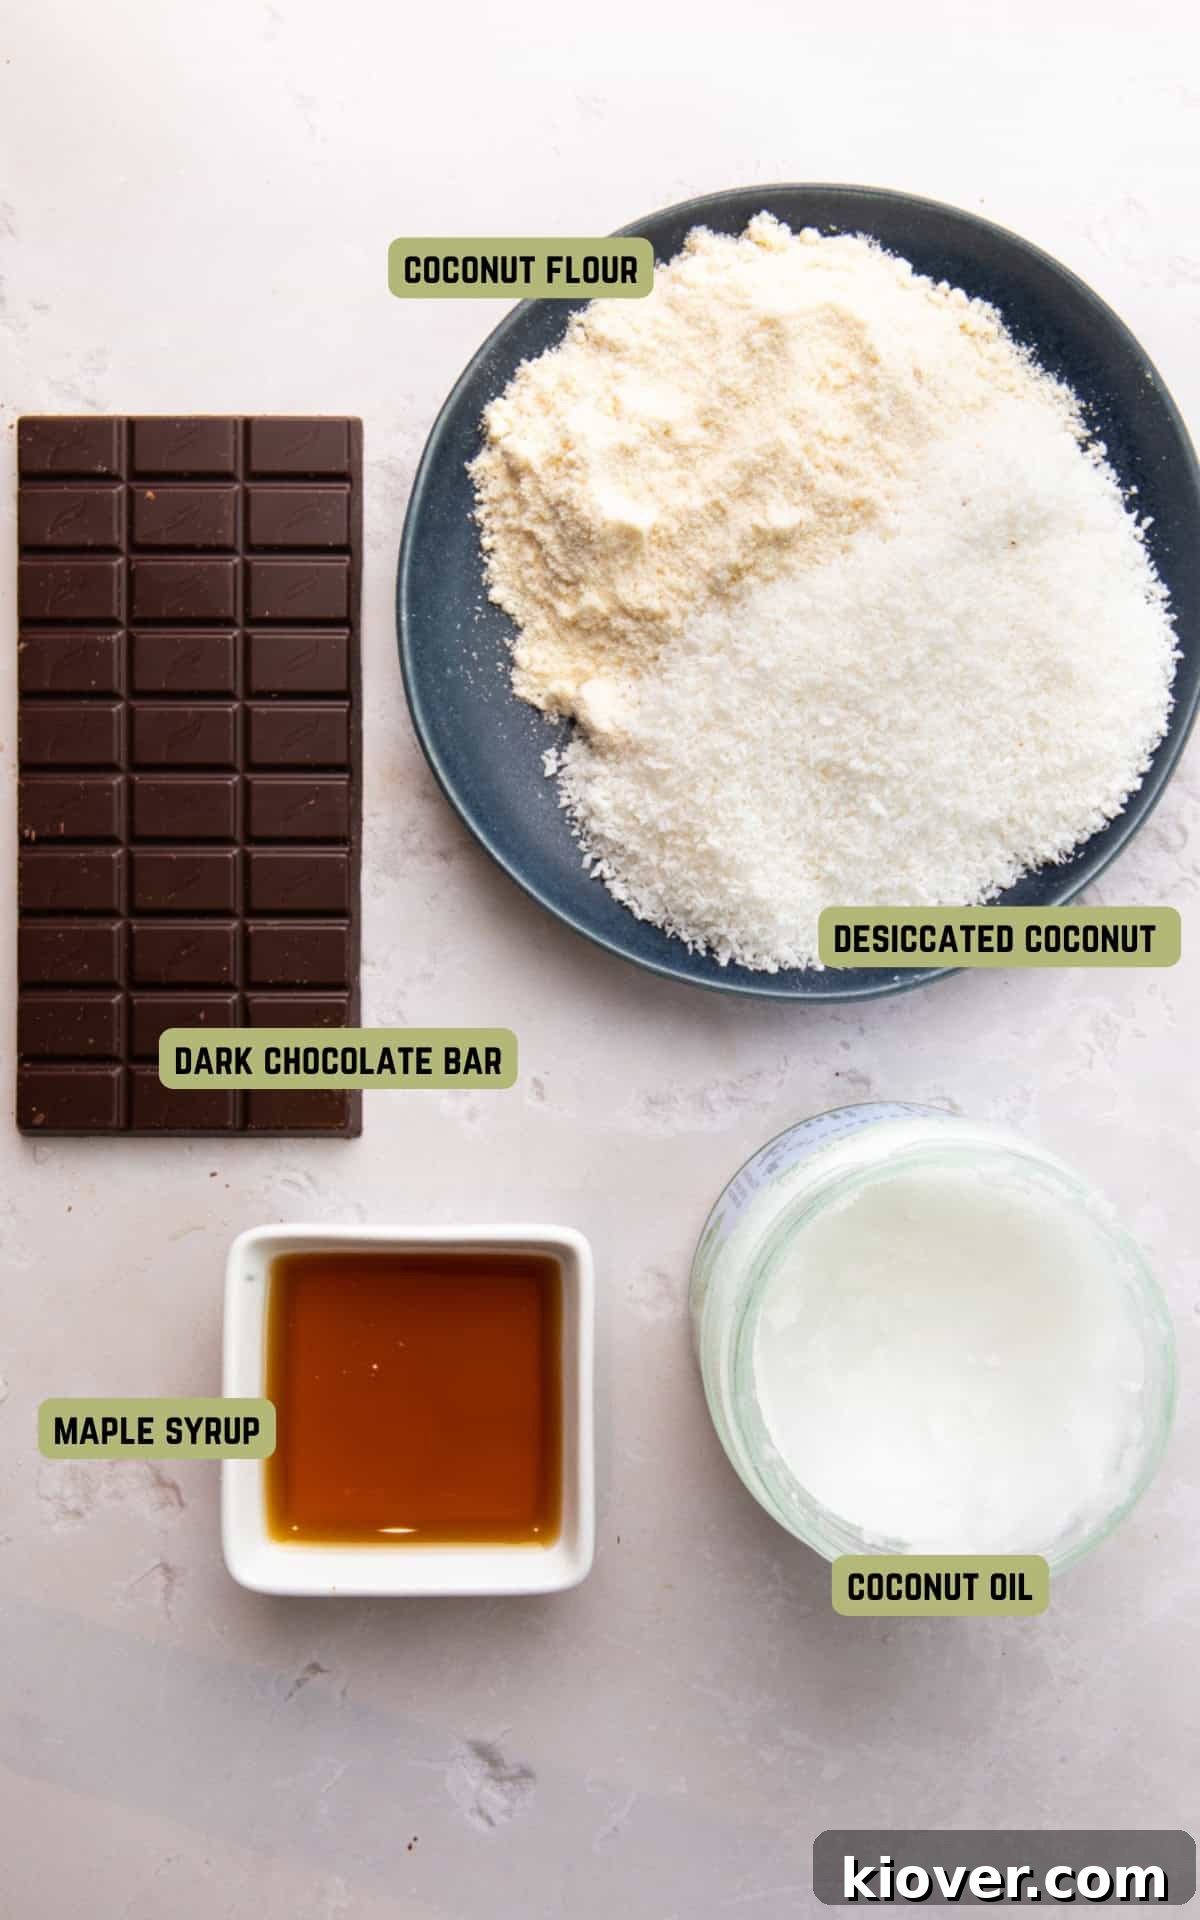
Crafting these delectable **vegan chocolate coconut bars** requires only a handful of readily available ingredients, each playing a crucial role in achieving the perfect texture and flavor. Here’s a closer look at what you’ll need:
- Desiccated Coconut: This is the heart of your **coconut candy bars**. Desiccated coconut has a fine, dry consistency that blends beautifully to create the smooth, rich, and slightly chewy center. Its natural sweetness and tropical aroma are essential for an authentic Bounty experience.
- Coconut Flour: A fantastic **gluten-free thickener**, coconut flour absorbs moisture exceptionally well, helping to bind the coconut mixture and give it structure. It also adds a subtle coconut flavor without overpowering the desiccated coconut. Ensure you use pure coconut flour for the best results in this **dairy-free recipe**.
- Maple Syrup: My preferred **natural sweetener** for these **healthy homemade treats**. Maple syrup not only provides a pleasant sweetness but also adds a sticky quality that helps hold the coconut mixture together. Its rich, caramel-like notes complement the coconut beautifully.
- Coconut Oil (Melted): Essential for binding. When melted, coconut oil acts as a natural adhesive, ensuring the **coconut bars** maintain their shape. You can easily melt it in a microwave or a small saucepan over low heat. It also contributes to the moist, tender texture of the filling.
- Dark Chocolate Bar (70%+): The final indulgent layer for your **homemade Bounty bars**. Using dark chocolate with a high cocoa content (70% or more) provides a sophisticated bitterness that perfectly balances the sweetness of the coconut filling. For an even healthier option, opt for sugar-free dark chocolate. This creates a truly decadent and satisfying coating.
Refer to the full recipe card below for precise quantities and detailed instructions.
Smart Substitutions for Your Homemade Bounty Bars
One of the beauties of a **simple dessert recipe** like this is its flexibility. Don’t have an ingredient on hand, or prefer a different option? Here are some smart substitutions that will still yield delicious **coconut bars**:
- Desiccated Coconut: While desiccated coconut offers the finest texture, **shredded coconut** can also be used. Be aware that using shredded coconut will result in a slightly coarser, chewier texture for your **vegan chocolate coconut bars**, differing from the ultra-smooth center of a traditional Bounty.
- Maple Syrup: For alternative natural sweeteners, consider using **date syrup, agave nectar, or runny honey** (if not strictly vegan). Ensure your chosen syrup is liquid enough to easily incorporate into the mixture and bind the ingredients effectively.
- Dark Chocolate Bar: If you or your family prefer a sweeter chocolate coating, you can certainly opt for a good quality **milk chocolate** or even **semi-sweet chocolate chips**. For those who enjoy a hint of mint, try a mint-flavored dark chocolate bar for a refreshing twist.
- Coconut Flour: While coconut flour is ideal for its binding properties, if you don’t have it, a small amount of **almond flour** might work, though it may alter the texture slightly and require adjustments to liquid.
Exciting Variations for Your DIY Bounty Bars
Elevate your **homemade Bounty bars** with these creative variations, perfect for customizing your **healthy treats** to your liking:
- Deluxe Bounty Bars: For an elegant touch, sprinkle some extra **shredded coconut**, a dusting of **powdered sugar**, or a pinch of **sea salt** on top of the chocolate coating before it sets. The flaky sea salt beautifully enhances the chocolate flavor. You could also infuse the coconut mixture with a splash of **vanilla extract** or **almond extract** for added depth of flavor.
- Kid-Friendly Twist: If your children prefer a sweeter chocolate experience, consider using a **homemade chocolate coating** made with cocoa powder and a sweetener like powdered sugar, or opt for a milk chocolate bar. This is a fantastic **kid-friendly recipe** that encourages participation; let them help with shaping the bars and dipping them!
- Add Nuts: For a twist similar to an Almond Joy, press a whole **almond** or a few chopped **pecans** into the center of each coconut bar before coating in chocolate.
- Spiced Coconut Bars: Incorporate a pinch of **cinnamon** or **cardamom** into the coconut mixture for a warm, aromatic flavor profile. This adds an unexpected and delightful complexity.
- Mini Bounty Bites: Instead of traditional bar shapes, roll the coconut mixture into small balls for **bite-sized treats**. These are perfect for entertaining or portion control, making them excellent **meal prep ideas**.
For another equally delightful dessert, be sure to try these Chocolate Coconut Balls featured on my website!
How to Make Homemade Bounty Bars: Step-by-Step Guide
Creating these delightful **homemade Bounty bars** is surprisingly straightforward. Follow these simple steps for perfect **vegan chocolate coconut bars** every time:
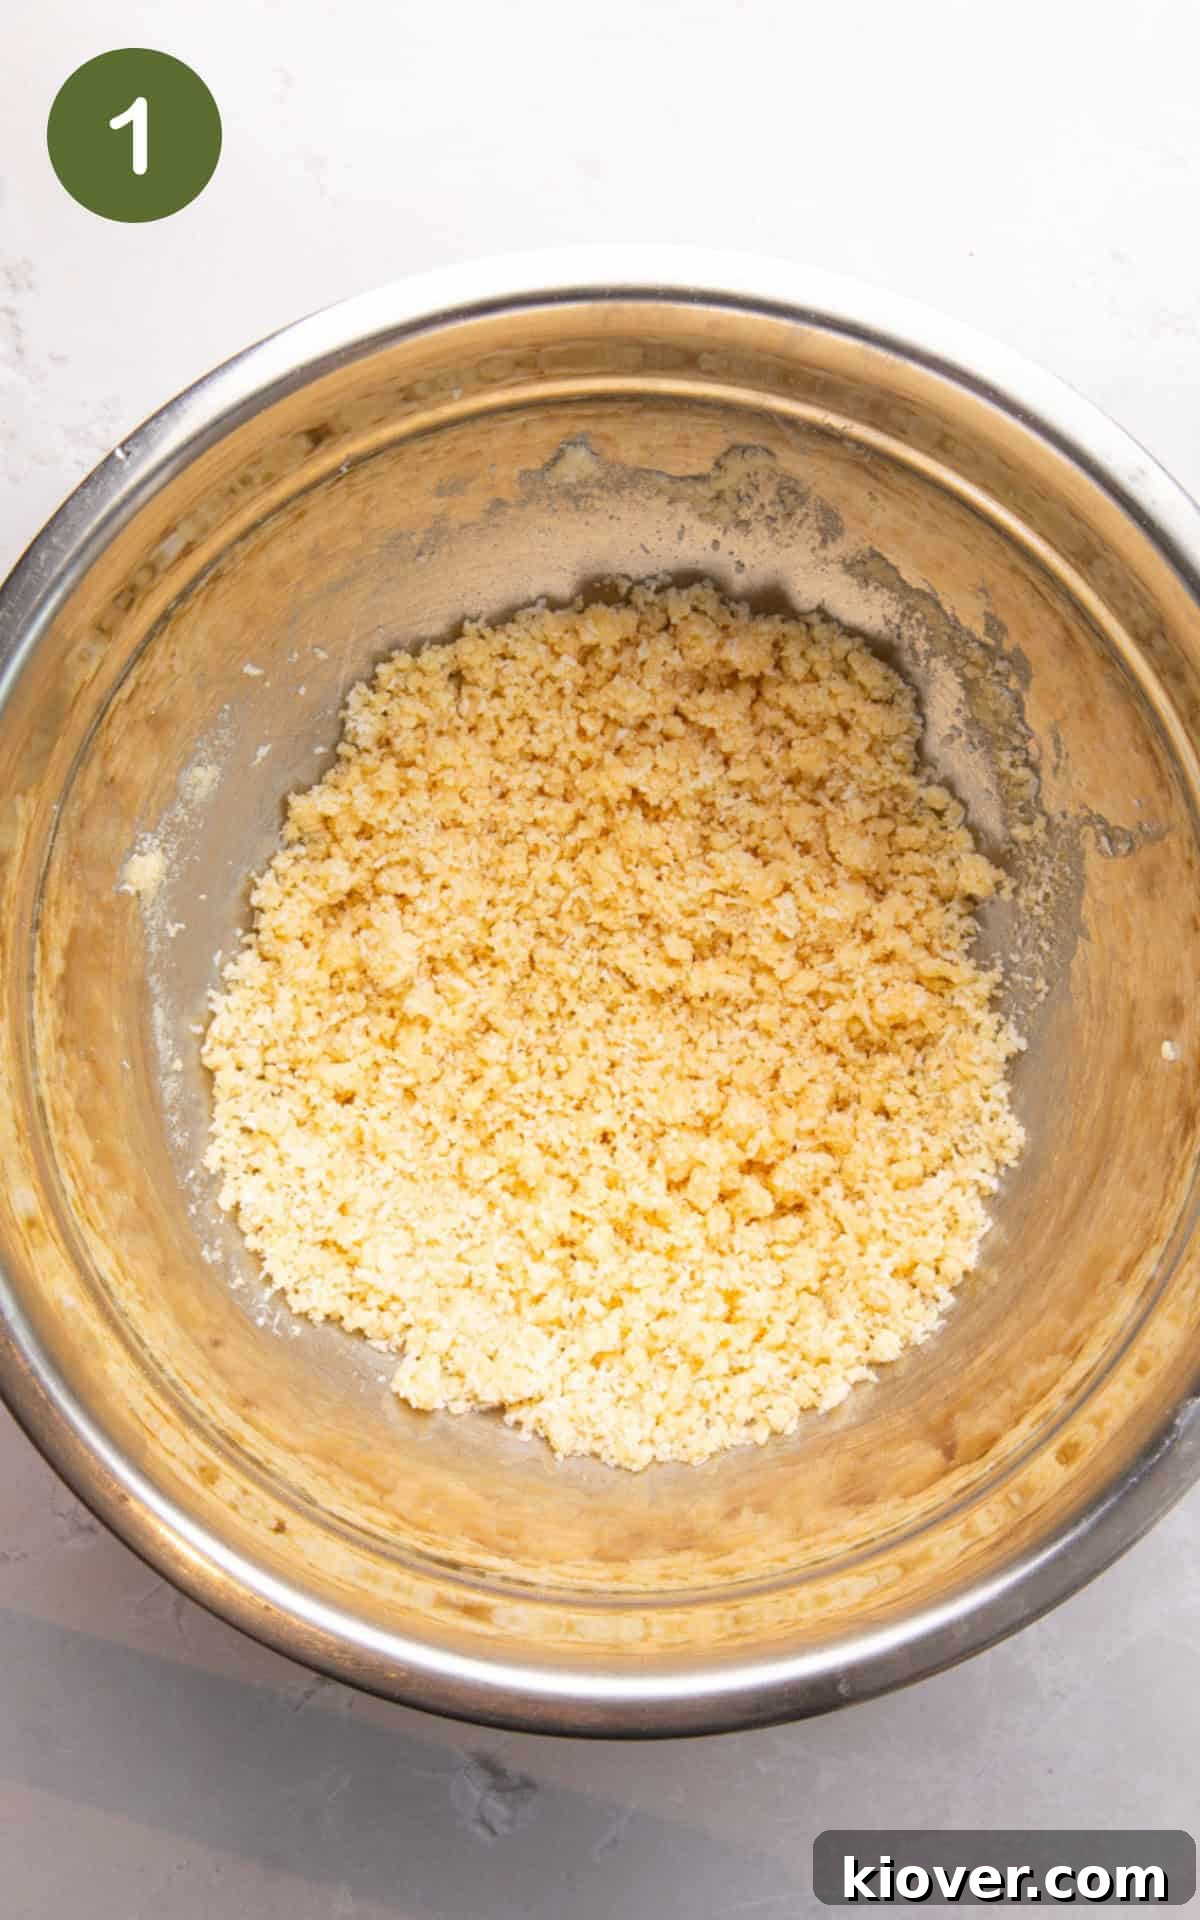
Step 1: Prepare the Coconut Base. In a large mixing bowl, combine the **desiccated coconut** and **coconut flour**. Mix these dry ingredients thoroughly, ensuring there are no lumps, to create an even base for your **coconut bars**. Next, pour in the **maple syrup** and the **melted coconut oil**. Mix everything together very well until the mixture is uniformly moist and sticky. It should be pliable enough to hold its shape when pressed.
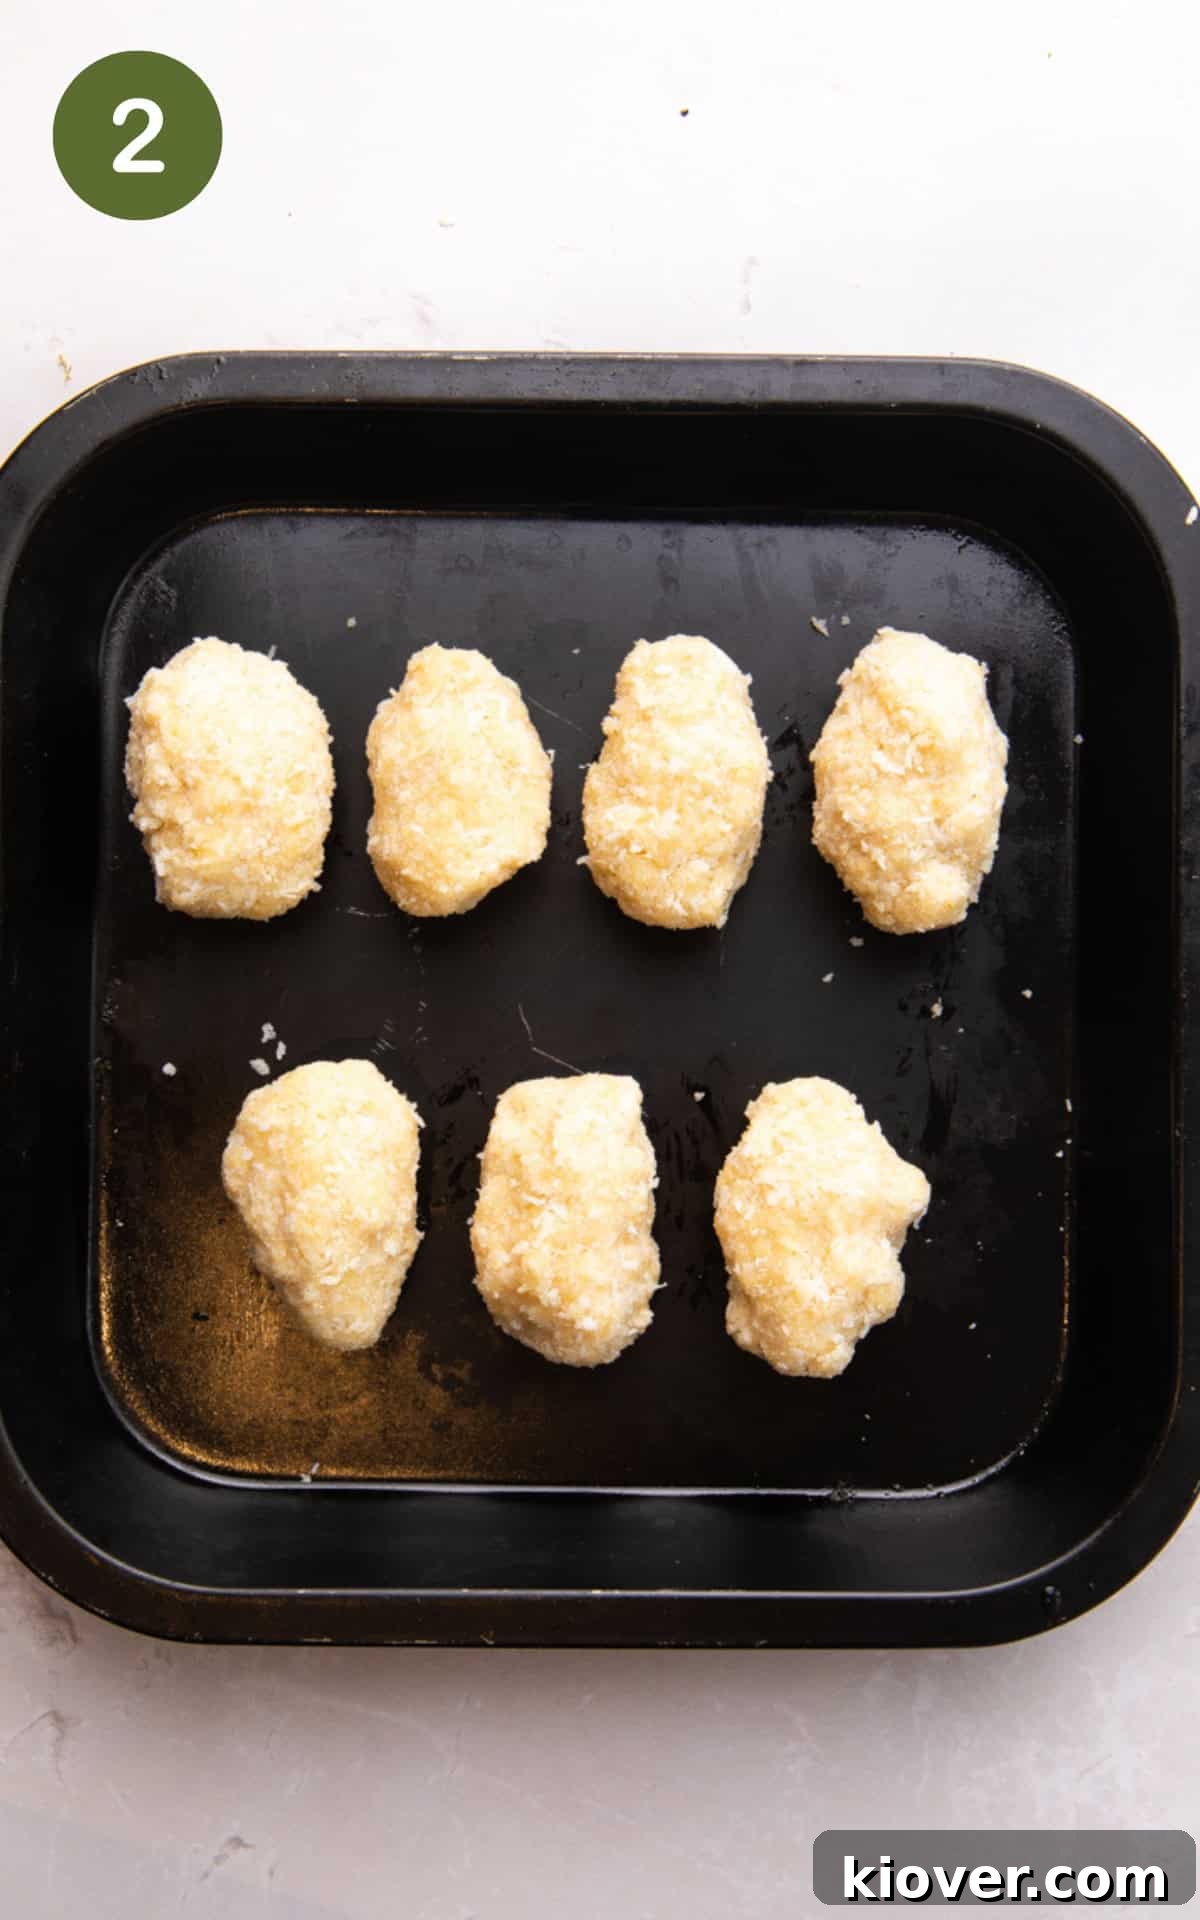
Step 2: Shape and Chill the Coconut Centers. Take portions of the coconut mixture and firmly press them into desired bar shapes. You’ll need to squeeze the mixture tightly to ensure they hold together. Don’t worry if they aren’t perfectly uniform; a rustic charm is often part of the appeal of **homemade treats**. Place these formed coconut bars onto a plate or a baking tray lined with parchment paper, then refrigerate them for 10-15 minutes. This chilling step is crucial as it allows them to firm up, making them easier to handle for the next stage.
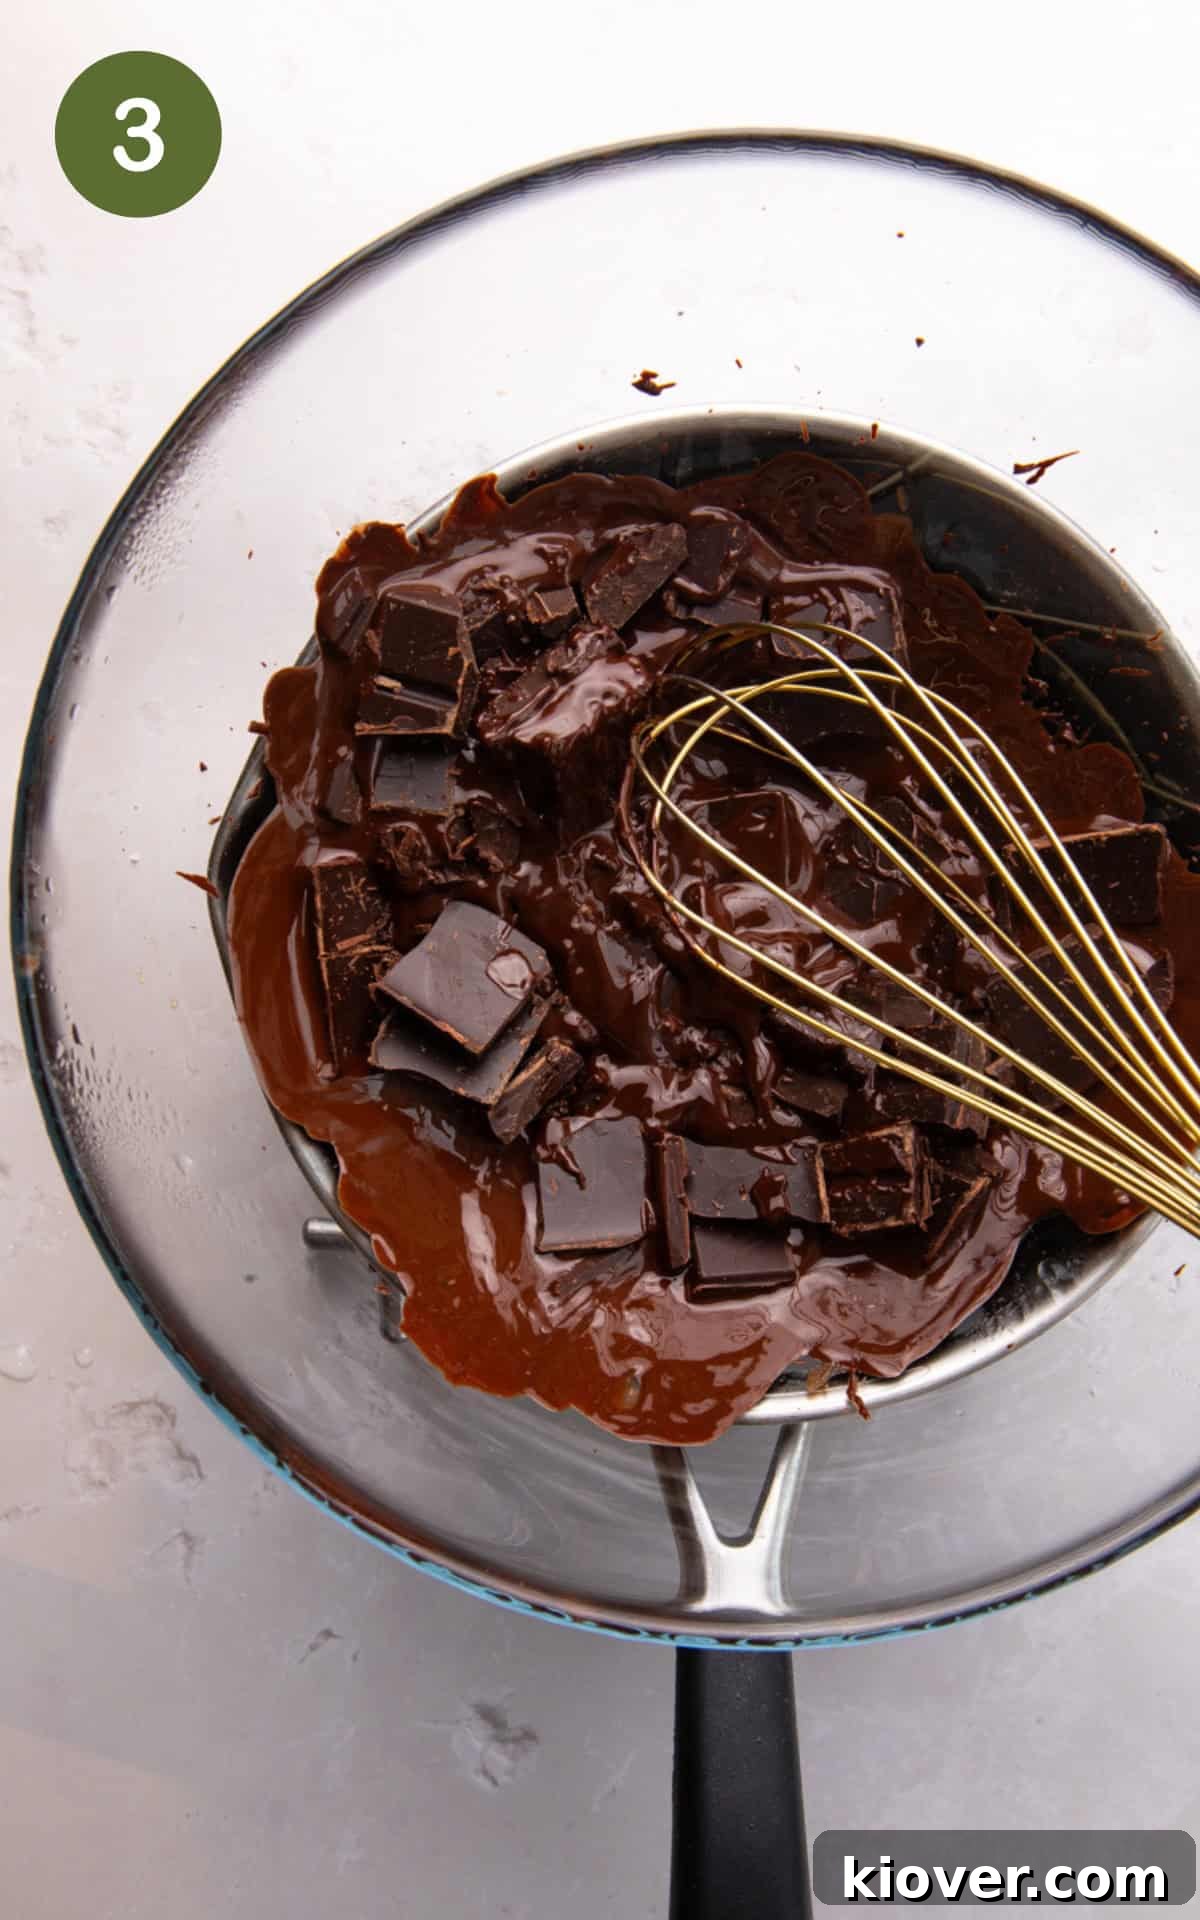
Step 3: Melt the Chocolate Coating. While your coconut centers are chilling, prepare the chocolate coating. Break your **dark chocolate bar** into small pieces and place them in a heatproof bowl set over a saucepan of simmering water (a bain-marie or double boiler). Ensure the bottom of the bowl does not touch the water. Stir gently on low heat until the chocolate is completely melted and smooth, with no lumps. Alternatively, you can melt the chocolate carefully in a microwave, stirring every 30 seconds to prevent burning.
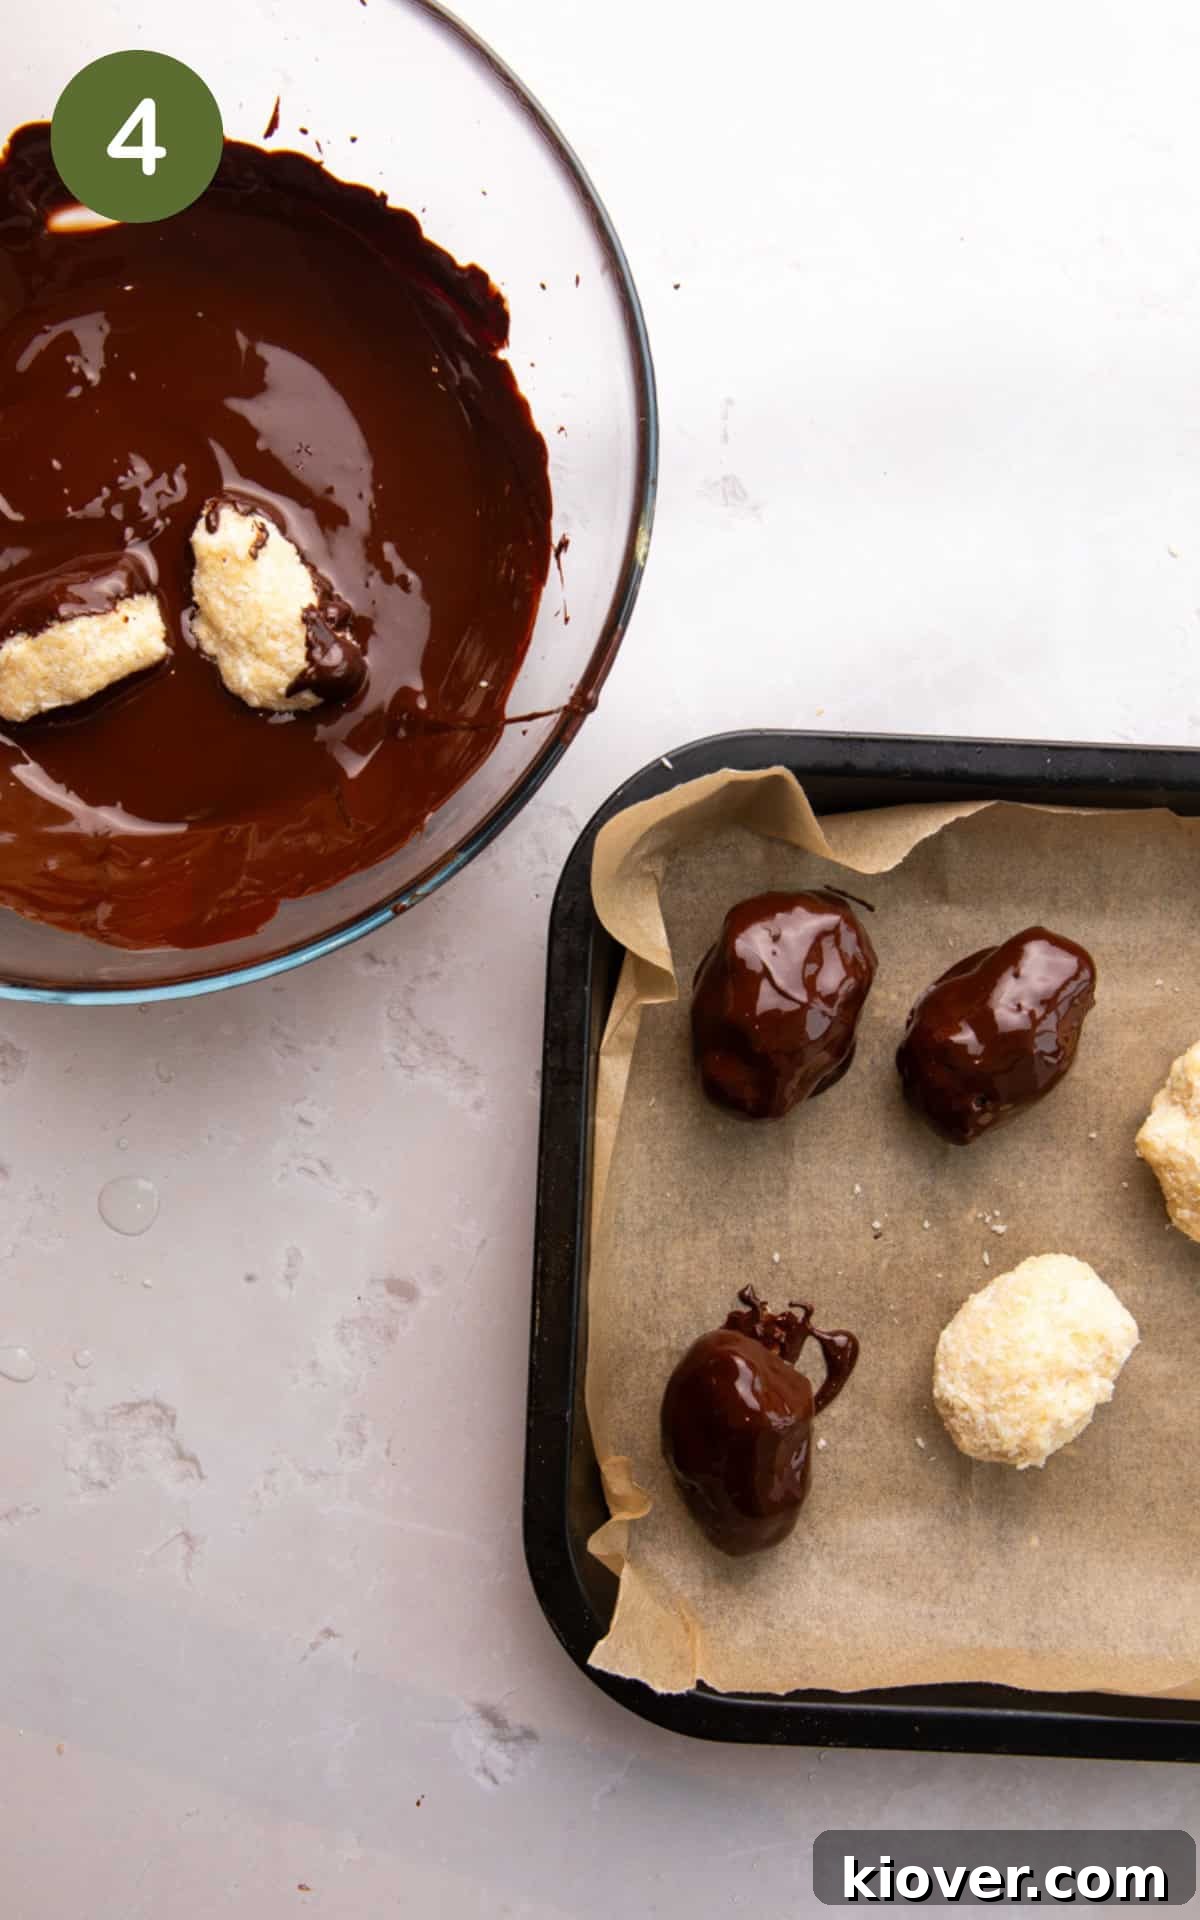
Step 4: Coat the Coconut Bars. Remove the firm coconut bars from the fridge. Carefully dip each bar into the melted chocolate, ensuring it’s evenly and completely covered. A fork or a dipping tool can be helpful here to lift the bars and allow excess chocolate to drip off. Work quickly as the cold coconut will start to set the chocolate.
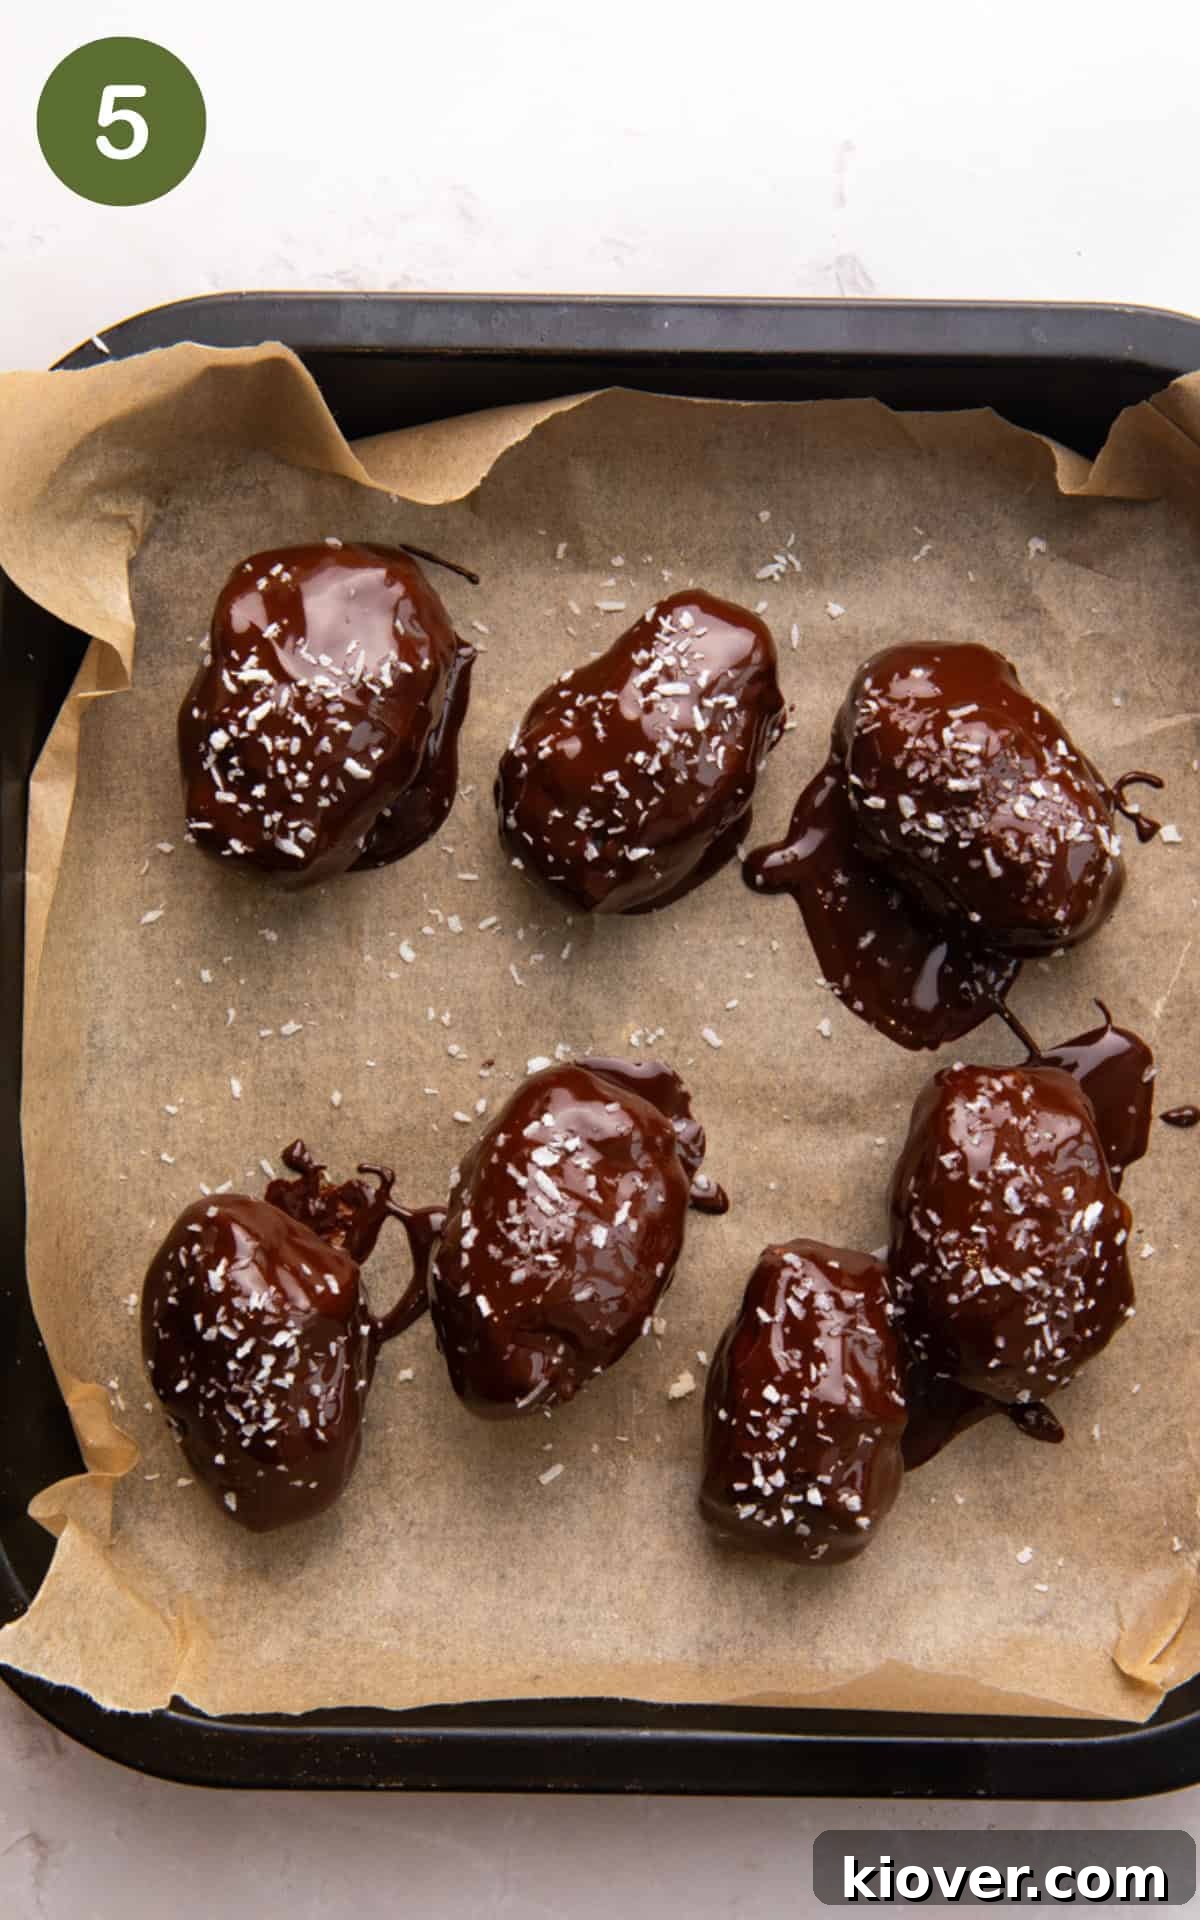
Step 5: Final Chill and Set. Once coated, place the chocolate-dipped coconut bars onto a wire rack or a baking sheet lined with parchment paper. Return them to the fridge for at least 20 minutes to allow the chocolate to fully harden and set. If you’re short on time, you can place them in the freezer for about 10-15 minutes to speed up the process. Once firm, your **homemade Bounty bars** are ready to enjoy!
Chef’s Hint: Don’t stress about making your bar shapes perfectly symmetrical. Part of the charm of **homemade treats** is their unique, rustic appearance. Embrace the imperfections!
Storage & Leftovers: Maximizing Your Homemade Bounty Bars
These **homemade Bounty bars** are so delicious, you might not have many leftovers! However, if you do, proper storage will keep them fresh and tasty for longer. Store any remaining **coconut bars** in an airtight container in the refrigerator for up to 3-4 days. The cool temperature helps maintain their firm texture and prevents the chocolate from melting. For a longer storage solution, these **healthy treats** freeze beautifully. Place them in an airtight freezer-safe container or bag, separating layers with parchment paper, and freeze for up to three months. Thaw them in the fridge before enjoying.
If you happen to have any excess melted chocolate after coating your bars, don’t let it go to waste! It’s perfect for creating additional **healthy chocolate snacks**. Dip almonds, walnuts, or even dried fruit like apricots into the leftover chocolate, then pop them in the freezer until hardened. They make for a quick, delicious, and indulgent treat!
Recipe FAQs: Your Questions About Homemade Bounty Bars Answered
Absolutely! Many traditional Bounty bar recipes rely on sweetened condensed milk for creaminess and binding. However, for those who avoid dairy or seek a healthier alternative, this recipe offers a fantastic solution. I’ve developed this particular **vegan chocolate coconut bar** recipe using a combination of **desiccated coconut, coconut flour, maple syrup, and coconut oil**. This blend provides all the necessary creaminess, sweetness, and binding power without any dairy, making it perfectly **gluten-free and vegan** while maintaining that authentic, satisfying texture.
The best chocolate ultimately comes down to personal preference, but for optimal flavor balance in these **DIY coconut candy bars**, I highly recommend using a **dark chocolate bar with 70% cocoa solids or higher**. The slight bitterness of dark chocolate beautifully complements the sweetness of the coconut filling, creating a well-rounded and indulgent taste experience. If you prefer a sweeter coating, a good quality milk chocolate or semi-sweet chocolate chips can also be used. Ensure whichever chocolate you choose is high quality for the best melting and coating results.
If your coconut mixture isn’t holding its shape, it likely needs more binding agent or more chilling time. Ensure your **coconut oil** was fully melted and thoroughly incorporated. If the mixture still feels too crumbly, you can add an extra teaspoon of melted coconut oil or maple syrup until it becomes pliable and sticky enough to form into bars. Also, make sure to press the mixture very firmly when shaping, and don’t skip the initial chilling step!
Yes, you can. However, as mentioned in the substitutions section, using **shredded coconut** will result in a different texture. Desiccated coconut is finer, leading to a smoother, more uniform center, characteristic of traditional Bounty bars. Shredded coconut will give your **homemade Bounty bars** a chewier, more textured interior. Both are delicious, but they create distinct experiences.
More Indulgent Chocolate Recipes
If you’re a chocolate lover, you’re in for a treat! After mastering these **Homemade Bounty Bars**, explore more delicious **healthy chocolate recipes** from my collection. Each recipe is crafted to be wholesome without sacrificing flavor:
- Decadent Vegan Chocolate Tart
- 5-Ingredient Chocolate Flapjacks
- Wholesome Chocolate Rice Cakes
- Gooey Nut Butter Chocolate Pots
- Simple 3-Ingredient Chocolate Truffles
- Rich & Creamy Hot Chocolate
- Salted Peanut Butter Chocolate Cups
- Free-From Chocolate Ganache Cake
- Light & Fluffy Vegan Chocolate Mousse
You Might Also Like These Healthy Treats
Dessert
Chocolate Coconut Balls
Dessert
Epic Vegan Rocky Road
Dessert
3-Ingredient Vegan Chocolate Truffles
Snacks
Healthy Energy Balls
Rate This Recipe… Your Feedback Matters!
Have you tried this incredible **Homemade Bounty Bars** recipe? I’d love to hear your thoughts and see how you got on! Please take a moment to leave a star rating ⭐⭐⭐⭐⭐ below and share your experience. Positive feedback is one of the most rewarding aspects of creating and sharing recipes, so your review and comments are greatly appreciated!
P.S. Never miss out on a new delicious recipe! Get more **healthy recipes** sent straight to your inbox weekly – Subscribe to my newsletter and receive a free recipe eBook as a welcome gift!
Print Recipe
Homemade Bounty Bars
Craving a sweet, homemade treat? These Homemade Bounty Bars are the perfect solution! It’s a fun and easy dessert with just 5 ingredients!
Ingredients
Ingredients for inside:
- 50 g desiccated coconut , (½ cup)
- 50 g coconut flour, (½ cup)
- 3 tbsp maple syrup
- 2 tbsp coconut oil, melted, 30 g
- 90 g dark chocolate
Instructions
-
Add the desiccated coconut and coconut flour into a large mixing bowl and mix together. Now add the maple syrup and melted coconut oil and mix well.
-
Now form small bar shapes with the mix, you’ll need to squeeze this together tightly (this doesn’t need to be perfect). Place onto a plate and pop in the fridge for 10-15 mins to harden.
-
Meanwhile, in a bain-marie add the chopped up chocolate bar and simmer until the chocolate melts.
-
Dip the coconut bars into the chocolate until completely coated and place back onto the plate/tray.
-
Top with a sprinkle of desiccated coconut (optional) and place back in the fridge for 15 minutes until they firm up.
Notes
Step-by-Step Photos: My blog post includes helpful step-by-step photos to help guide you through making this recipe.
Substitutions & Variations: I have included a list of these in the post above.
To Store: Store in an airtight container in the fridge for 3-4 days.
To Freeze: These could freeze in an airtight container for up to three months.
Tip 1: If you’d rather make bounty balls rather than bar shapes, feel free! They should work just as well.
Tip 2: Since these freeze well, it is a great recipe to double or triple to keep some extras on hand.
Tip 3: Don’t forget to refrigerate the centers before dipping them in chocolate. It will help them to hold their shape.