
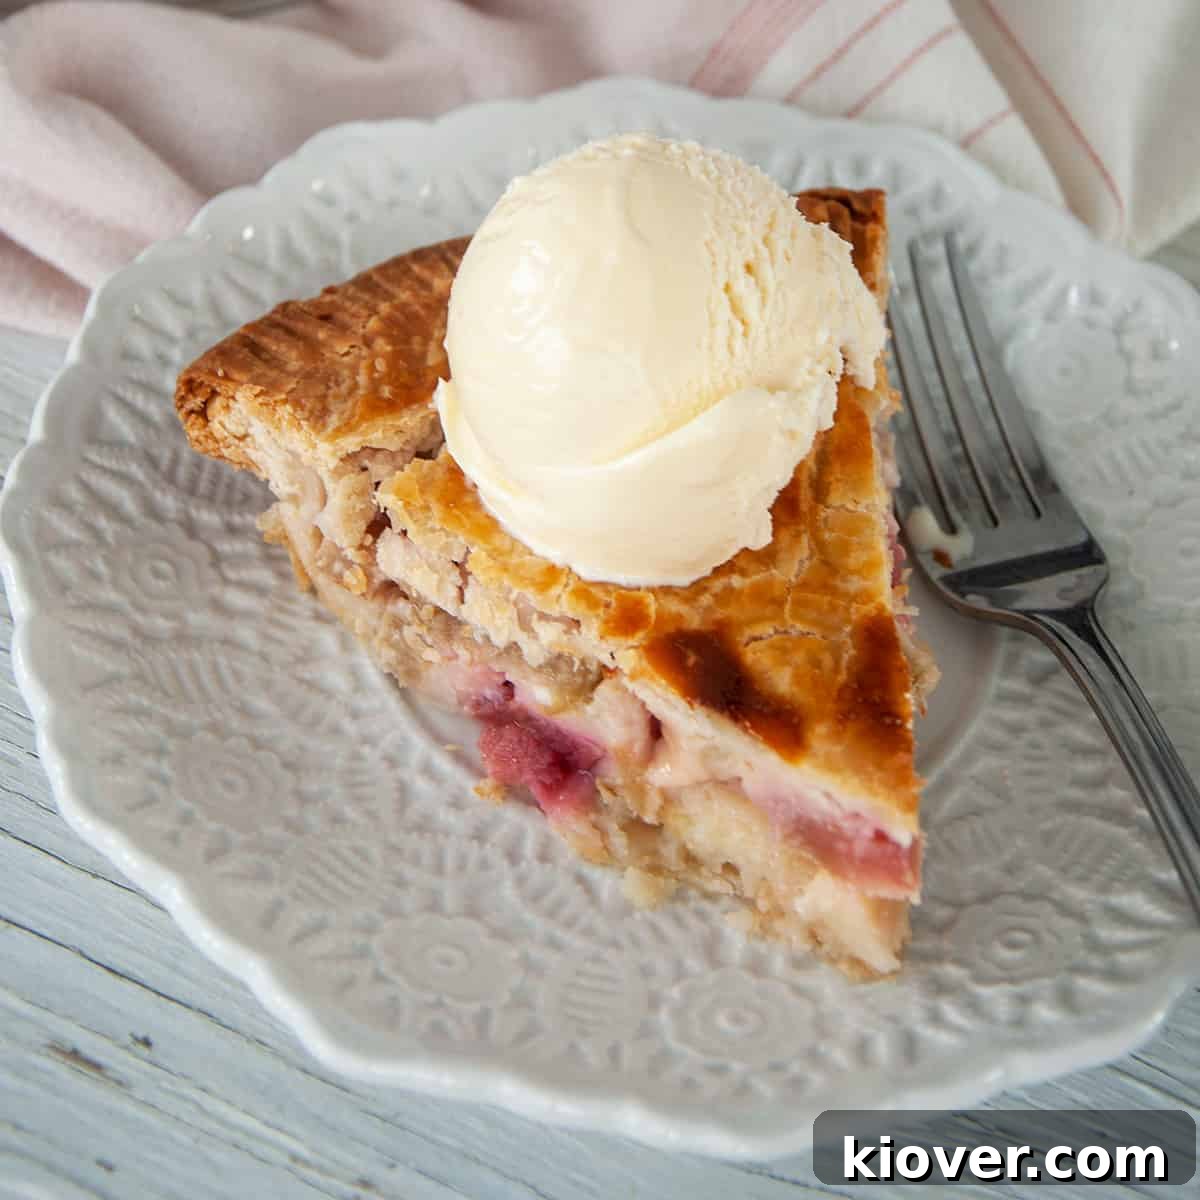
Sweet & Tart Rhubarb Pie: A Perfect Spring & Summer Dessert
As spring awakens and gardens burst with life, one of the first heralds of the season I eagerly anticipate is the vibrant rhubarb stalk. Its unique tartness, perfectly balanced with a touch of sweetness, forms the heart of one of my all-time favorite baked treats: homemade rhubarb pie. This classic dessert isn’t just a simple recipe; it’s an experience – a nostalgic taste of warmer days, family gatherings, and the simple joy of seasonal produce.
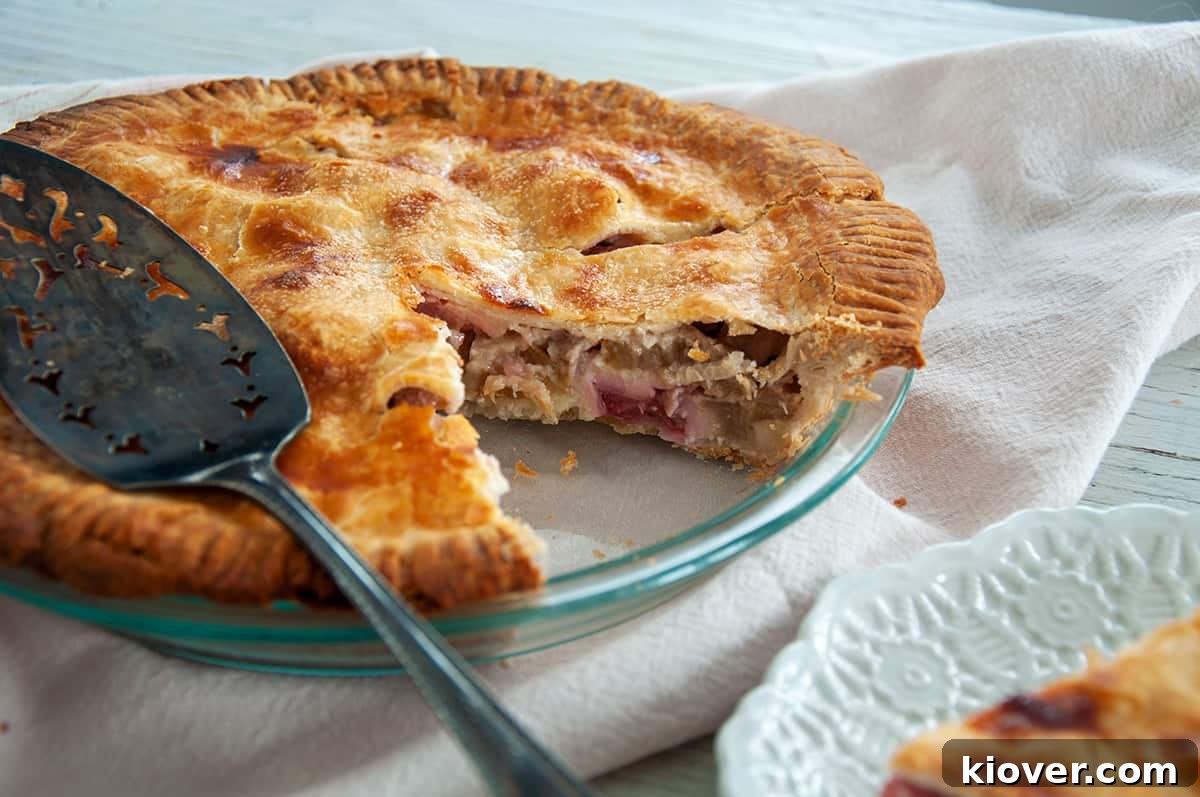
Forget the overly complicated recipes; this rhubarb pie is designed to be effortlessly delicious. It celebrates the rhubarb’s signature tangy flavor, ensuring it shines through while being beautifully complemented by just the right amount of sugar and a creamy filling. The result? A perfectly textured, sweet, and subtly tart pie that will have everyone asking for a second slice.
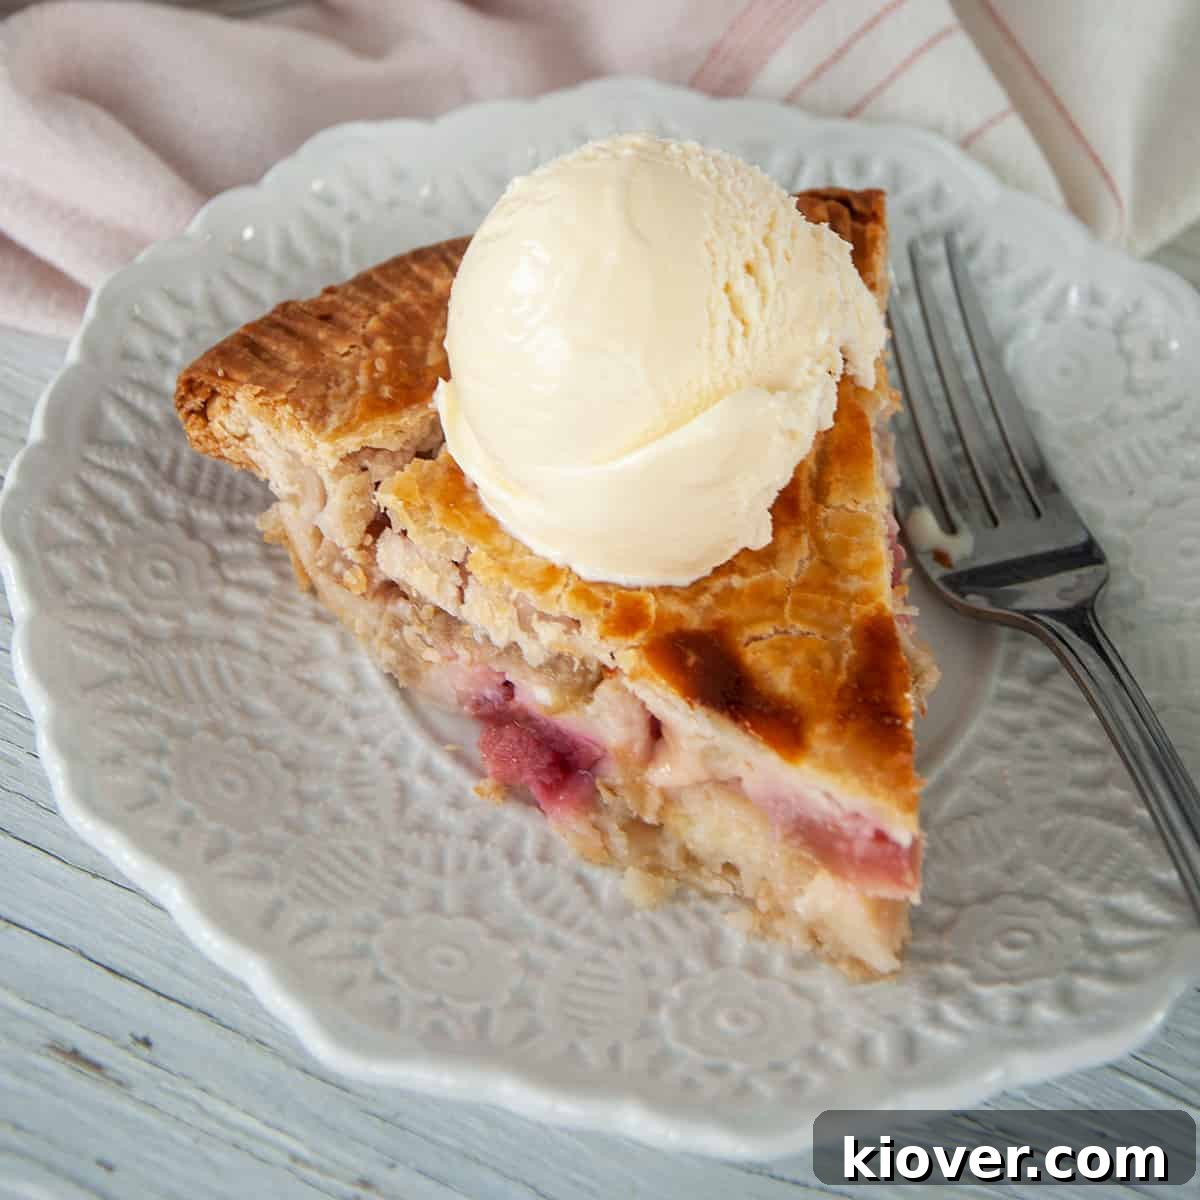
Why This Rhubarb Pie Recipe is a Must-Try
While apples dominate the fall baking scene, rhubarb reigns supreme in spring. This recipe is an ideal way to celebrate the abundance of your garden’s rhubarb harvest or to utilize that stash you’ve been saving in the freezer. It captures the essence of spring, bringing bright, fresh flavors to your table.
As the weather warms and grilling season kicks into full gear, this delightful rhubarb pie serves as the perfect sweet ending to any meal. Imagine savoring a slice after a hearty perfectly grilled ribeye steak, or perhaps following succulent grilled chicken thighs with homemade blackberry BBQ sauce. It even pairs wonderfully with bacon-wrapped grilled sweet potato fries for a truly unique dining experience. For those who adore rhubarb, don’t forget to explore our equally tempting Strawberry Rhubarb Cobbler recipe, another seasonal favorite.
What sets this particular recipe apart is its dedication to achieving the ideal flavor balance. Rhubarb, known for its intense tartness, needs careful handling. This recipe ensures that every bite offers a harmonious blend of tangy and sweet notes, encased in a buttery, flaky crust. It’s comfort food at its finest, easy enough for novice bakers yet satisfying enough for seasoned chefs.
Essential Ingredients for Your Delectable Rhubarb Pie
At the heart of any great rhubarb pie is, of course, the rhubarb itself. But achieving that perfect balance of sweet and tart, along with a creamy, firm filling, requires a carefully selected ensemble of supporting ingredients. Alone, rhubarb is simply too tart for a dessert, which is why we combine it with other elements to create a truly irresistible pie.
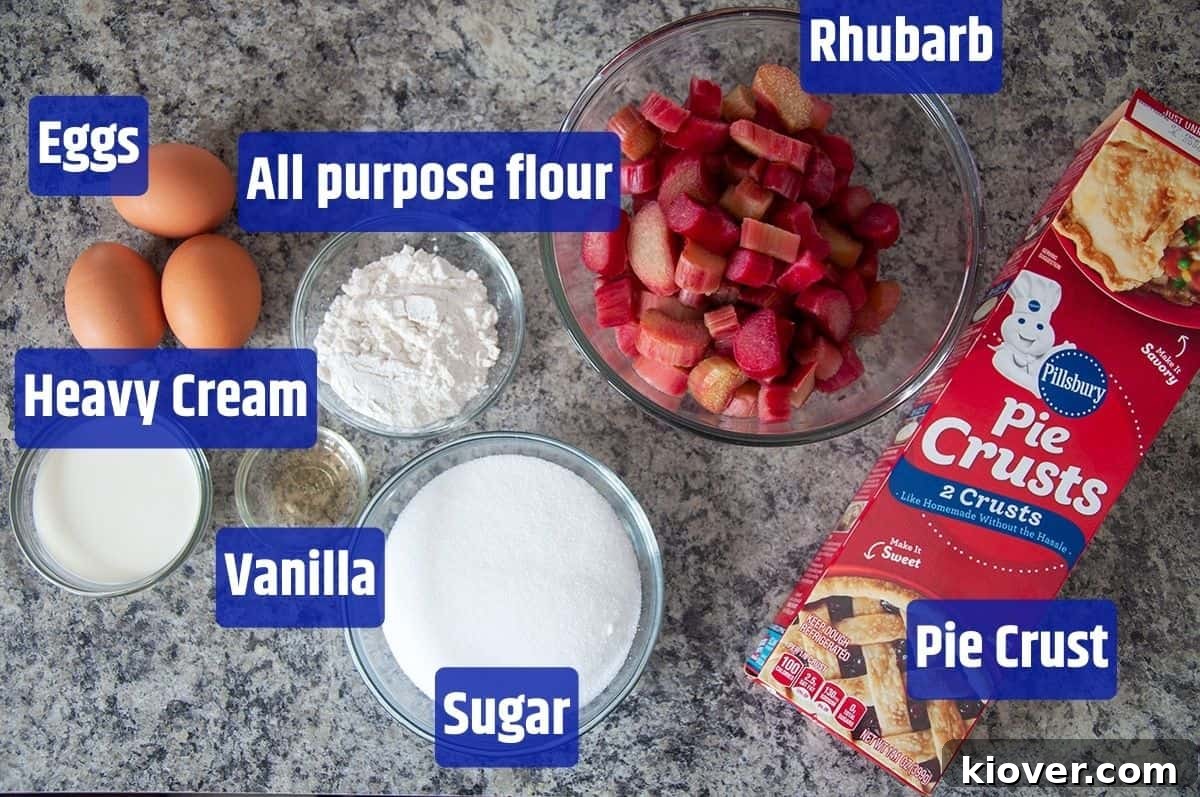
Here’s a detailed look at the simple yet essential ingredients:
- Fresh Rhubarb: The star of the show. Choose firm, bright red stalks for the best flavor and color. If using frozen rhubarb, ensure it’s fully thawed and well-drained to prevent a watery pie.
- Granulated Sugar: Essential for balancing rhubarb’s tartness. The amount is carefully calibrated to create a sweet, but not overly sugary, filling that lets the rhubarb’s natural flavor shine.
- All-Purpose Flour: Acts as a thickening agent for the filling, ensuring it sets beautifully when sliced. It also helps absorb excess moisture from the rhubarb.
- Eggs: Contribute to the richness and structure of the filling, helping it to set into a custardy consistency. An extra egg is used for an egg wash, giving the crust a beautiful golden sheen.
- Vanilla Extract: A touch of vanilla adds warmth and depth, complementing the fruit flavors without overpowering them.
- Heavy Cream: Provides an indulgent creaminess to the filling, enhancing the mouthfeel and richness.
- Pie Crusts: Two crusts are needed – one for the bottom and one for the top. While store-bought crusts offer convenience, our Best Buttered Pie Crust recipe is highly recommended for an unparalleled homemade taste and flaky texture that truly elevates the pie. Homemade pie crust invariably makes desserts taste a bit better, adding a rustic charm and superior flavor profile.
For precise quantities, please refer to the detailed recipe card below.
Crafting Your Perfect Rhubarb Pie: Step-by-Step Instructions
Despite its impressive taste and beautiful presentation, this rhubarb pie is remarkably simple to prepare. The majority of the work involves mixing the filling ingredients, making it an accessible recipe for bakers of all skill levels. Follow these straightforward steps to create a truly memorable dessert.
First, ensure your oven is preheated to the correct temperature. While the oven heats, the magic happens with the filling. In a large mixing bowl, combine the chopped rhubarb, granulated sugar, all-purpose flour, two eggs, vanilla extract, and heavy cream. Stir gently but thoroughly until all ingredients are well incorporated and the rhubarb is evenly coated. This mixture forms the luscious heart of your pie.
Next, carefully place one of your pie crusts into a 9-inch pie dish, gently pressing it to fit the contours. Pour the prepared rhubarb mixture into the bottom crust, spreading it out evenly. Then, cover the filling with the second pie crust. To create a beautiful seal and prevent the filling from bubbling out, gently fold the edges of the top crust under the bottom crust. Crimp the edges with your fingers or a fork to create a decorative finish, also known as fluting.
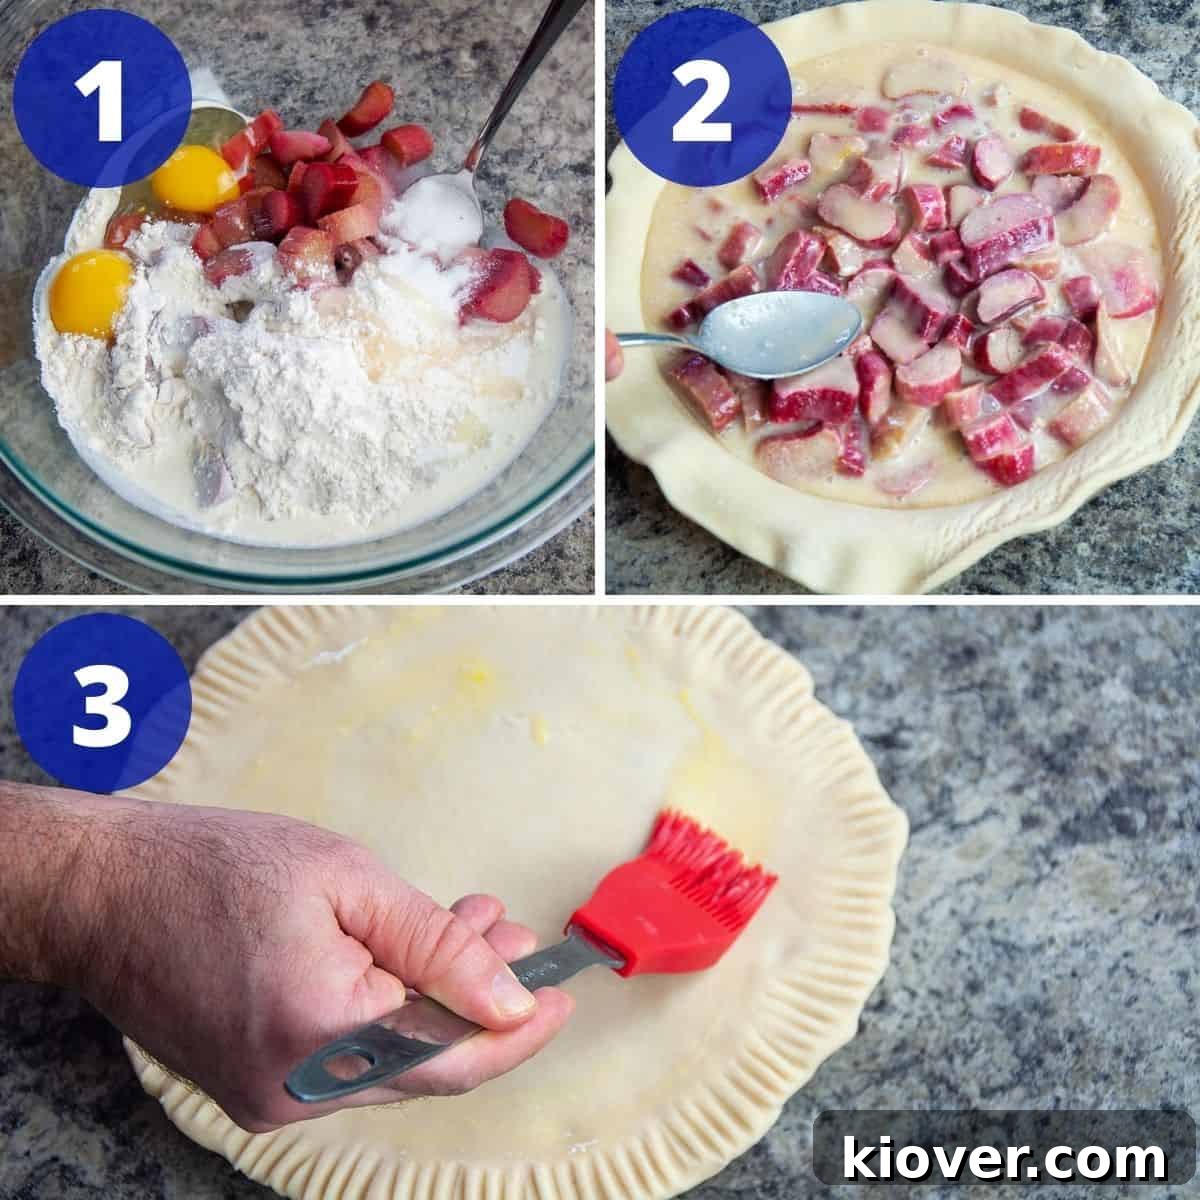
Before baking, whisk the remaining egg to create an egg wash. Lightly brush this egg wash over the top crust (avoiding the crimped edges if you want a more natural look there), and then sprinkle with the extra teaspoon of sugar. This not only gives the pie a beautiful golden-brown color but also adds a lovely crispness to the top. Make a few small slits in the top crust – typically four on opposite sides – to allow steam to escape during baking, preventing the crust from puffing up excessively.
To prevent the edges of your pie crust from burning while the center bakes to perfection, cover the outer edges with aluminum foil or a reusable pie crust shield. This crucial step ensures a uniformly golden-brown crust without any charred spots.
Bake the pie in your preheated oven at 425°F (220°C) for thirty-five minutes. After this initial baking period, carefully remove the foil or crust guard. Continue baking for an additional 10 to 15 minutes, or until the top crust achieves a beautiful light golden-brown color and the filling is bubbly. Keep a close eye on it during this final stage to prevent over-browning. While a dedicated pie crust guard works well, I often find that simply wrapping the edges with tin foil provides a more customizable and effective shield, even if it’s not as aesthetically pleasing.
Once baked, remove the pie from the oven and place it on a wire rack to cool completely. Allowing the pie to cool for several hours, ideally overnight, is essential. This gives the filling ample time to set properly, ensuring clean, perfect slices. Remember, patience is key for the best pie experience!
Substitutions and Creative Flavor Variations
While this rhubarb pie recipe is fantastic as is, it also offers a few opportunities for customization. It’s not the most versatile recipe in terms of ingredient swaps due to rhubarb’s unique profile, but you can certainly experiment with these tried-and-true variations:
- Garden-Fresh vs. Store-Bought Rhubarb: I’ve successfully made this pie using both fresh rhubarb from my garden and stalks purchased from the grocery store. Both yield excellent results, so use what’s most accessible to you. Just remember to thaw and drain frozen rhubarb thoroughly to prevent a watery filling.
- Pie Crust Preference: The quality of your crust significantly impacts the overall pie experience. While I used convenient purchased pie crusts for this recipe, I highly recommend trying our Butter Pie Crust recipe. A homemade, flaky butter crust adds an unparalleled richness and texture that truly elevates this dessert. You can also experiment with different types of crusts, like a whole wheat crust for a nuttier flavor or a gluten-free crust for dietary needs.
- Strawberry-Rhubarb Delight: For a popular and delicious twist, consider substituting some of the rhubarb with fresh, sliced strawberries. The natural sweetness of strawberries beautifully complements rhubarb’s tartness, creating a classic strawberry-rhubarb pie. Aim for a 50/50 ratio for a balanced flavor, or adjust to your preference.
- Spice it Up: A pinch of ground cinnamon, nutmeg, or ginger can add a wonderful warmth and complexity to the rhubarb filling. Start with 1/4 teaspoon and adjust to taste.
- Citrus Zest: A teaspoon of lemon or orange zest can brighten the flavors of the pie, adding a lovely aromatic note.
Storage and Make-Ahead Tips for Your Rhubarb Pie
Proper storage is key to enjoying your delicious rhubarb pie for days to come. Because the filling contains eggs, refrigeration is essential to maintain freshness and safety.
Once the pie has cooled completely to room temperature (which will take several hours), cover it loosely with plastic wrap or aluminum foil. Store the covered pie in the refrigerator for up to one week. The flavors often deepen and meld beautifully after a day in the fridge, making it an excellent make-ahead dessert.
For longer storage, this rhubarb pie freezes exceptionally well. You can freeze the entire pie, either before or after baking, or freeze individual slices for convenient grab-and-go treats. To freeze an unbaked pie, assemble it, wrap it tightly in several layers of plastic wrap and then foil, and freeze for up to 3 months. Bake from frozen, adding about 20-30 minutes to the baking time and ensuring the crust edges are well-protected from burning.
To freeze a baked pie, allow it to cool completely, then wrap it securely in plastic wrap and foil. Freeze for up to 3 months. Thaw frozen baked pie in the refrigerator overnight, or reheat individual slices in the oven (at 300°F/150°C) or microwave until warmed through. Freezing in slices is particularly handy for enjoying a sweet treat whenever the craving strikes!
A Brief History of Rhubarb: From Medicine to Dessert
The story of rhubarb is a fascinating journey from ancient medicine to modern culinary delight. Originally native to Siberia and Central Asia, rhubarb was revered for its medicinal properties long before it found its way into pies. Ancient Chinese, Greek, and Roman civilizations utilized rhubarb roots as a powerful laxative and digestive aid, with its use documented as far back as 5000 years ago.
It slowly made its way to Europe, initially valued only for its medicinal uses. However, it wasn’t until the 18th century, with the increased availability of sugar, that rhubarb began to be recognized for its culinary potential. By the 19th century, it had become a prominent ingredient in European and American kitchens, particularly in sweet dishes like pies, crumbles, and jams. Its vibrant stalks and distinctive tart flavor quickly earned it the nickname “pie plant,” solidifying its place as a beloved seasonal fruit (though botanically, it’s a vegetable!).
Frequently Asked Questions (FAQ) About Rhubarb Pie
A: Vanilla ice cream is the absolute perfect accompaniment to this pie! Its creamy sweetness beautifully contrasts and complements the tartness of the rhubarb. Other great options include caramel swirl, ginger, or even a plain whipped cream for a lighter touch.
A: Rhubarb is primarily a spring vegetable, typically harvested from early spring through early summer. Its peak season is usually April to June, but it can continue to grow and be harvested throughout the summer months in many regions. Early season stalks tend to be more tender and less fibrous.
A: Yes, absolutely! If using frozen rhubarb, make sure to thaw it completely and drain off any excess liquid before mixing it into the filling. This step is crucial to prevent the pie from becoming watery and ensuring a perfectly set filling.
A: To avoid a soggy bottom, ensure your oven is preheated properly and bakes at the initial high temperature to set the crust quickly. You can also lightly brush the bottom crust with a thin layer of egg white before adding the filling, or sprinkle with a teaspoon of breadcrumbs or finely crushed cornflakes to absorb moisture.
Expert Tips for the Perfect Rhubarb Pie
Achieving a truly exceptional rhubarb pie is simple when you know a few tricks. These expert tips will help ensure your pie has a perfectly flaky crust, a wonderfully set filling, and an irresistible flavor profile:
- Mastering the Crust:
- Crimp with Confidence: For a beautiful and secure crust, fold the top crust under the bottom crust edge. Then, use a fork to press and seal, or watch this helpful video on how to flute a pie crust for an elegant finish. A well-sealed crust prevents the filling from bubbling over.
- Protect the Edges: Always cover the outer edges of your pie crust with aluminum foil or a pie crust shield during the first phase of baking. This prevents them from burning before the rest of the pie is cooked. Remove the foil after about 35 minutes to allow the edges to brown nicely.
- Golden Finish: The egg wash applied to the top crust is not just for appearance; it contributes to a beautiful, golden-brown, and slightly crisp top crust.
- Sweetness and Texture:
- Optional Sugar Sprinkle: While optional, sprinkling a teaspoon of sugar over the egg-washed top crust before baking adds a lovely sparkling finish and a slight crispness that enhances the texture.
- Don’t Skimp on Cooling Time: This is arguably the most crucial tip for any fruit pie, especially one with a custardy filling like rhubarb. A minimum of a few hours of cooling is needed to allow the filling to set completely, but letting it cool overnight on a wire rack is ideal. This ensures clean, firm slices and prevents a runny pie.
- Safety and Storage:
- Refrigeration is Key: Because this pie contains eggs in its filling, it’s imperative to store any leftovers in the refrigerator once it has fully cooled. Keep it covered to maintain freshness.
- Enhance Flavor:
- Adjust Sweetness: Rhubarb’s tartness can vary. Taste a small piece of raw rhubarb if you’re unsure, and adjust the sugar quantity slightly to your preference, although the recipe provides a balanced amount.
- Freshness Matters: Using fresh, vibrant rhubarb will always yield the best flavor.
Recommended Baking Tools for Rhubarb Pie
Having the right tools can make your pie-baking experience smoother and more enjoyable. Here are a few essential items that will assist you in creating the perfect rhubarb pie:
- 9″ Pie Tin: A sturdy pie tin is fundamental for even baking and a beautifully shaped pie.
- Silicon Brush: Ideal for applying egg wash to your pie crust for that perfect golden sheen.
- Pie Server: Essential for neatly slicing and serving your delicious pie without crumbling.
- Large Mixing Bowl: For combining the rhubarb filling ingredients.
- Wire Rack: Crucial for cooling the pie completely and preventing a soggy bottom.
- Measuring Cups and Spoons: For accurate ingredient quantities.
- Rolling Pin: If you opt for homemade pie crust.
Share Your Rhubarb Pie Creation!
It fills me with joy to know you’ve tried this recipe! I truly hope you love this homemade rhubarb pie as much as I do. Your feedback is incredibly valuable, not just for me, but for other home bakers looking for their next favorite dessert. If you enjoyed making and tasting this rhubarb pie, please consider leaving a rating and comment in the section below. It helps others discover this wonderful recipe and lets me know how I’m doing.
Thank you so much for visiting Ramshackle Pantry and being a part of our culinary community. Happy baking!

Rhubarb Pie Recipe
Rating: 5 out of 5 stars (based on 1 review)
- Author: Ben
- Prep Time: 15 minutes
- Cook Time: 45 minutes
- Total Time: 1 hour
- Yield: 8 pieces
- Category: Dessert
- Method: Baking
- Cuisine: American
Description
This Rhubarb Pie is a delicious dessert, perfect for spring and summer, especially when served with a scoop of vanilla ice cream. The classic combination of tart rhubarb and sweet flavors come together beautifully in this comforting treat.
Ingredients
- 1 pound (approx. 450g) drained and thawed rhubarb, chopped into 1/2-inch pieces
- ⅔ cup white granulated sugar, plus 1 teaspoon for sprinkling
- ¼ cup all-purpose flour
- 2 large eggs (for filling), plus 1 large egg (for egg wash)
- 1 teaspoon vanilla extract
- ¼ cup heavy cream
- 2 pre-made pie crusts (or homemade, 9-inch diameter)
Instructions
- Preheat your oven to 425°F (220°C).
- Prepare Filling: In a large mixing bowl, combine the chopped rhubarb, ⅔ cup sugar, flour, 2 eggs, vanilla extract, and heavy cream. Stir until all ingredients are well combined.
- Assemble Pie: Place one pie crust into a 9-inch pie dish. Pour the rhubarb mixture evenly into the crust.
- Add Top Crust: Carefully place the second pie crust over the filling. Fold the edges of the top crust under the bottom crust. Crimp the edges to seal and decorate, either by fluting or pressing with a fork.
- Egg Wash & Sugar: Whisk the remaining 1 egg to create an egg wash. Brush this over the center of the top crust (you can leave the crimped edges uncovered if preferred). Sprinkle the remaining 1 teaspoon of sugar over the egg-washed top.
- Vent Pie: Pierce the top crust in a few places (e.g., cut four small slits, one on each side) to allow steam to escape during baking.
- Protect Crust: Cover the outer edges of the pie crust with aluminum foil or a pie crust shield to prevent burning.
- Initial Bake: Bake for 35 minutes.
- Brown Crust: Carefully remove the tinfoil or crust guard.
- Final Bake: Continue baking for another 10-15 minutes, or until the top crust is a beautiful golden brown and the filling is bubbly.
- Cool: Remove the pie from the oven and allow it to cool completely on a wire rack for at least 1-2 hours at room temperature. For best results, let it cool overnight.
- Store: Once fully cooled, place the pie in the refrigerator, covered, until ready to serve.
Notes
- Crimp the pie crust by folding the top under the bottom crust and using a fork to seal, or refer to this video on how to flute a pie crust for visual guidance.
- The sugar sprinkle on top is optional but adds a lovely crispness and shine.
- Remember to remove the tinfoil after 35 minutes and monitor the crust closely during the final baking stage for a light golden-brown finish.
- Allowing the pie to cool for several hours, ideally overnight, is crucial for the filling to set properly, ensuring perfect slices.
- Since the pie filling contains eggs, always store leftovers in the refrigerator.