
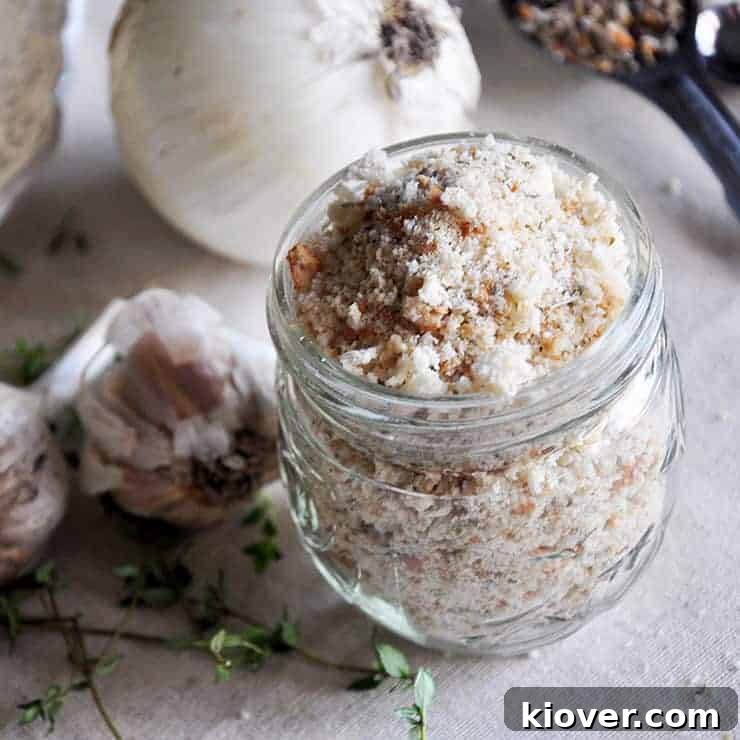
Mastering Homemade Breadcrumbs: Elevate Your Culinary Creations
Learning how to make breadcrumbs at home is not just a basic cooking technique; it’s an essential skill that promises to elevate the flavor and texture of countless dishes. Forget the store-bought versions that often contain unwanted additives and lack the vibrant freshness of homemade. Crafting your own breadcrumbs from scratch is incredibly rewarding, surprisingly simple, and truly worth the minimal effort. By embracing this fundamental cooking skill, you unlock a world of improved flavors and textures, transforming everyday meals into something truly special.
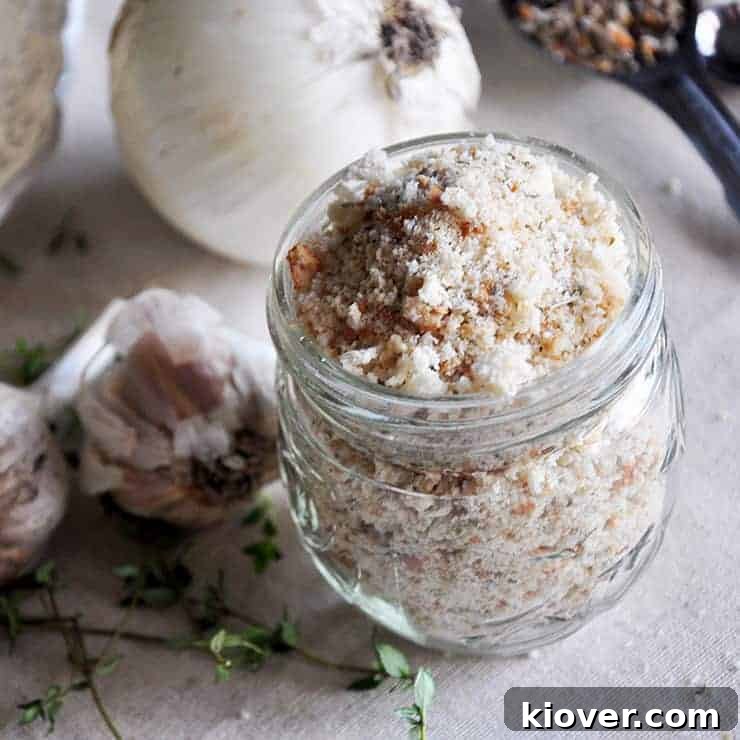
While our macaroni and cheese series has, until now, deliberately omitted breadcrumbs, that’s about to change. Historically, I’ve left them out of my traditional macaroni and cheese recipes because I believe a well-executed, rich mac and cheese is robust enough without an additional topping. Indeed, my easiest mac and cheese recipe stands proudly on its own. However, I deeply appreciate the widespread love for a crispy breadcrumb topping on baked macaroni and cheese. It adds a delightful textural contrast and a layer of savory depth that many find irresistible. Today, we’re diving into the straightforward process of making perfect homemade breadcrumbs, which I’ll be incorporating into some upcoming recipes that truly benefit from their presence, enhancing them with that coveted golden crunch.
This recipe focuses on utilizing fresh bread, transforming it into golden, crispy crumbs. However, the same fundamental technique can be adapted if you have day-old, crusty, or slightly firm bread that isn’t yet showing any signs of mold. The goal remains the same: to dry out the bread, imbue it with flavor, and process it into versatile, ready-to-use crumbs.
The Simple Science of Homemade Breadcrumbs
The core principle behind making excellent breadcrumbs is deceptively simple: we want to dry out the bread thoroughly, making it wonderfully crispy, before processing it into fine, uniform crumbs. For this guide, we’ll start with fresh bread and achieve that desired crispiness through a quick bake in the oven. Following this drying step, the toasted bread is combined with a selection of seasonings in a food processor and pulsed until it reaches the ideal crumb consistency. The outcome is a batch of flavorful, typically Italian-style breadcrumbs, perfectly suited to top your favorite macaroni and cheese, or countless other dishes.
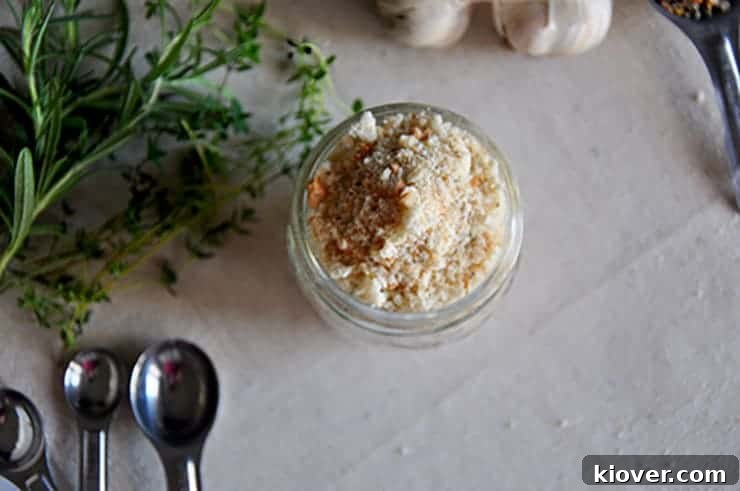
Beyond being a mere recipe, crafting your own breadcrumbs is an act of culinary mindfulness. It reduces food waste, gives you complete control over ingredients, and, most importantly, significantly boosts the flavor profile of any dish that calls for them. Homemade breadcrumbs simply taste better – fresher, more authentic, and tailored to your preferences. They possess a depth and character that pre-packaged crumbs can rarely match, making them a secret weapon in any home cook’s arsenal.
Why Homemade Breadcrumbs are a Game Changer
You might wonder why bother making breadcrumbs when they’re readily available at any grocery store. The answer lies in the profound difference in quality, flavor, and control. Store-bought breadcrumbs often come with a laundry list of preservatives, high sodium content, and sometimes even artificial flavors. They tend to be uniformly dry and bland, offering little more than texture. Homemade breadcrumbs, on the other hand, are a testament to freshness and pure flavor.
By making them yourself, you control every ingredient, from the type of bread to the seasoning blend. This means you can create gluten-free, low-sodium, or organic breadcrumbs tailored to your dietary needs and taste preferences. Furthermore, it’s an excellent way to reduce food waste by utilizing leftover bread that might otherwise go stale or be discarded. The resulting crumbs have a superior texture – often a mix of fine and slightly coarser pieces – and a robust, genuine bread flavor that adds an unparalleled richness to your cooking. The difference is truly night and day, making the small investment of time incredibly worthwhile.
Choosing the Right Bread for Your Breadcrumbs
The type of bread you choose significantly impacts the final flavor and texture of your breadcrumbs. While virtually any bread can be transformed, some yield superior results:
- Fresh White Bread: As used in this recipe, fresh white sandwich bread creates light, airy, and finely textured breadcrumbs. When toasted, it becomes incredibly crispy.
- Stale or Day-Old Bread: This is arguably the classic choice. Stale bread requires less drying time in the oven, as much of its moisture has already evaporated naturally. Artisan loaves, baguettes, or even leftover dinner rolls work wonderfully, yielding crumbs with more character and a rustic feel.
- Sourdough Bread: For a tangy, more complex flavor profile, sourdough is an excellent choice. It creates breadcrumbs with a distinct depth that can elevate dishes like gratins or stuffings.
- Brioche or Challah: If you’re aiming for richer, slightly sweeter breadcrumbs, these enriched breads are fantastic. They lend a golden hue and a tender quality, perfect for desserts or dishes where a hint of sweetness is desired.
- Whole Wheat or Multigrain Bread: For a healthier, nuttier option, whole wheat or multigrain breads produce hearty breadcrumbs that are packed with fiber and a more robust flavor.
- Gluten-Free Bread: For those with dietary restrictions, gluten-free bread can be used to make equally delicious and safe breadcrumbs.
Regardless of your choice, ensure the bread is free from mold. A little staleness is good; mold is not.
How to Make Homemade Breadcrumbs: A Detailed Recipe
How To Make Breadcrumbs – My Easy Breadcrumb Recipe
- Author: Ben Myhre
- Prep Time: 20 Minutes
- Cook Time: 25 Minutes
- Total Time: 45 Minutes
- Yield: Approximately 5 Servings
- Category: Side Dish, Topping
- Method: Baking
- Cuisine: Italian
Description
Learn how to make the best homemade breadcrumbs! This simple and easy breadcrumb recipe yields incredibly flavorful, Italian-style crumbs, perfect for enhancing your macaroni and cheese or any dish that calls for a crispy topping.
Ingredients
- 4 oz fresh bread (approximately 3-4 slices of sandwich bread, or equivalent from an artisan loaf)
- 1 tablespoon dried Italian seasoning
- 1 teaspoon salt
- ½ teaspoon garlic powder
- ½ teaspoon onion powder
Instructions
- Preheat your oven to 300°F (150°C). Prepare a baking sheet by lining it with parchment paper for easy cleanup, though it’s not strictly necessary.
- Carefully cut the bread into uniform 1-2 inch squares. Smaller, more consistent pieces will dry out more evenly.
- Arrange the bread squares in a single layer on the prepared cookie sheet. Ensure they are not overlapping to allow for optimal air circulation and even toasting.
- Bake the bread squares in the preheated oven for approximately 20-25 minutes, or until they are completely dried out, golden brown, and crispy. The exact time may vary based on your oven and the type of bread.
- Remove the toasted bread from the oven and allow it to cool completely on the baking sheet for at least 15 minutes. Cooling is crucial, as warm bread will create a paste rather than crumbs in the food processor.
- Once cooled, transfer the crispy bread pieces along with the dried Italian seasoning, salt, garlic powder, and onion powder to a food processor.
- Pulse the food processor in short bursts until the bread reaches a consistent crumb texture. You can achieve a coarser or finer crumb depending on your preference and the intended use. Avoid over-processing, which can turn the mixture into a fine powder.
- Your fresh, homemade breadcrumbs are now ready to use or store!
Nutritional Information: While we strive for accuracy, nutritional values are estimates. For precise information, please calculate based on the specific ingredients and brands you use.
Seasoning Your Breadcrumbs: Beyond Italian
While this recipe provides a fantastic Italian-style breadcrumb, the beauty of homemade is the ability to customize. Here are a few ideas to inspire your culinary creativity:
- Plain Breadcrumbs: Simply toast and process the bread without adding any spices. These are incredibly versatile for recipes where you want the other ingredients to shine, or if you prefer to season as you cook. They are also perfect for making Panko-style crumbs by using coarser bread and a lighter toast.
- Spicy Breadcrumbs: Add a pinch of cayenne pepper, red pepper flakes, or smoked paprika along with the salt and garlic powder for a kick.
- Cheesy Breadcrumbs: Incorporate finely grated Parmesan or Pecorino cheese after the bread has been processed, or mix it in lightly with the seasonings before pulsing. Be mindful that cheese can shorten storage time if not dried thoroughly.
- Herby Breadcrumbs: Experiment with different dried herbs like thyme, rosemary, or sage, especially for poultry or stuffing applications. Fresh herbs can also be added, but they will reduce the shelf life significantly due to moisture.
- Mediterranean Breadcrumbs: Combine dried oregano, marjoram, a hint of lemon zest, and a touch of black pepper for a bright, zesty flavor profile.
The possibilities are endless. Feel free to experiment with your favorite spices and herbs to create a unique blend that complements your dish.
Storage Tips for Freshness
Proper storage is key to keeping your homemade breadcrumbs fresh and flavorful for as long as possible:
- Airtight Container at Room Temperature: For immediate use (within 1-2 weeks), store your cooled breadcrumbs in an airtight container at room temperature. A glass jar or a sealed plastic container works best. Ensure they are completely cool before sealing to prevent condensation and mold.
- Refrigeration: If you plan to use them within 2-3 weeks, storing them in an airtight container in the refrigerator can extend their freshness, especially in humid climates.
- Freezing for Long-Term Storage: For the longest shelf life (up to 3 months or more), freeze your breadcrumbs. Spread them in a single layer on a baking sheet to freeze them individually for an hour, then transfer them to a freezer-safe bag or container. This prevents them from clumping together, allowing you to scoop out just what you need. They can be used directly from frozen in most recipes.
Always check for any signs of mold or an off smell before using stored breadcrumbs. Freshness makes a huge difference!
Unleashing the Versatility: Uses for Homemade Breadcrumbs
Once you have a batch of these golden crumbs, you’ll find countless ways to incorporate them into your cooking:
- The Perfect Topping: As mentioned, they are ideal for baked macaroni and cheese, casseroles, gratins, and roasted vegetables, providing that irresistible crispy crust.
- Breading Agent: Use them to coat chicken cutlets, fish fillets, pork chops, or even vegetables before frying or baking, creating a crispy, golden exterior.
- Meatballs and Meatloaf: Breadcrumbs act as a binder, helping to hold ground meat mixtures together while adding moisture and flavor.
- Stuffing: They form the base of many classic stuffings for poultry or baked dishes, absorbing flavors and creating a satisfying texture.
- Thickeners: A small amount can be used to thicken sauces or stews, especially those based on vegetables.
- Vegetable Patties: Incorporate them into homemade veggie burgers or croquettes for structure and texture.
- Desserts: While less common, plain breadcrumbs can be lightly toasted with butter and sugar to create a crumb topping for fruit crumbles or apple crisps.
Embrace the possibilities, and let your homemade breadcrumbs become a staple in your kitchen.
Tips for Success and Troubleshooting
Making breadcrumbs is forgiving, but a few pointers can ensure consistent perfection:
- Even Drying: Ensure your bread pieces are roughly the same size and spread in a single layer on the baking sheet. This guarantees even toasting and prevents some pieces from burning while others remain soft.
- Avoid Over-Toasting: Keep a close eye on the oven, especially towards the end of the baking time. Bread can go from perfectly golden to burnt very quickly. If they look too dark, they will impart a bitter flavor.
- Cool Completely: Do not rush the cooling step. Warm breadcrumbs will clump in the food processor and can even attract moisture during storage, leading to quicker spoilage.
- Pulse, Don’t Blend: Use the “pulse” function on your food processor in short bursts. This allows you to control the consistency, achieving your desired coarseness without turning the bread into a fine powder or a sticky paste.
- Adjust Seasoning: Always taste a tiny bit of your finished breadcrumbs (or season a small portion of a dish with them) and adjust salt or other spices as needed.
With these tips, you’ll be a breadcrumb master in no time, ready to add that professional touch to all your home-cooked meals.
Conclusion: The Simple Joy of Homemade Breadcrumbs
In the grand tapestry of culinary skills, learning how to make breadcrumbs might seem minor, but its impact is anything but. This simple process transforms humble bread into a versatile ingredient that can dramatically enhance the texture, flavor, and overall appeal of countless dishes. From the crispy topping on your favorite baked pasta to the perfect binder in succulent meatballs, homemade breadcrumbs offer a freshness and quality that store-bought alternatives simply cannot match.
By taking a mere 45 minutes out of your day, you not only create a superior product but also gain greater control over your ingredients and reduce food waste. It’s a small effort with enormous culinary rewards, inviting you to experiment with flavors and bring a new level of homemade goodness to your kitchen. So, gather your bread, preheat your oven, and prepare to elevate your cooking with the delightful simplicity of homemade breadcrumbs. Happy cooking!