
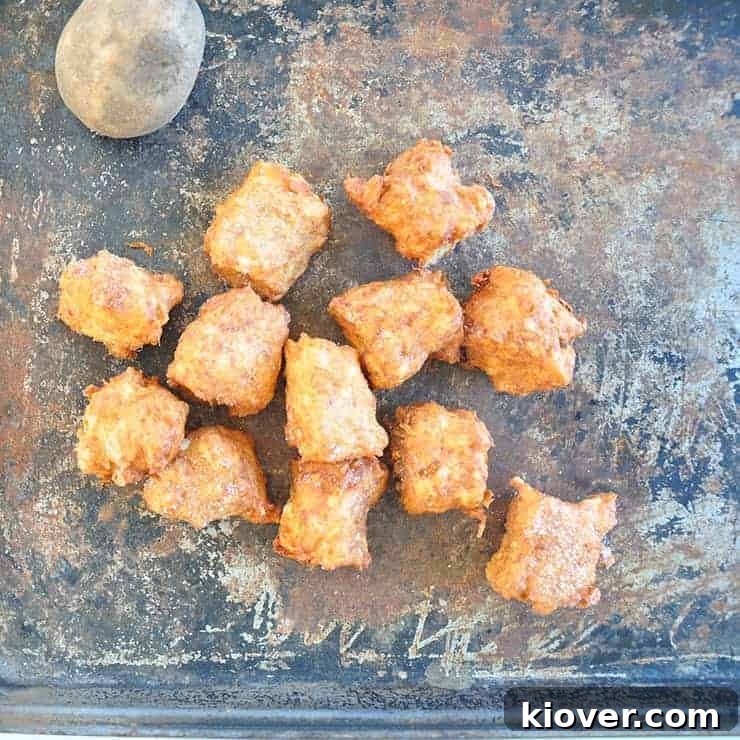
Are you a culinary enthusiast who loves the idea of transforming simple ingredients into something extraordinary? If so, get ready to embark on a delicious journey with our **From Scratch Tater Tot Recipe**. Forget the frozen aisle; this guide will empower you to create perfectly crispy, fluffy tater tots that are not only incredibly flavorful on their own but also serve as the ultimate foundation for a truly gourmet tater tot hotdish. Prepare for a fun, rewarding, and undeniably “nummy” cooking adventure!
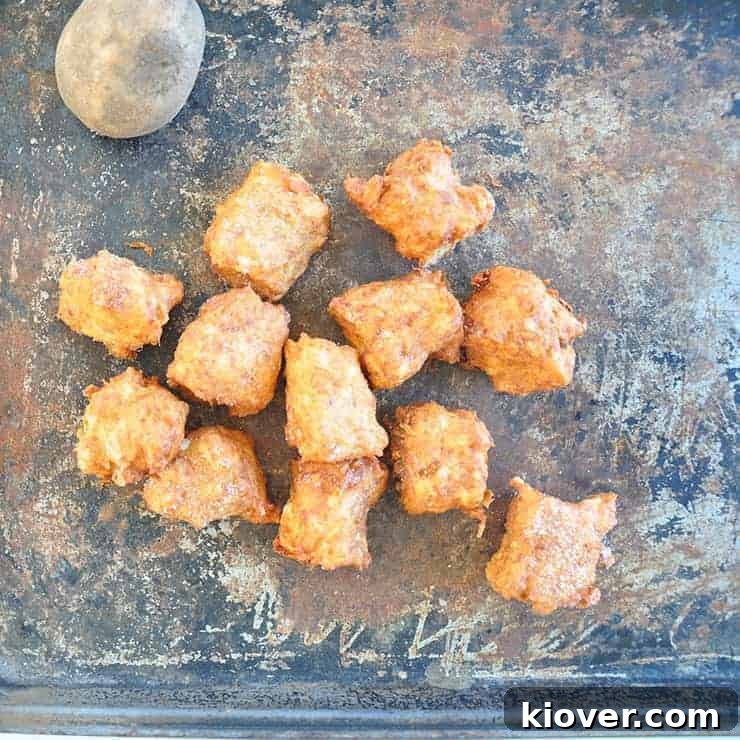
Here at the pantry, we’re diving deep into our highly anticipated hotdish series, and what better way to kick things off than by tackling one of its most iconic components: the humble tater tot. While traditional hotdish recipes often rely on convenience ingredients from a can, we’re challenging that notion by composing a hotdish entirely from scratch. You might think this defeats the purpose of an “easy” hotdish, but we believe the unparalleled taste and satisfaction of homemade justify the extra effort. Despite any pre-conceived notions, there’s an undeniable beauty and comfort in a thoughtfully prepared hotdish. And the journey to a truly magnificent hotdish begins with crafting your own perfect tater tots.
Unlocking the Magic of Homemade Tater Tots
Before we delve into the specifics, let’s address the elephant in the room. Whenever tater tots are mentioned, a certain cinematic moment often comes to mind – “Napoleon Dynamite,” and his undying love for these crispy potato morsels. This cultural reference perfectly encapsulates the simple, nostalgic joy that tater tots bring to countless people.
What Exactly are Tater Tots?
At their core, tater tots are shredded potatoes, artfully shaped into small cylinders, and then deep-fried to a golden crisp. The term “Tater Tots®” itself is a registered trademark of the well-known potato product manufacturer, Ore-Ida. They were originally created in 1953 by F. Nephi Grigg and Golden Grigg, founders of Ore-Ida, as a way to utilize leftover potato slivers from their french fry production. What started as a clever solution to food waste quickly became an American culinary icon. But why settle for the frozen version when you can create a superior product in your own kitchen?
The Indispensable Role of Tater Tots in Hotdish
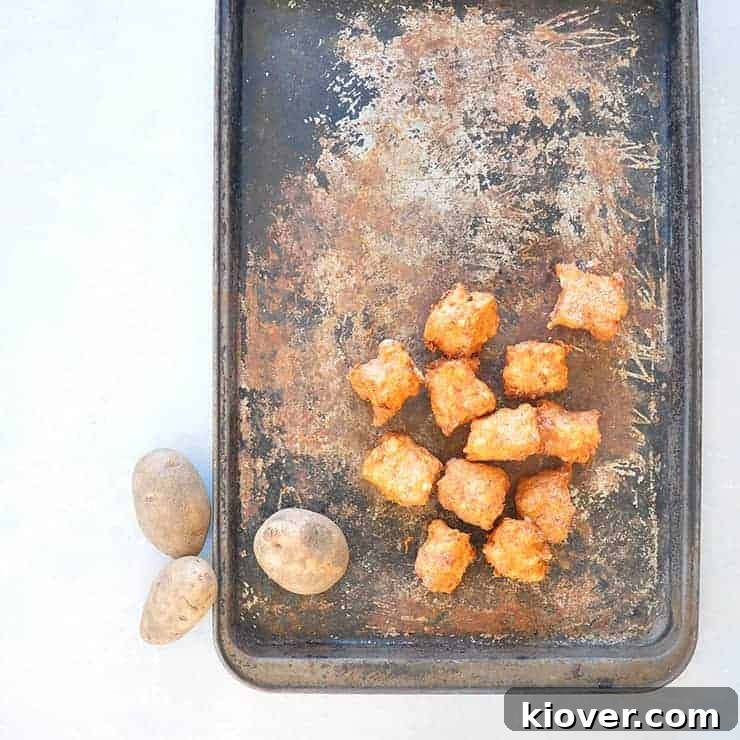
For many, the quintessential hotdish is synonymous with the tater tot hotdish. It’s a casserole that evokes comfort, warmth, and a delightful mix of textures. While perhaps not the earliest iteration of hotdish, the inclusion of tater tots marked a significant evolution, simplifying the preparation process and making it an incredibly accessible “dump and bake” meal. Throughout this series, our primary focus is to honor and elevate this beloved comfort food, and that means paying special attention to crafting the perfect homemade tater tots. By making them from scratch, we transform a convenient shortcut into a culinary highlight, ensuring every bite of your hotdish is an experience to savor.
My Tater Tot Recipe Development Journey: Learning from Culinary Missteps
Recipe development is often a process of trial and error, and my journey to the perfect homemade tater tot was no exception. Far from a smooth path, it was dotted with several “disasters” that ultimately became invaluable learning experiences. Embracing failure as a stepping stone to improvement is crucial in the kitchen, and each misstep brought me closer to understanding the nuances of these deceptively simple potato nuggets.
One of the initial challenges I faced was my general inexperience with deep-fat frying. While I had some cooking experience, including a stint at a fry station, home frying is an entirely different beast. I didn’t own specialized frying equipment like a “Fry Daddy” or a dedicated home fryer, relying instead on a sturdy metal pot and readily available vegetable oil. Adapting my existing kitchen tools, I found that a large slotted metal spoon, typically reserved for cheesemaking, worked perfectly for safely moving and removing the tots from the hot oil. This adaptability is often key in successful home cooking.
The Case for Peeling Potatoes
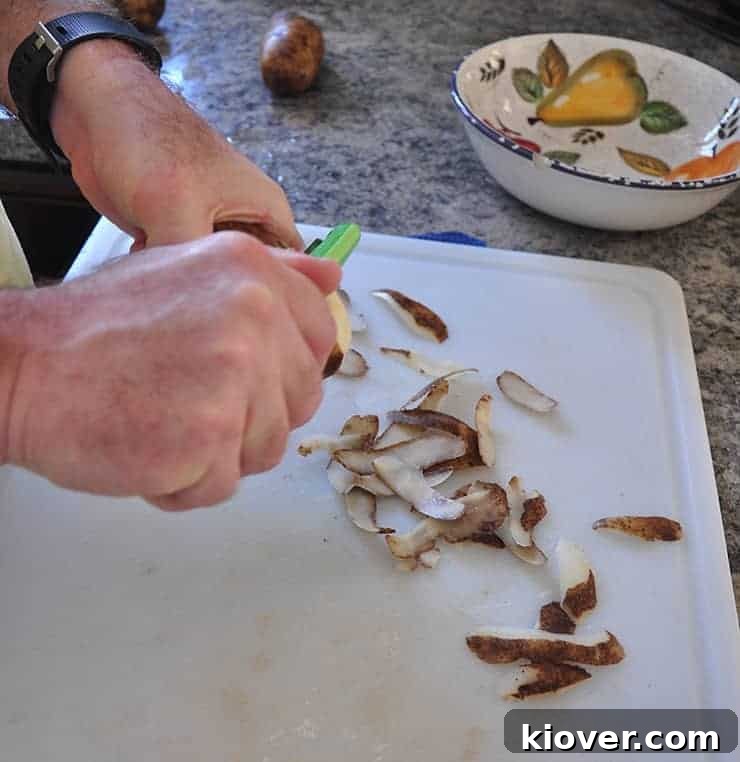
Initially, I experimented with leaving the potato skins on, a practice I usually advocate for due to the added nutrients and flavor. However, for tater tots, this proved to be an aesthetic downfall. While the skin-on tots tasted perfectly fine, their appearance was undeniably unappealing – speckled and somewhat uneven. The visual appeal of food significantly impacts enjoyment, so I quickly concluded that for classic, uniformly golden tater tots, peeling the potatoes is a necessary step. It ensures a consistent texture and a beautiful, inviting golden-brown finish.
Debunking the Double-Fry Myth: Simplicity Prevails
My culinary intuition initially suggested that tater tots, with their crisp outer shell and tender interior, must be twice or even thrice cooked. I imagined a complex process to achieve such contrasting textures. However, attempting a double-fry proved counterproductive, resulting in overly greasy or tough tots. Furthermore, during that initial attempt, I failed to incorporate a binding agent, leading to a disastrously crumbly mess. What I learned is that sometimes, the simplest approach yields the best results. Our ultimate tater tot recipe embraces this philosophy: a single, well-executed fry with the right binding ensures perfect texture and flavor without unnecessary complications. Shred, bind, and fry – it’s that straightforward.
The Ultimate Homemade Tater Tot Recipe: Golden Perfection Achieved
After much experimentation, the final tater tot recipe produces truly delightful, golden-brown tots with an irresistible crispy exterior and a wonderfully fluffy interior. They are a testament to the joy of making comfort food from scratch. I genuinely believe you’ll enjoy making and eating them as much as I do. If this recipe sparks your culinary interest, please consider sharing it on Pinterest or subscribing to our email updates for more exciting scratch-made recipes.
Print Recipe
From Scratch Tater Tot Recipe
5 Stars
5 from 1 review
- Author: Ben
- Prep Time: 20 Minutes
- Cook Time: 5 Minutes
- Total Time: 30 Minutes
- Yield: 2 Servings
- Category: Side Dish
- Method: Fry
- Cuisine: American
Description
Why settle for store-bought when you can easily create these incredibly delicious homemade tater tots? This simple recipe makes perfectly crispy tots that are far superior to any frozen alternative!
Ingredients
- 4 medium russet potatoes
- 1 egg
- ¼ cup of flour
- ½ Tablespoon of salt
- 1 teaspoon garlic powder
- ½ teaspoon cayenne powder
- Salt to top and to taste (for finishing)
Instructions
- Prepare Potatoes: Begin by carefully peeling the russet potatoes. Russets are ideal for their starch content, which contributes to a crispy exterior.
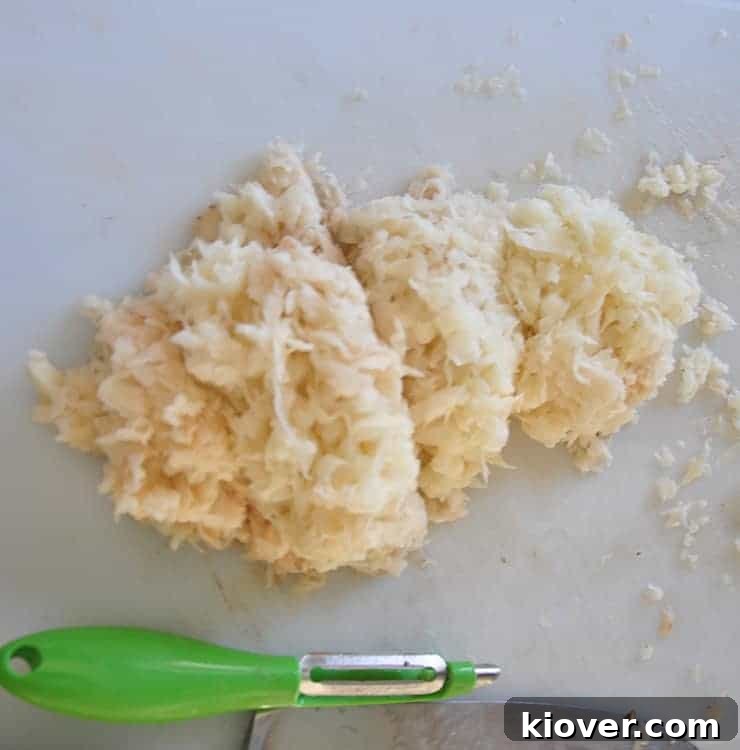
- Shred Finely: Using a box grater or food processor, finely shred the peeled potatoes. Finer shreds create a more uniform and cohesive tot. (See notes below for more on shredding techniques).
- Remove Excess Moisture: Place the shredded potatoes in a strainer or colander. Using your hands or a clean kitchen towel, squeeze out as much water as possible. This step is CRUCIAL for crispy tots, preventing them from becoming soggy. You can let them sit in the strainer for about half an hour for extra drainage, but thorough squeezing is the most important part.
- Prepare Frying Setup: Pour vegetable oil into a sturdy metal pot, ensuring it’s no more than half full. Alternatively, set up your deep fryer.
- Heat Oil: Heat the oil to 375°F (190°C). Use a cooking thermometer to ensure accuracy; maintaining the correct temperature is vital for perfectly cooked tots.
- Mix Wet Ingredients: While the oil is heating, crack the egg into a large mixing bowl and beat it well. The egg acts as a primary binder for the potato shreds.
- Incorporate Flour: Add the flour to the beaten egg and mix until a smooth paste forms. Flour provides additional binding and helps achieve that desired crispness.
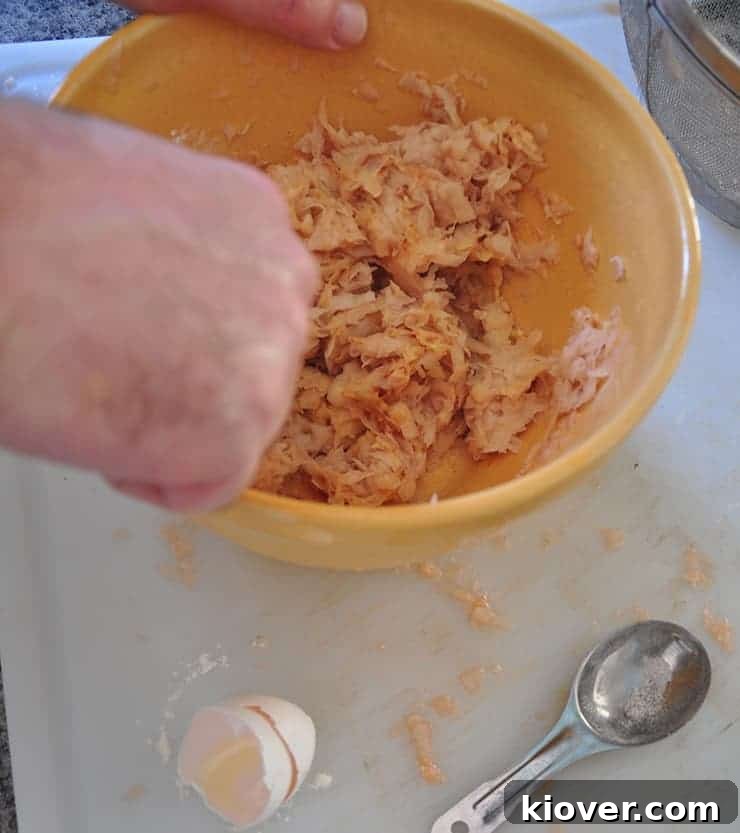
- Add Potatoes and Seasoning: Transfer the thoroughly dried shredded potatoes into the bowl with the egg and flour mixture. Add the ½ tablespoon of salt, garlic powder, and cayenne powder.
- Combine Thoroughly: Mix all ingredients together vigorously until the potatoes are evenly coated with the binding mixture and seasonings.
- Form Tater Tots: Take small portions of the potato mixture and compress them firmly, forming 2-inch long cylinders. Aim for shapes similar to classic tater tots. If you prefer, small balls are also perfectly fine. Ensure they are packed tightly to prevent crumbling during frying.
- Fry in Batches: Once the oil reaches 375°F, carefully add the formed tots to the hot oil in batches. Do not overcrowd the pot, as this will lower the oil temperature and result in greasy tots.
- Cook Until Golden: Fry the tots for approximately 5 minutes, or until they achieve a beautiful, uniform golden-brown color on all sides.
- Remove and Drain: Using a slotted spoon or the appropriate fryer basket, carefully remove the cooked tater tots from the oil.
- Cool and Absorb Oil: Transfer the fried tots to a plate lined with paper towels to drain off any excess oil. This helps maintain their crispness.
- Season Immediately: While still hot, immediately sprinkle the tater tots with extra salt to taste. The salt adheres best when they are fresh out of the fryer.
- Serve and Enjoy: Allow the tots to cool just enough to handle, then serve them warm as a fantastic side dish, a fun appetizer, or as the star of your homemade tater tot hotdish!
Notes
- Shredding Technique: For a deeper understanding of how different shredding techniques affect your potatoes, you can refer to resources like this guide on the difference between grated, shredded, and finely shredded. For tater tots, a fine shred is generally preferred.
- Oil Temperature: Maintaining 375°F (190°C) is key. If the oil is too cool, tots will absorb too much oil and become greasy. If it’s too hot, they’ll burn on the outside before cooking through.
- Potato Type: Russet potatoes are recommended for their high starch content, which results in a fluffy interior and crispy exterior. Waxy potatoes like Yukon Gold or red potatoes will yield a different, denser texture.
- Customization: Feel free to experiment with your seasonings! A pinch of smoked paprika, onion powder, or a dash of chili powder can add exciting new dimensions to your homemade tots.
- Batch Frying Safety: Always be mindful of oil levels and heat when deep frying. Never fill a pot more than halfway with oil, and keep a lid nearby in case of a grease fire.