
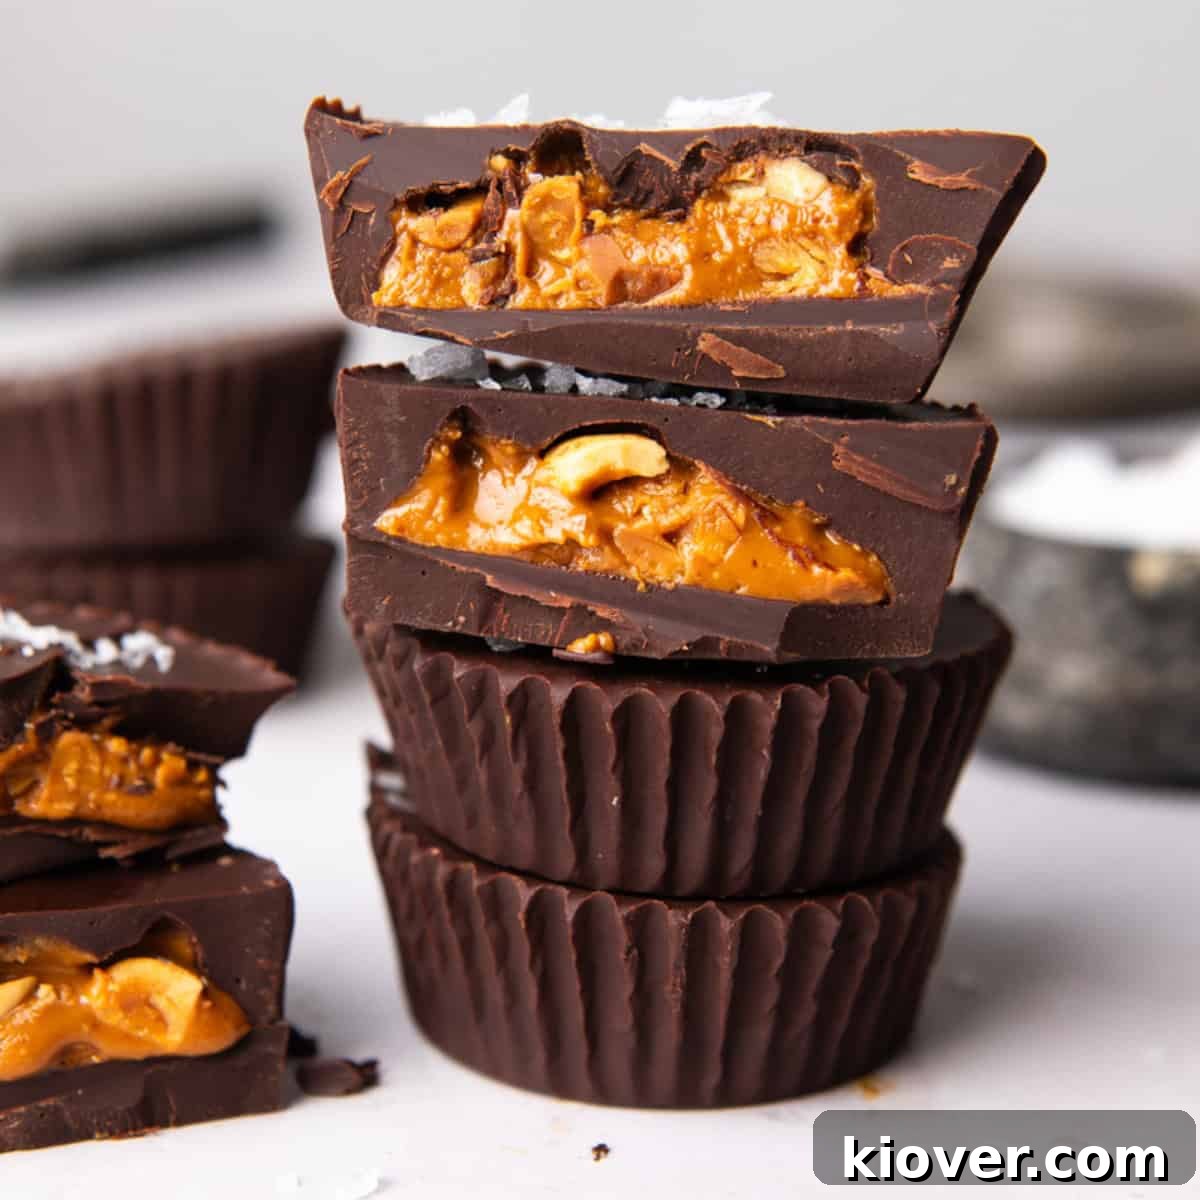
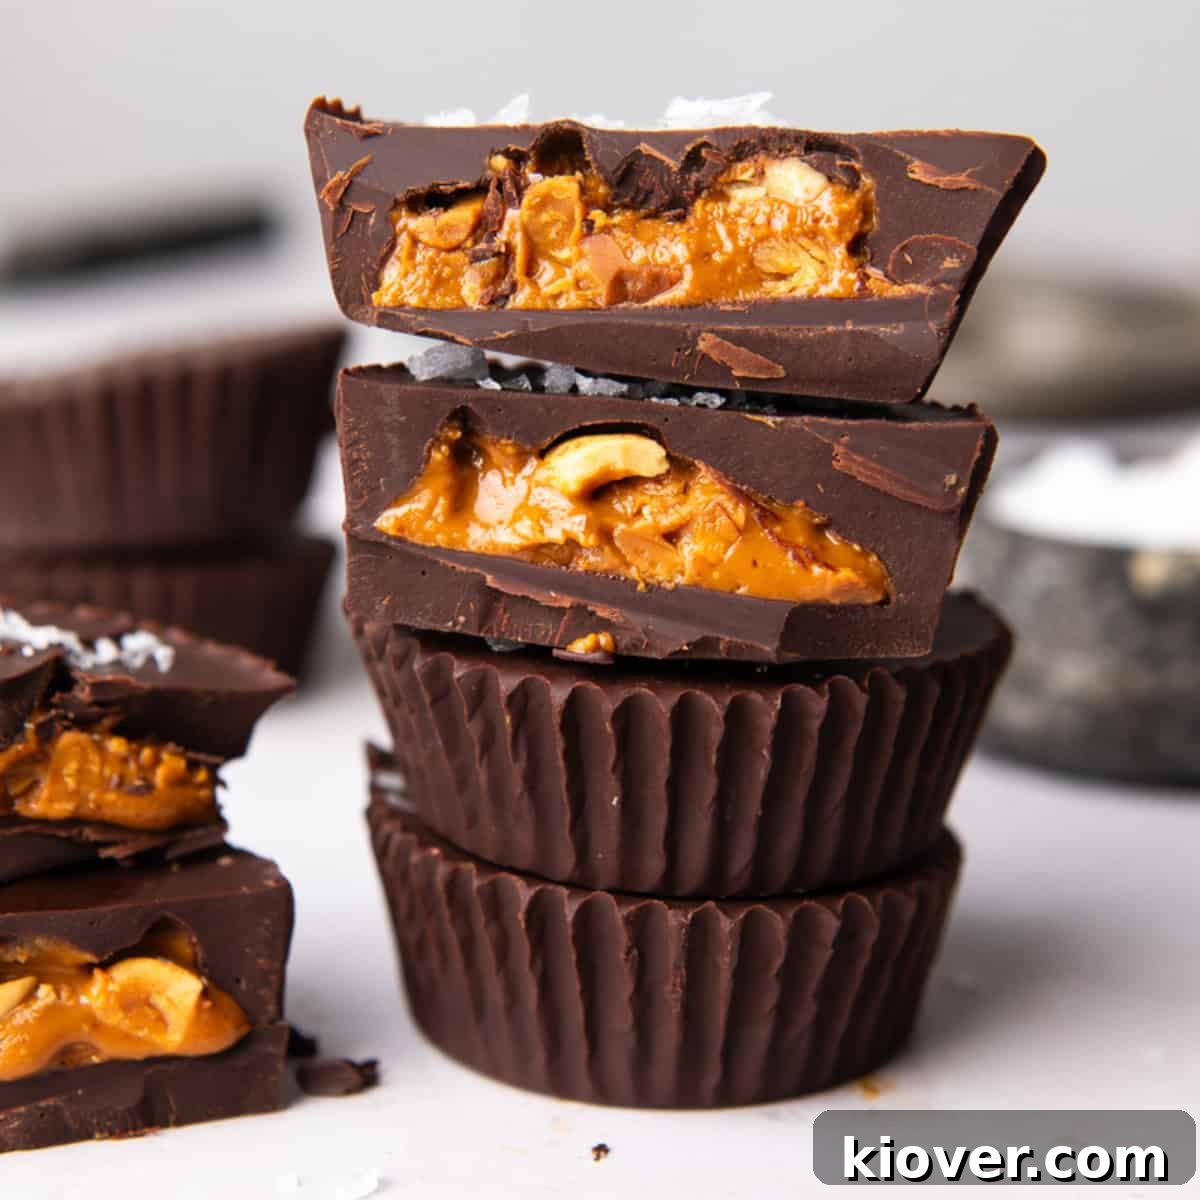
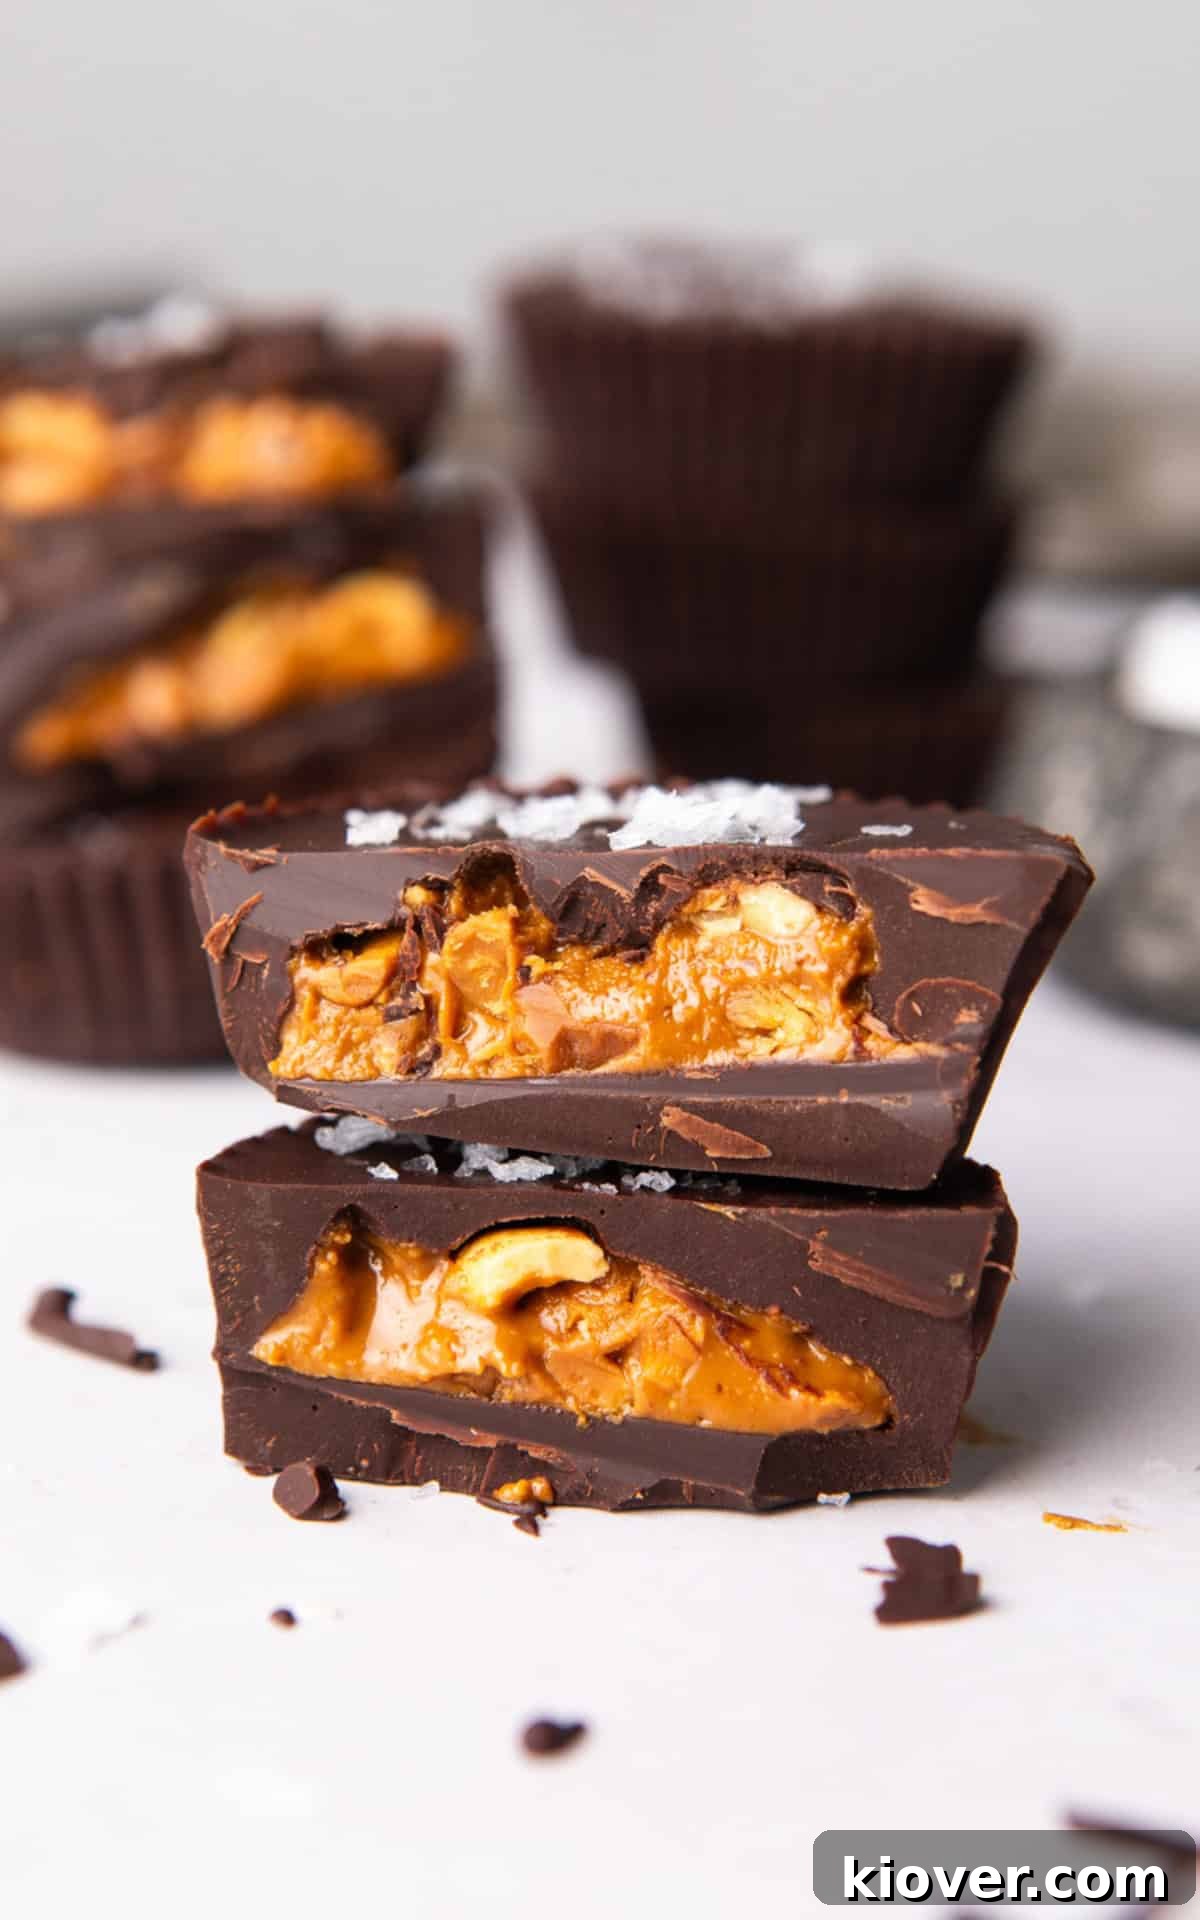
Try these homemade Peanut Butter Cups — one of the simplest treats to make at home. Dairy-free and gluten-free, they require only 2 ingredients and deliver the perfect balance of rich chocolate and creamy peanut butter. Best of all, you can make them in under 30 minutes.
Recipe Difficulty – Very Easy
Table of Contents
- Why this recipe works
- Ingredients
- Substitutions
- Variations
- How to make Peanut Butter Cups
- Storage
- Recipe FAQs
- More peanut butter recipes
Why this recipe works
This recipe keeps things simple and reliable: a layer of chocolate, a spoonful of peanut butter, and a final layer of chocolate. No complicated fillings or long ingredient lists — just the classic combination of chocolate and peanut butter, made healthier at home. The straightforward method produces consistent, satisfying results every time.
Ingredients to make Peanut Butter Cups
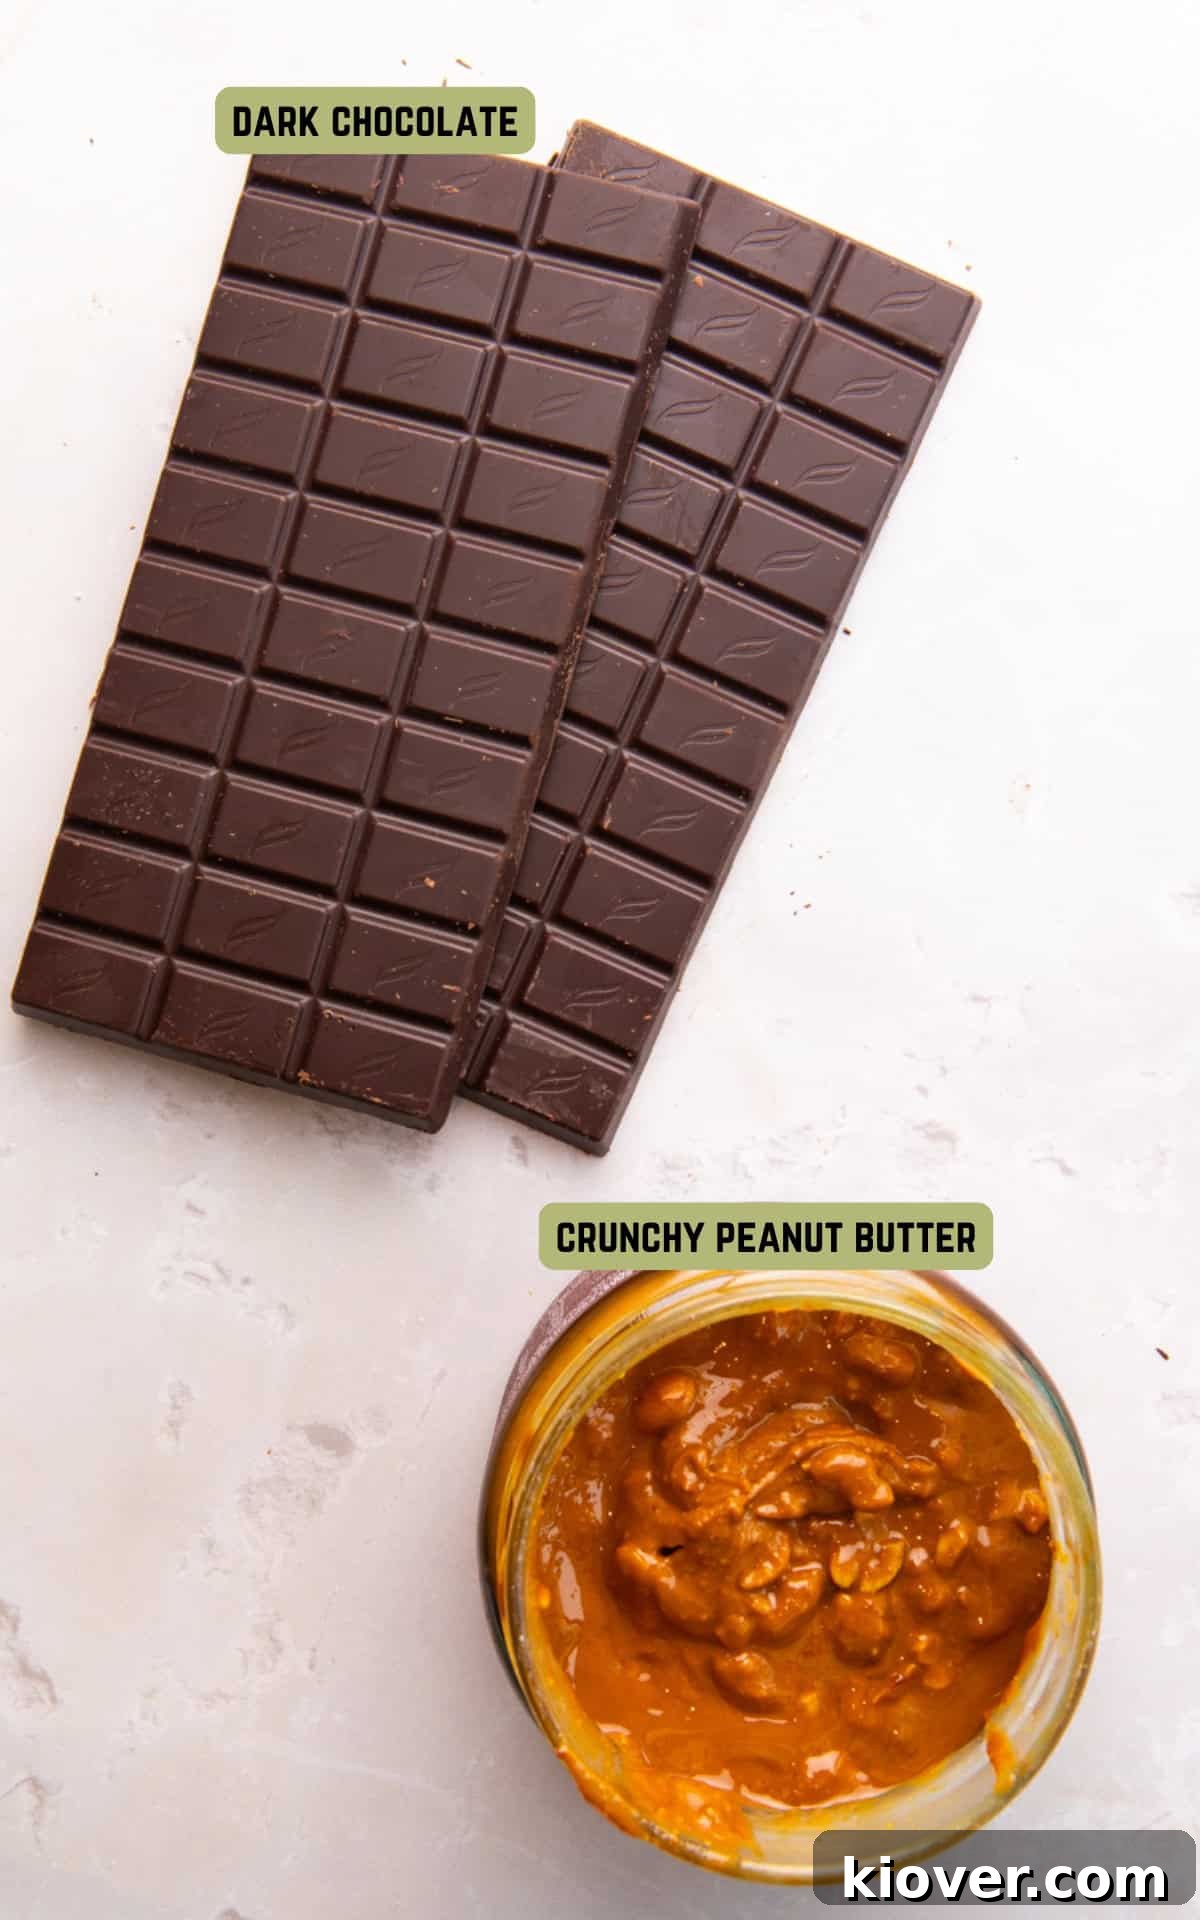
- Dark chocolate — for a rich, less-sweet base.
- Crunchy peanut butter — adds texture; smooth peanut butter works too.
- Flaky sea salt (optional) — a light sprinkle enhances flavor contrast.
Refer to the recipe card below for exact quantities.
Substitutions
- Chocolate: Use milk chocolate or a blend of milk and dark if you prefer a sweeter cup. Adding a little coconut oil to melted chocolate makes it smoother and easier to pour.
- Nut butter: Swap peanut butter for almond, cashew, or other nut butters if you prefer or have an allergy.
Variations
- Deluxe: Finish with flaky salt and a drizzle of white or milk chocolate for a decorative touch.
- Kid-friendly: Stir a teaspoon of maple syrup into the peanut butter to sweeten the filling.
How to make Peanut Butter Cups
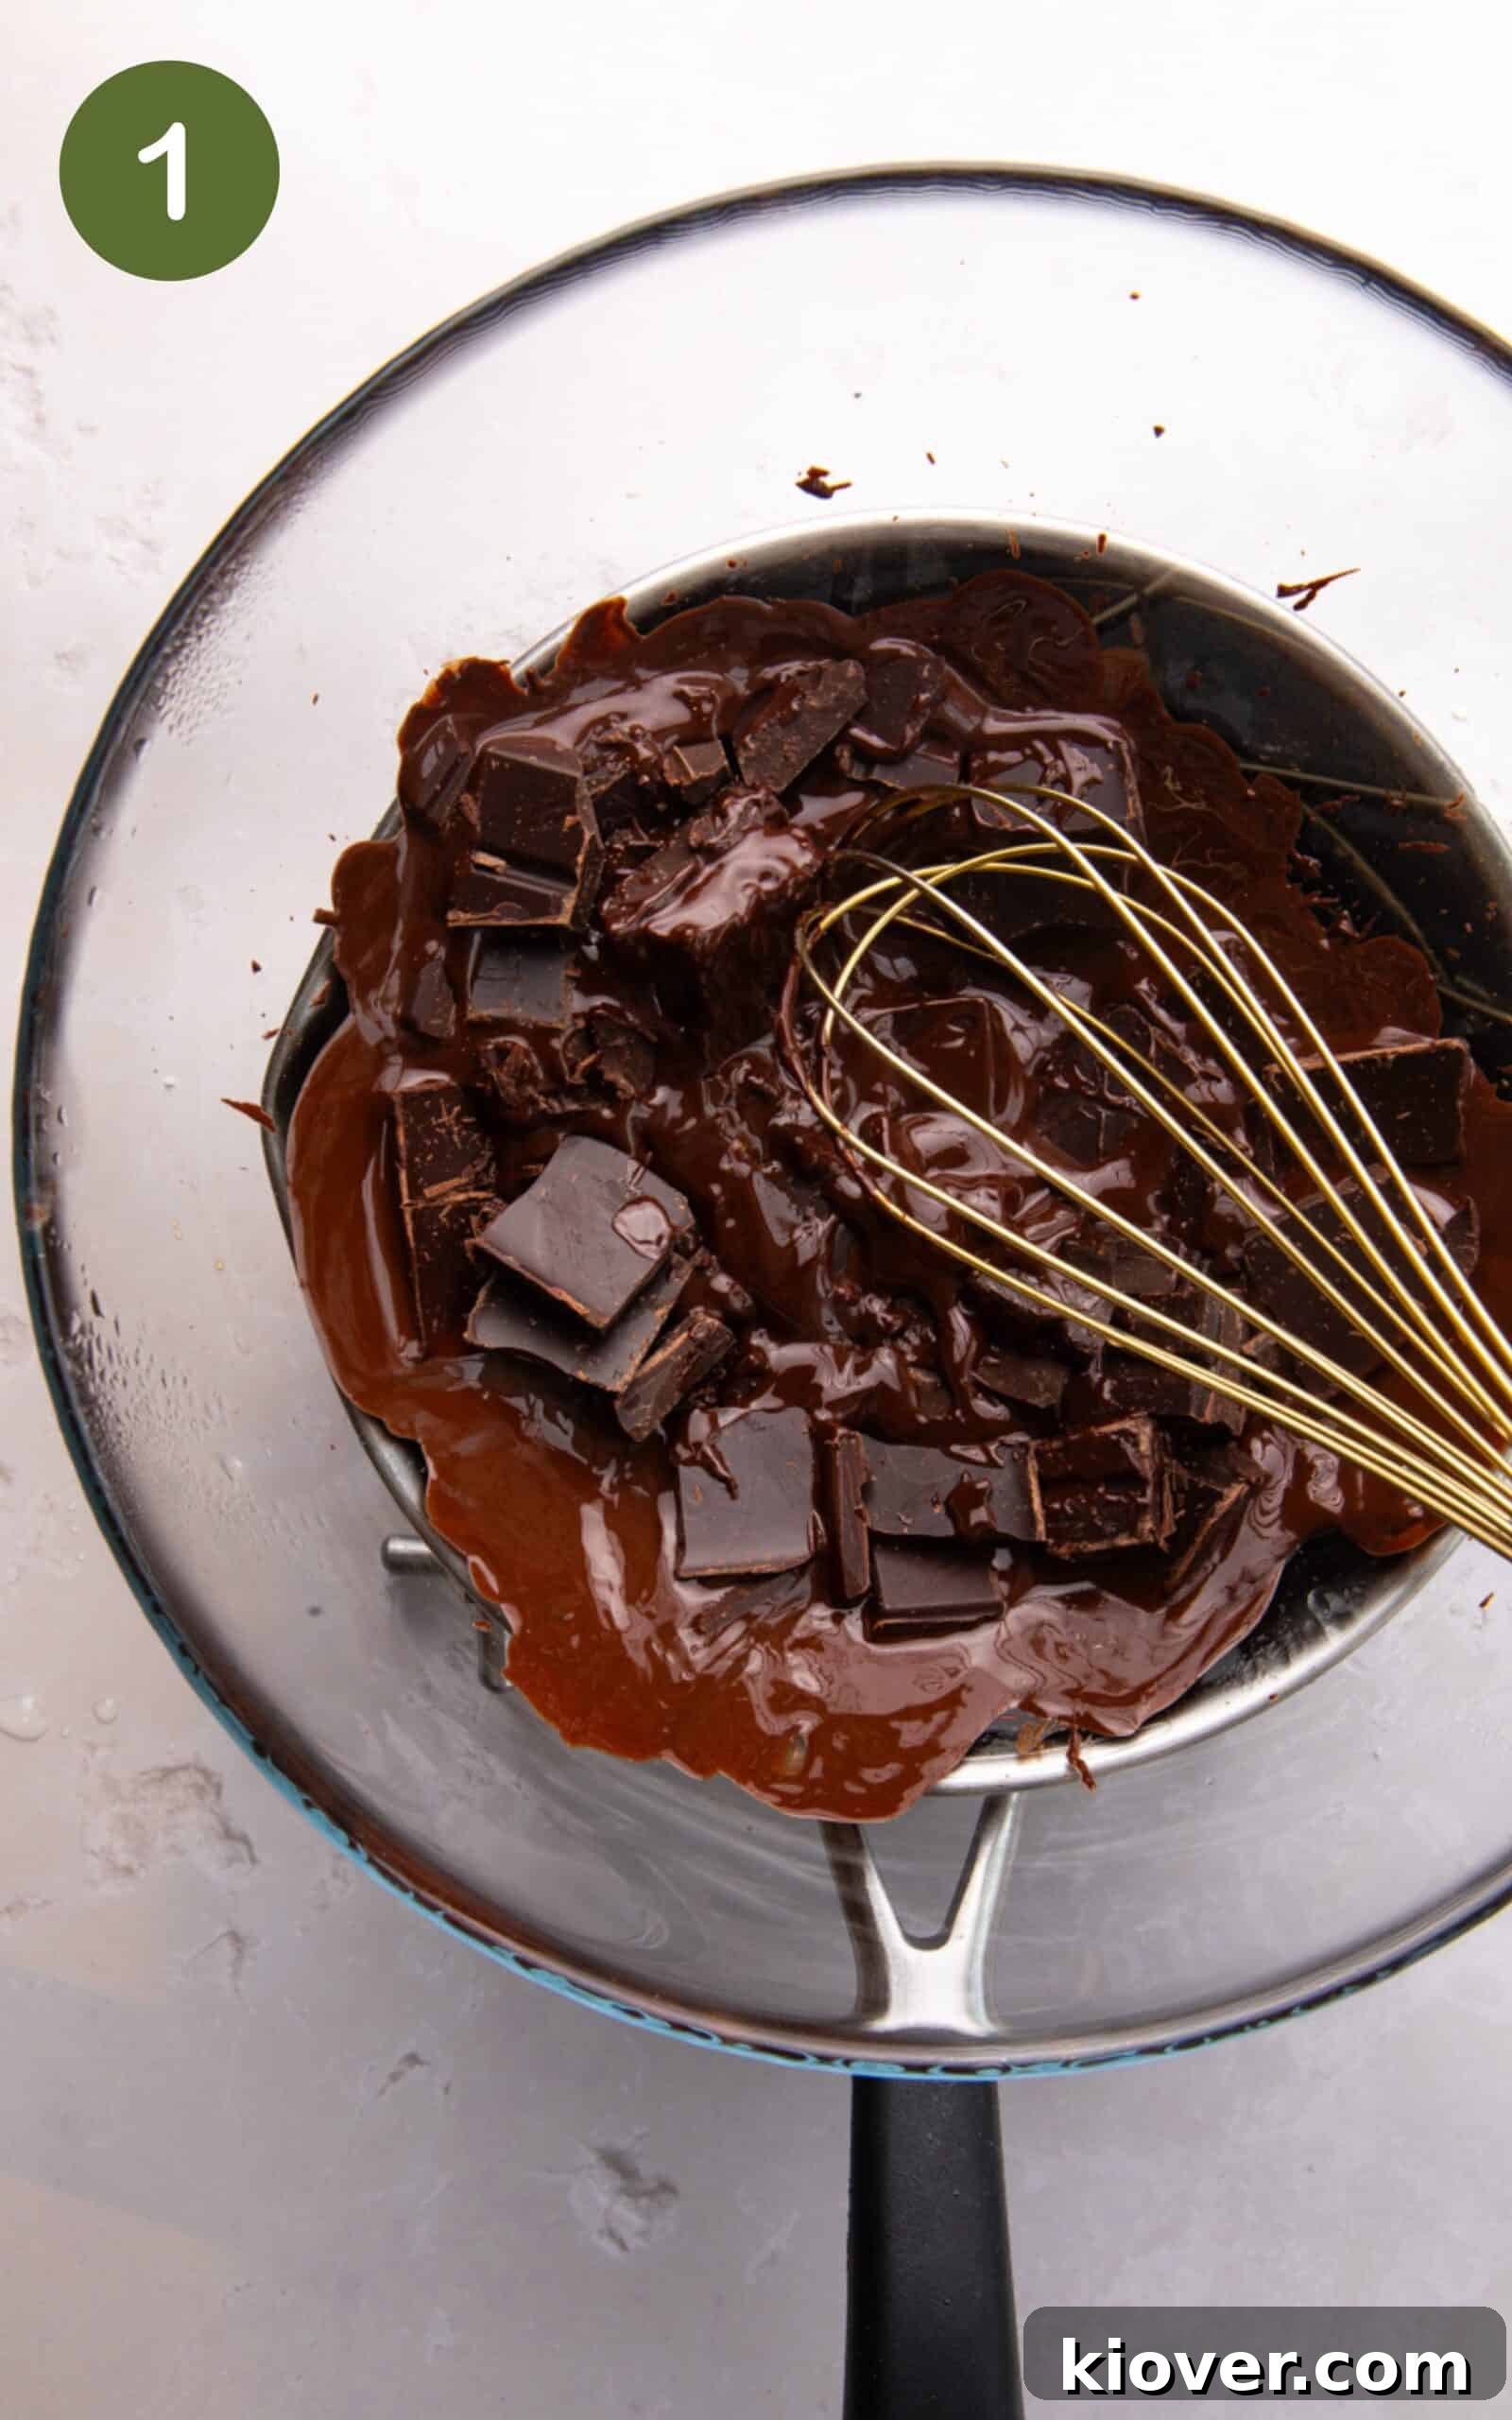
Step 1: Chop the chocolate and melt it gently in a bain-marie (double boiler) until smooth. You can also melt it in the microwave in 30-second bursts, stirring between intervals.
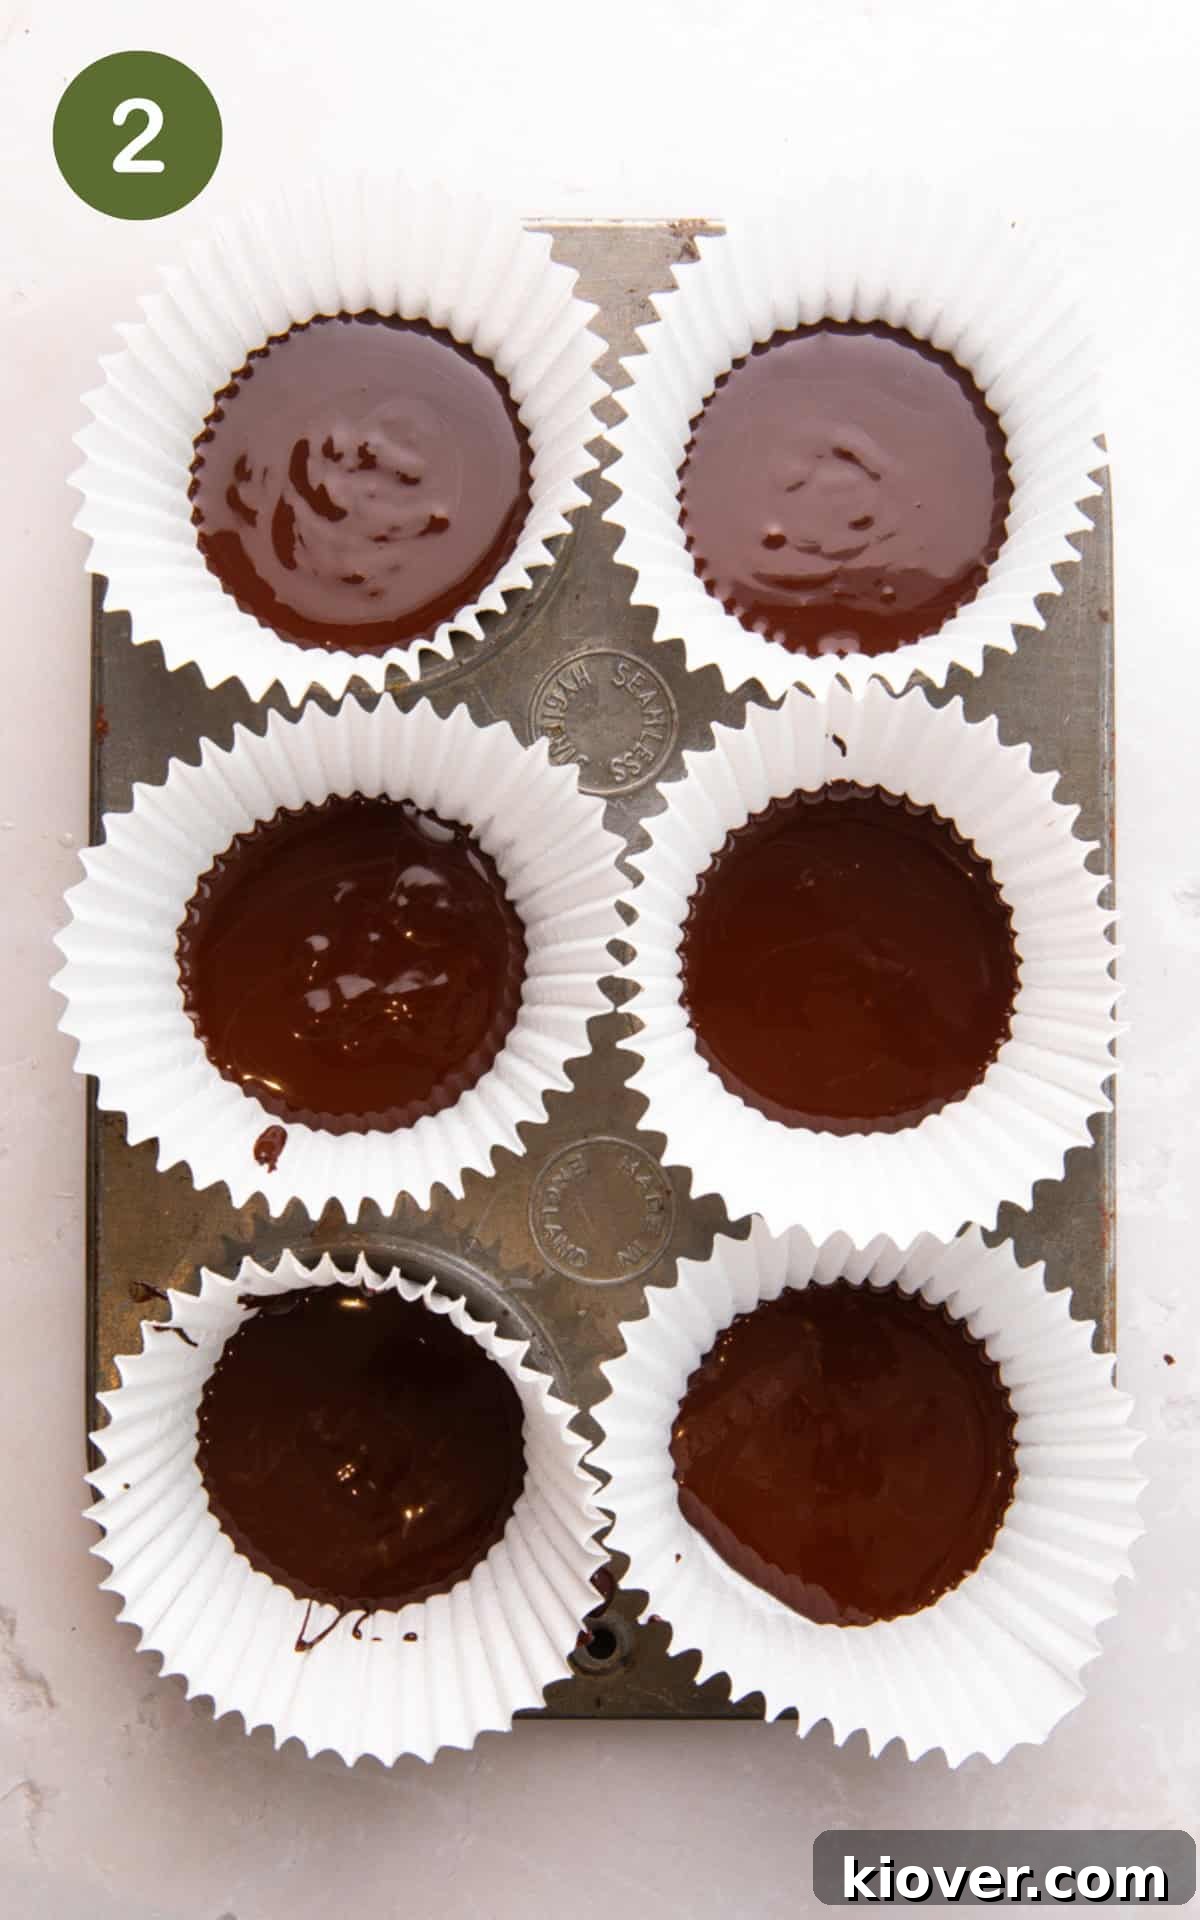
Step 2: Place 6 paper or silicone liners in a muffin tin. Pour about 1/2 inch of melted chocolate into the bottom of each liner. Freeze for 10 minutes to set.
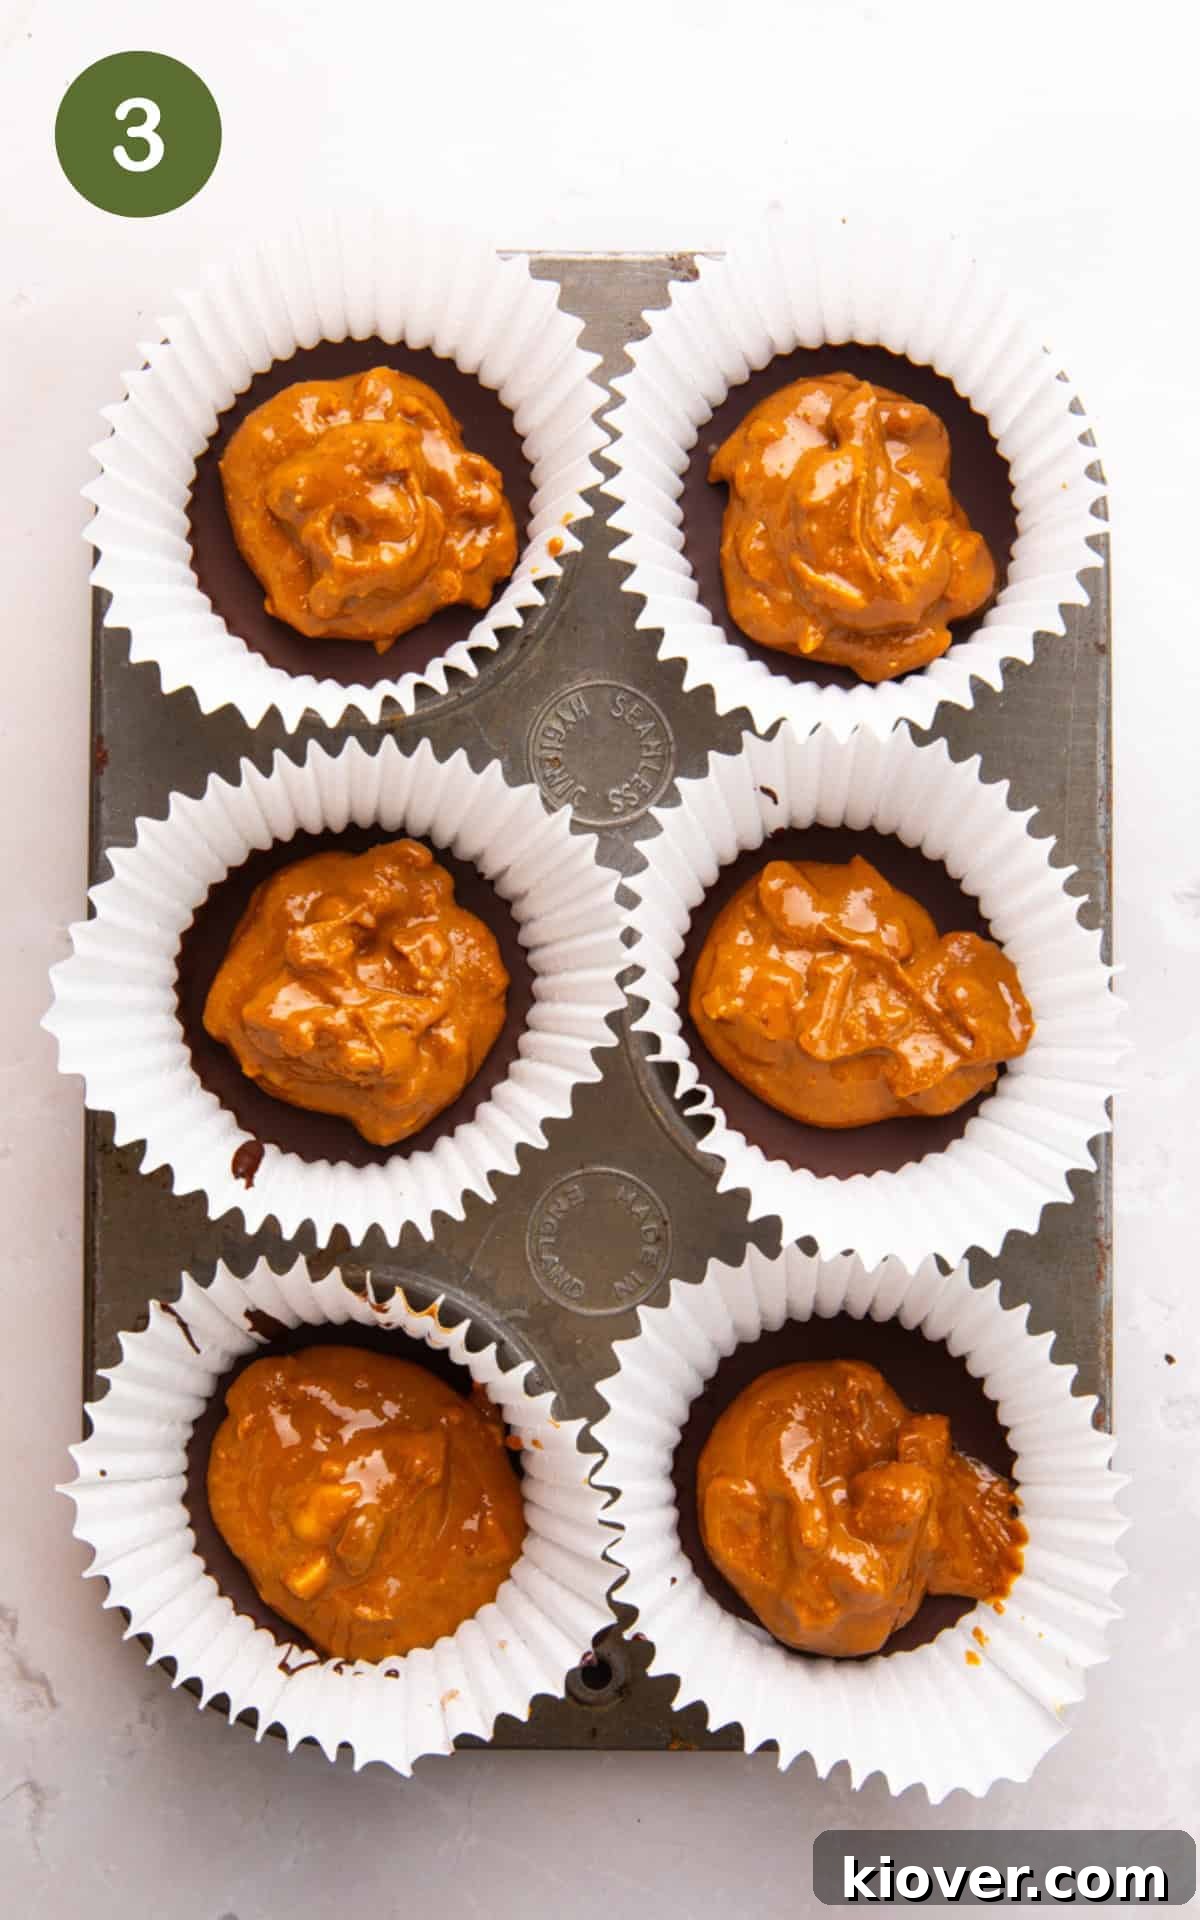
Step 3: Remove the tray from the freezer, add about 1 teaspoon of peanut butter into the center of each chocolate base, then cover with more melted chocolate so the peanut butter is fully sealed. Return to the freezer for 10–15 minutes, until firm.
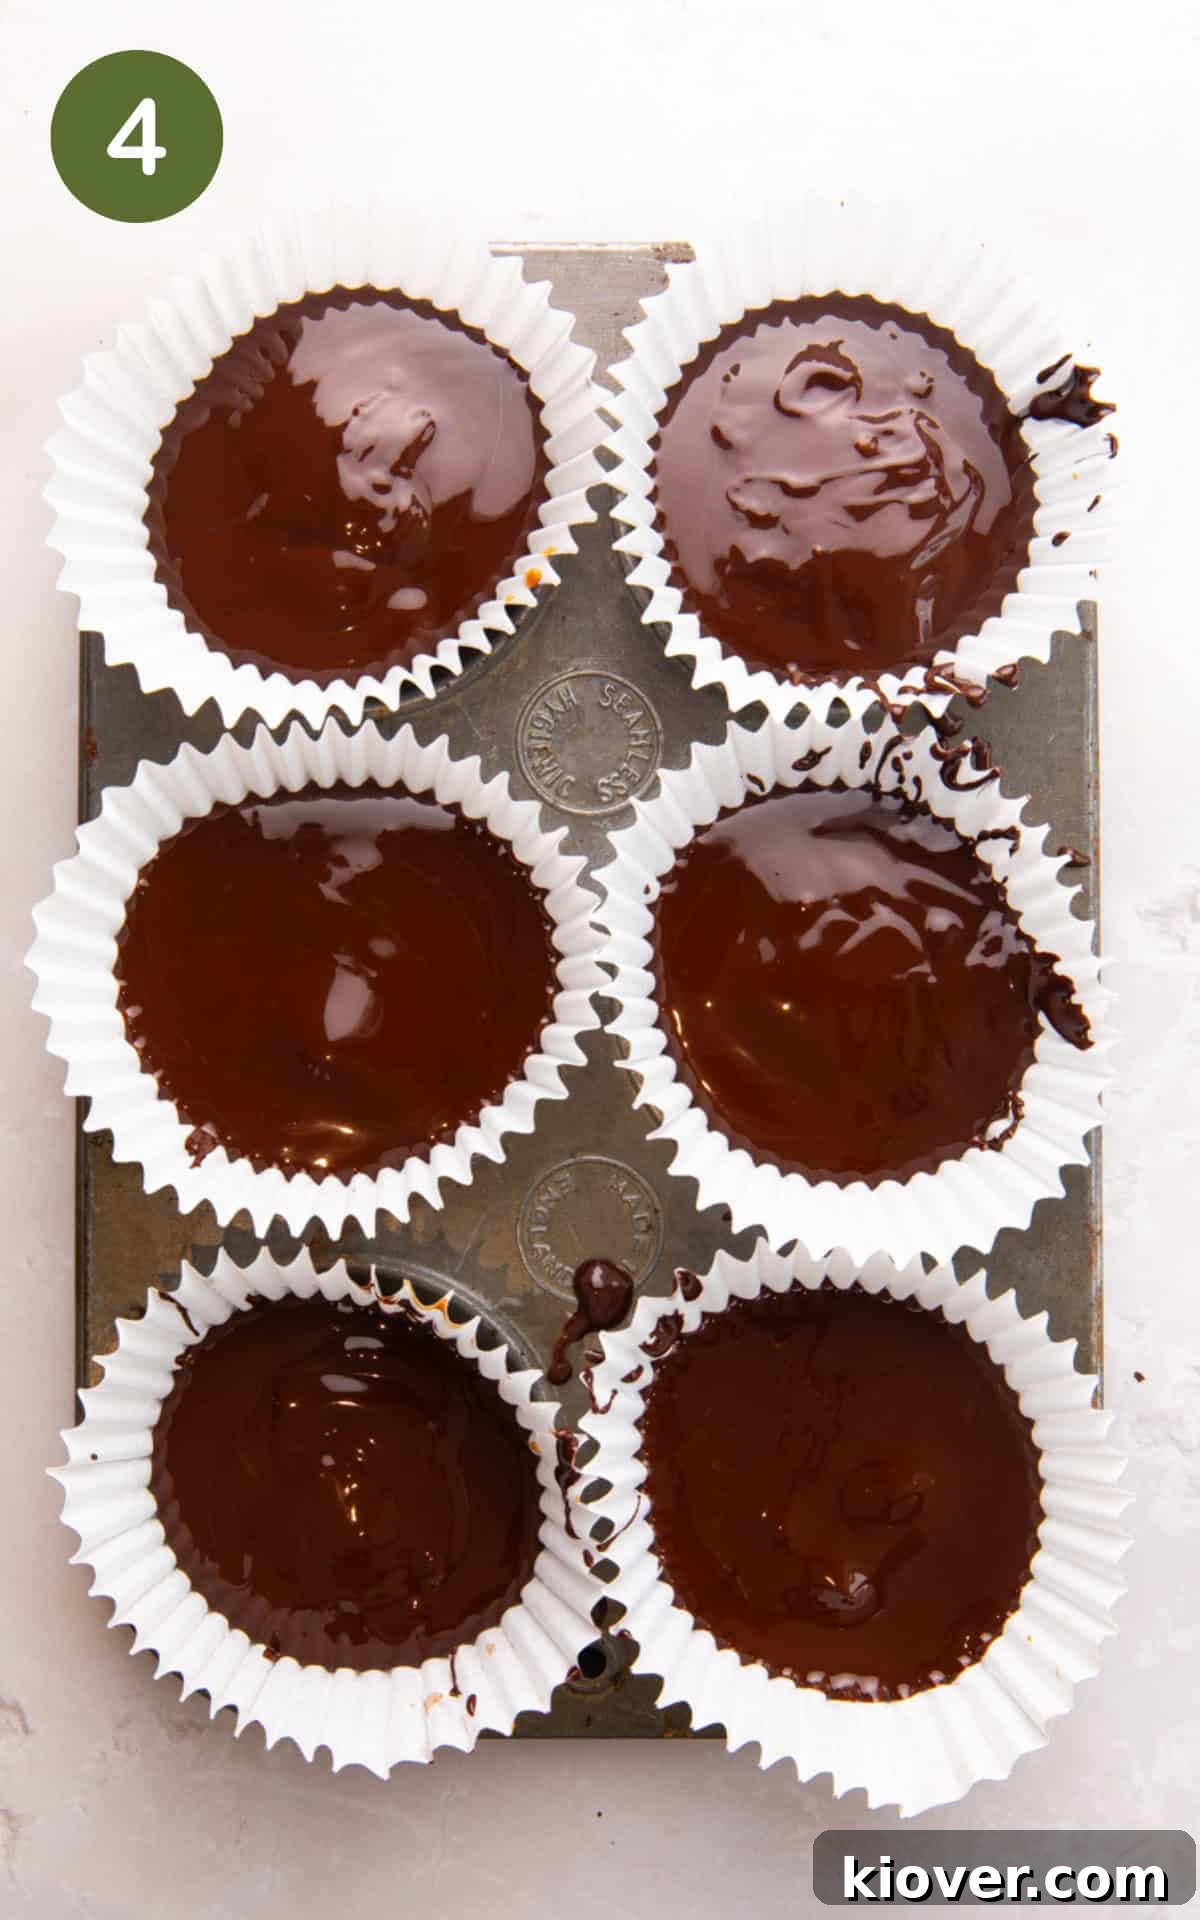
Step 4: Optionally sprinkle flaky sea salt on top, then enjoy.
Hint: If your freezer is full, use the refrigerator to set the cups, but allow extra time to harden. The important part is ensuring each layer is firm before adding the next.
Storage
Store finished cups at room temperature for up to two days or in the refrigerator for up to two weeks in an airtight container.
To freeze: Place in an airtight container with layers of baking paper between stacks and freeze for up to six months. Thaw in the fridge or at room temperature.
Recipe FAQs
A bain-marie, or double boiler, gently heats chocolate by placing a bowl over simmering water so the chocolate melts slowly without burning.
Yes. Store them in an airtight container for up to six months. When stacking for the freezer, separate layers with baking paper.
More Peanut Butter recipes
- Peanut Butter Balls
- Peanut Butter Granola
- Peanut Butter Cookies
- Peanut Butter Curry
- Peanut Butter Milkshake
- Peanut Salad Dressing
You might also like
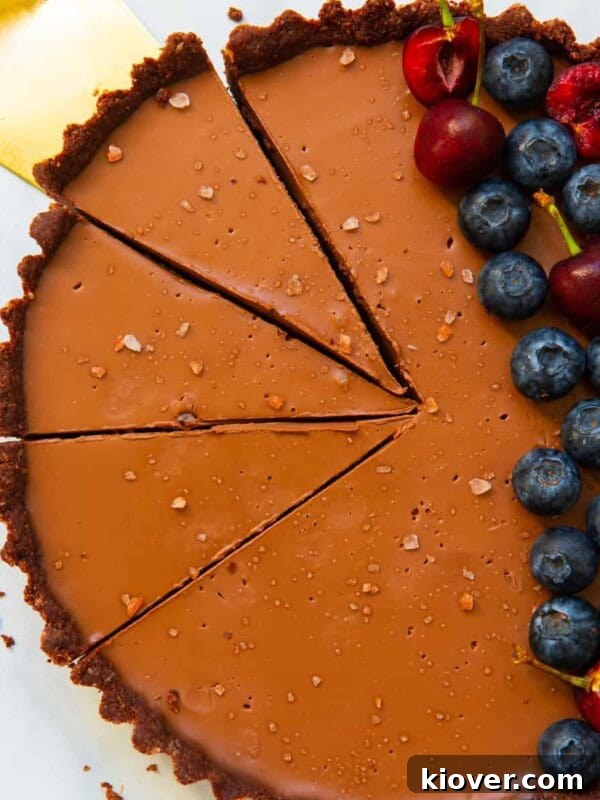
Dessert
Vegan Chocolate Tart
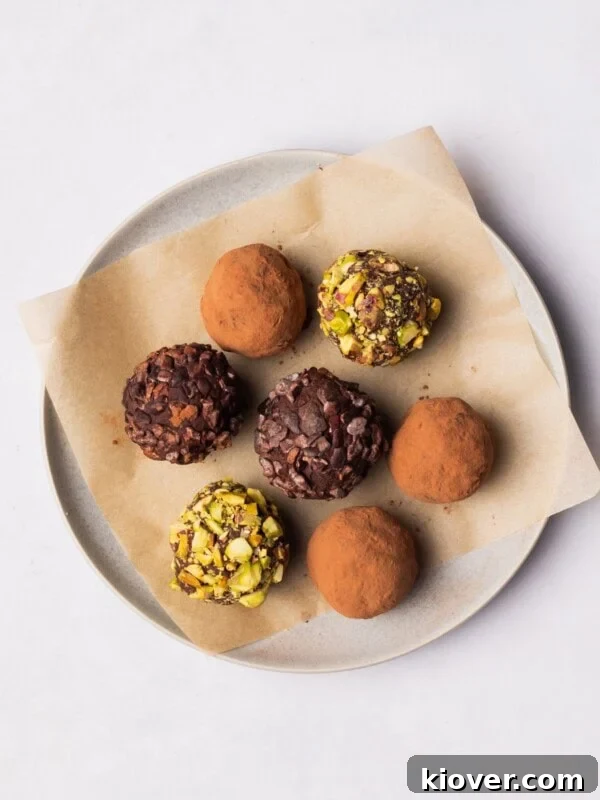
Dessert
Vegan Chocolate Truffles
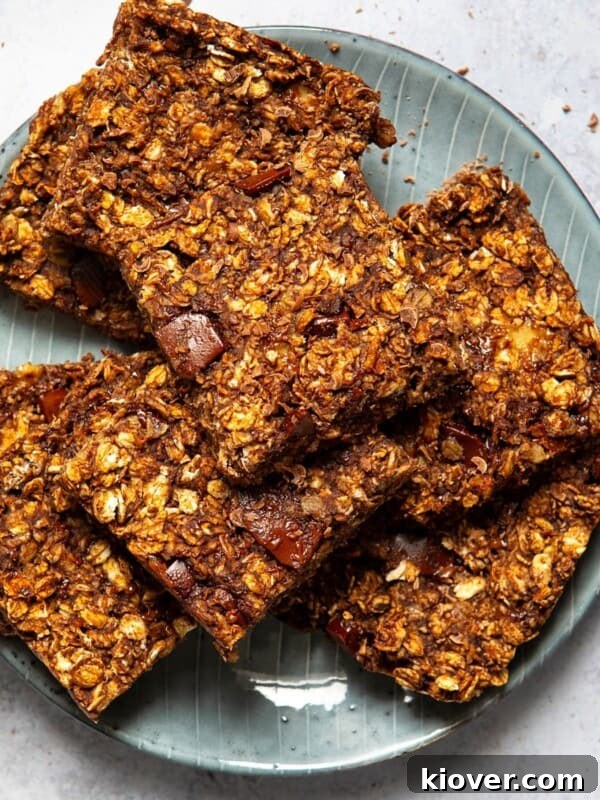
Dessert
Chocolate Flapjacks
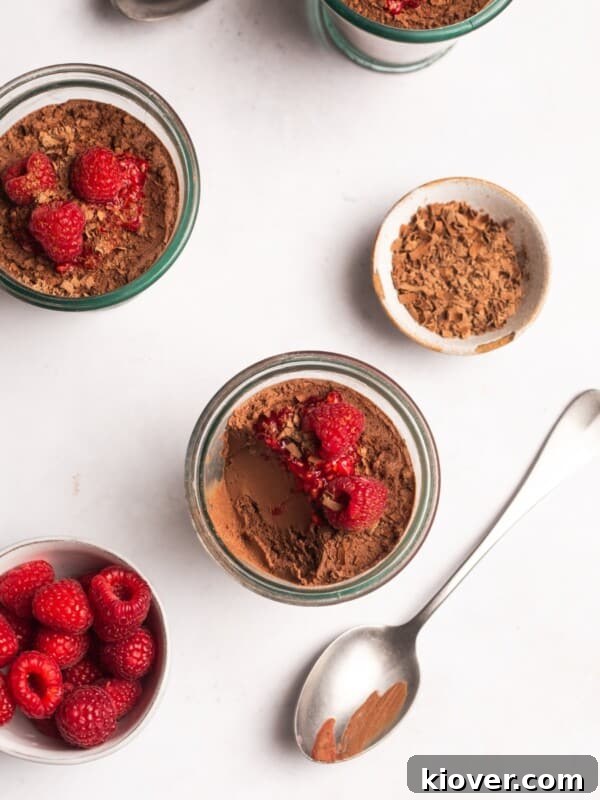
Dessert
Vegan Chocolate Mousse
Rate it…
If you try these Peanut Butter Cups, please leave a star rating and a short comment to let me know how they turned out. Feedback helps improve recipes and makes it fun to share results.
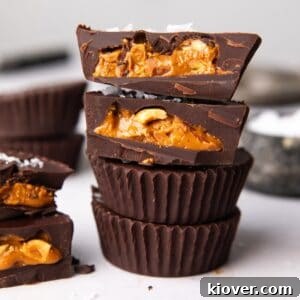
Peanut Butter Cups
Ingredients
- 270 g dark chocolate
- 6 tsp crunchy peanut butter
- flaky salt, optional
Instructions
- Chop the chocolate and melt it in a bain-marie or microwave in 30-second bursts until smooth.
- Place 6 liners in a muffin tray and pour about 1/2 inch of chocolate into each. Freeze for 10 minutes.
- Remove from the freezer and add about 1 tsp peanut butter to each cup.
- Cover the peanut butter with remaining melted chocolate and freeze for 10–15 minutes until firm.
- Sprinkle with flaky sea salt if desired and serve.
Notes
Step-by-step photos: This post includes photos to guide you through each step.
Substitutions & variations: See the substitutions and variations sections above.
Storage: Keep in an airtight container at room temperature for up to two days or in the fridge for up to two weeks.
Freezing: Freeze in an airtight container for up to six months; thaw in the fridge or at room temperature.
Tips: If you don’t have a bain-marie you can carefully melt the chocolate in short microwave bursts. Chocolate chips work fine if you don’t have a bar.
Size variations: Use a mini tray for bite-size cups or a large tray for bigger portions; you can also make bars in a baking dish.