
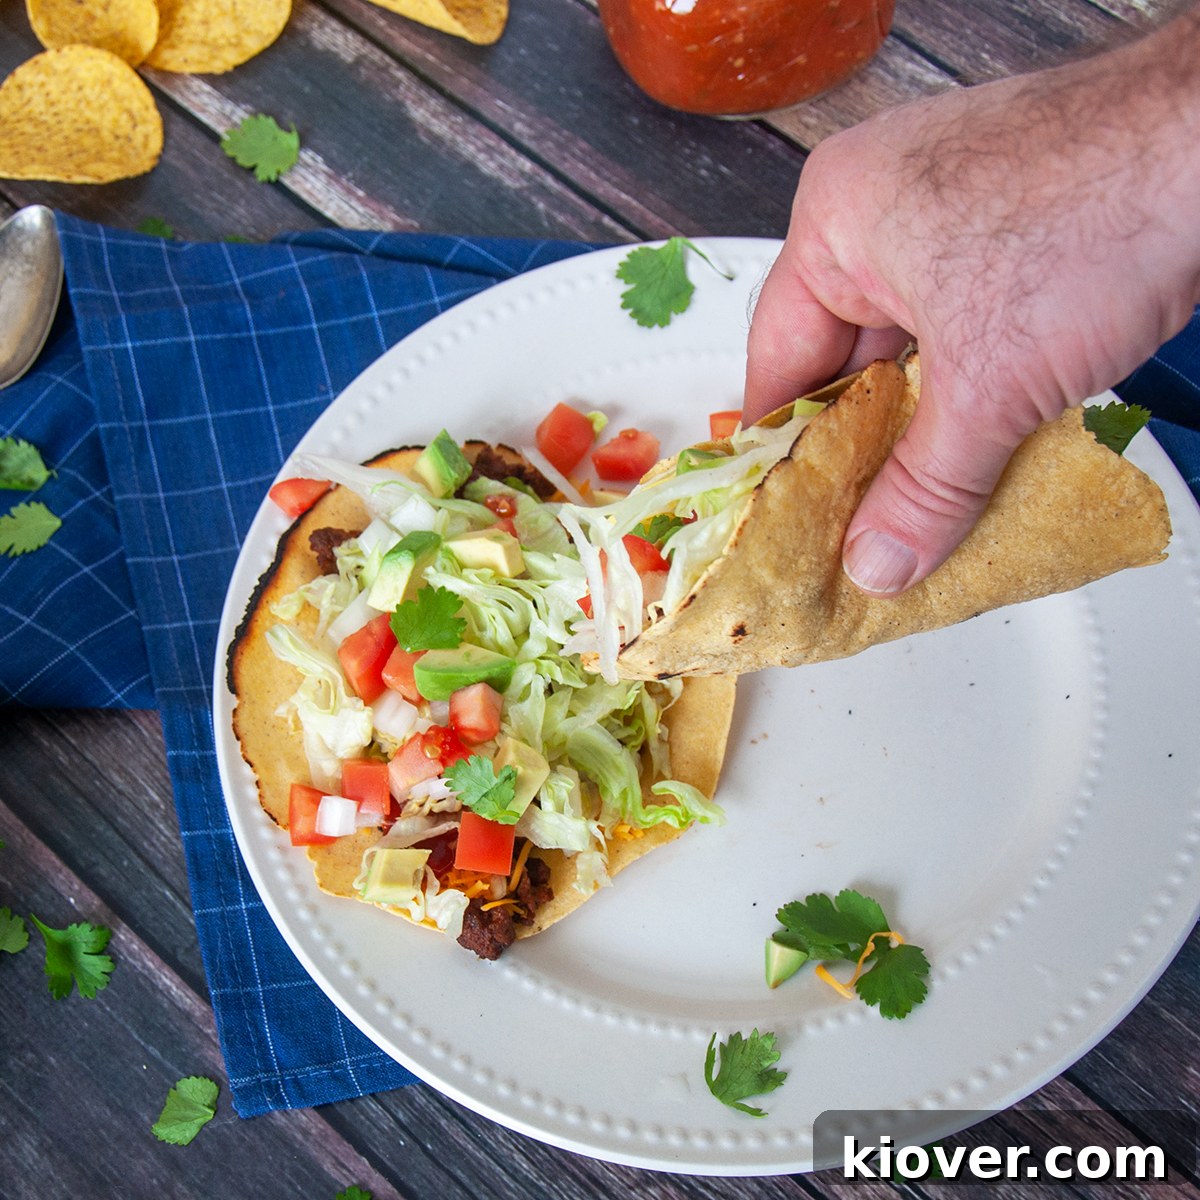
Unlock the ancient culinary traditions of Mexico and Central America right in your kitchen with this authentic homemade Corn Tortillas recipe. More than just a simple side, these tortillas are a vibrant foundation for countless dishes, delivering unparalleled flavor and a truly special experience that store-bought versions can’t match. Prepare to transform your meals with these delightful, freshly made tortillas.
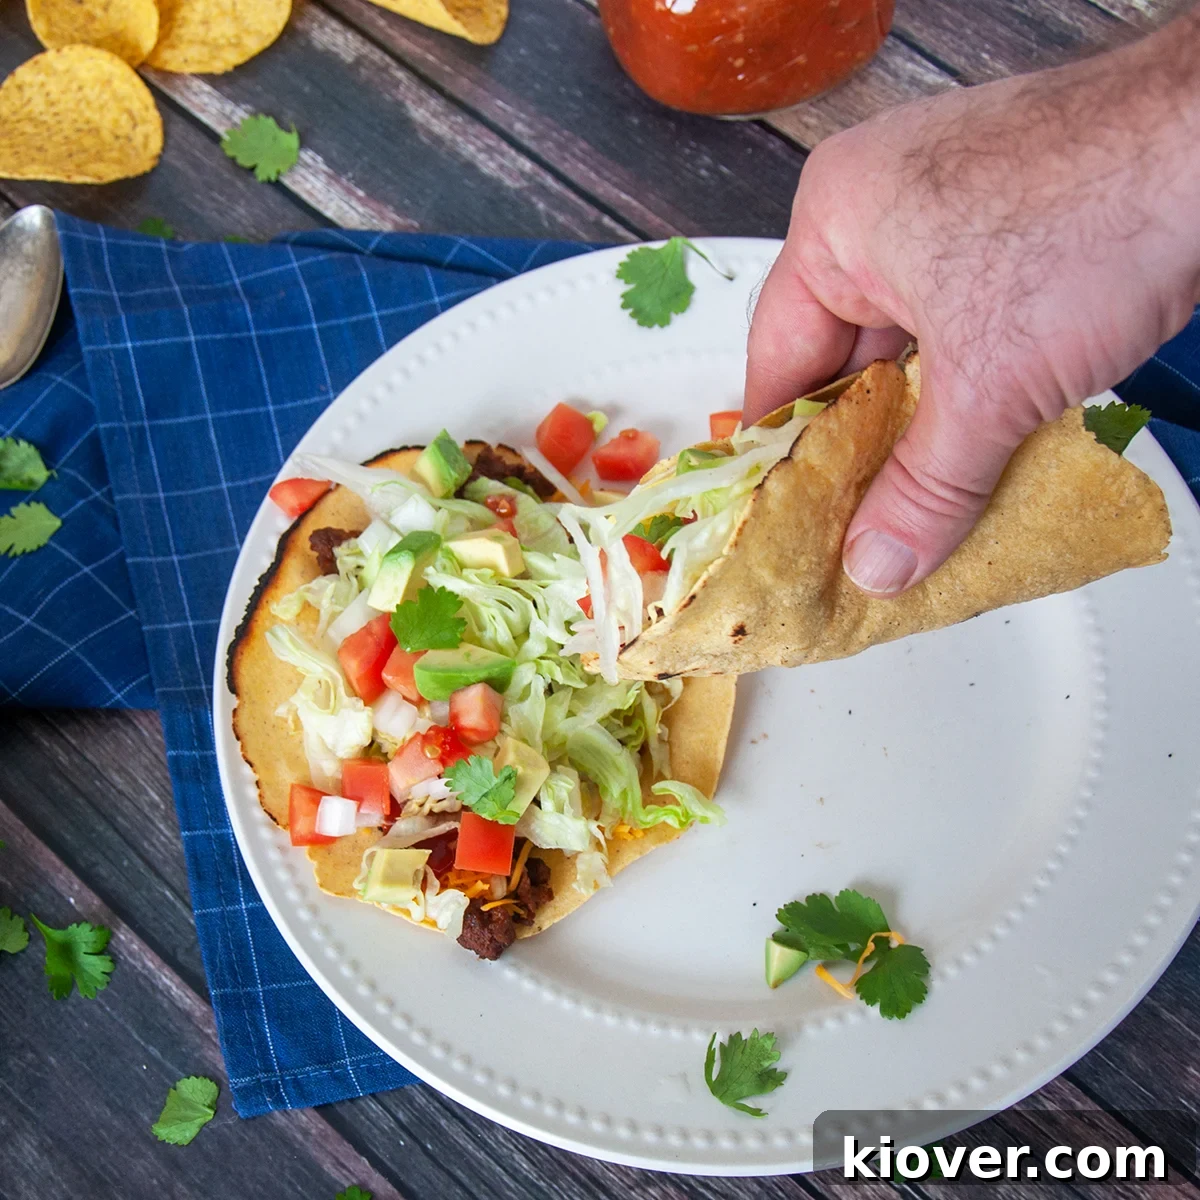
Few elements are as defining and essential to the beloved enchilada or the iconic taco as the humble yet magnificent corn tortilla. This culinary cornerstone, deeply rooted in Mexican and South American traditions, boasts a history spanning thousands of years. Today, we embark on a journey to craft our very own homemade corn tortillas, embracing techniques passed down through generations. Originally featured in our Enchilada Series, we are now re-introducing this foundational recipe as a highlight of our Taco Series, inviting you to discover the genuine taste and texture of fresh, handmade tortillas.
Masa Harina: The Authentic Heart of Homemade Corn Tortillas
When embarking on the journey of making homemade corn tortillas, a common misconception arises: can’t I just grind regular corn or corn flour? The answer, while seemingly simple, reveals a profound culinary secret. Traditional corn tortillas are not made from ordinary corn flour, but rather from a specially prepared ingredient known as Masa Harina. Understanding this distinction is key to achieving truly authentic and delicious results.
Masa Harina, which translates to “dough flour,” is fundamentally different from standard corn flour. While corn flour is simply dried and finely ground corn, Masa Harina undergoes a vital traditional process called nixtamalization. This ancient technique involves soaking and cooking dried corn kernels in an alkaline solution, typically limewater (calcium hydroxide), before rinsing, grinding, and drying them into flour. This process dramatically alters the corn’s chemical composition, significantly enhancing its nutritional value, flavor, and texture. The result is a unique flour that provides the distinctive pliable and slightly earthy taste essential for perfect corn tortillas.
For those familiar with various corn products, it’s also worth noting the difference between cornmeal and corn flour. The primary distinction lies in their grind size: cornmeal is coarser, yielding a gritty texture, while corn flour is finely milled, resulting in a powder-like consistency. Neither, however, possesses the unique properties of nixtamalized Masa Harina, which is specifically designed for dough creation, making it indispensable for authentic tortillas, tamales, and pupusas.
Nixtamalization: An Ancient Innovation and Its Profound Impact
The practice of nixtamalization is far more than just a culinary technique; it’s a pivotal invention in human history, particularly for civilizations where corn was a dietary staple. This ingenious process of soaking and cooking corn in an alkaline solution, such as slaked lime or wood ash, unlocks a wealth of benefits that untreated corn simply cannot provide. Without nixtamalization, diets heavily reliant on corn often led to severe malnutrition.
Historically, untreated corn caused widespread Vitamin B deficiencies and a debilitating disease known as pellagra, characterized by dermatitis, diarrhea, dementia, and if left untreated, death. The nixtamalization process fundamentally changes this by making niacin (Vitamin B3) and other vital nutrients readily bioavailable to the human body. It also improves the protein quality of corn and increases its calcium content, turning a nutritional hazard into a superfood.
While the exact origins of nixtamalization are lost to time, archaeological evidence suggests it was developed by indigenous peoples in Mesoamerica as early as 1500–1200 BC. This discovery was an extraordinary advancement, allowing ancient civilizations like the Maya and Aztec to thrive on corn-based diets, turning what might have been a dietary limitation into a cornerstone of their health and civilization. The enduring legacy of nixtamalization is evident today in the rich tradition of corn tortillas, a testament to a timeless innovation that continues to nourish and delight.
The Art of Dough: Don’t Skip Mixing or Resting for Perfect Tortillas
Creating truly excellent homemade corn tortillas hinges on two crucial steps that should never be rushed or skipped: proper mixing (kneading) and adequate resting of the dough. Many first-time tortilla makers underestimate the importance of these stages, often leading to frustrations like brittle dough or tortillas that refuse to roll out smoothly. Getting the dough right is paramount for a successful and enjoyable tortilla-making experience.
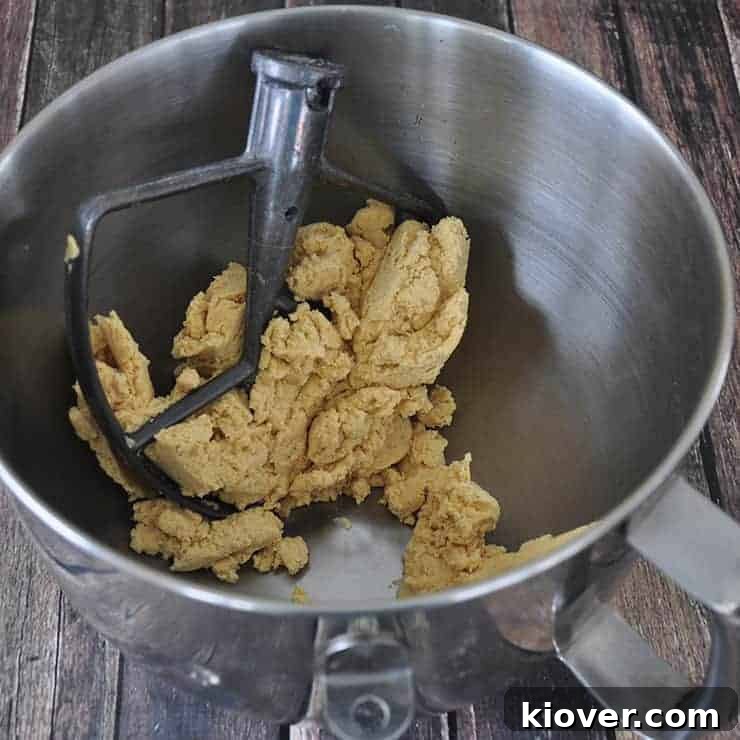
Kneading the masa dough sufficiently develops its structure, making it pliable, cohesive, and easy to handle. Unlike wheat flour dough, which relies on gluten development, masa dough achieves its elasticity through the unique properties of nixtamalized corn. A well-kneaded dough will transform from a somewhat grainy, crumbly mixture into a smooth, uniform mass with a texture akin to soft Play-Doh. If your dough feels too rough or breaks apart easily, it likely needs more kneading. I personally find my stand mixer (fitted with the beater accessory, not the dough hook) handles this beautifully, requiring about 5 minutes on a low setting. If you’re kneading by hand, aim for a good 10 minutes of consistent work to achieve the desired consistency, ensuring all ingredients are thoroughly incorporated and the masa feels silky to the touch.
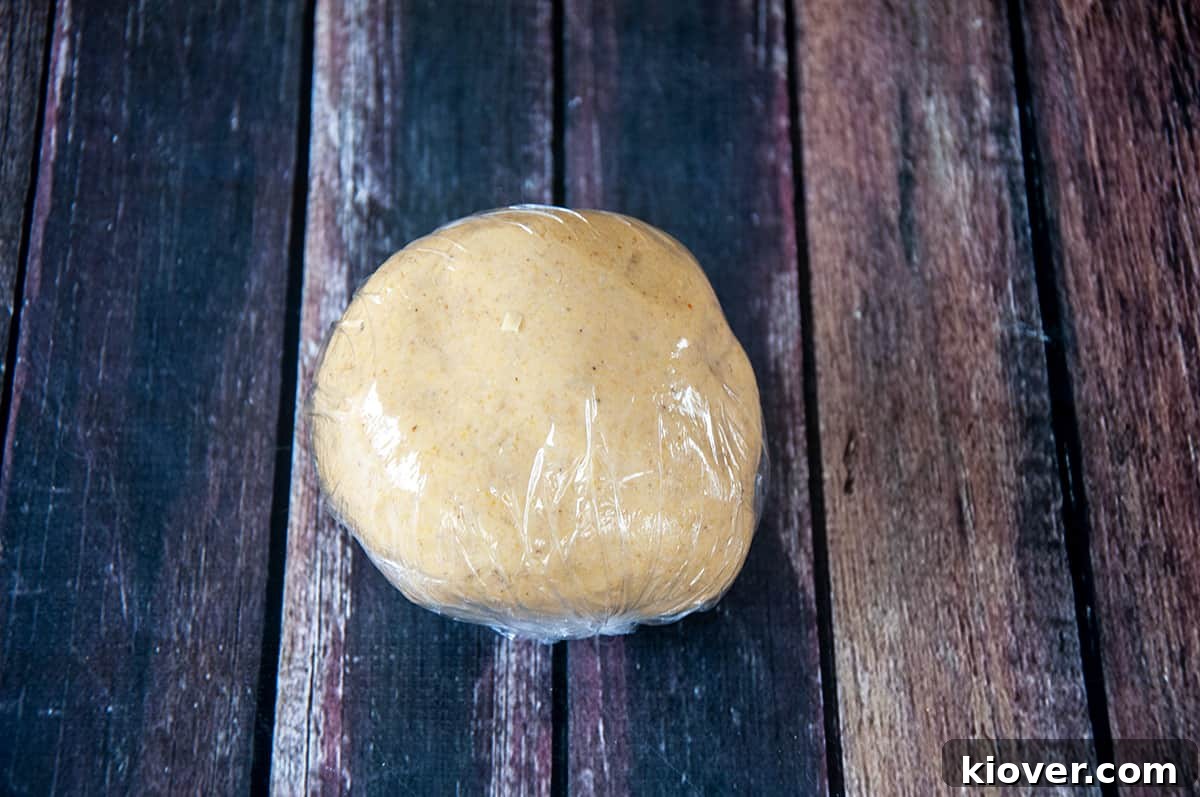
Once thoroughly kneaded, the dough needs time to rest. This resting period, ideally 30 minutes in the refrigerator, is just as vital as the kneading itself. Wrapping the dough tightly in plastic wrap before resting prevents it from drying out and allows the moisture to evenly distribute throughout the masa. This relaxation phase makes the dough much more cooperative and less prone to cracking or tearing when you begin to roll or press your tortillas. Think of it as giving the masa a chance to mellow and become more flexible. Compared to working with wheat flour doughs, masa dough is considerably more delicate, so this small investment of time yields significant improvements in workability and the final quality of your corn tortillas.
Shaping Your Tortillas: The Tortilla Press vs. The Rolling Pin
Once your masa dough has properly rested, the exciting part begins: shaping your individual tortillas. While a dedicated tortilla press is undeniably a convenient tool for achieving consistently round and uniformly thin tortillas with minimal effort (a Victoria 8-inch Cast Iron Tortilla Press is an excellent option), it’s by no means a necessity. Don’t let the lack of a specialized gadget deter you from making fresh tortillas! I’ve successfully used a simple rolling pin, and I’ll show you exactly how to do it without purchasing another kitchen appliance.
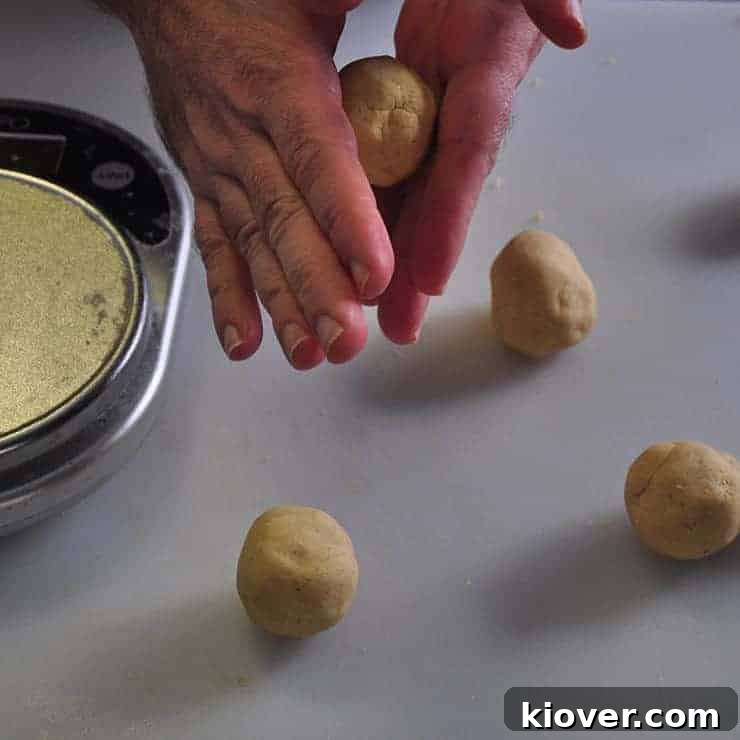
The key to rolling out corn tortillas without a press lies in using plastic wrap. This essential trick prevents the delicate masa dough from sticking to your rolling pin or work surface, making the process significantly easier. Start by dividing your rested dough into equally sized balls; aiming for 12 tortillas, divide the total dough weight by 12. Roll each portion gently between your palms to form a smooth, uniform sphere.
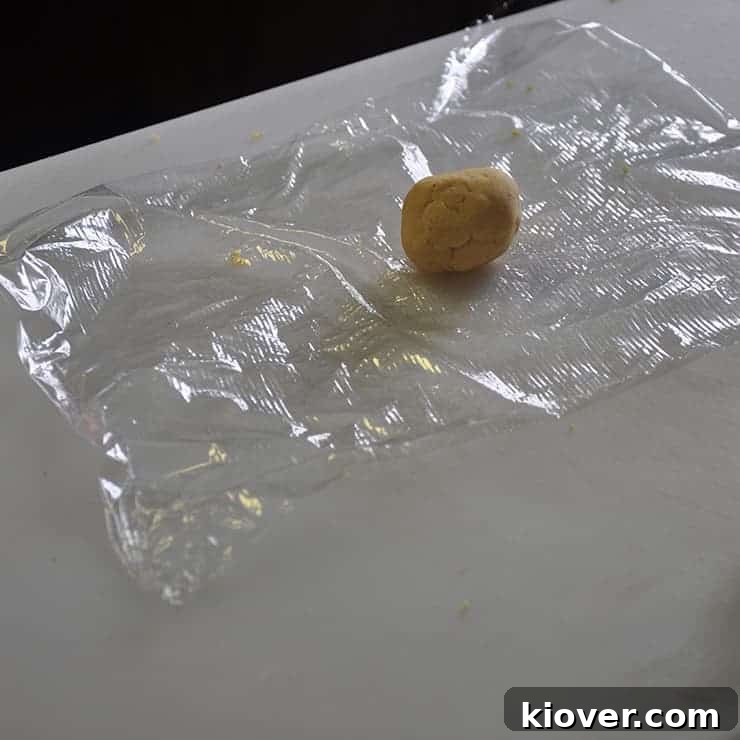
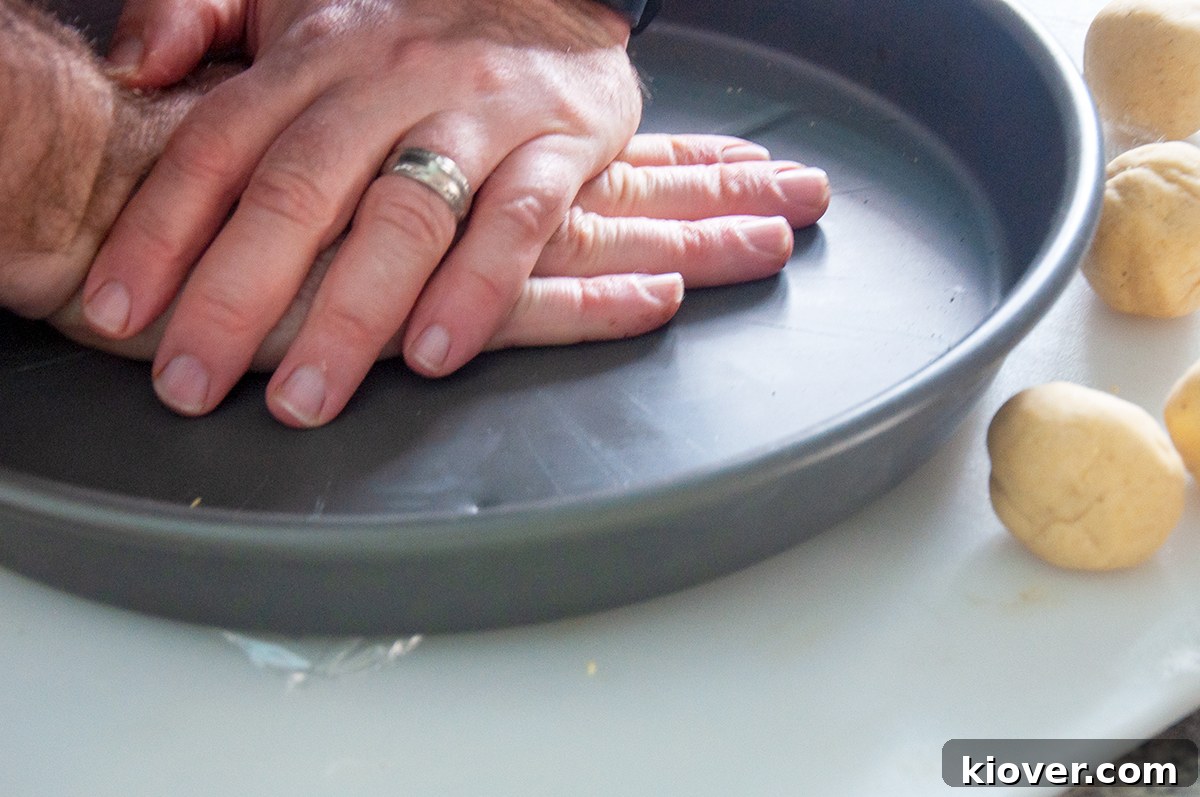
Next, place one dough ball between two sheets of plastic wrap. You can use a heavy, flat object—like a sturdy cutting board, a large can of San Marzano tomatoes, or even a deep-dish pizza pan—to initially flatten the ball into a rough patty. This gives you a good starting point for the rolling pin. Then, using your rolling pin, gently and evenly roll out the patty. Apply light, consistent pressure, rotating the dough occasionally to achieve as circular and thin a shape as possible. The goal is a tortilla that is thin enough to cook quickly and remain pliable, but not so thin that it tears easily.
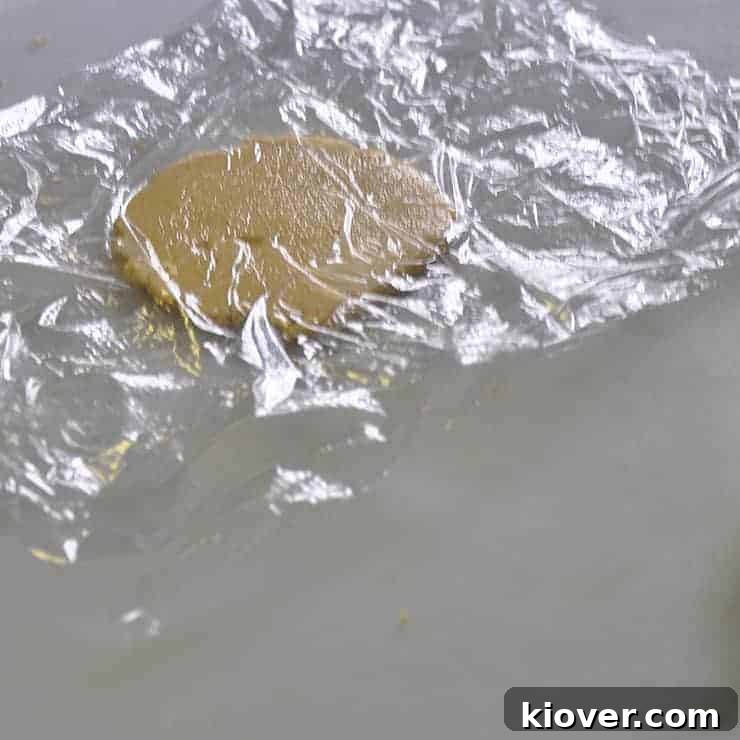
Working with masa dough requires a delicate touch; avoid overly aggressive rolling, which can cause sticking or tearing. If a tortilla doesn’t come out perfectly round or tears, don’t despair! Simply gather the dough, form it back into a ball, and try again. Practice truly makes perfect, and each attempt will improve your technique. Once flattened to your desired thickness, carefully peel away the plastic wrap. The resulting tortillas, though perhaps not as flawlessly circular as those from a press, will still be wonderfully authentic and flavorful, carrying the charm of being genuinely handmade.
Cooking Your Tortillas: The Cast Iron Secret and Mastering the Heat
The final stage in creating exceptional homemade corn tortillas is the cooking process, and the right pan makes all the difference. While various pans can work, a well-seasoned cast iron pan or griddle (comal) is, without a doubt, the preferential choice. Cast iron excels at retaining and distributing heat evenly, which is crucial for achieving that perfect balance of lightly browned spots, a soft interior, and a slightly crisp exterior. Because my cast iron pans are already seasoned, I typically don’t need to add any oil initially, creating a naturally non-stick surface. However, if your pan isn’t perfectly seasoned or if you’re cooking for an extended period, a light mist of cooking spray can help maintain a smooth cooking surface and prevent sticking.
Heat management is key. Preheat your cast iron pan to a consistent medium-high heat. You want it hot enough to cook the tortillas quickly but not so scorching that they burn before cooking through. The ideal cooking time is approximately 30 seconds to 1 minute per side. During this time, watch for a few tell-tale signs: the edges should start to firm up, light brown markings will appear as the tortilla cooks, and you might even see the tortilla begin to puff up slightly, indicating a well-formed internal structure. This puffing is a sign of success, trapping steam within the layers and resulting in a lighter, more tender tortilla.
Handling these delicate “flowers” requires a bit of finesse. I highly recommend using a thin metal spatula rather than thicker plastic ones. A thin spatula allows you to gently slide under the tortilla without tearing it, making it easier to flip and transfer. Overcooking is the arch-nemesis of a good homemade corn tortilla; if left on the heat for too long, they will become stiff, brittle, and taste more like a corn chip than a soft, pliable tortilla. The goal is to remove them from the heat when they are still soft and flexible.
Practice Makes Perfect: Tips for Tortilla Mastery and Storage
Like any culinary art, making homemade corn tortillas improves with practice. While I’ve been making flour tortillas for years, corn tortillas present their own unique delicate challenges. Don’t be discouraged if your first few aren’t perfectly round or if they tear. This is a journey of learning, and patience with both the dough and yourself is key to finding your “tortilla zen.”
Remember the importance of the plastic wrap, both above and below the dough ball, during the rolling process. This isn’t a dough to be aggressively handled; rather, it thrives on gentle care and attention. When removing the plastic wrap after rolling, do so slowly and carefully. If a tortilla does fall apart, simply gather the dough, reform it into a ball, and try again. With each attempt, you’ll gain a better feel for the dough’s consistency, the right amount of pressure for rolling, and the optimal heat for cooking. Soon, you’ll be consistently turning out beautiful, soft corn tortillas perfect for any taco, enchilada, or quesadilla.
Can I Halve This Recipe?
Absolutely! This recipe yields about 12 tortillas, which is perfect for a small gathering or if you want some leftovers. However, for households like mine with just two people, six tortillas are often plenty for a single meal. I’ve found that halving this recipe works perfectly well, producing equally delicious results without any compromise on quality. Feel free to adjust the quantities to suit your needs, and enjoy the flexibility of making fresh tortillas in smaller batches.
Serving and Storage: Keeping Your Tortillas Fresh
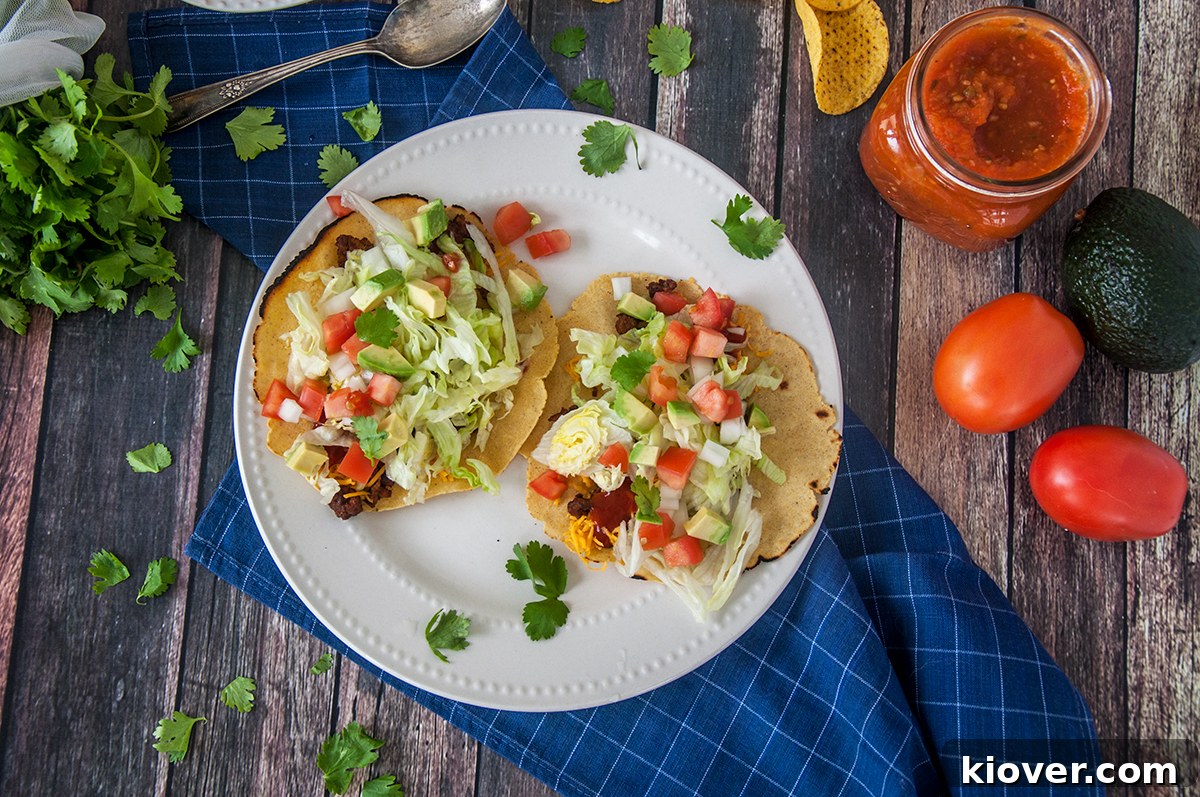
Once cooked, gently stack your homemade corn tortillas into a tortilla basket or wrap them immediately in a clean cloth towel on a plate. This keeps them warm and, crucially, helps them retain their moisture and pliability. Fresh tortillas are best enjoyed soon after cooking, as their texture and flavor are at their peak. Unlike commercially processed tortillas that contain preservatives, your homemade creations will go stale and stiffen faster. If you have leftovers, allow them to cool completely before storing them in an airtight container or a sealed plastic bag in the refrigerator. They can be gently reheated in a warm pan or microwave, often with a little sprinkle of water, to regain some of their softness.
I truly loved making these homemade corn tortillas and am incredibly proud of the outcome. They evoke the spirit of ancient culinary practices, made much the same way people did thousands of years ago. This recipe is designed to guide you towards making a beautiful round of superb corn tortillas, elevating your meals with their authentic charm and flavor. If you appreciate the content we share, don’t forget to subscribe for email updates and to follow me on Instagram for more culinary adventures.
Products Used In This Recipe
- KitchenAid Mixer
- Rolling Pin
- Tortilla Basket
- Ginormous Cast Iron Pan
Did You Try These Homemade Corn Tortillas?
If you’ve followed this recipe and created your own batch of delicious homemade corn tortillas, I would be absolutely thrilled to hear about your experience! Your feedback helps me improve and continue sharing valuable content. Please take a moment to leave a comment and rating below to let me know how they turned out for you. For more inspiring recipes and updates directly in your inbox, make sure to subscribe to my newsletter. And of course, join our culinary community by following me on Instagram. Happy cooking!
Print
Homemade Corn Tortillas From Scratch
5 Stars 4 Stars 3 Stars 2 Stars 1 Star
5 from 6 reviews
Author: Ben Myhre
Prep Time: 40 minutes
Cook Time: 20 minutes
Total Time: 1 Hour
Yield: 12 tortillas
Category: DIY
Method: Skillet
Cuisine: Mexican
Description
Making your own homemade corn tortillas is both gratifying and makes for an excellent meal. This recipe is simple and really only needs a few ingredients to create wonderfully fresh and authentic tortillas.
Ingredients
- 1 ½ cups Masa Harina
- ½ teaspoon salt
- 2 Tablespoons shortening or lard
- 1 cup water
- Plastic wrap
Instructions
- Add Masa Harina to a large stand mixing bowl.
- Add salt and shortening (or lard) to the bowl with the Masa Harina.
- Turn mixer on low speed. While mixing, slowly pour in the water until the dough begins to come together.
- Allow to mix for 5 minutes in a stand mixer, or knead by hand for 10 minutes, until the dough is smooth and cohesive, like Play-Doh.
- Form the dough into one large, tight ball.
- Wrap the dough ball tightly in plastic wrap and place it in the refrigerator to rest for 30 minutes.
- After resting, measure the weight of the entire dough mass and divide it by 12 to determine the weight for each individual tortilla.
- Separate the dough into 12 equally weighted balls. Roll each portion gently in your hands until it forms a nice, even sphere, and set them aside.
- Heat a well-seasoned cast iron pan or griddle to medium-high heat. If using another type of pan, ensure there’s a small amount of oil coating the pan or that it is non-stick.
- For each of the 12 dough balls, follow these steps:
- Place a dough ball between two sheets of plastic wrap on a flat surface.
- Use a large can (e.g., a 28 oz San Marzano tomato can) or another heavy, flat object (like a deep-dish pizza pan) to press the ball down into something resembling a patty.
- Using a rolling pin, evenly roll out the patty until it is as thin as you can make it, aiming for a nice circular shape. This is a delicate process, so use care to avoid tearing the dough.
- Gently pull the flattened tortilla away from the plastic wrap. Don’t be afraid to ball it up and start over if it tears or doesn’t look right. Patience is key!
- Place the tortilla carefully onto the preheated cast iron pan and cook for 30 seconds to 1 minute on each side.
- The cooked tortilla should have light brown markings, a slight puff, and should remain soft and pliable, not stiff.
- Remove the cooked tortilla and place it into a tortilla basket or wrap it in a clean towel on a plate to keep it warm and soft.
- While one tortilla is cooking, you can begin rolling out the next one to maintain efficiency.
- Gently stack the tortillas in a large cloth or tortilla warmer and let them cool slightly (or enjoy them immediately!).
- Use fresh tortillas soon, as homemade ones will go stale and stiffen faster than store-bought varieties without preservatives.