
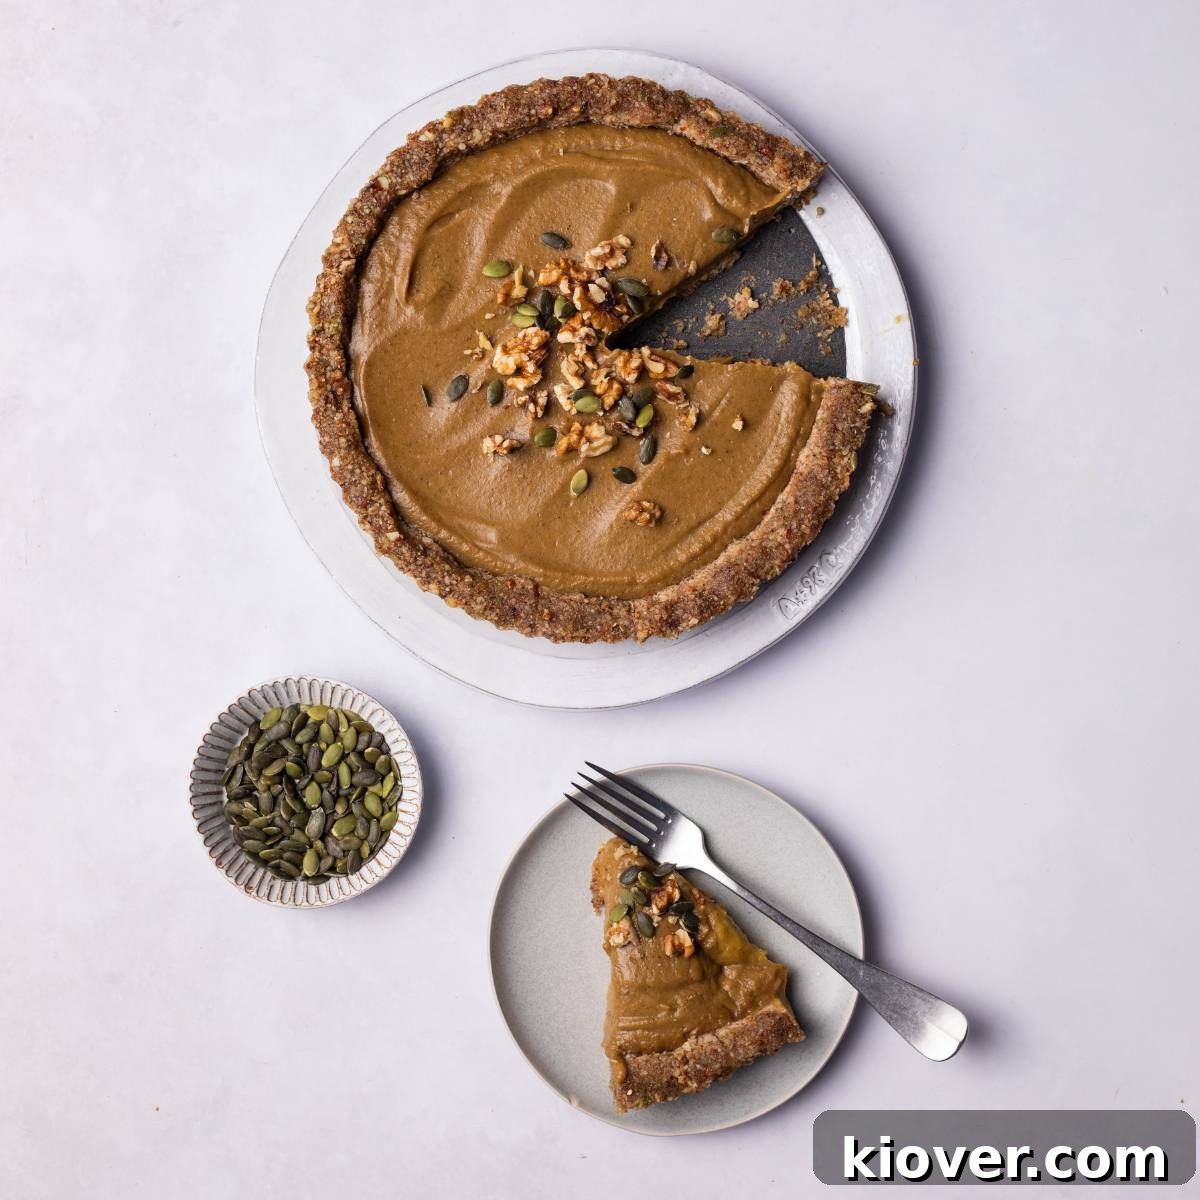
Healthy Gluten-Free Vegan No-Bake Pumpkin Pie: Your Ultimate Holiday Dessert
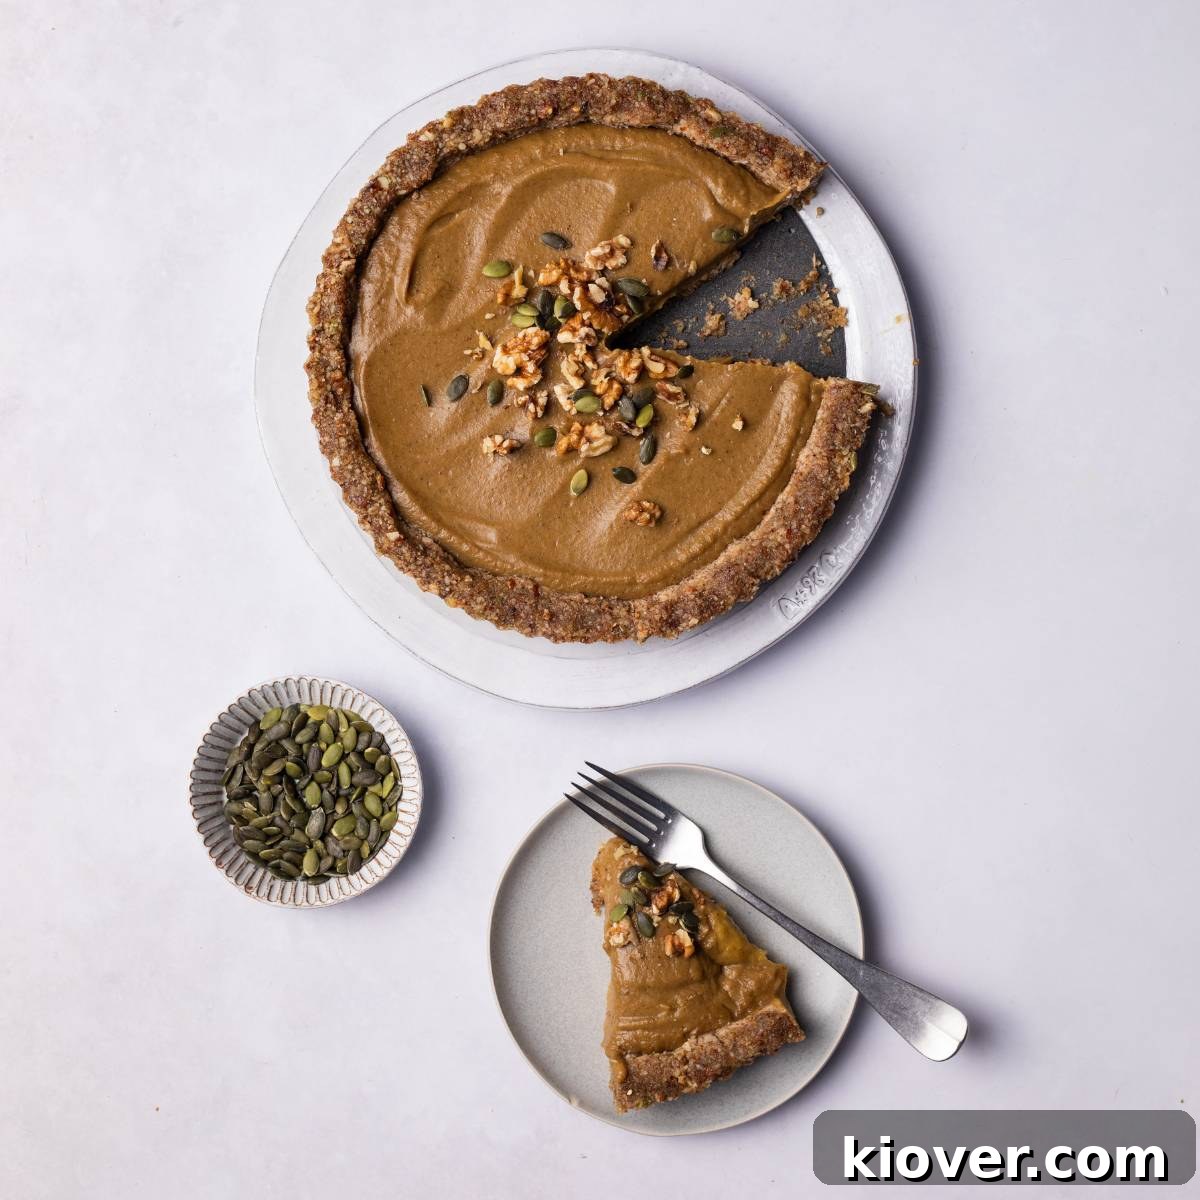
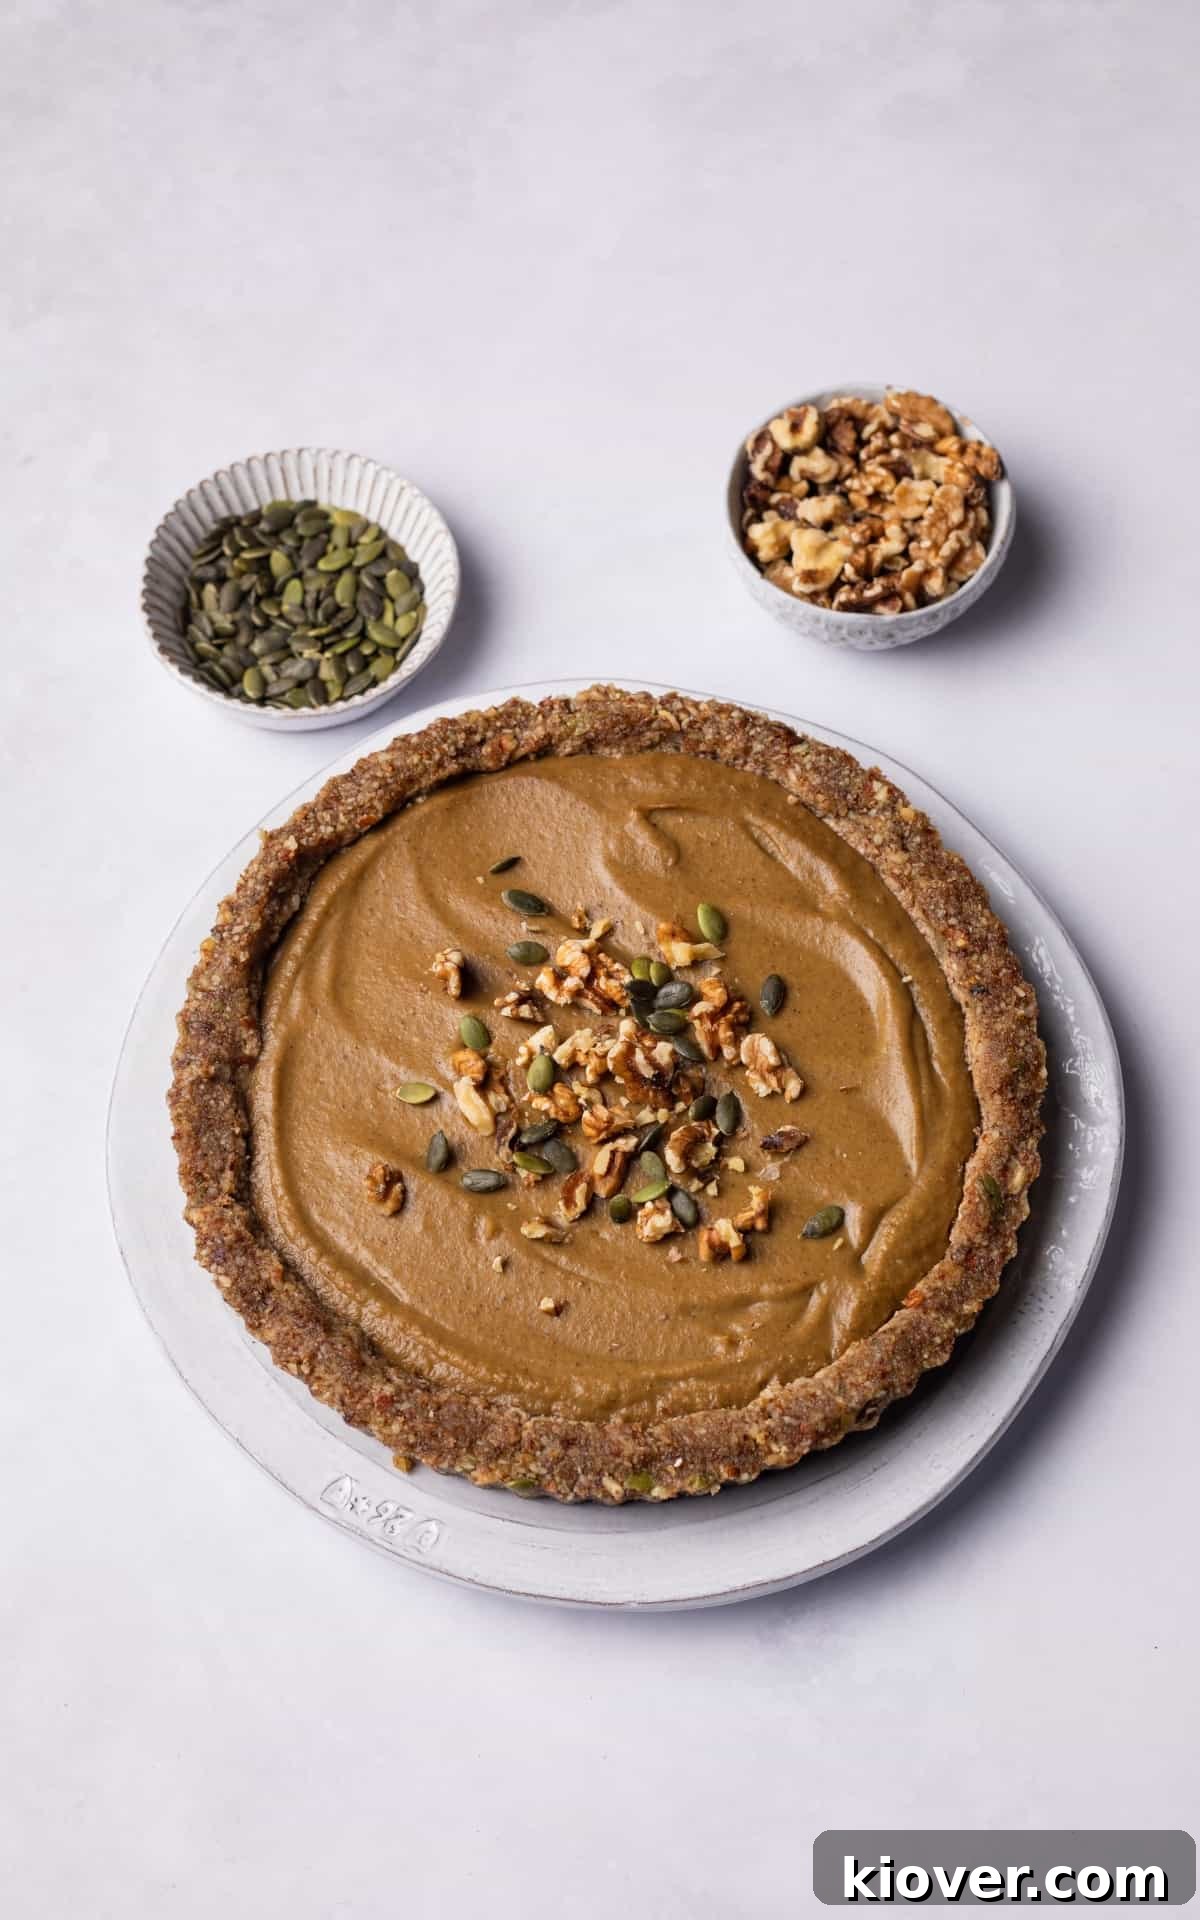
This healthy, gluten-free, and vegan No-Bake Pumpkin Pie recipe is set to revolutionize your holiday dessert table! Crafted with all-natural ingredients, this pie delivers incredible flavor and a delightful texture, making it a guilt-free pleasure for everyone.
Recipe Difficulty – Easy
Table of Contents
- Why This Recipe Shines
- Ingredients for Your No-Bake Pumpkin Pie
- Easy Substitutions for This Pie
- Delicious Variations to Try
- How to Make Your No-Bake Pumpkin Pie
- Storing Leftovers
- Recipe FAQs
- Complete No-Bake Pumpkin Pie Recipe
Why This Recipe Shines
Embrace the cozy spirit of autumn and the festive joy of Halloween with this exceptional vegan pumpkin dessert! Inspired by a visit to a local pumpkin patch, this recipe series aims to bring you the best of seasonal produce. This particular no-bake pumpkin tart stands out as a true star, offering a healthier twist on a beloved classic.
What makes this pie truly special? Firstly, it’s a no-bake wonder, freeing up your oven for other holiday dishes and simplifying your meal prep. Secondly, it caters to various dietary needs, being both gluten-free and vegan. But don’t let its healthy credentials fool you – this pie is incredibly rich, creamy, and packed with the warm, inviting spices we all crave during the cooler months.
The secret lies in its wholesome, nutrient-dense base made from nuts and dates, and a lusciously smooth topping that gets its creaminess from avocado and ripe bananas, without any refined sugars or dairy. It’s a dessert you can feel good about serving and enjoying!
If you’re eager for more vegan pumpkin creations, you’ve come to the right place! Explore other delightful recipes like our Pumpkin Butternut Soup, a hearty Pumpkin Curry with Quinoa, a comforting Spiced Pumpkin Oatmeal, or a refreshing Roasted Pumpkin Salad. This pie recipe was also inspired by our popular Puff Pastry Apple Tart and pairs beautifully with our Gluten-Free Cinnamon Baked Doughnuts. You’ll also find this recipe proudly featured in our collections of 21 Gluten-Free Easter Recipes, our best 33 Vegan Desserts, and a comprehensive round-up of 35 Gluten-Free Desserts.
Ingredients for Your No-Bake Pumpkin Pie
Crafting this delicious no-bake pie begins with selecting fresh, high-quality ingredients. Here’s what you’ll need to create both the sturdy, flavorful base and the creamy, spiced topping:
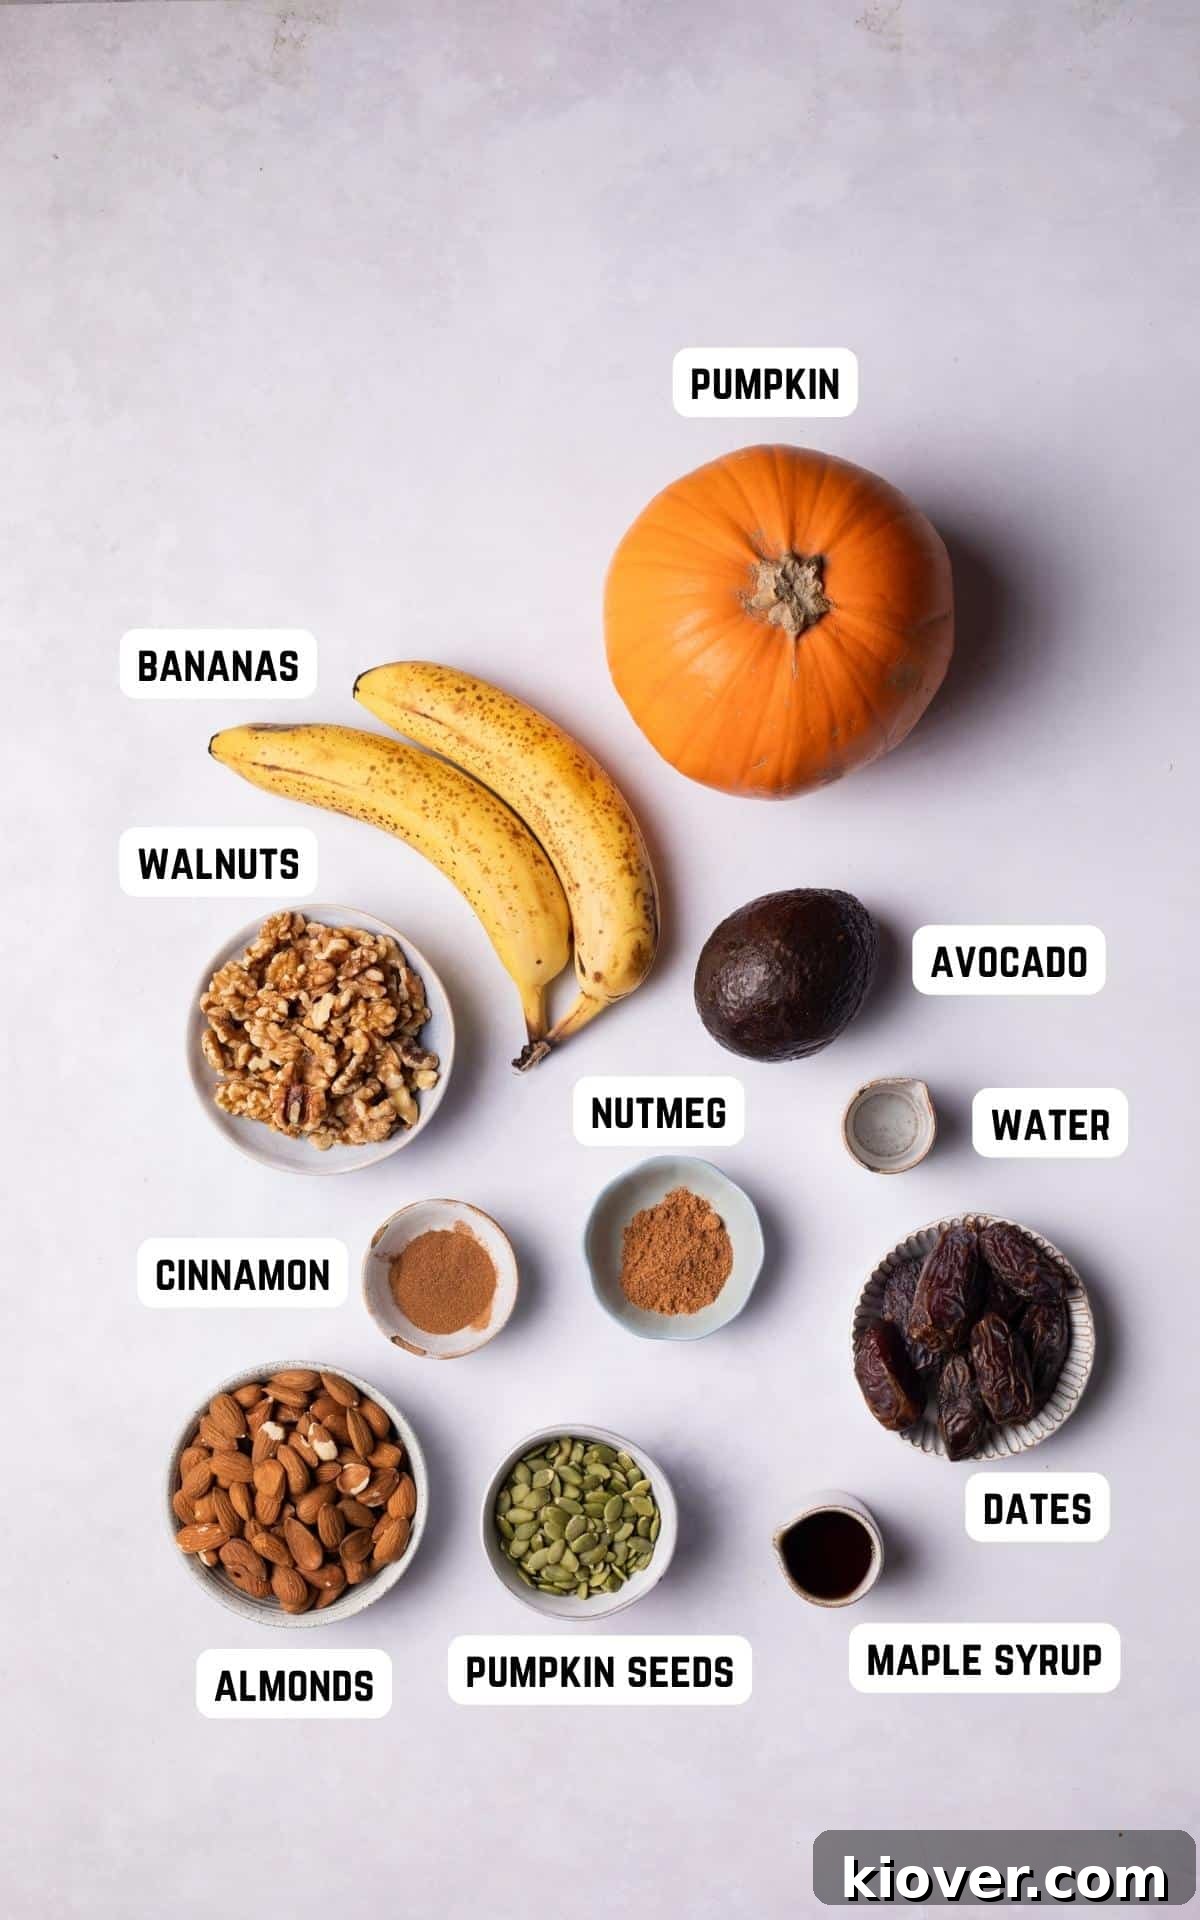
Ingredients for the Nutrient-Rich Base:
- Walnuts – These provide a robust, earthy flavor and a fantastic texture for the no-bake pumpkin pie base, complementing the sweet filling perfectly.
- Almonds – Almonds blend harmoniously with walnuts, adding another layer of nutty goodness and contributing to the base’s overall structure.
- Pumpkin Seeds – A thoughtful addition that not only enhances the texture but also subtly ties into the pumpkin pie theme, offering a gentle crunch.
- Pitted Dates – The natural sweetness and stickiness of pitted dates are essential here, acting as a natural binder to hold the crust together without any added processed ingredients.
- Water – Just a touch of water helps achieve the ideal consistency for the base, ensuring it presses easily into the tart tin.
- Maple Syrup – A wonderful natural sweetener that adds a touch of pure, unrefined sweetness to the base, enhancing its overall flavor profile.
Ingredients for the Creamy & Spiced Topping:
- Pumpkin – The star of the show! Remember that the weight specified in the recipe is for the pumpkin after it has been peeled and deseeded, ready for cooking.
- Bananas – Ripe bananas are key for both sweetness and a smooth texture. The riper they are, the sweeter and more flavorful your pie will be.
- Avocado – This unexpected ingredient is a game-changer, lending an incredibly luxurious creaminess to the pumpkin filling, making it rich and satisfying without any dairy.
- Maple Syrup – Another touch of this natural sweetener balances the flavors and ensures a perfectly sweet pumpkin filling without relying on refined sugars.
- Nutmeg – A quintessential holiday spice, nutmeg infuses the pie with its characteristic warm, aromatic notes, evoking comfort and tradition.
- Cinnamon – The perfect finishing spice, cinnamon adds depth and a comforting aroma to this healthy no-bake pumpkin dessert, truly bringing out its autumnal essence.
For precise measurements and quantities, please refer to the complete recipe card below.
Easy Substitutions for This Pie
Flexibility is key in healthy cooking! Here are some simple substitutions you can make without compromising the delicious outcome of your no-bake pumpkin pie:
- Pumpkin – No fresh pumpkin on hand? No problem! Canned pumpkin puree (100% pumpkin, not pie filling) works perfectly. Alternatively, for a slightly different flavor profile, you can use steamed and mashed butternut squash.
- Nuts for the Base – While walnuts and almonds offer a fantastic flavor, feel free to experiment! Cashews or pecans are excellent alternatives that will create a similarly delicious and cohesive crust. You can also use a mix of your favorite nuts.
- Maple Syrup – If maple syrup isn’t available or preferred, honey or agave nectar are common and effective substitutes, providing similar sweetness and binding properties.
Delicious Variations to Try
Elevate your no-bake pumpkin pie experience with these fun and flavorful variations:
- Deluxe Topping – For an extra special treat that remains healthy, top each slice with a generous dollop of whipped coconut cream or a store-bought vegan cool whip. A sprinkle of extra cinnamon or grated dark chocolate can take it to the next level.
- Kid-Friendly Twist – Make this delightful dessert even more appealing to younger palates by serving it with a scoop of their favorite vegan ice cream. If allergies aren’t a concern, you could also experiment with a traditional graham cracker crust for the base for a familiar taste.
- Mini Pies or Bars – Instead of a single large tart, consider pressing the base into muffin tins for individual mini pumpkin pies. Alternatively, use a square baking dish or cookie sheet to create pumpkin pie bars, perfect for parties or portion control.
For another delicious, healthy holiday dessert idea, be sure to check out our Nut Base Mince Pie version on the website!
How to Make Your No-Bake Pumpkin Pie
Creating this healthy and delicious no-bake pumpkin pie is a straightforward process. Follow these simple steps for a perfect dessert every time:
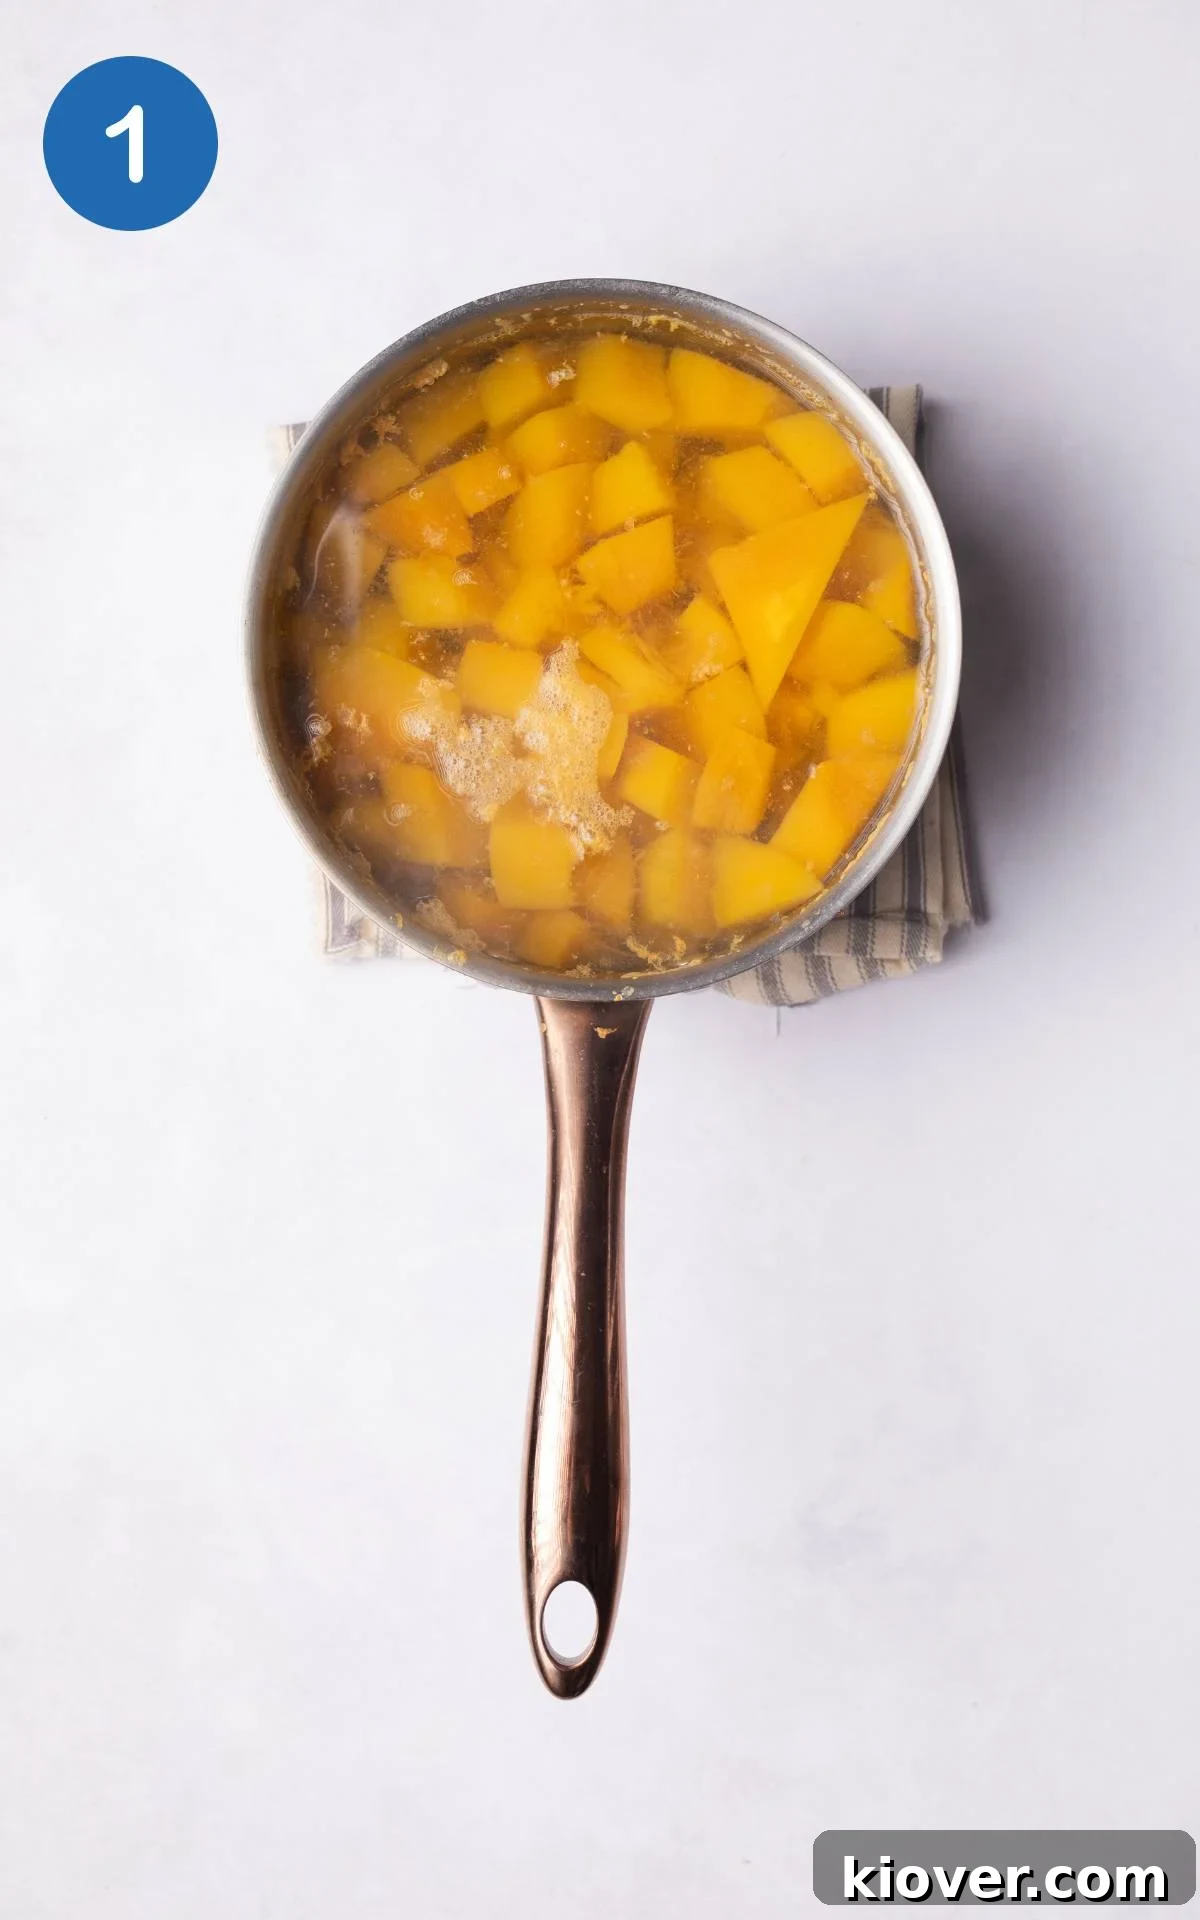
Step 1: Prepare the Pumpkin. Begin by peeling, deseding, and chopping your pumpkin into small, manageable pieces. Place them in a pot, cover with water, and boil for approximately 15 minutes until they are perfectly soft and tender. This ensures a smooth filling.
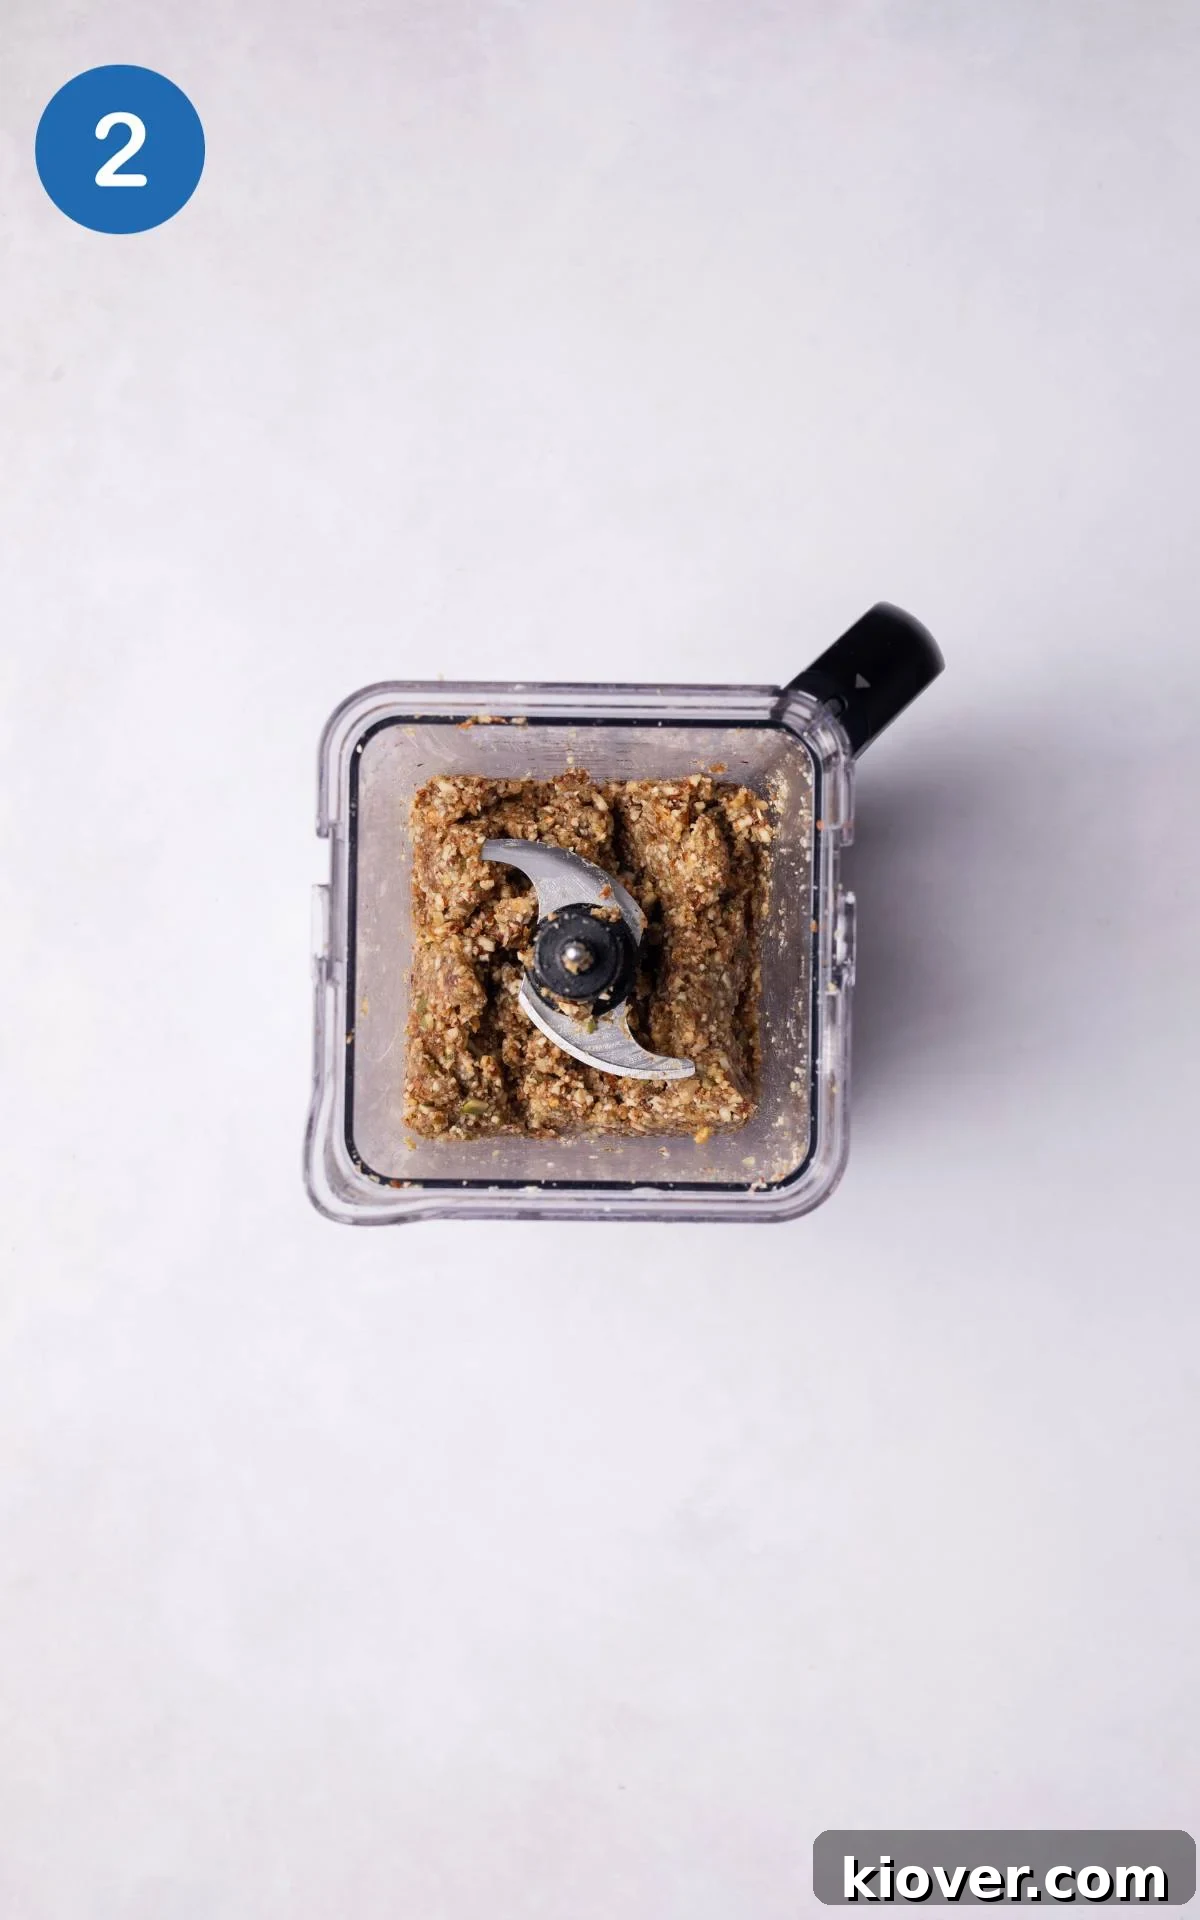
Step 2: Create the Pie Base. In a food processor, combine all the dry ingredients for the base: walnuts, almonds, and pumpkin seeds. Blend for about 2 minutes until they form fine crumbs. Then, add the pitted dates, water, and maple syrup, blending for another minute until the mixture becomes sticky and cohesive.
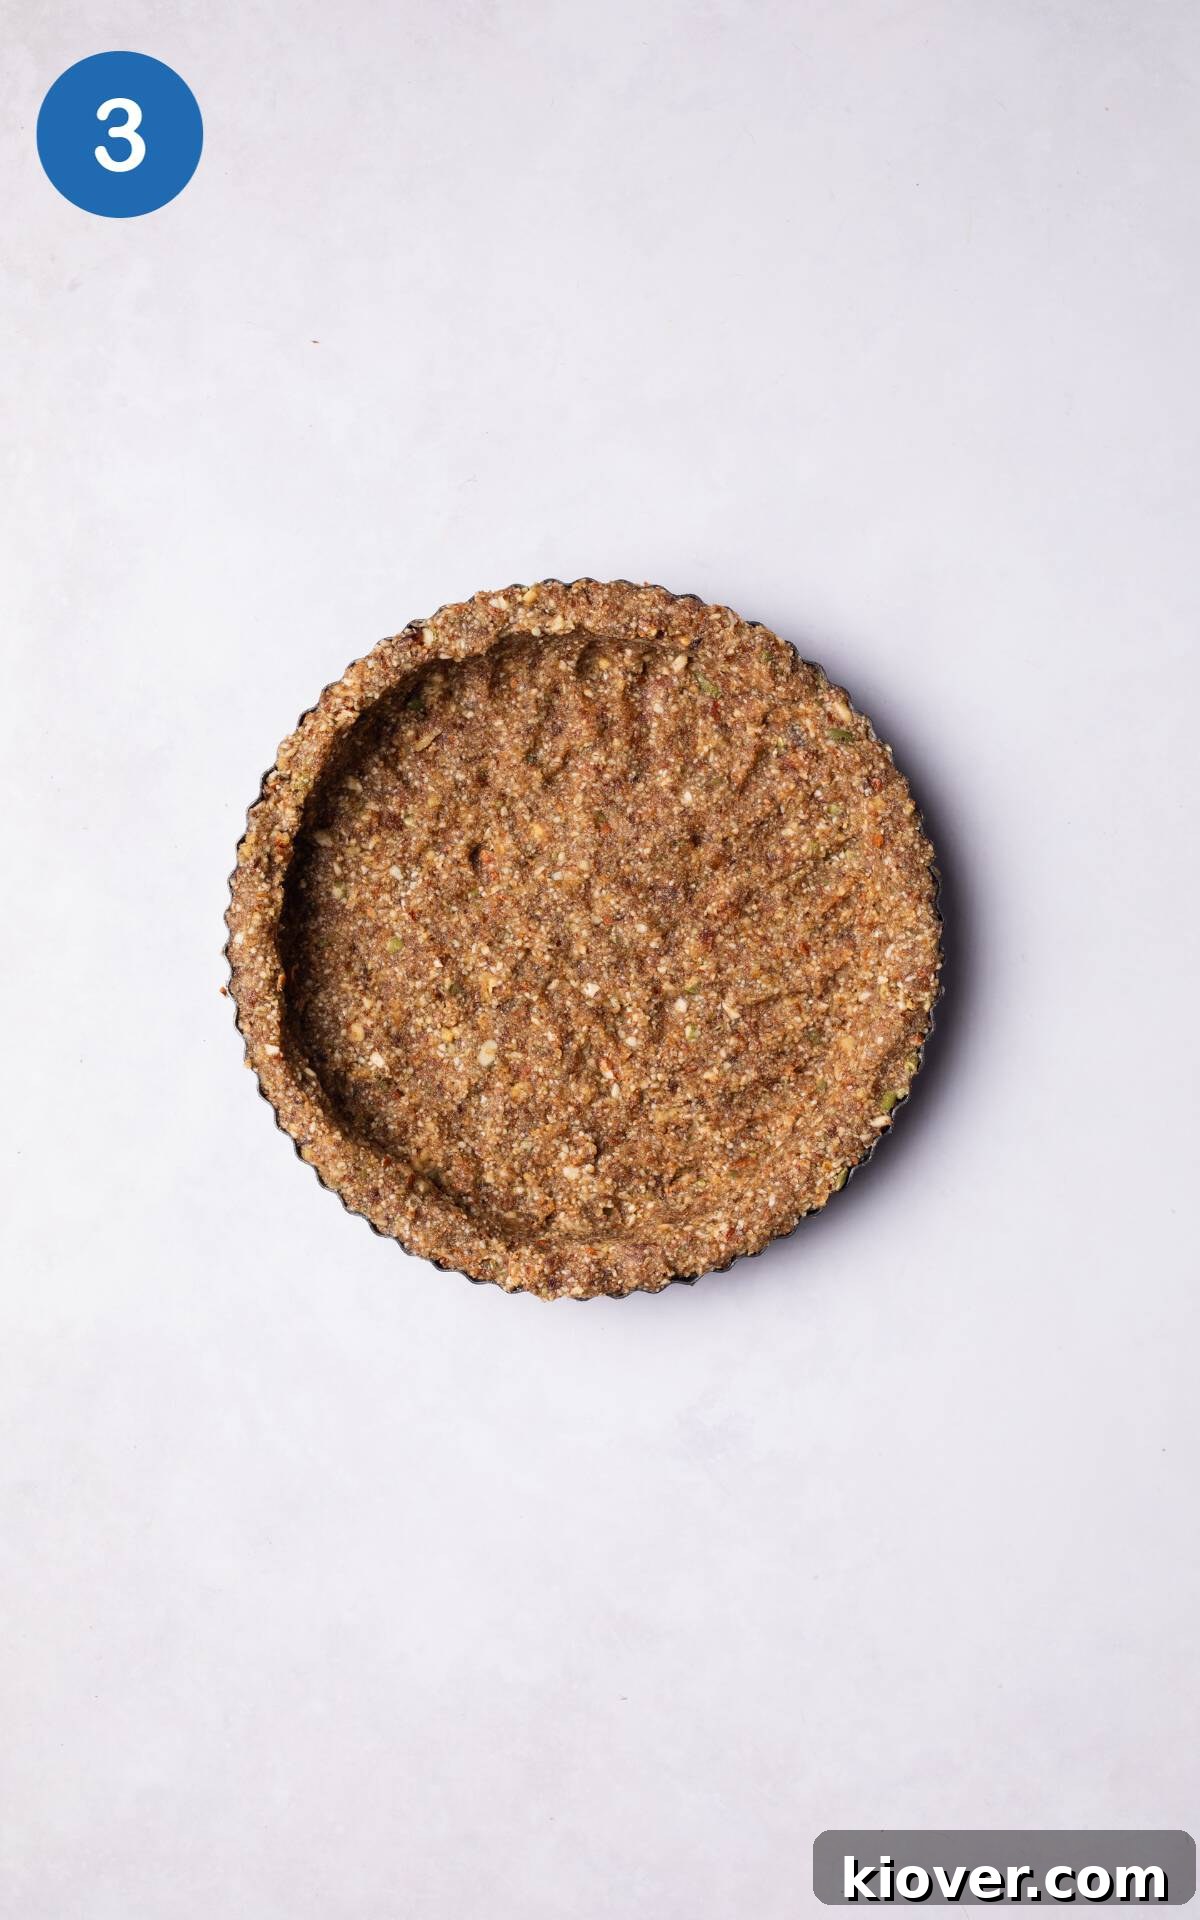
Step 3: Form the Crust. Transfer the blended base mixture into an 8-inch tart tin. Using your fingers or the back of a spoon, firmly press the mixture evenly across the bottom and up the sides of the tin to form the crust. Once shaped, pop it into the fridge to chill while you prepare the filling.
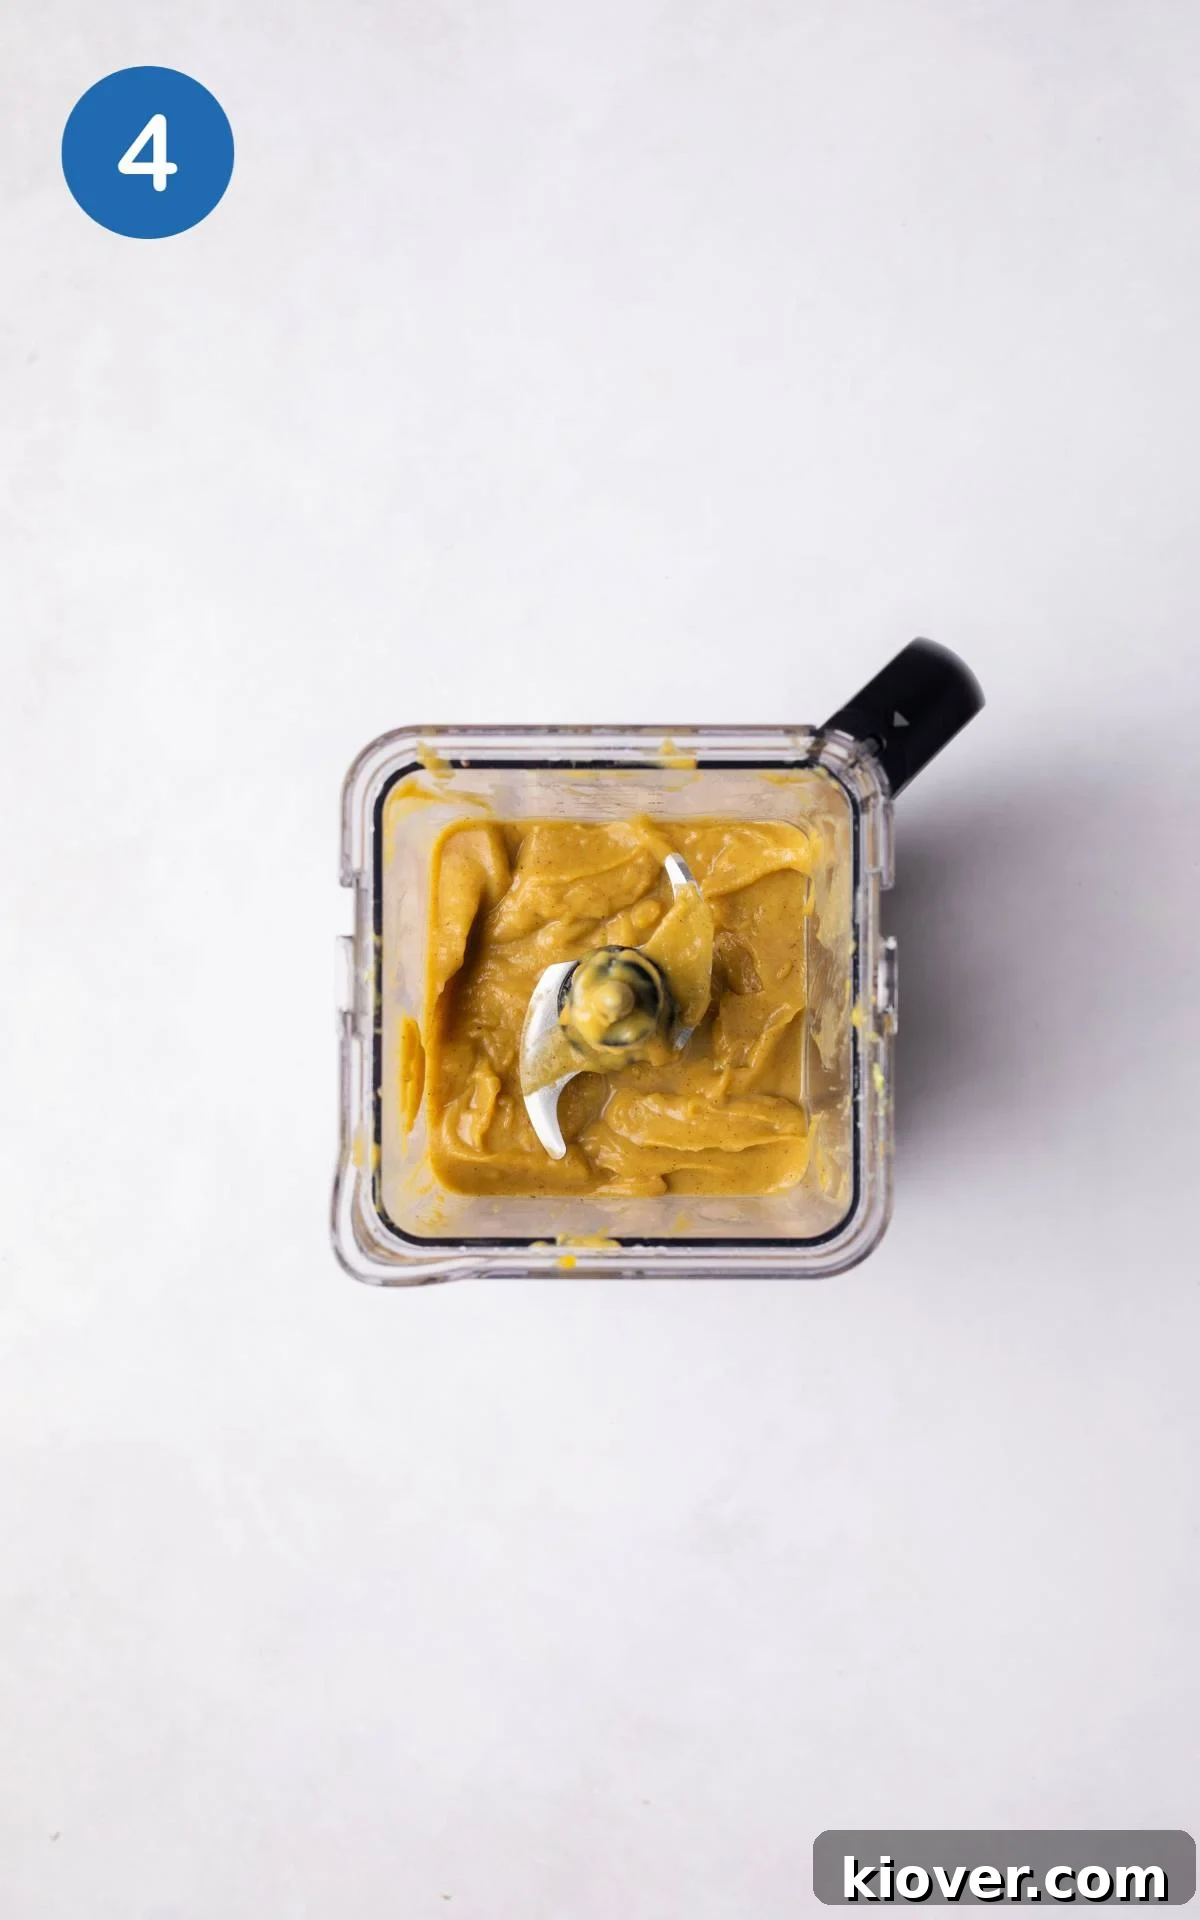
Step 4: Prepare the Pumpkin Filling. Once the pumpkin is soft from boiling, thoroughly drain it and allow it to cool completely. This cooling step is crucial to prevent the filling from becoming too liquidy. After cooling, add the pumpkin, bananas, avocado, maple syrup, nutmeg, and cinnamon to your food processor. Blend until the mixture is completely smooth and creamy.
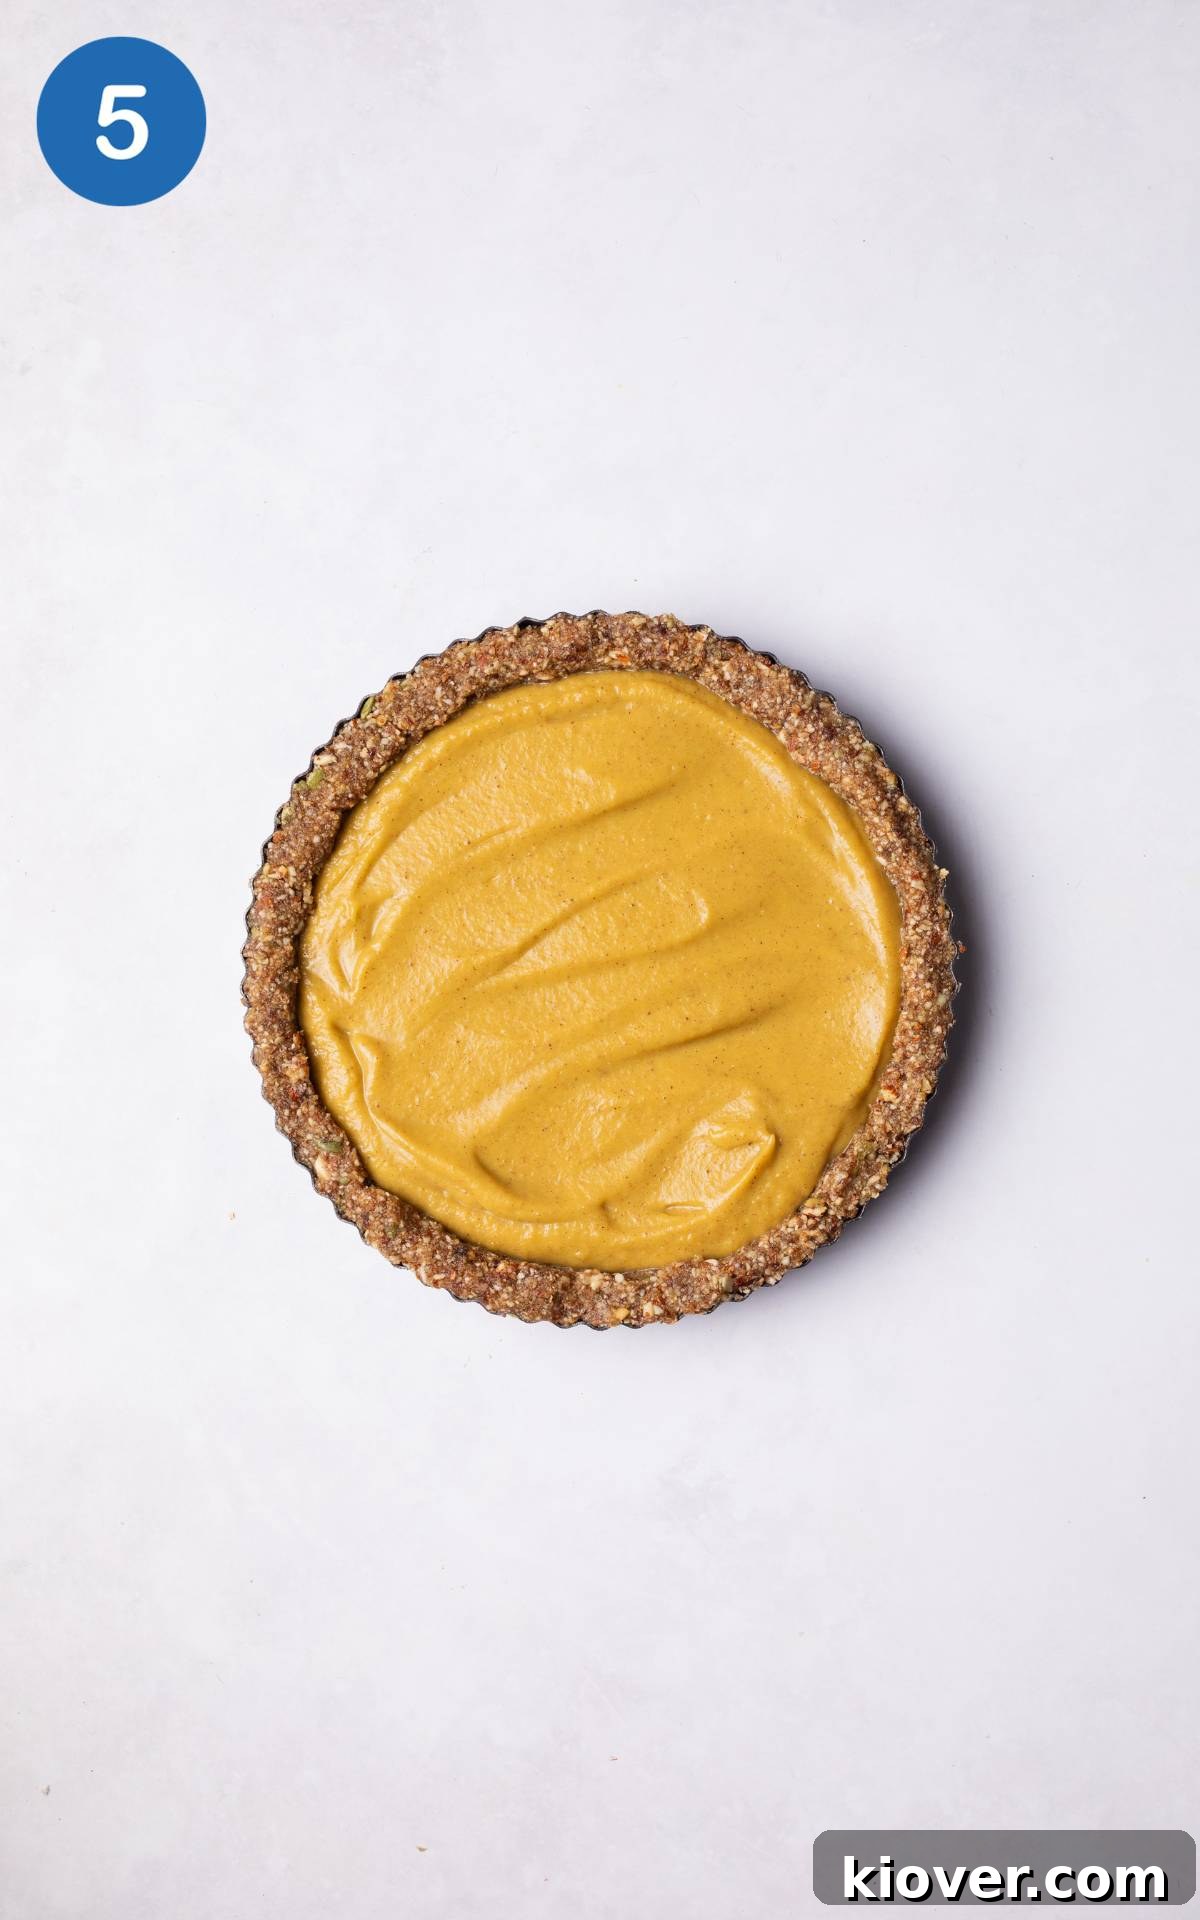
Step 5: Assemble and Chill. Gently spread the smooth pumpkin filling evenly over the chilled base in the tart tin. Once assembled, return the pie to the refrigerator and allow it to set for a minimum of 2-3 hours. This chilling time is essential for the pie to firm up and achieve its perfect sliceable consistency.
Pro Tip: Ensuring the base is well-chilled before adding the topping helps prevent it from becoming soggy and ensures a firm, delightful crust.
Storing Leftovers
This no-bake pumpkin pie holds up beautifully, making it perfect for enjoying over several days! To keep it fresh, store any leftover slices in an airtight container in the refrigerator for 3-4 days. Simply grab a slice whenever a craving strikes for a healthy and satisfying treat.
For longer storage, this pie also freezes exceptionally well. Wrap individual slices tightly in plastic wrap, then place them in a freezer-safe airtight container. It can be stored in the freezer for up to two months. Thaw in the refrigerator overnight before serving.
Recipe FAQs
For optimal freshness and food safety, it is always best to keep pumpkin pie in the refrigerator until you’re ready to serve and enjoy it. Store it in an airtight container or ensure it’s tightly covered with plastic wrap.
While there are many commercially available gluten-free crusts, creating your own offers superior taste and nutritional value. My preferred crust, featured in this recipe, combines a blend of nuts, dates, seeds, water, and a natural sweetener. It’s not only healthy and free of refined sugars but also boasts an incredibly satisfying texture.
Absolutely! This refrigerator pumpkin pie proves it. It’s incredibly easy to prepare and, as a bonus, frees up valuable oven space during busy holiday cooking. Made with wholesome, natural ingredients, it transforms from a simple mix to a ready-to-eat dessert after just a few hours of chilling in the fridge.
Yes, you certainly can! To achieve that wonderfully creamy texture without using cream cheese (which often contains dairy), I incorporate ripe avocado and banana into the pumpkin filling. These ingredients not only contribute to the smooth consistency but also help maintain the pie’s vegan and healthy profile.
YOU MIGHT ALSO LIKE…
5 Ingredients
Puff Pastry Apple Tart
Breakfast
Pumpkin Oatmeal
Lunch
Pumpkin and Butternut Soup
Lunch
Roasted Pumpkin Salad
Tried this No Bake Pumpkin Pie recipe? Please leave a star rating ⭐⭐⭐⭐⭐ below and let me know how you get on. Hearing positive feedback is one of the best parts of creating recipes so please review it below and leave a comment!
P.S Never miss a new recipe! Get more healthy recipes sent straight to your inbox weekly – Subscribe and receive a free recipe eBook!
No-Bake Pumpkin Pie
By: James Wythe
A healthier and irresistibly delicious take on a classic holiday dessert. This gluten-free and vegan pumpkin pie requires no baking and is packed with natural flavors.
Prep Time: 15 minutes
Cook Time: 15 minutes
Cooling Time: 30 minutes
Total Time: Approximately 1 hour (plus 2-3 hours setting time)
Servings: 8 slices
Ingredients
For the Base:
- 1 cup walnuts
- 1 cup almonds
- ⅓ cup pumpkin seeds
- 8 pitted dates
- 1-2 tbsp water
- 1 tbsp maple syrup
For the Pie Topping:
- 750 g pumpkin (peeled, deseeded, and chopped)
- 2 small bananas (ripe)
- 1 medium avocado
- 3 tbsp maple syrup
- 1 tsp nutmeg
- 1 tbsp cinnamon
Instructions
- Firstly, peel, deseed, and chop the pumpkin into small pieces. Boil them for 15 minutes until they are soft and tender.
- To prepare the base, combine the walnuts, almonds, and pumpkin seeds in a food processor and blend until they form fine crumbs (approximately 2 minutes). Then, add the pitted dates, water, and maple syrup, blending again for about 1 minute until the mixture becomes sticky and cohesive.
- Press the base mixture evenly into an 8-inch tart tin, making sure to extend it up the sides. Place the tin in the fridge to chill while you prepare the topping.
- Once the pumpkin is soft, drain it thoroughly and allow it to cool completely. In the food processor, combine the cooled pumpkin with the bananas, avocado, maple syrup, nutmeg, and cinnamon. Blend until the mixture is perfectly smooth and creamy.
- Finally, spread the smooth pumpkin mix evenly over the chilled base in the tart tin. Return the pie to the fridge for 2-3 hours to allow it to set completely before serving.
Notes
- Step-by-Step Photos: For visual guidance, helpful step-by-step photos are included in the blog post above to assist you throughout the recipe process.
- Substitutions & Variations: A comprehensive list of potential ingredient substitutions and delicious variations can be found earlier in the post.
- To Store: Store any leftover pie in an airtight container in the fridge for 3-4 days to maintain its freshness.
- To Freeze: This pie freezes well! Wrap individual slices in plastic wrap, then place them in a freezer-safe container for up to a couple of months. Thaw in the refrigerator before serving.
- Tip 1: For a beautiful presentation and added flavor, garnish the top of the pie with extra cinnamon, a sprinkle of nutmeg, and a few pumpkin seeds and walnuts before serving.
- Tip 2: Using very ripe bananas will contribute to a naturally sweeter and more intensely flavored pie.
- Tip 3: For individual portions, press the crust mixture into cupcake tins, ensuring the base comes up the sides slightly. You can also make pumpkin pie bars by preparing the crust and topping in a square baking dish or casserole dish.
Nutrition (per serving)
Calories: 392 kcal |
Carbohydrates: 32g |
Protein: 9g |
Fat: 27g |
Saturated Fat: 3g |
Fiber: 8g |
Sugar: 18g
Did you make this recipe? Share your creation!
Tag @HealthyLivingJames on Instagram and use #HealthyLivingJames!