
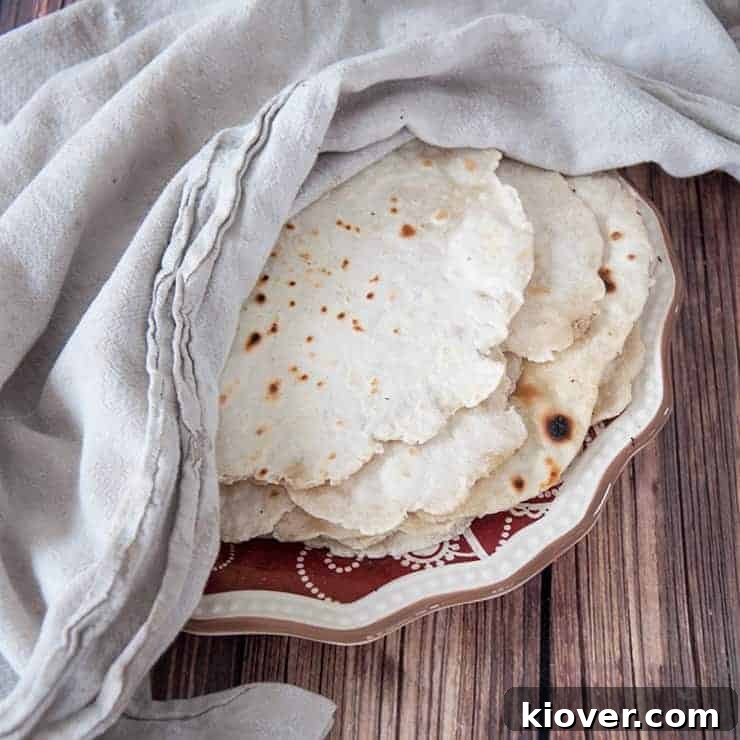
Welcome to the world of homemade flour tortillas, where a simple blend of ingredients transforms into a culinary masterpiece. If you’ve ever settled for store-bought tortillas, prepare for a revelation. Crafting your own flour tortillas is not only surprisingly easy but also incredibly rewarding, offering a freshness, flavor, and texture that pre-packaged versions simply cannot match. This guide will walk you through every step, helping you create tender, pliable tortillas that will elevate your meals and might just convince you to never go back to store-bought.
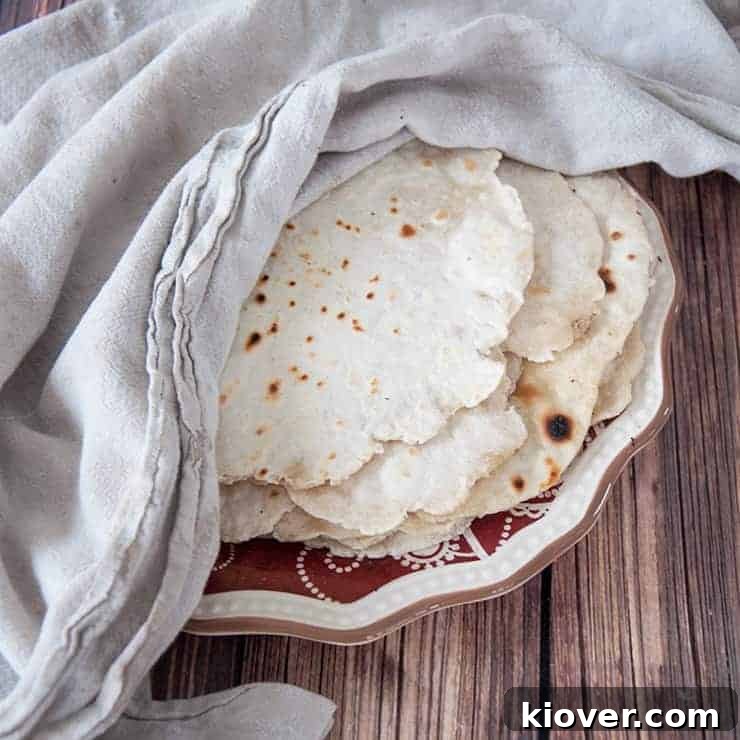
Making flour tortillas from scratch has been a delightful part of my cooking journey for years. It’s more than just a recipe; it’s an enjoyable process that connects you with your food and the rich traditions of Mexican cuisine. As a foundational element of our taco series, this recipe for homemade flour tortillas is designed to bring that same joy and authentic flavor to your kitchen. Get ready to experience the true essence of handcrafted Mexican cooking!
Why Homemade Flour Tortillas Are a Game Changer
The difference between homemade and store-bought tortillas is akin to comparing fresh bread from a bakery to a supermarket loaf. The freshness is paramount. When you make them at home, you control the quality of ingredients, ensuring no unnecessary preservatives or additives. The aroma that fills your kitchen as they cook is intoxicating, and the taste is unparalleled—a soft, chewy texture with a subtle, warm flavor that perfectly complements any filling. Beyond taste, it’s an economical choice, saving you money in the long run while providing a superior product.
The Unmatched Freshness and Flavor
Imagine biting into a warm, soft tortilla, still slightly puffed from the griddle. That’s the homemade experience. Unlike store-bought varieties that can often be stiff or lack character, freshly made flour tortillas are incredibly pliable, making them ideal for wrapping burritos, folding tacos, or simply tearing and enjoying on their own. The simple ingredients—flour, water, fat, and salt—combine to create a delicate flavor that enhances, rather than overpowers, your meal. This foundational quality makes all the difference in truly authentic Mexican dishes.
Control Over Ingredients: Healthier Choices
One of the biggest advantages of cooking at home is ingredient control. For those with dietary restrictions or preferences, homemade tortillas offer peace of mind. You can choose organic flour, adjust the salt content, and, as we’ll discuss, select your preferred fat—whether it’s traditional lard or a vegetarian shortening. This level of customization ensures a healthier, more personalized product for you and your family.
Flour Tortillas Vs. Corn Tortillas: A Culinary Deep Dive
While we’ve previously explored our homemade corn tortilla recipe, it’s important to understand the distinct characteristics that set flour and corn tortillas apart. Though the ingredients are simple for both, their culinary applications, textures, and dough handling differ significantly, making each unique and indispensable in its own right.
Taste and Texture: Understanding the Nuances
The most obvious distinction lies in their taste and texture. Corn tortillas, made from masa harina, boast a rustic, earthy, and distinctly corn flavor. Their texture is typically a bit more crumbly or “mealy,” and they tend to be smaller and firmer, holding their shape well for traditional tacos. Homemade flour tortillas, on the other hand, offer a softer, more pliable, and “bread-like” experience. Their flavor is milder, allowing the fillings to shine, and their chewy consistency makes them perfect for wraps, quesadillas, and larger burritos.
Cooking Dynamics: Handling Different Doughs
The cooking process, particularly the frying on a hot surface, is similar for both. However, the dough preparation and handling are where they diverge. Corn tortilla dough, derived from masa harina, requires careful attention to moisture to prevent it from cracking or falling apart during pressing. It’s a delicate dough that demands a gentle touch.
Flour tortilla dough presents a different set of challenges, primarily its elasticity. Made with wheat flour, this dough tends to be very cohesive, almost too much so. The key is to incorporate just enough water to bring it together without making it sticky, then knead it sufficiently to develop gluten. The real patience comes during rolling. Flour dough has a remarkable tendency to “snap back,” resisting your efforts to roll it thin. Achieving that signature thinness without tearing requires a steady hand, a light touch with flour, and a bit of perseverance. But the reward—a perfectly round, translucent tortilla—is well worth the effort.
Lard Vs. Shortening: Choosing Your Fat
When it comes to selecting the fat for your flour tortillas, it’s largely a matter of personal preference and dietary considerations. Both lard and shortening contribute to the tender, pliable texture that makes homemade tortillas so delightful, but they each bring a different profile to the table.
Flavor and Texture Contributions
Traditionally, lard (rendered pork fat) has been the fat of choice for authentic Mexican flour tortillas. It imparts a richer, more nuanced flavor and an incredibly tender, almost melt-in-your-mouth texture. The use of lard is deeply rooted in the culinary heritage of many regions. However, for those seeking a vegetarian option, or simply a more neutral flavor, vegetable shortening is an excellent substitute. Shortening provides a similar tenderness and pliability without any animal products or a distinct flavor, allowing the tortilla’s simple essence to come through.
Dietary and Ethical Considerations
For households with vegetarians, like mine, vegetable shortening becomes the obvious and practical choice. It ensures everyone can enjoy the delicious homemade tortillas. While lard does contribute more flavor, it also comes with higher levels of saturated fat and cholesterol. Ultimately, the decision between lard and shortening is yours, based on taste preference, dietary needs, and ethical considerations. Rest assured, whether you choose lard or shortening, your homemade tortillas will still be far superior to anything from a package.
The Art of Rolling: Patience, Practice, and Perfect Tortillas
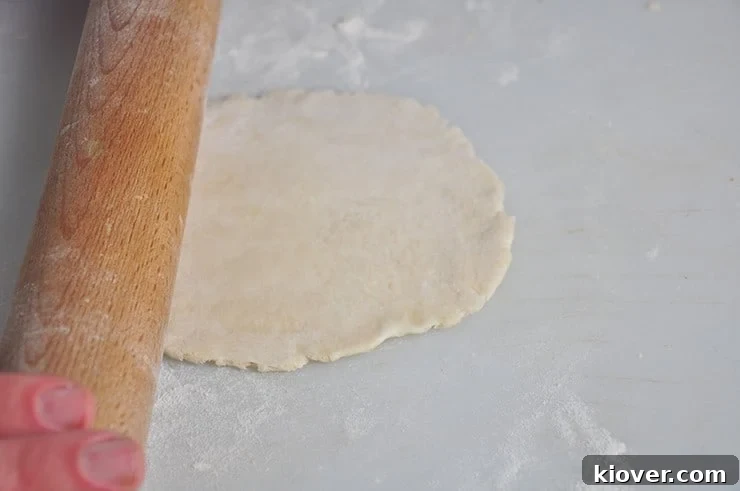
Rolling out flour tortillas is arguably the most crucial step in the process, and it’s where patience truly becomes a virtue. It might feel like a test of endurance initially, but this is an exercise in working with your ingredients, understanding the dough, and finding your rhythm. Some culinary tasks can be rushed, but dough-based recipes demand time, care, and a certain level of mindful engagement.
From crafting the perfect apple pie crust to delicate corn tortillas, and now these flour tortillas, the secret to success often lies in developing a sense of calm and “zen” in the kitchen. Flour tortilla dough, with its elastic nature, will want to spring back into a ball. Your job is to gently persuade it to yield, rolling it as thin as possible without tearing. Think of it like a painter working with a canvas; you must engage with the dough, feel its resistance, and gradually guide it into shape. Embrace the process, and you’ll soon master the art of rolling out beautifully thin, round tortillas.
Are Flour Tortillas Authentic? A Historical Perspective
The concept of “authenticity” in food is often debated, and flour tortillas are no exception. It’s true that wheat was not native to the Americas before European colonization. Corn, on the other hand, has a profound and ancient heritage in Mesoamerican cuisine, predating wheat by millennia. So, in terms of sheer historical duration, corn tortillas boast a far longer lineage.
However, to dismiss flour tortillas as “inauthentic” would be to ignore centuries of culinary evolution and cultural exchange. Wheat arrived with the Spanish and was quickly adopted into local diets, particularly in northern Mexico, where cattle ranching and wheat farming became prevalent. This led to the development of unique regional cuisines, with flour tortillas becoming a staple, especially for dishes involving beef and pork—meats also introduced by Europeans. Authenticity isn’t static; it evolves with history, ingredients, and cultural adaptation. Flour tortillas are a deeply ingrained and celebrated part of Mexican culinary identity, particularly in states like Sonora and Chihuahua, where they are as traditional as corn tortillas are in the south.
The Economical Advantage of Homemade Tortillas
Beyond the superior taste and texture, making your own flour tortillas is an incredibly smart financial decision. Consider the cost: a cup and a half of all-purpose flour, a couple of tablespoons of shortening or lard, and a teaspoon of salt. That’s essentially it! These are pantry staples that are very inexpensive.
While a pack of ten store-bought flour tortillas might cost around $2.00, your homemade batch of the same size could easily come in at less than 50 cents. The initial time investment pays off not just in savings, but in an infinitely better product. Once you master the technique, the process becomes quick and efficient. You’re not just saving money; you’re investing in quality, flavor, and the satisfaction of knowing exactly what goes into your food. It’s a culinary win-win!
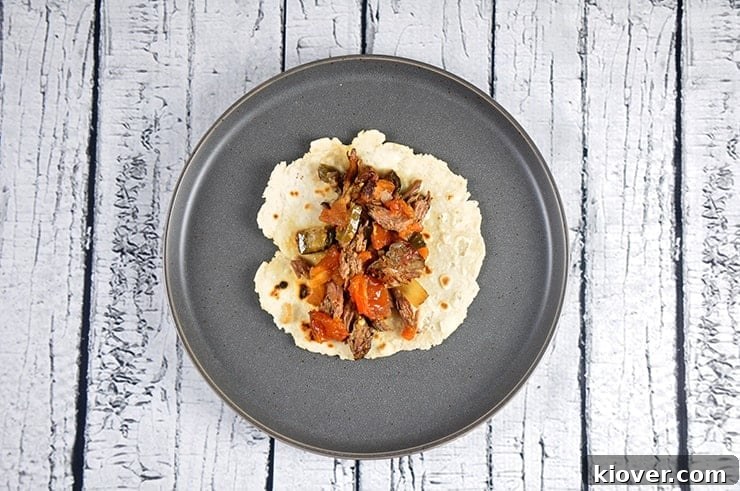
Embracing the joy of making homemade flour tortillas is a journey worth taking. It’s economical, incredibly tasty, and a truly fun culinary experience that anyone can learn. The fresh, soft, and warm tortillas you create will transform your meals and bring a new level of authenticity to your table. We encourage you to try this recipe and discover the magic for yourself! If you enjoy our recipes and culinary insights, be sure to subscribe to our email list for updates and follow us on Instagram for more delicious inspiration!
Products That Aid in Your Tortilla Making Journey
- KitchenAid Mixer: While not strictly necessary, a stand mixer greatly simplifies the kneading process, saving you time and effort.
- Large Cast Iron Pan: A well-seasoned cast iron pan provides excellent, even heat distribution, crucial for perfectly cooked tortillas with beautiful browning.
- Wood Rolling Pin: A classic wooden rolling pin offers great control and feel for rolling out dough to the desired thinness.
Homemade Flour Tortillas Recipe
Homemade Flour Tortillas Recipe
5 from 1 review
- Author: Ben Myhre
- Prep Time: 30 minutes
- Cook Time: 10 minutes
- Total Time: 40 minutes
- Yield: 6 tortillas
- Category: Bread
- Method: Stovetop
- Cuisine: Mexican
Description
Fresh, homemade flour tortillas for your authentic Mexican food experience at home! Not only do they taste great, but they are also economical and a fun way to spruce up your dining table. This recipe yields tender, pliable tortillas perfect for all your favorite fillings.
Ingredients
- 1 1/2 cups all-purpose flour
- 1 teaspoon salt
- 2 tablespoon shortening (or lard)
- 1/2 cup water
Instructions
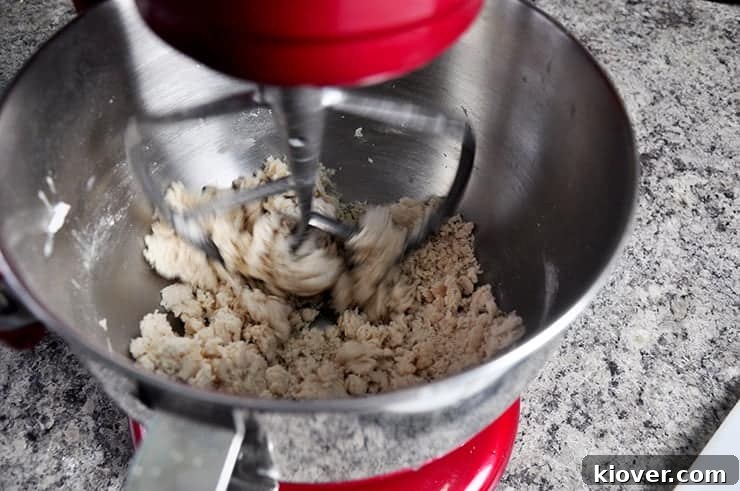
- Combine all ingredients in a mixing bowl. Begin by mixing the flour and salt, then cut in the shortening (or lard) until crumbly. Gradually add water until a cohesive dough forms.
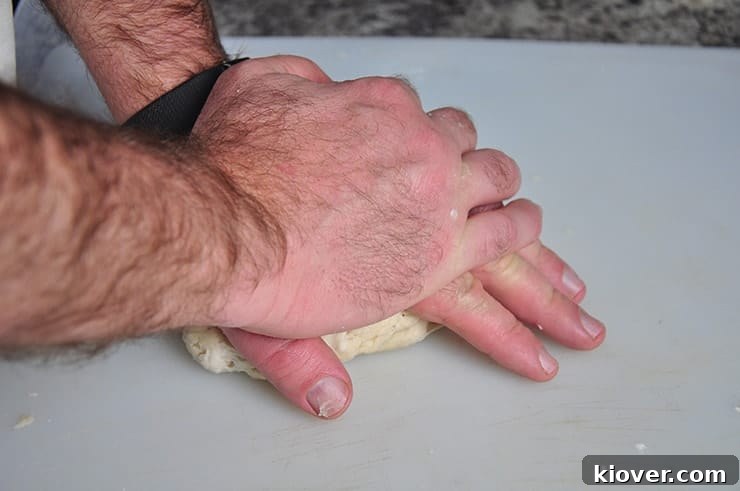
- Transfer the dough to a stand mixer fitted with a dough hook and knead on low speed for 5 minutes, or knead by hand on a lightly floured surface for the same amount of time until smooth and elastic.
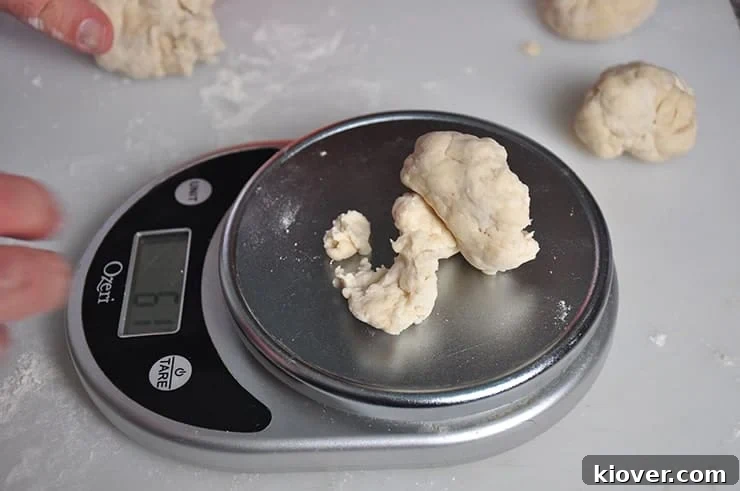
- Weigh the entire dough ball to determine its total weight, then divide it into 6 equal portions for consistent tortilla size.
- Form each portion into a smooth, tight ball. This step is crucial for achieving round tortillas later.
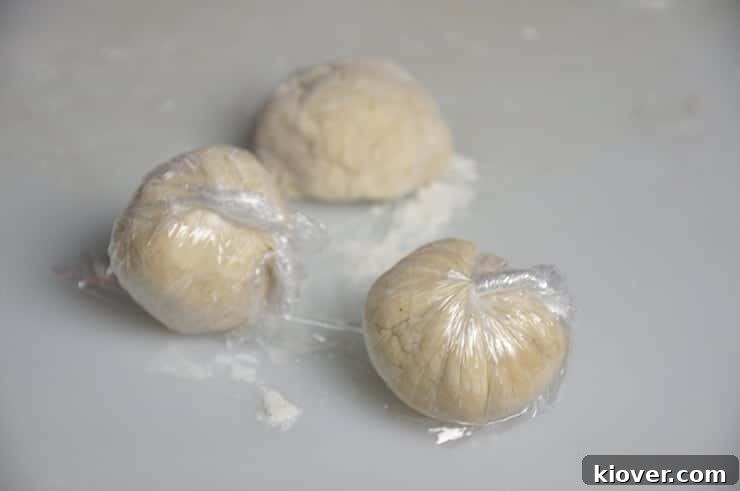
- Wrap each individual dough ball tightly in plastic wrap to prevent drying and allow the gluten to relax.
- Place the wrapped dough balls into the refrigerator for at least 20 minutes (or up to an hour) to allow them to rest. This rest period is essential for the dough to become pliable and easier to roll.
- Unwrap the chilled dough balls just before you are ready to roll them out.
- Heat a nonstick pan or a well-seasoned cast iron skillet on your stovetop over medium-high heat. Allow it to get sufficiently hot.
- While the pan is heating, take one dough ball at a time and roll it out individually on a lightly floured surface. Use a rolling pin to flatten it into a thin, circular shape.
- Aim for a diameter of about 6-8 inches and roll them as thin as you possibly can without tearing. The thinner the tortilla, the better the texture.
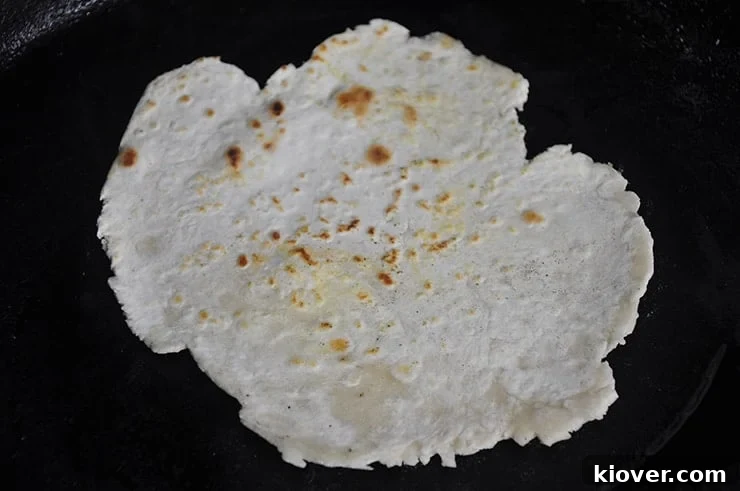
- Once rolled, place a tortilla onto the hot cast iron pan and cook each side for approximately 45 seconds to 1 minute, or until you see light browning and some characteristic bubbling. Adjust your cooking time as needed, depending on your stovetop’s heat and pan’s efficiency.
- Remove the cooked tortilla from the pan and place it aside, perhaps in a warm towel to keep it soft. Repeat the process for the remaining dough balls. Once all are cooked, serve immediately! Homemade tortillas tend to dry out quicker than store-bought ones, so enjoy them fresh.