
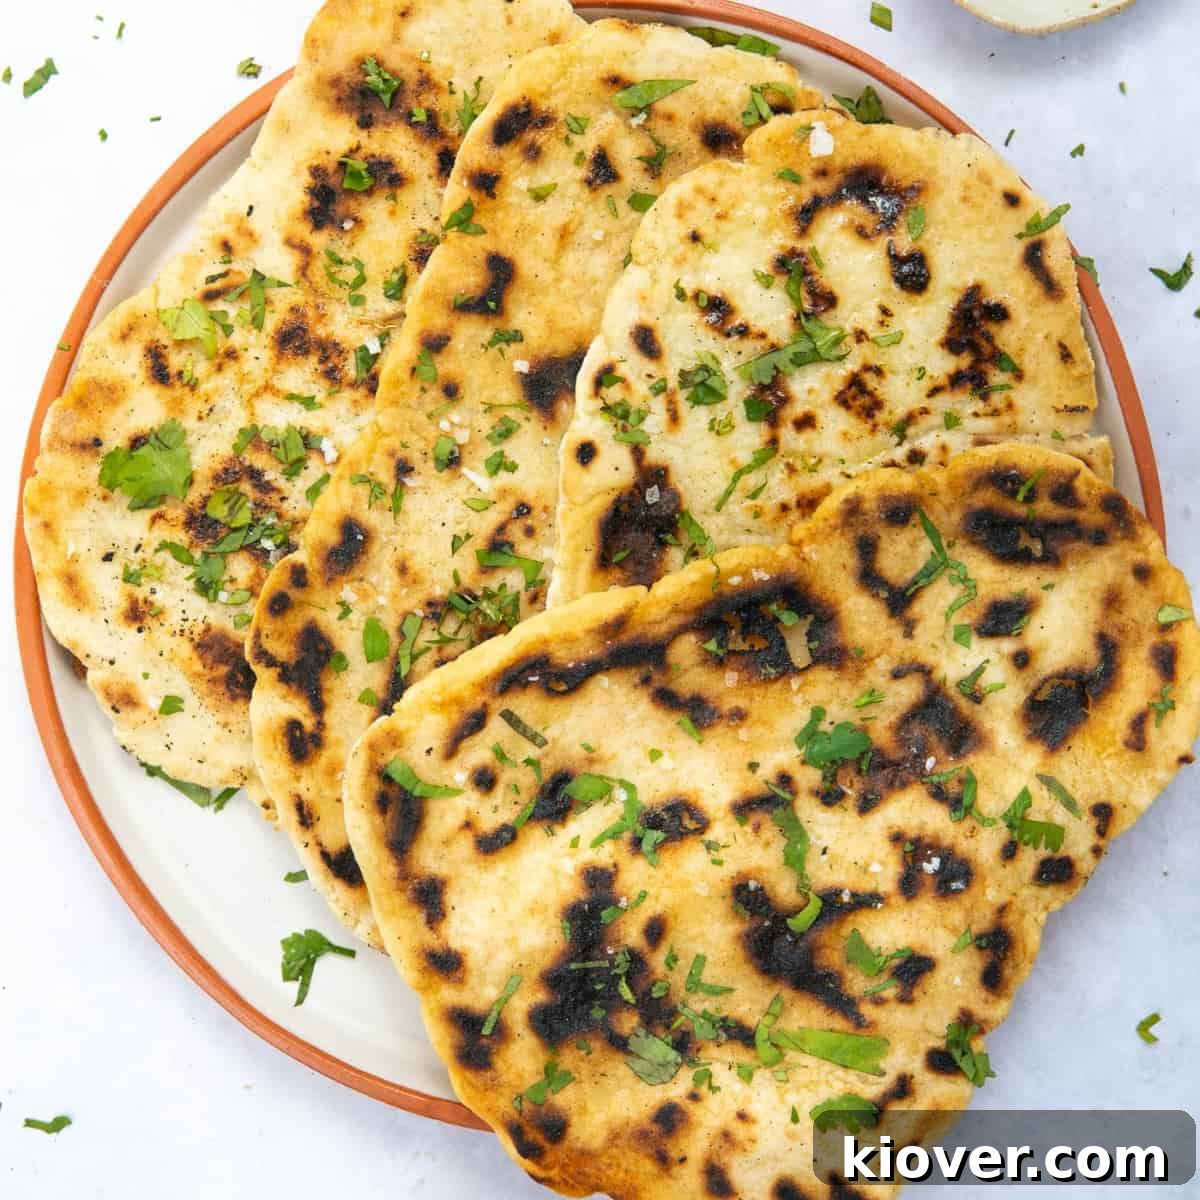
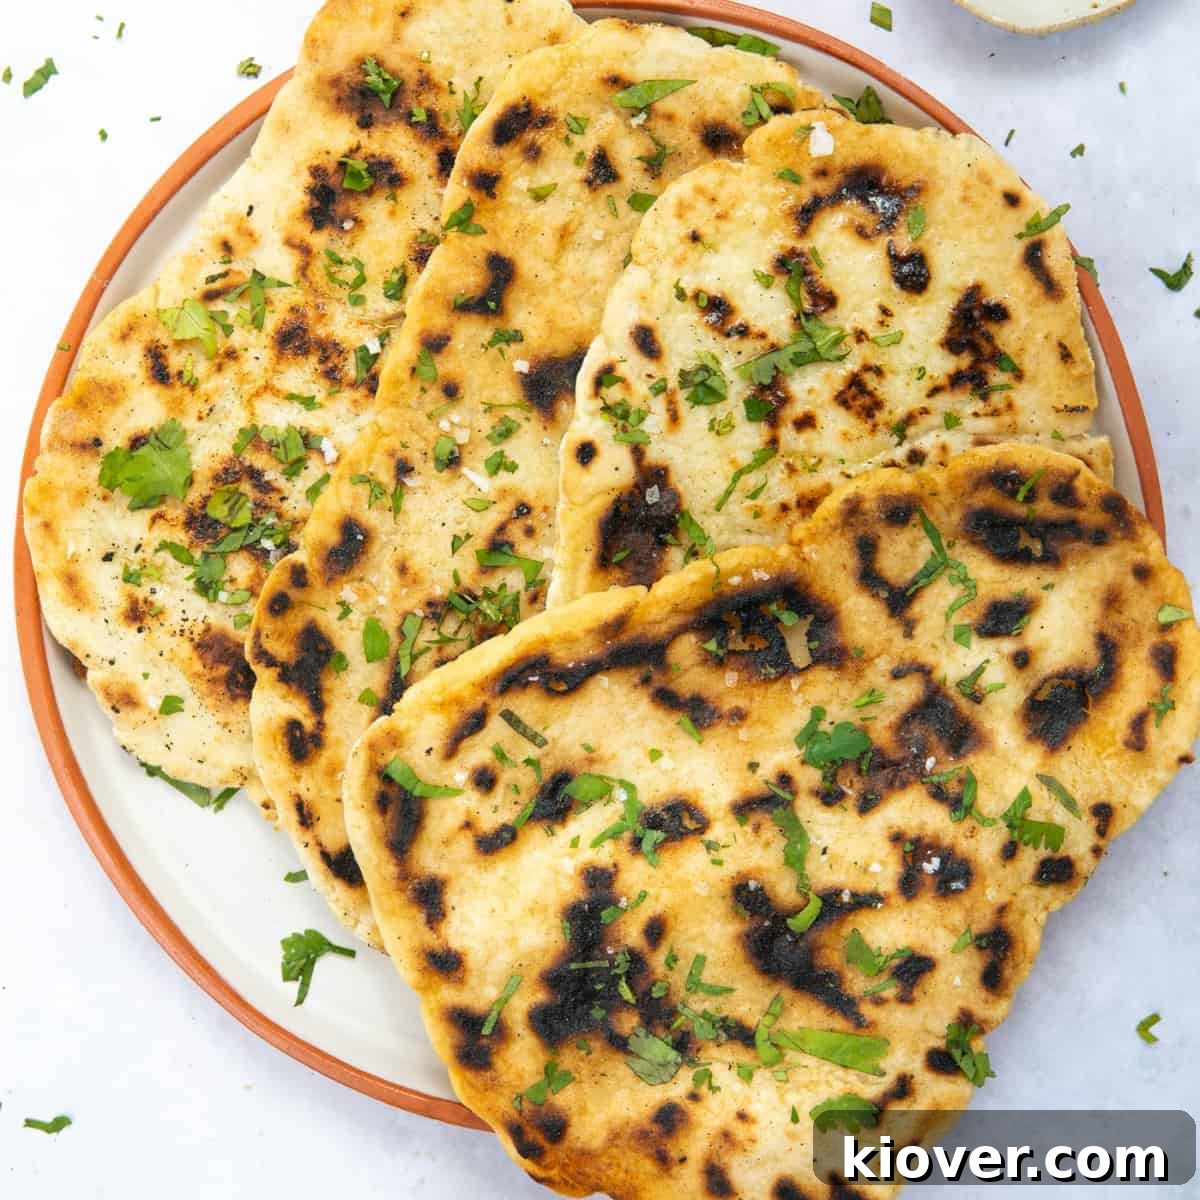
Welcome to the ultimate guide for making the Best Gluten-Free Naan Bread you’ll ever taste! Say goodbye to bland, expensive store-bought alternatives and hello to fluffy, flavourful naan made right in your kitchen. This incredible recipe uses only 3 simple ingredients and takes a mere 10 minutes from start to finish. Yes, you read that right – delicious, wholesome, gluten-free, and vegan naan bread is just minutes away! Not only is this homemade version superior in taste and texture, but it’s also significantly more budget-friendly. It’s truly a win-win for anyone seeking a quick, easy, and satisfying addition to their meals.
Recipe Difficulty – Very Easy!
Table of Contents
- Why This Gluten-Free Naan Recipe Works
- Key Ingredients for Homemade Gluten-Free Naan
- Simple Substitutions for Your Naan
- Exciting Naan Variations to Try
- Step-by-Step Instructions to Make Gluten-Free Naan
- How to Store and Reheat Naan Leftovers
- Gluten-Free Naan Recipe FAQs
- Best Gluten-Free Naan Bread Recipe Card
Why This Gluten-Free Naan Recipe Works
This recipe isn’t just easy; it consistently delivers the absolute best gluten-free naan bread because it prioritizes flavour, speed, and versatility. My goal was to craft a recipe that not only caters to dietary needs but also elevates your mealtime experience without demanding extensive time or effort. Forget the frustration of paying exorbitant prices for often dry, crumbly, or overly chewy shop-bought vegan naan bread. This homemade alternative is a revelation.
The beauty of these naans lies in their incredible adaptability. While they are the perfect, classic accompaniment to a rich and aromatic curry, their utility extends far beyond. Imagine them as a delightful base for a quick lunch, served warm with a generous dollop of creamy hummus and crisp vegetable sticks. They can transform into a speedy supper when dipped into your favorite hearty soup, or even serve as a mini pizza base for a fun and customizable meal. Their soft, pliable texture makes them ideal for wrapping around falafels, spreading with avocado, or simply enjoying on their own as a satisfying snack.
I was determined to create a super quick and incredibly easy recipe that would seamlessly pair with my favourite homemade curries, such as my 15 Minute Veg Curry, the vibrant 10 Minute Chickpea And Spinach Curry, or a zesty Thai Red Prawn Curry. This naan recipe empowers you to enjoy fresh, warm bread with minimal fuss, making homemade meals even more accessible and enjoyable.
If you’re interested in exploring more gluten-free baking adventures, you might also want to check out my recipe for homemade gluten-free bread for another simple and rewarding baking project.
Key Ingredients for Homemade Gluten-Free Naan
The magic of this recipe truly lies in its simplicity and the power of just three core ingredients. Choosing good quality components will make all the difference in achieving that perfect fluffy texture and delicious taste. Here’s a closer look at what you’ll need:
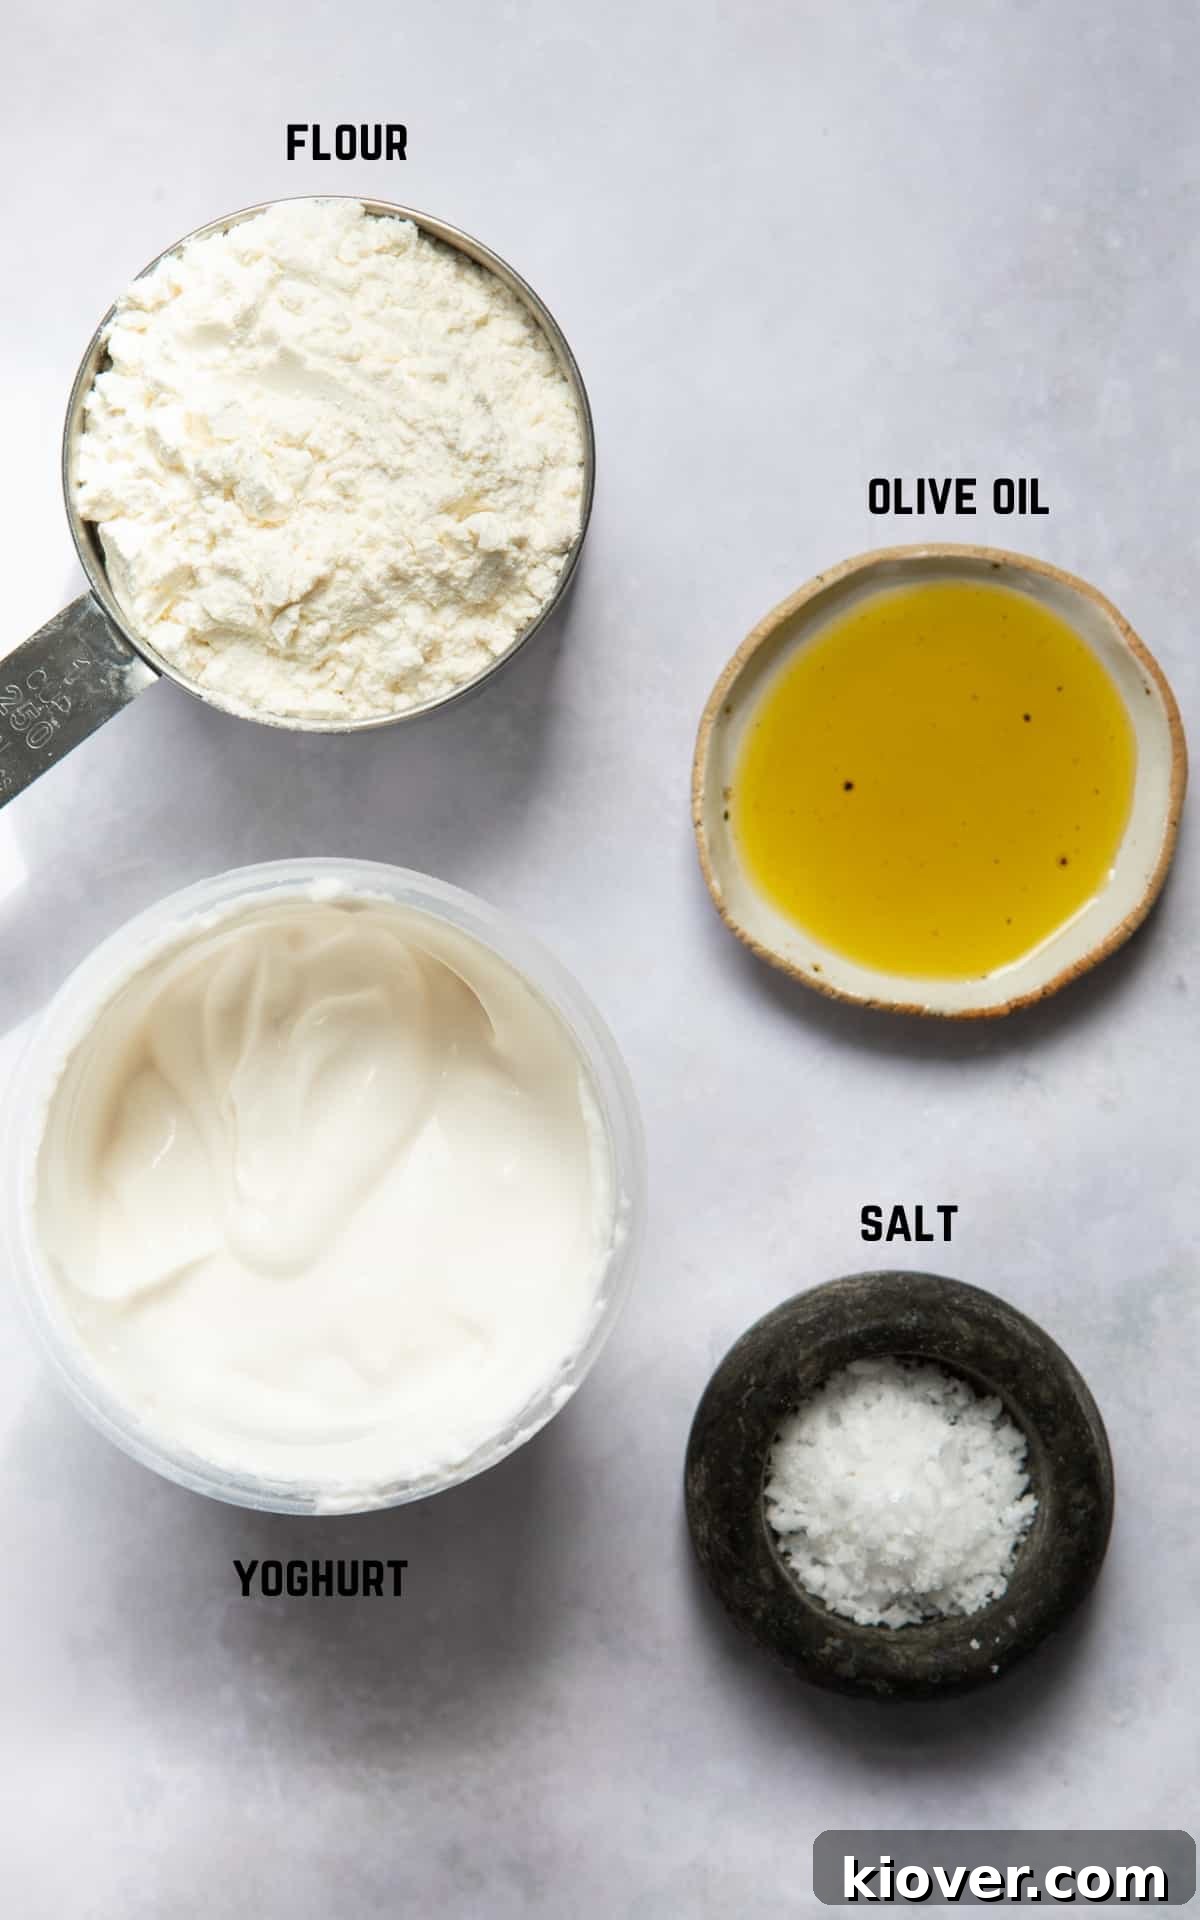
- Gluten-Free Self-Raising Flour: This is the cornerstone of our naan. The “self-raising” aspect is crucial as it already contains leavening agents (baking powder and sometimes a pinch of salt), which are vital for giving the naan its signature fluffiness and soft texture without the need for yeast or long proofing times. While many major supermarkets now stock a good variety of gluten-free self-raising flours, ensure you pick one specifically labelled “self-raising” for optimal results. A good quality blend will provide a better texture.
- Plain Yoghurt: The yogurt plays a pivotal role in this recipe. It adds moisture, tenderness, and a slight tang that enhances the flavour profile of the naan. For those following a dairy-free diet, coconut yogurt is an excellent choice, as I use. It imparts a wonderfully subtle tropical note that complements many dishes, especially curries. However, any plain Greek-style yogurt will work beautifully for non-dairy-free options, contributing to a rich, soft dough. The acidity in the yogurt also reacts with the leavening agents in the flour, helping the naan to puff up beautifully during cooking.
- Olive Oil: A touch of olive oil is added to the dough to contribute moisture, a delicate flavour, and to help achieve that lovely golden finish when cooked. I typically use extra virgin olive oil for its robust flavour, but standard olive oil is perfectly fine and works just as well. It also aids in preventing the dough from becoming too sticky and ensures a smooth consistency, making it easier to handle and roll.
Refer to the full recipe card below for precise quantities and additional details on ingredients.
Simple Substitutions for Your Naan
One of the many advantages of this easy naan recipe is its flexibility. Don’t have a specific ingredient? No problem! Here are some smart substitutions that will still yield fantastic results:
- Yoghurt: While I prefer coconut yogurt for its dairy-free properties and a hint of exotic flavour, especially when serving these naans with dishes like my Sweet Potato Satay Curry, feel free to use any plain yogurt you have on hand. Greek yogurt offers a richer, tangier profile and a thicker consistency that can contribute to an even more tender naan. Almond or soy-based plain yogurts are also excellent dairy-free alternatives that will work perfectly. Just ensure they are plain and unsweetened to avoid altering the savory balance of the bread.
- Olive Oil: Extra virgin olive oil provides a lovely base, but don’t hesitate to get creative with your oil choices. For an instant flavour boost, consider using a garlic-infused olive oil, which adds a wonderful aromatic depth perfect for accompanying most savory dishes. A chilli-infused olive oil will introduce a gentle warmth, ideal for those who enjoy a little kick. You could also use a neutral oil like avocado or sunflower oil if you prefer. A small amount of melted vegan butter can also be brushed on after cooking for extra richness.
- Flour: The recipe calls for gluten-free self-raising flour for convenience and texture. However, if you’re not strictly gluten-free, standard self-raising flour can be used with equally delicious results. If you only have plain flour (gluten-free or regular), simply add 1.5 teaspoons of baking powder per 150g of flour to ensure the naan rises properly and achieves its soft, airy texture. You might also need to adjust the liquid slightly to reach the correct dough consistency when using plain flour.
Exciting Naan Variations to Try
These simple gluten-free naans are a blank canvas for culinary creativity. Here are a few ways to elevate your naan experience and truly take them to the next level, along with other fun ideas:
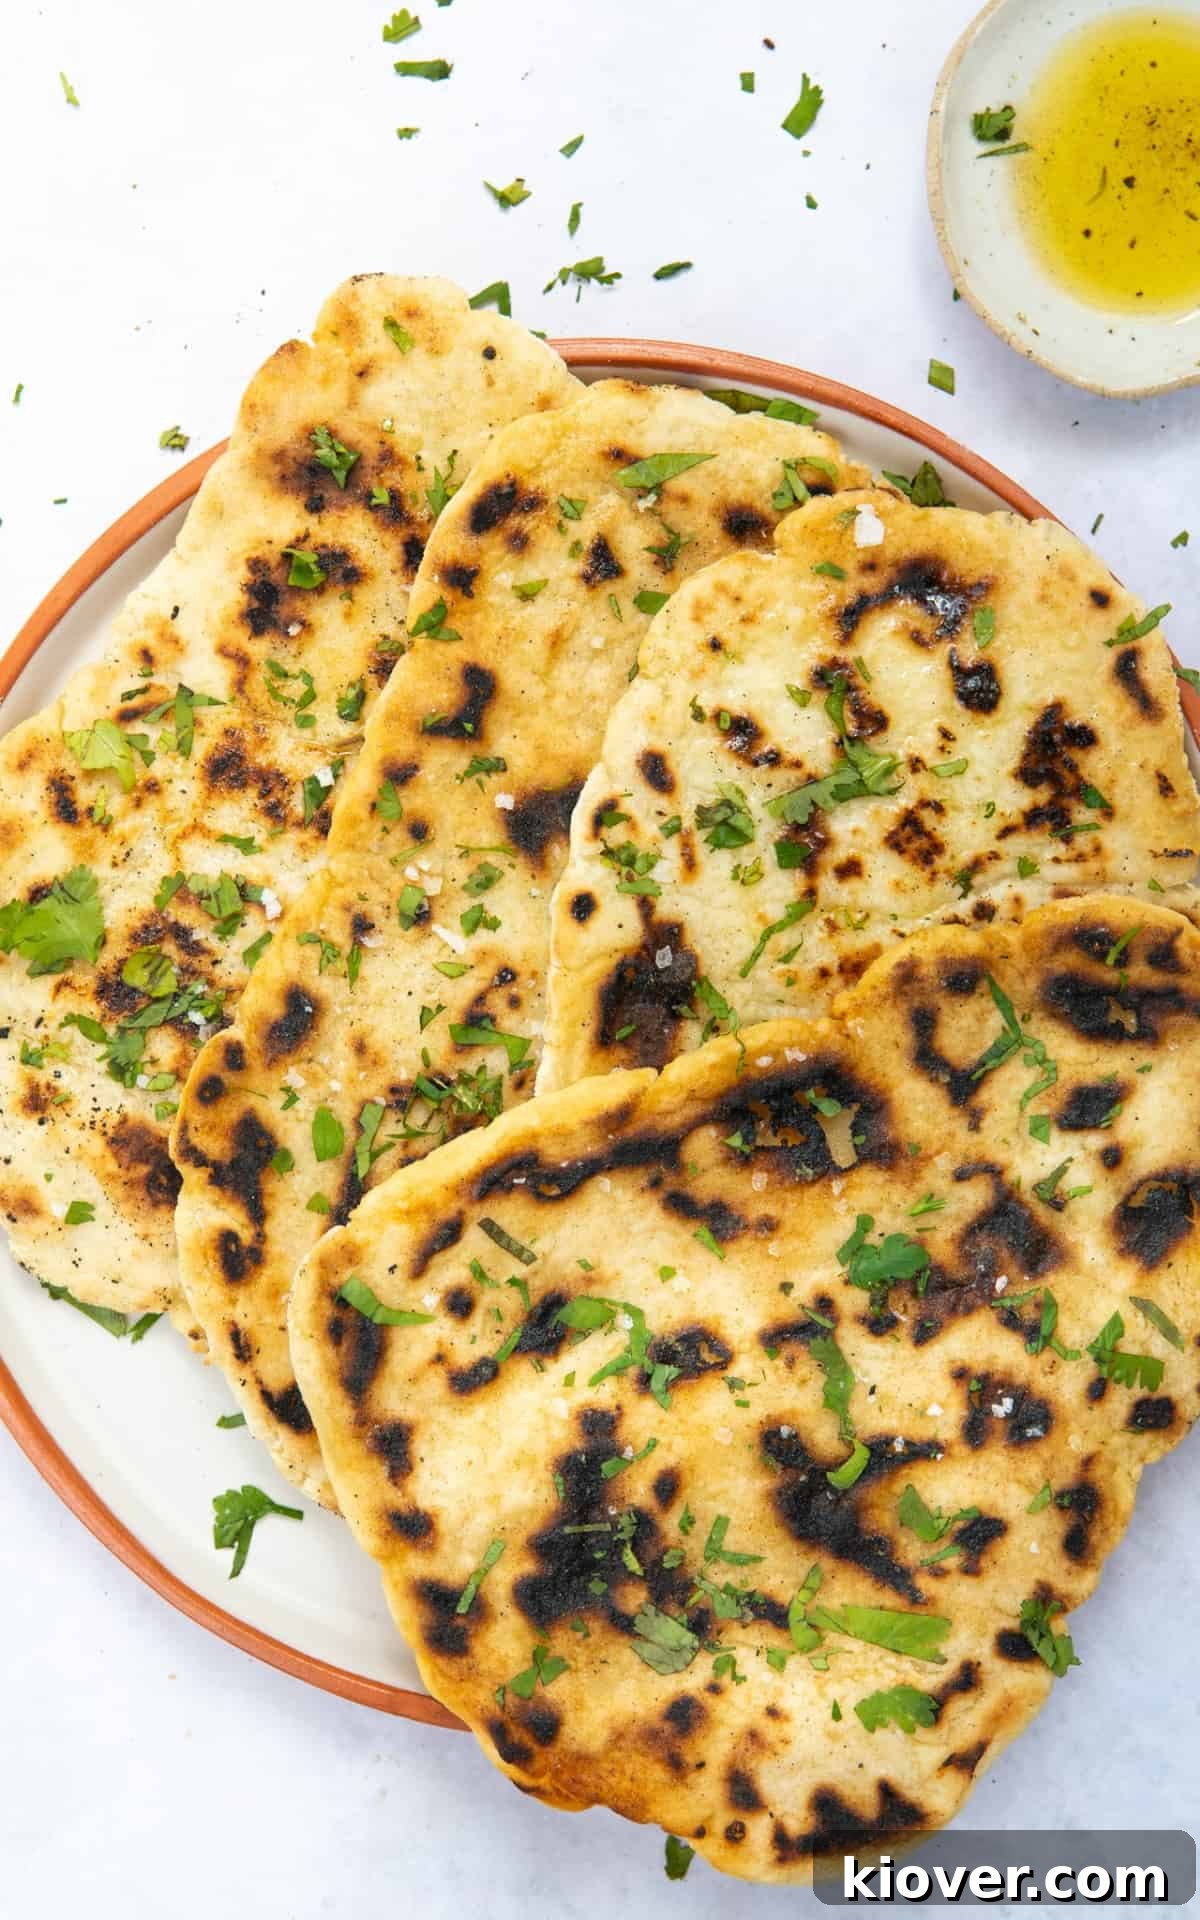
- Deluxe Naan: For a more gourmet touch, you can infuse the dough itself with extra flavour. Beyond using a garlic or chilli-infused olive oil, consider adding 1/2 teaspoon of ground coriander, cumin, or a pinch of garam masala to the flour mixture for an authentic Indian aroma. After dry-frying, brush the warm vegan breads with melted vegan butter or a fresh garlic butter (made by mixing minced garlic with oil or vegan butter). Then, sprinkle generously with freshly chopped herbs like coriander (cilantro) or flat-leaf parsley, and a pinch of sea salt or black sesame seeds. These are incredible served with hearty dishes like my Slow Cooker Chickpea Curry or a comforting Potato Curry!
- Kid-Friendly Naan: Get the little ones involved! Making naan is a wonderfully tactile activity that kids will love. Let them help mix the dough, roll it out into fun shapes, or even press it with their hands. While mastering the perfect naan takes a little practice, the process itself is enjoyable, and kids will be proud to eat what they’ve helped create. You can make mini naans for small hands, or let them top their cooked naan with mild cheese or a simple tomato sauce for a “pizza naan.”
- Spicy Naan: This base recipe is delightfully mild, making it suitable for all palates. If you crave extra heat, easily transform it into a spicy sensation. Mix finely chopped fresh green chillies or 1/2 to 1 teaspoon of dried chilli flakes directly into the dough. For a milder, visual kick, sprinkle them over the brushed naan immediately after cooking. A pinch of cayenne pepper or paprika in the dough can also add a subtle warmth.
- Herb & Garlic Naan: This classic variation is always a crowd-pleaser. Finely mince 1-2 cloves of garlic and mix it into the dough, along with 1-2 tablespoons of finely chopped fresh herbs like chives, rosemary, or dried oregano. Brush with garlic butter after cooking for maximum flavour.
- Sweet Naan (Dessert Naan): Who says naan can’t be sweet? After cooking, brush the warm naan with melted vegan butter, then sprinkle generously with cinnamon sugar. You could even spread a thin layer of fruit preserves or a hazelnut spread for a delightful dessert or breakfast treat.
Step-by-Step Instructions to Make Gluten-Free Naan
Making these delicious gluten-free naan breads is incredibly straightforward. Follow these steps for perfect results every time:

Step 1: Begin by combining all your ingredients. Place 150g of gluten-free self-raising flour, 140g of plain yogurt (coconut or otherwise), 1 teaspoon of olive oil, and a generous pinch of sea salt into a large mixing bowl. Using a fork, gently mix them together until the mixture starts to clump and form a rough dough. Don’t worry if it looks a little shaggy at this stage; it will come together.
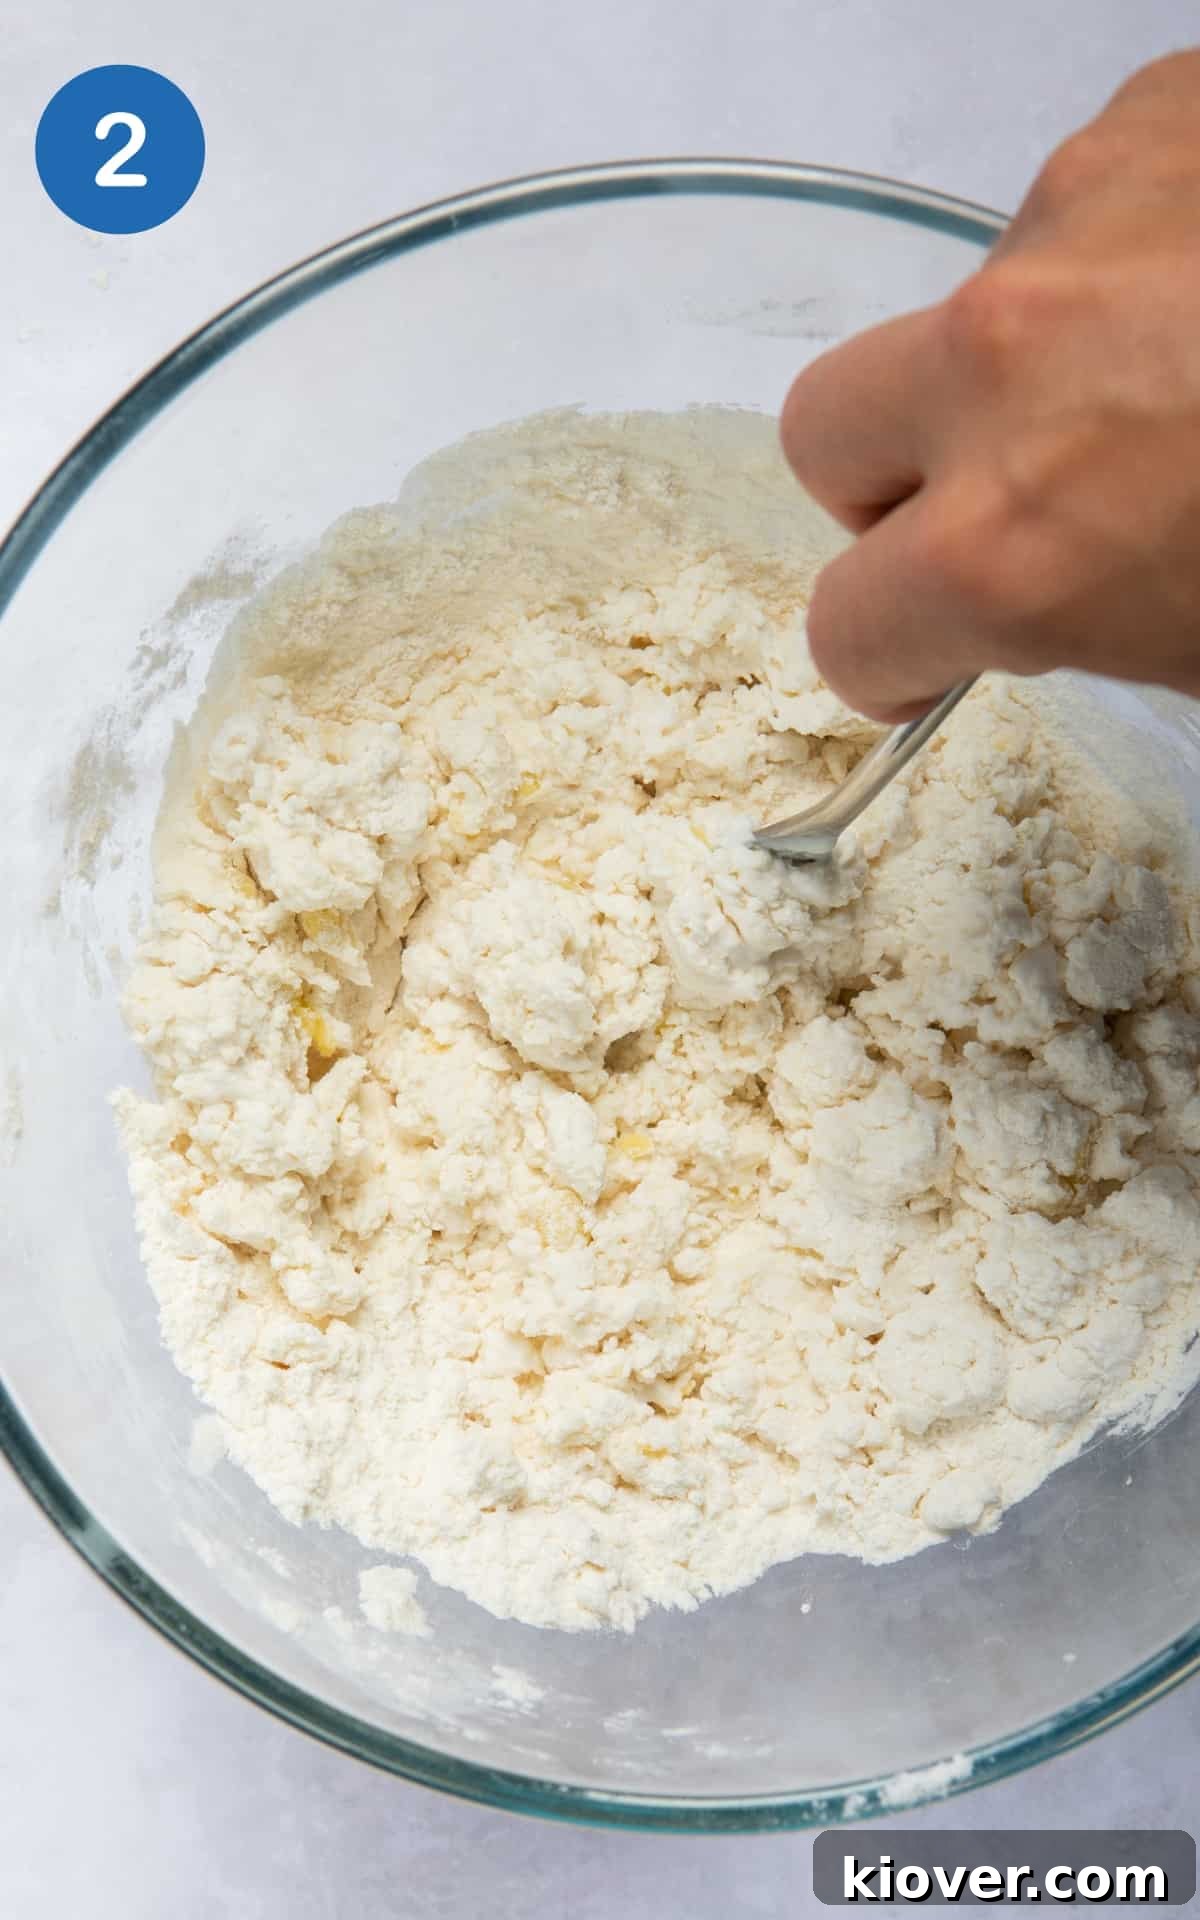
Step 2: Once the ingredients are roughly combined with a fork, switch to using your hands. Bring the dough together with your fingers, kneading gently for just a minute or two until it forms a cohesive, smooth ball. Gluten-free dough doesn’t require extensive kneading like traditional wheat dough, so be careful not to overwork it.
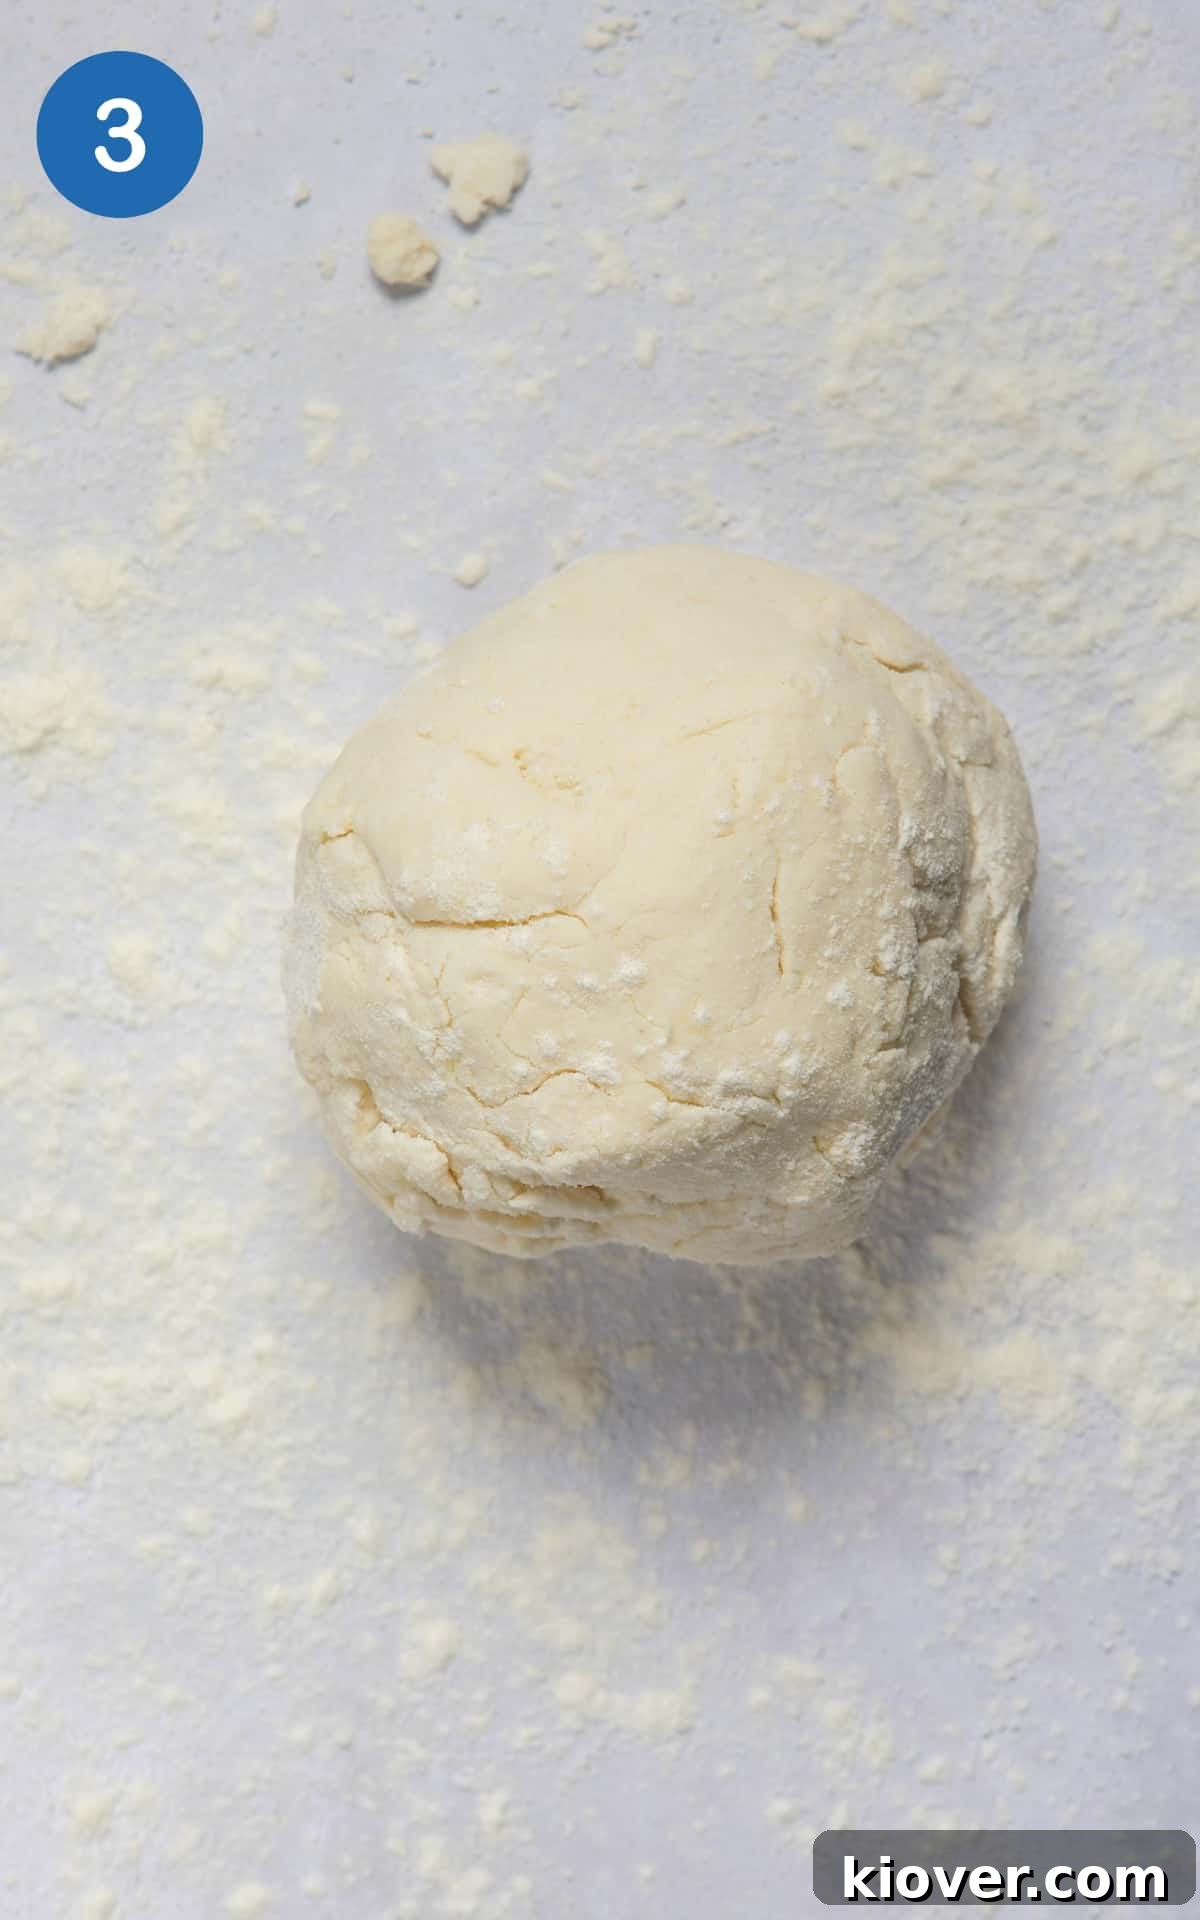
Step 3: Shape the dough into a single, smooth ball. Before you start, lightly dust your hands, work surface, and rolling pin with a little extra gluten-free flour. This will prevent sticking. If you find the mix a little dry and crumbly when trying to form a ball, add a tiny splash more olive oil or a spoonful of yogurt until it’s pliable. Conversely, if it’s too sticky, add a sprinkle more flour.
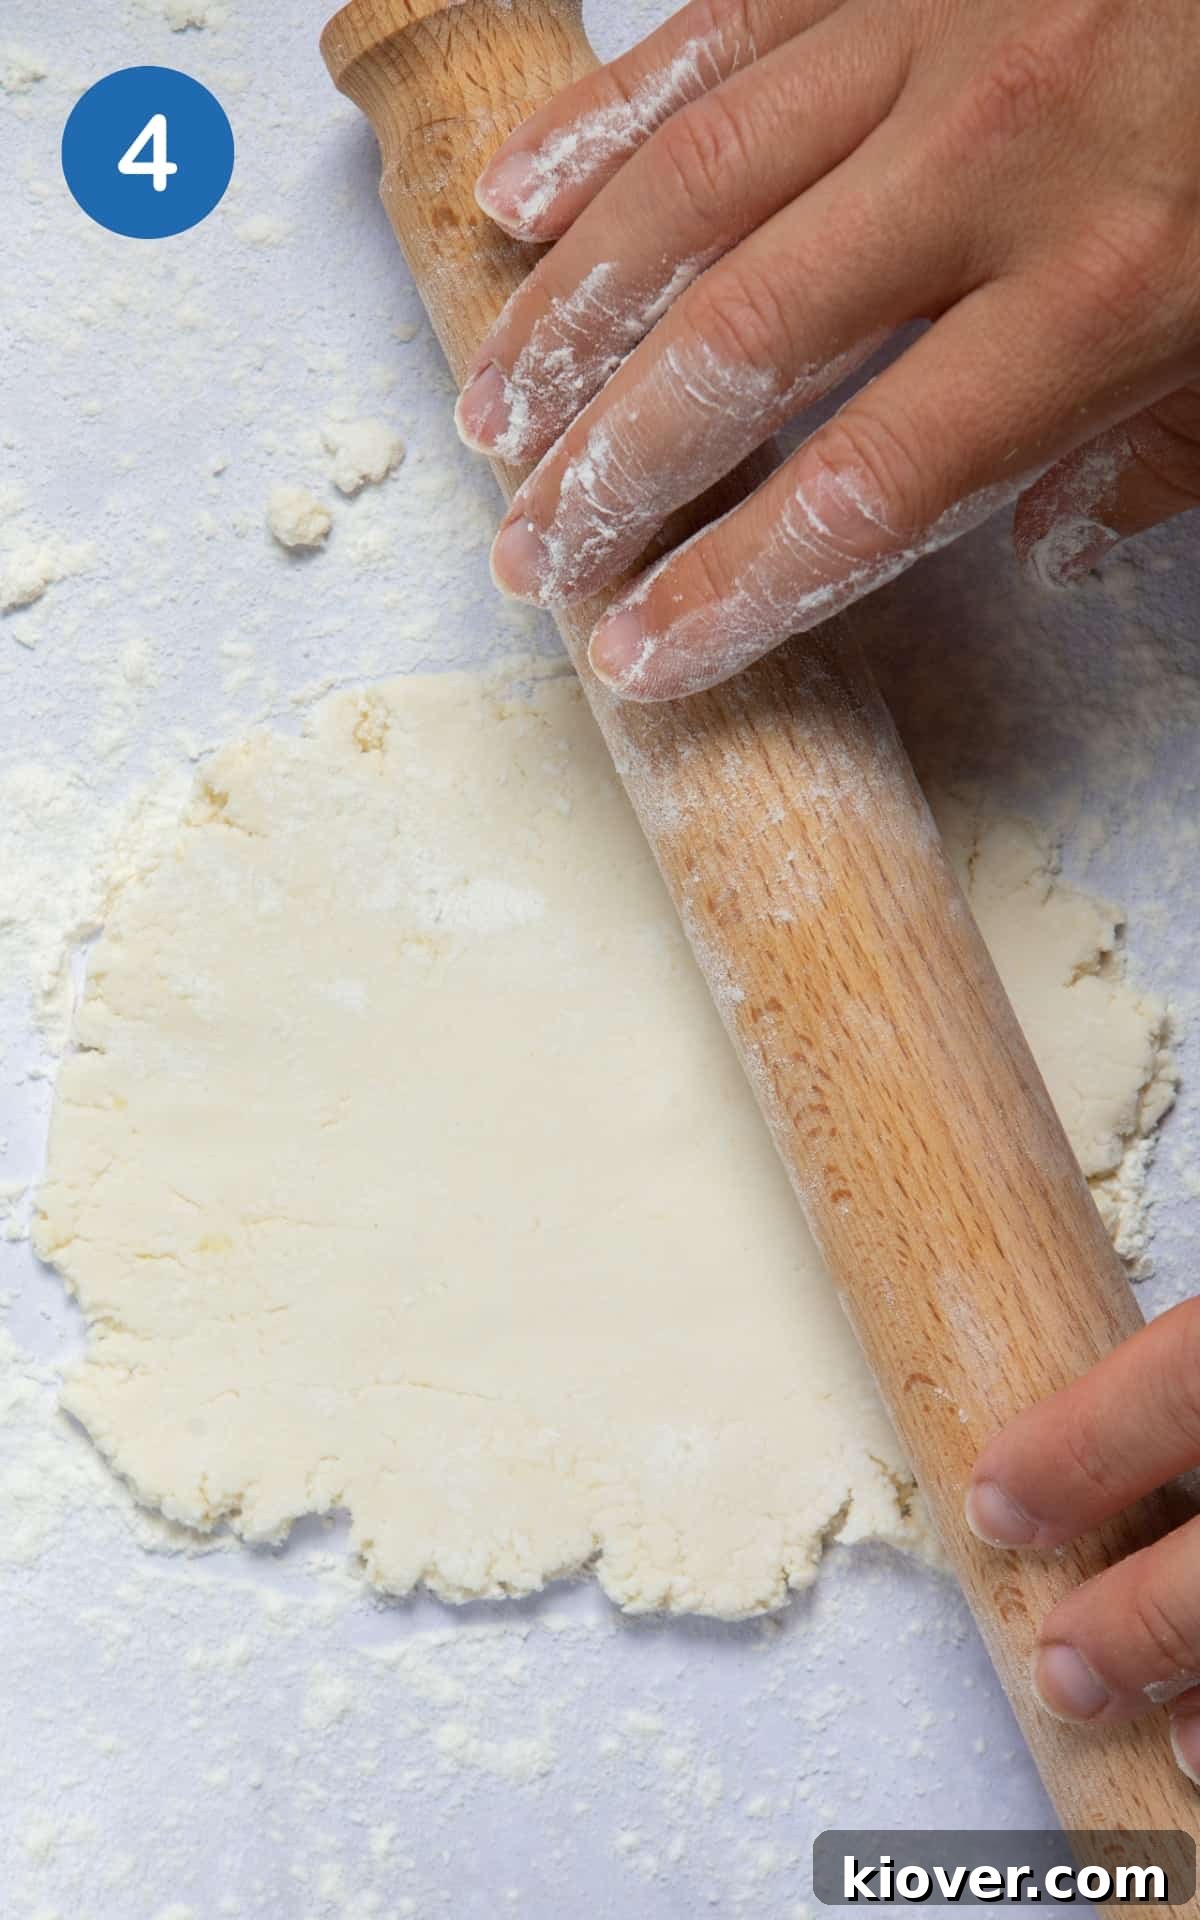
Step 4: Divide your dough ball in half, creating two equal portions. On your lightly floured surface, use a rolling pin to roll out each portion into an oval or circular shape, roughly 5mm thick. Don’t worry about achieving a perfect shape; rustic naans are part of their charm! Just ensure the edges are smooth and sealed, gently pressing any cracks together with your fingers.
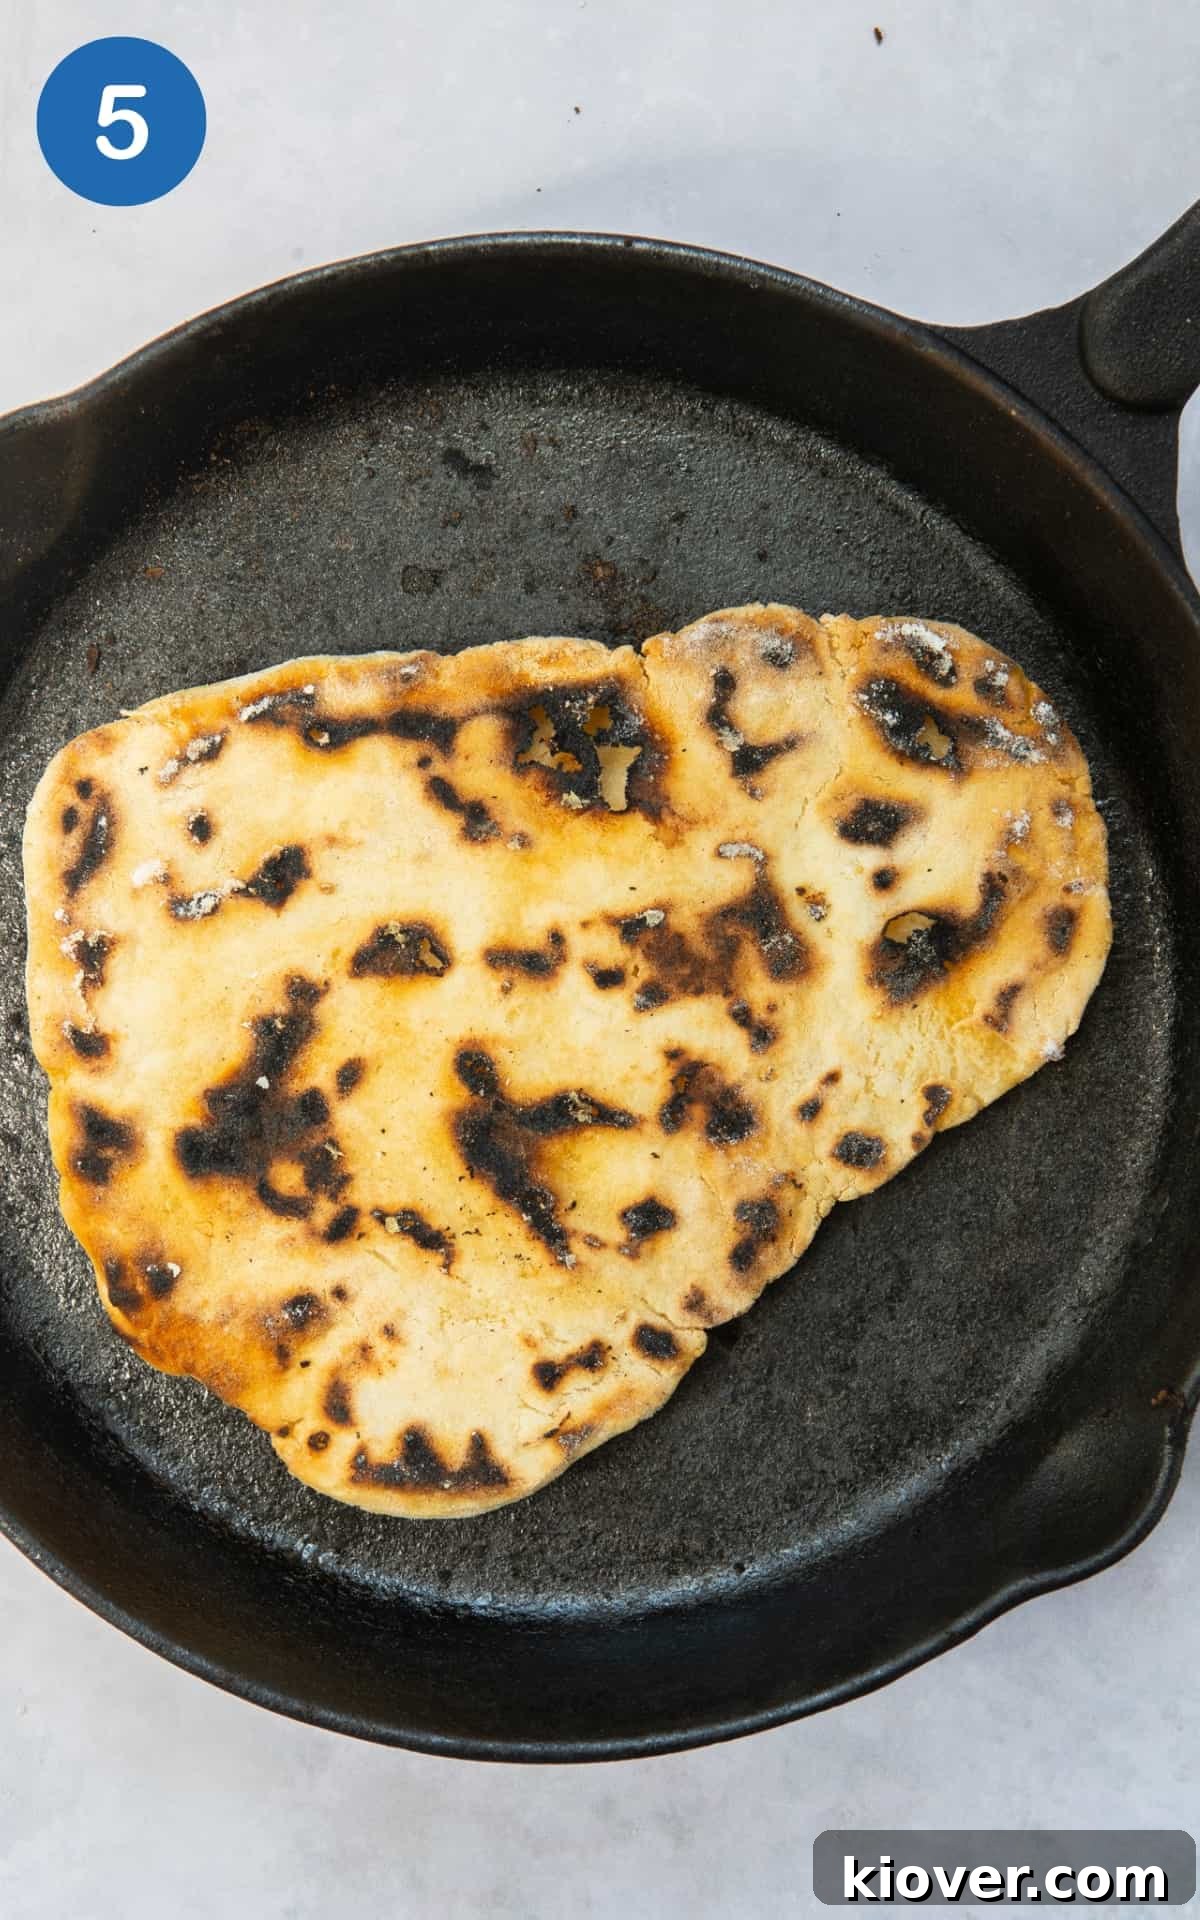
Step 5: Heat a dry frying pan (cast iron or non-stick works best) over high heat. There’s no need to add any oil to the pan itself for this stage. Wait until the pan is very hot – almost smoking – before carefully placing one of your rolled-out naan breads into it. Dry fry each side for about 1-2 minutes, or until golden brown spots appear and the naan begins to puff up. The slight charring adds a wonderful authentic flavour and beautiful texture.
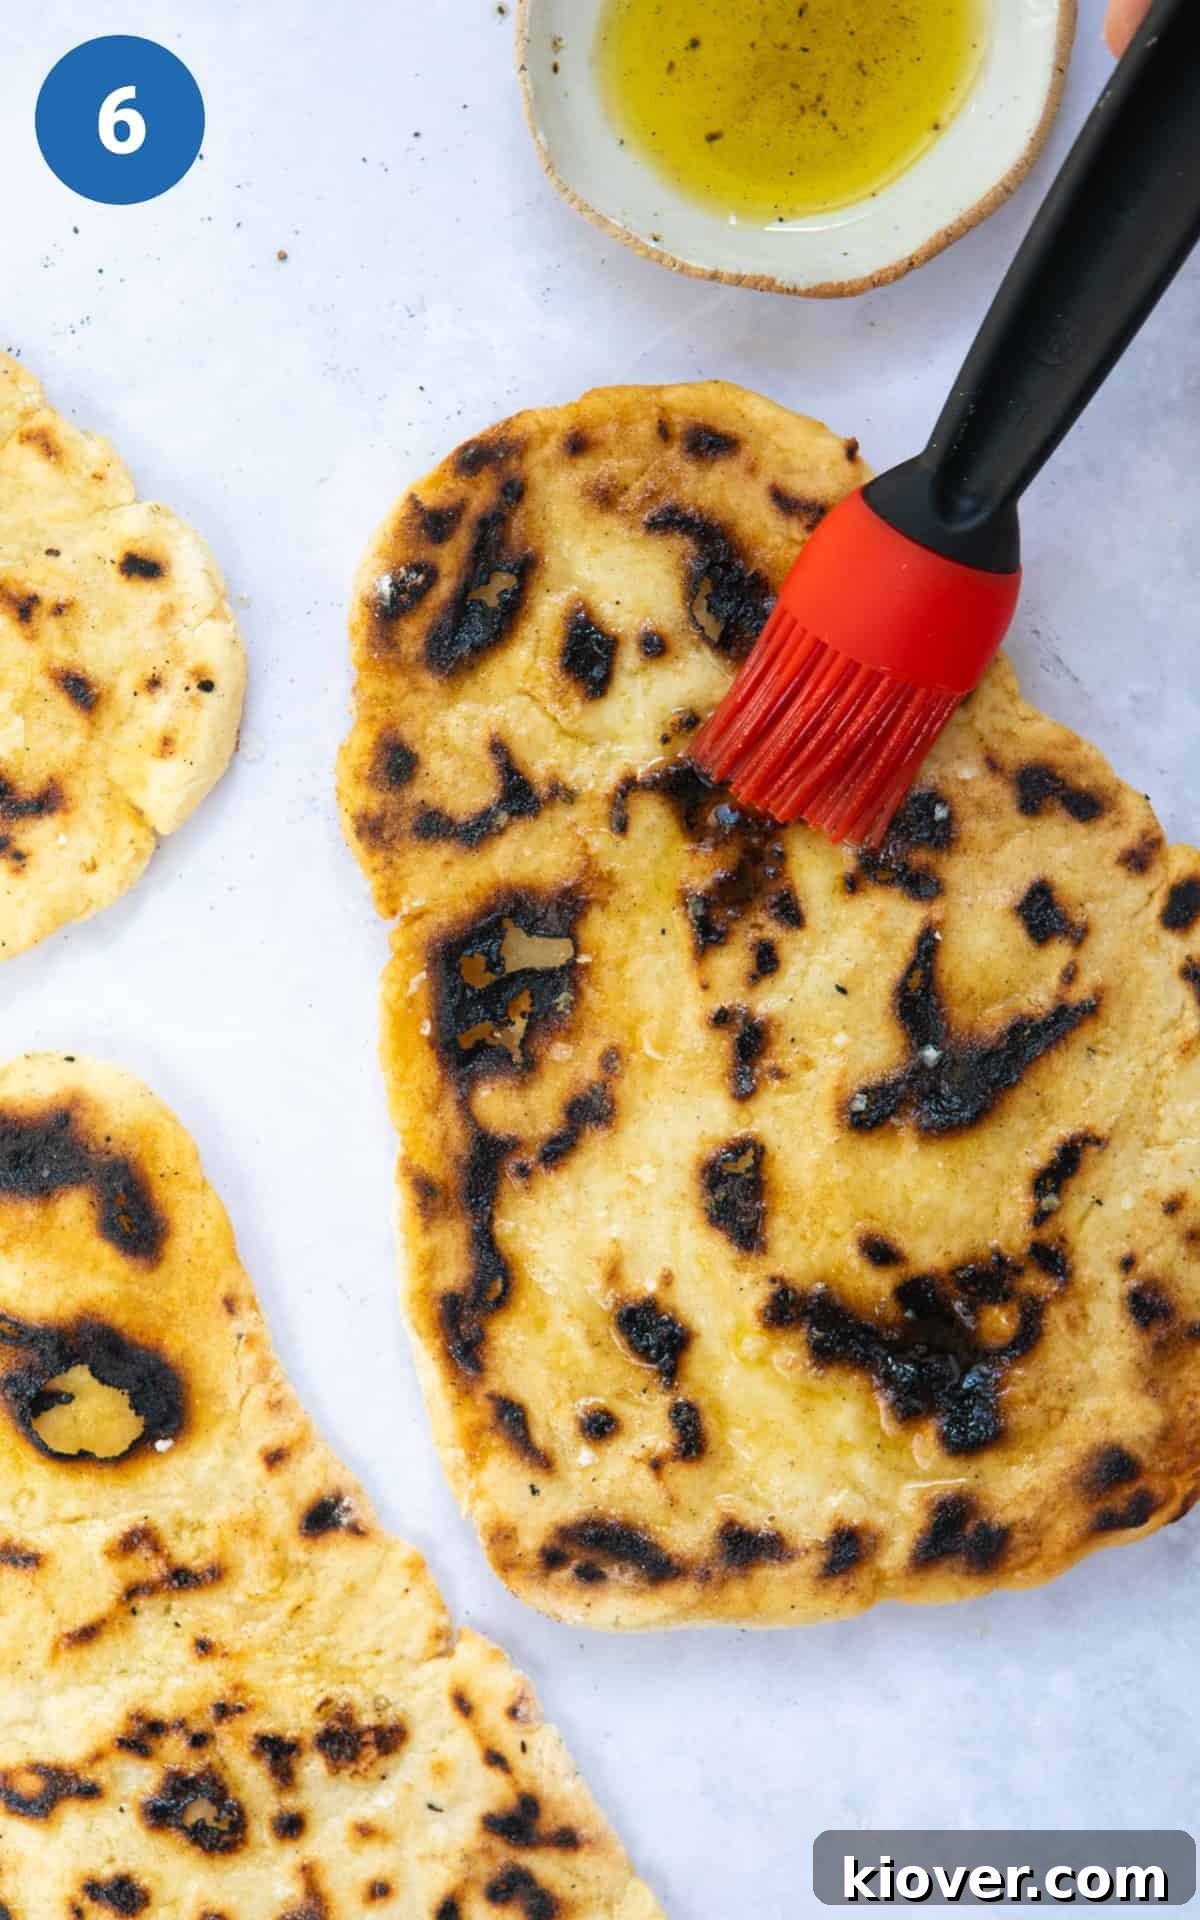
Step 6: As soon as the naan is cooked to your liking, remove it from the pan. For an extra touch of deliciousness, immediately brush it with a little more olive oil or melted vegan butter. Sprinkle with your choice of chopped fresh herbs, such as coriander or flat-leaf parsley, and a final pinch of sea salt. For the best flavour and texture, serve your homemade vegan naan bread immediately while it’s still warm and fluffy.
How to Store and Reheat Naan Leftovers
These best gluten-free naan breads are undeniably at their peak when served fresh and warm, straight from the pan. The immediate soft texture and delicate crust are unmatched. However, if you find yourself with leftovers, fear not! They can be stored and reheated while retaining much of their deliciousness.
To store cooked and cooled naan, place them in an airtight container at room temperature for up to 2 days. For longer storage, you can refrigerate them for up to 4 days. If you wish to freeze them, allow the naan to cool completely, then stack them with a piece of parchment paper between each bread to prevent sticking, and place them in a freezer-safe bag or container. They can be frozen for up to 2-3 months.
When ready to reheat, the best method to revive their flavour and texture is a quick dry fry in a hot frying pan for about 1-2 minutes per side, until warmed through and slightly crisp again. Alternatively, you can warm them in a preheated oven at 180°C (350°F) for 3-5 minutes, or in a toaster for a minute or two. A microwave can be used for convenience, but be aware that it might make the naan a little chewier rather than crispy.
Gluten-Free Naan Recipe FAQs
Absolutely! This recipe is incredibly adaptable. If you don’t have dietary restrictions, you can easily use standard Greek yogurt and standard self-raising flour (or plain flour with added baking powder) to achieve equally delicious results. The core technique remains the same.
No rolling pin? No problem! You can achieve the desired thinness by simply patting the dough down with your hands until it’s about 5mm thick. Alternatively, use a cylindrical object like a wine bottle or an olive oil bottle as a makeshift rolling pin. Just make sure to flour it lightly to prevent sticking.
For maximum fluffiness, ensure your self-raising flour is fresh, as the leavening agents can lose potency over time. Don’t overwork the dough; gentle mixing is key. Also, make sure your frying pan is very hot before adding the naan, as the high heat helps it puff up quickly. Using a good quality, thicker yogurt can also contribute to a softer crumb.
Yes, you can! You can mix the dough and form it into a ball, then wrap it tightly in cling film and refrigerate for up to 24 hours. When you’re ready to cook, let the dough come to room temperature for about 15-20 minutes before rolling and frying. This can be a great time-saver for busy weeknights.
Beyond curries, these versatile naans are fantastic for so much more! Use them as a base for mini pizzas with your favourite toppings, cut them into wedges for dipping into hummus, baba ghanoush, or other spreads, or fill them with grilled vegetables and falafel for a quick wrap. They also make an excellent accompaniment to stews, chilis, or even scrambled eggs for breakfast.
You might also like…
Dinner
Sweet Potato & Black Bean Stew
One Pot or Pan
Sweet Potato Satay Curry
Dinner
10 Minute Chickpea And Spinach Curry
Dinner
Cod Curry
Tried this Best Gluten-Free Naan Bread recipe? Please leave a star rating ⭐️⭐️⭐️⭐️⭐️ below and let me know how you get on. Your positive feedback is one of the best parts of creating recipes, so please review it below and leave a comment!
P.S. Never miss a new recipe! Get more healthy recipes sent straight to your inbox weekly – Subscribe and receive a free recipe eBook!

4.86 from 115 votes
Best Gluten-Free Naan Bread
James Wythe
5
5
10
2 breads
Equipment
-
large mixing bowl
-
fork
-
Rolling Pin
-
frying pan
Ingredients
- 150 g gluten-free self-raising flour, plus extra for dusting
- 140 g coconut yoghurt, (or other plain yogurt)
- 1 tsp olive oil, (or try flavoured olive oil) plus extra for drizzling
- sea salt
- chopped fresh herbs, such as coriander and flat leaf parsley, (optional)
Instructions
-
To a large mixing bowl add 150g gluten-free self-raising flour, 140g yogurt, 1 tsp olive oil and a pinch of sea salt. Mix with a fork until it starts to clump together.
-
Now dust your hands, worktop, and rolling pin with extra gluten-free flour.
-
With your hands, gently press the dough into a large ball, then divide it in half and shape each portion into two smaller balls.
-
Gently roll out each dough ball, or press with your hands, until it’s roughly 5mm thick. Then, press around any edges that have split to give a smooth finish.
-
Place a frying pan onto a high heat (no oil needed). Wait until it’s very hot before adding your naan bread.
-
Cook on both sides for a couple of minutes, until the bread is just starting to blacken in spots (this adds a lovely, authentic flavour).
-
Finally, drizzle with a little extra olive oil, sprinkle over the chopped herbs (if using), and some sea salt. Serve immediately.
Notes
Substitutions & Variations: Detailed ideas for these are included in the sections above.
To Store: For best results, serve fresh. However, cooked and cooled naan can be stored in an airtight container at room temperature for up to 2 days, or refrigerated for up to 4 days.
To Freeze: Allow the cooked naan to cool completely, then layer with parchment paper and freeze in an airtight container or freezer bag for up to 2-3 months. Defrost at room temperature and reheat in a pan or oven.
Tip 1: You can prepare the dough ahead of time and store it wrapped in the refrigerator for up to 24 hours. Bring to room temperature before rolling and frying.
Tip 2: If you don’t have a rolling pin, you can either pat the dough down with your hands or use a circular shaped bottle like a wine bottle or olive oil bottle.
Tip 3: The quality of the yogurt you use significantly impacts the softness and flavour of the naans. Opt for a good quality, plain variety.
Nutrition
Calories:
337kcal
|
Carbohydrates:
64g
|
Protein:
4g
|
Fat:
9g
|
Saturated Fat:
6g
|
Fiber:
1g
|
Sugar:
1g
Did you make this recipe? Tag me Today!
Tag @HealthyLivingJames on Instagram and use #HealthyLivingJames!