
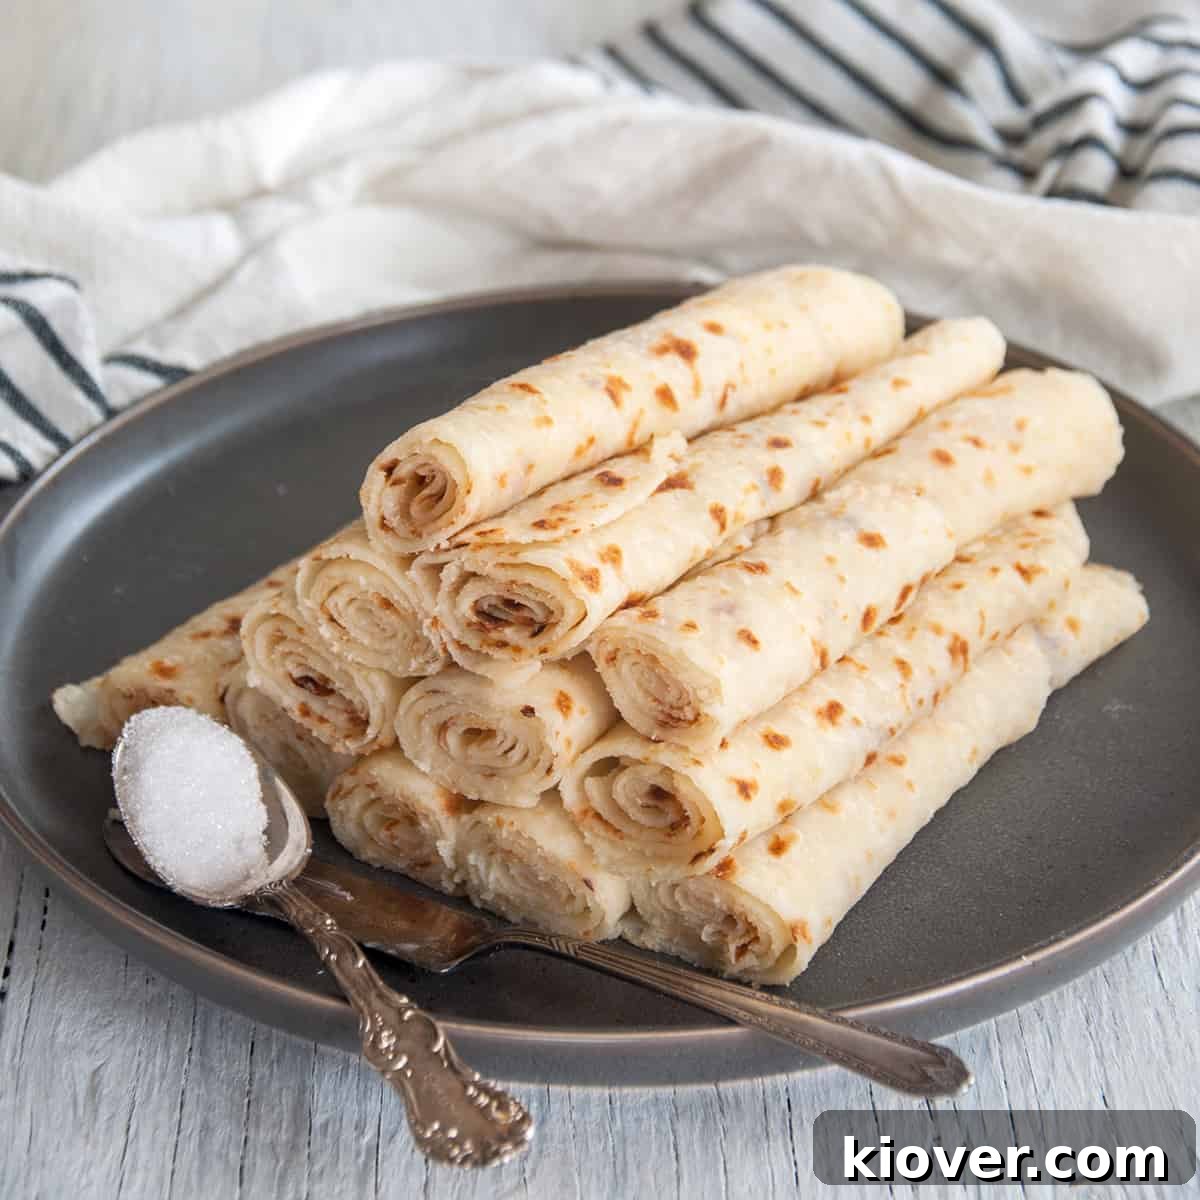
Homemade Norwegian Lefse: A Traditional Potato Flatbread Recipe
Stepping into many Norwegian-American homes, especially during the holidays, often means a warm welcome, laughter, shared meals, and the undeniable aroma of freshly made lefse. This iconic Scandinavian potato flatbread, akin to a soft tortilla, holds a special place in cultural traditions, gracing tables from Thanksgiving feasts to Christmas celebrations worldwide. With its delicate texture and subtle potato flavor, lefse serves as a versatile canvas for both sweet and savory toppings, from classic butter and sugar to cinnamon, jellies, or even more adventurous savory fillings. If you’re eager to connect with your ancestral heritage or simply discover a truly unique and delicious culinary delight, join us on a journey to master this authentic Norwegian Lefse recipe, crafted with real potatoes.
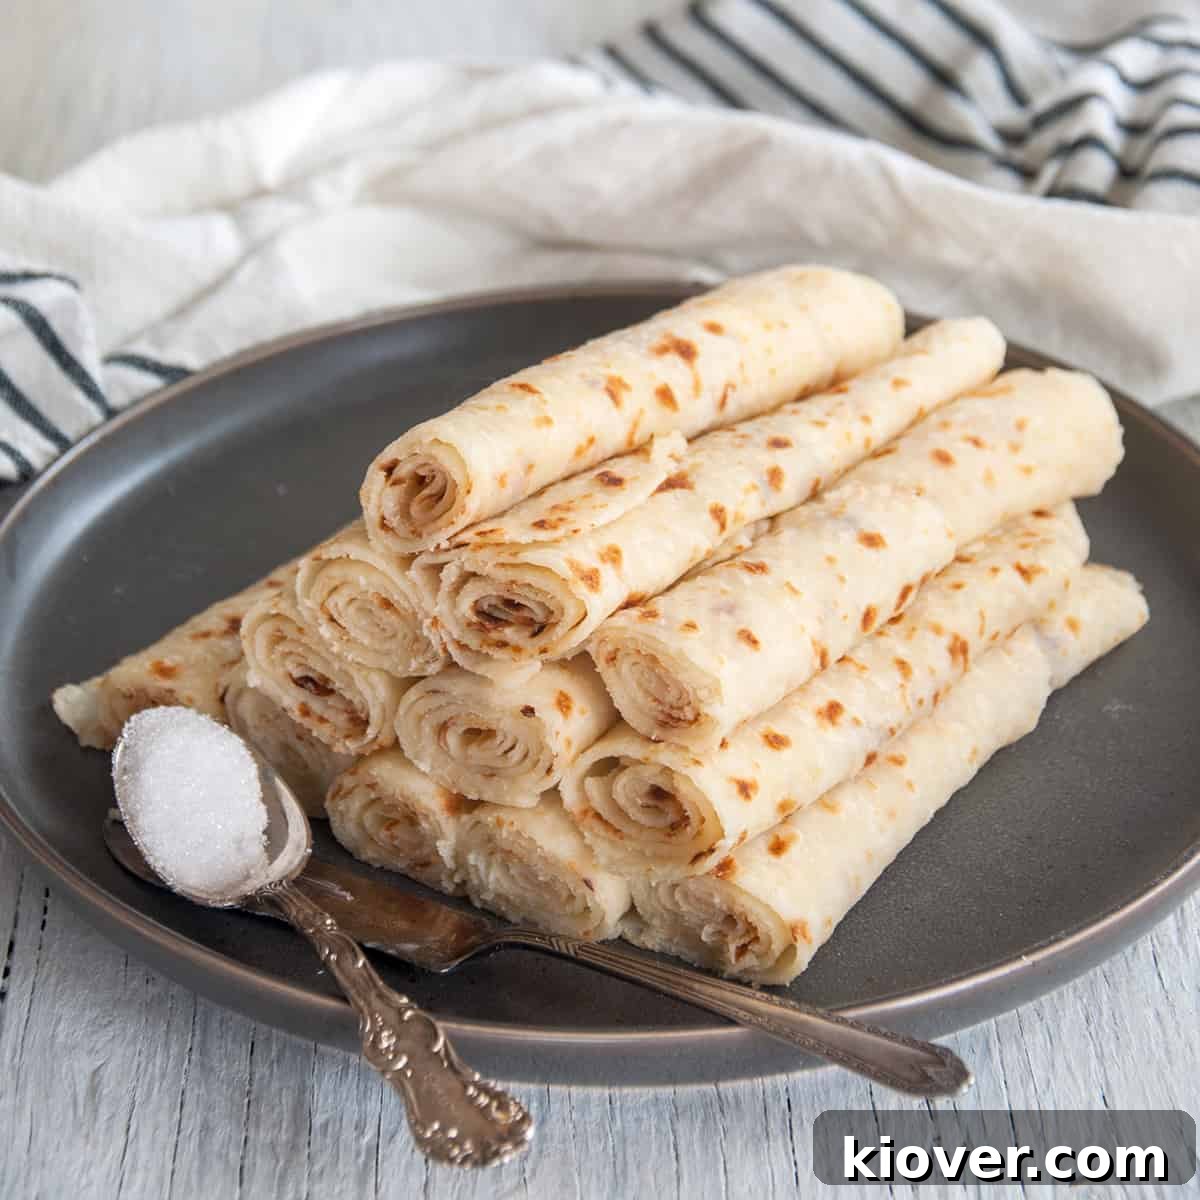
Embracing Tradition: The Joy of Homemade Lefse
For generations, lefse has been more than just a food; it’s a cherished ritual, a symbol of family, and a taste of heritage. While store-bought versions exist, nothing compares to the unparalleled freshness and tender texture of homemade lefse. This recipe is a testament to that belief, designed to help you recreate the authentic experience in your own kitchen. I’ve personally rediscovered the immense satisfaction of making lefse from scratch, realizing that the fresh dough yields a softer, more vibrant, and undeniably superior flavor that is truly worth the effort.
Beyond the exquisite taste, the process of making lefse can become a beautiful family tradition. Gathering loved ones in the kitchen, sharing stories, and working together to create something delicious fosters invaluable memories. It’s a rewarding and fun activity that transforms a simple potato flatbread into a conduit for connection and cultural pride. Just as we’ve shared our traditional Klubb recipe, this lefse recipe aims to bring another piece of amazing Norwegian culinary heritage into your home.
Essential Equipment for Authentic Lefse Making
While the spirit of traditional cooking often favors improvisation, certain culinary crafts genuinely benefit from specialized tools. Lefse making is one such endeavor. To ensure an enjoyable and successful experience, we highly recommend investing in a dedicated lefse making kit. This isn’t just a suggestion; it’s a game-changer for working with such a delicate dough. A typical kit will include several key components:
- A Special Lefse Grill: Designed for even heating and rapid cooking of large, thin flatbreads.
- A Rolling Mat: Often made of cloth, this provides a non-stick surface crucial for rolling out thin dough.
- A Corrugated Rolling Pin: Its unique ribbed surface helps to gently spread the dough incredibly thin without tearing, creating the signature texture of lefse.
- A Special Turning Stick: This thin, flat stick is indispensable for carefully transferring the fragile dough to the hot grill and flipping it without damage.
- Cloth Coverings: For both the rolling mat and the rolling pin, these cloths are floured to prevent sticking.
While these tools might seem specialized, they are meticulously designed to handle the unique characteristics of lefse dough, making the process significantly easier and more consistent. Consider these tools as an investment in a cherished tradition.
Why Specialized Tools Are a Must for Lefse
The primary reason for needing specific lefse equipment stems from the incredibly delicate nature of the potato dough. This mixture is prone to tearing and sticking, which can be frustrating for even experienced bakers. Each piece of equipment in the kit plays a vital role in overcoming these challenges:
- The Delicate Dough: Lefse dough is exceptionally soft and pliable, a characteristic that makes it delicious but also challenging to handle. The corrugated rolling pin, with its textured surface, provides superior grip and control, allowing you to roll the dough to paper-thinness without it sticking to the pin or tearing prematurely. This contrasts sharply with smooth rolling pins which often cause the dough to cling or deform.
- The Turning Stick and Flat Grill: Once rolled, the raw lefse disc is extremely fragile. Attempting to lift and transfer it by hand almost guarantees a tear. The lefse turning stick, shaped specifically for this task, allows you to gently slide underneath the entire disc and lift it seamlessly onto the hot grill. The flat, wide surface of the lefse grill ensures even heat distribution across the entire dough, promoting quick cooking and preventing spots from burning while others remain raw.
Do I Really Need All This Special Equipment?
The short answer is: probably. While resourceful individuals might try to improvise alternatives, achieving consistent, high-quality lefse without the proper tools is a significant challenge. My personal recommendation is, if you’re committing to making lefse, do it right. Attempting to hack together equipment often leads to frustration, wasted ingredients, and a suboptimal final product. The specialized grill and turning stick are arguably the most crucial components, making delicate handling and even cooking achievable. Other items like the rolling mat and covered rolling pin are also highly recommended but may have slightly more room for improvisation if absolutely necessary.
Aluminum vs. Non-Stick Lefse Grill: A Key Choice
When selecting your lefse grill, you’ll typically find two main types: aluminum and non-stick. While aluminum grills are traditional and widely popular, I personally favor the Non-Stick Lefse Grill (Affiliate Link), especially for recipes using real potatoes. Because real potatoes contribute more natural moisture to the dough compared to instant potatoes, there’s a higher propensity for the dough to stick to the cooking surface. A high-quality non-stick coating significantly mitigates this issue, leading to fewer torn lefse and a smoother cooking process. This choice can save you a lot of troubleshooting and ensure a more consistent batch.
Crafting the Perfect Lefse Dough with Real Potatoes
At the heart of truly exceptional lefse lies the quality of its potatoes. While many recipes simplify the process with instant potatoes, our philosophy at Ramshackle Pantry champions the authentic, from-scratch approach. Using real potatoes imbues the lefse with a depth of flavor and a tender texture that instant varieties simply cannot replicate. However, opting for real potatoes comes with a few important considerations to ensure your dough is perfect.
Choosing the Right Potato: Russets Reign Supreme
For this recipe, we confidently recommend using Russet potatoes. They are a common, affordable variety known for their high starch content and fluffy texture when cooked, making them ideal for ricing and creating a smooth, consistent dough. While experimenting with other potato types might offer unique subtle flavors, it also introduces a variable in moisture content, which can significantly impact the dough’s workability and the final product’s texture. For consistent success and traditional flavor, Russet potatoes are your best bet.
The Art of Ricing: Twice for Perfection
One of the most critical steps in achieving a smooth, delicate lefse dough is properly preparing the cooked potatoes. I’ve found that simply mashing the potatoes often leaves small lumps, which can lead to tears and uneven rolling. Using a potato ricer is highly recommended, but for optimal results, rice the potatoes not once, but twice. The first pass breaks down the large pieces, and the second pass refines them into an incredibly fine, airy mixture, eliminating any remaining lumps. This meticulous step ensures a uniform dough that rolls out beautifully thin without resistance or breakage.
Butter Integration: The Key to a Fluffy, Even Dough
The way butter is incorporated into your potato mixture is crucial for both flavor and texture. In our instructions, you’ll rice the warm potatoes directly into a ceramic or glass dish that already contains a stick of chopped, room-temperature salted butter. The residual heat from the freshly riced potatoes should be sufficient to melt the butter completely. However, it’s imperative to ensure every bit of butter is fully melted and thoroughly integrated. Use a fork or even your hands to gently fluff the potatoes and mix them until no solid butter chunks remain.
Failing to fully melt and incorporate the butter risks having stubborn butter chunks in your cooled potato mixture. These unmixed pockets will make the dough difficult to roll out evenly and can lead to inconsistent cooking on the grill. Therefore, take your time during this step, ensuring the mixture is homogenous before allowing it to cool. This careful attention to detail will pay dividends in the quality of your finished lefse.
Preparing Your Workspace: The Rolling Mat & Pin
Before you even touch the dough, setting up your rolling station properly is paramount. Begin by securely stretching and tying the rolling board cloth over your rolling board. This creates a stable and appropriate surface for working with the delicate dough. Next, liberally apply flour to both the board cloth and your corrugated rolling pin. Don’t be shy with the flour; take the time to thoroughly rub it into both the cloth covering for the board and the rolling pin. This generous application of flour creates a non-stick barrier that is absolutely essential for rolling out lefse without tearing or sticking. Expect to reapply flour liberally between cooking each lefse to maintain this critical non-stick surface.
Mastering the Roll: Achieving Paper-Thin Lefse
Rolling out lefse dough is an art form that requires patience and a gentle touch. The goal is to transform your dough balls into disks that are as paper-thin as possible without tearing. This is where your corrugated and covered rolling pin becomes invaluable. Take one dough ball from the fridge and gently pat it into a rough disk by hand. Place it in the center of your floured rolling mat.
Using the rolling pin, apply even, gentle pressure, starting from the center and rolling outwards. Rotate the dough frequently to ensure an even circular shape and consistent thickness. If you feel any resistance or a hint of sticking, don’t hesitate to lift the dough slightly and dust a little more flour underneath and on top. The more liberal you are with flour on your equipment, the easier the dough will glide and thin out. Aim for a diameter that is as large as your grill will allow, typically resulting in a very thin, translucent flatbread. Dough balls weighing around 100-150 grams tend to yield a perfectly sized lefse, ideal for two snack-sized servings.
The Golden Rule: Handle with Care
As emphasized before, lefse dough is incredibly delicate. This applies not only during rolling but especially when transferring the rolled-out dough to the hot grill. Always handle the dough with extreme gentleness. The good news is that once the dough touches the hot lefse grill and cooks for about 30 seconds to a minute, its structure begins to firm up, making it much more resilient and easier to manipulate. Until then, exercise maximum caution to prevent tears and maintain the integrity of your beautifully rolled lefse.
The Art of Grilling Lefse: From Dough to Delight
The lefse turning stick is not merely a utensil; it’s an extension of your hands during the critical transfer and cooking stages. Attempting to move a fragile, raw lefse disc from your rolling board to the hot grill by hand is almost guaranteed to result in a mishap. Instead, gracefully slide your turning stick underneath the center of the rolled-out disc, ensuring you get all the way under without tearing the delicate dough.
Transferring and Initial Cook
With the stick supporting the middle of the dough, gently lift it. Then, carefully drape one half of the disc onto the edge of your preheated 500°F (260°C) lefse grill. As the first half settles, smoothly turn (or roll) the stick to lay the second half of the dough onto the grill. This technique minimizes stretching and tearing. Once the entire lefse is on the grill, immediately start your timer.
If a portion of the dough hangs over the edge, resist the urge to correct it immediately. Allow it to cook for about 30 seconds; the dough will stiffen enough for you to gently reposition it without causing damage. The initial cook sets the structure.
Flipping and Finishing
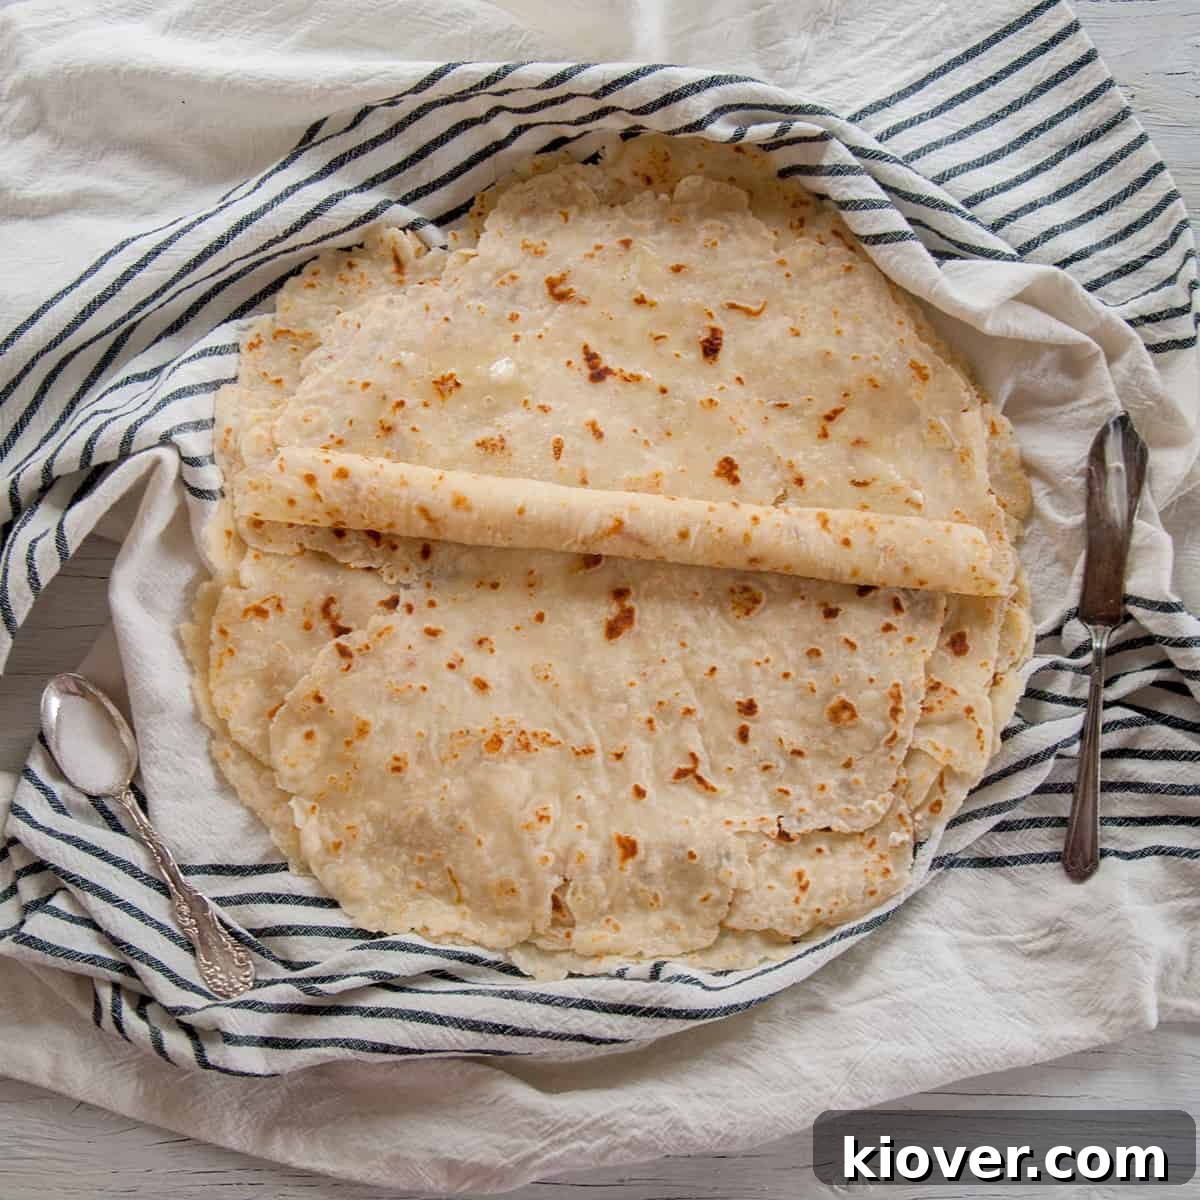
After 1 minute and 30 seconds of cooking, use your turning stick to expertly flip the lefse. Continue cooking on the second side until your timer reaches a total of 3 minutes. Each lefse should cook for precisely three minutes in total, developing characteristic light brown spots on both sides. These spots indicate proper cooking and add to the visual appeal and subtle toasted flavor. Once cooked, remove the lefse from the grill and place it on a large plate or cooling rack to cool.
Troubleshooting: When Lefse Sticks to the Grill
- Non-Stick Grill: If you’re using a non-stick lefse grill, sticking is less common. Often, it’s a sign that the lefse hasn’t cooked long enough before you attempted to manipulate it. If it does stick, simply take a wet cloth (carefully!) and wipe the grill clean, then allow it to reheat fully before cooking the next piece. Safety first – avoid burning yourself!
- Aluminum Grill: Sticking can be a more persistent issue with aluminum grills. Once a piece sticks, it tends to cling stubbornly. If a piece of lefse sticks badly and tears, it’s okay. Sometimes, it’s better to accept the loss of that piece, carefully clean the grill with a wet cloth, and allow it to regain its heat and non-stick properties before moving on to the next. Do not compromise safety for a single piece of lefse.
Pacing Your Production: One at a Time
An important workflow tip for consistent results is to resist the urge to roll out your next lefse until the current one is fully cooked and removed from the grill. This deliberate pacing allows your lefse grill to fully reheat to the optimal temperature for each fresh piece of dough, ensuring consistent cooking across your entire batch. It also prevents you from rushing, which can lead to mistakes with the delicate dough.
Cooling, Storing, and Serving Your Delicious Lefse
Once your lefse sheets are cooked, the journey isn’t quite over. Proper cooling and storage are essential to maintain their tender texture and prevent them from drying out. Place the cooked lefse on a large plate or clean kitchen towel, unfolded, and allow them to cool completely at room temperature for at least an hour. This cooling period is crucial for them to develop their pliable, soft texture.
Storing Your Homemade Lefse
While lefse is undoubtedly best enjoyed on the day it’s made, it can be stored for later enjoyment. For short-term storage, once fully cooled, stack the lefse sheets with wax paper or parchment paper in between to prevent sticking. Place them in an airtight container or wrap them tightly in plastic wrap, then store in the refrigerator for up to one week. For longer preservation, lefse freezes exceptionally well. Follow the same stacking and wrapping method, then transfer to a freezer-safe bag or container. Frozen lefse can maintain its quality for up to six months. To enjoy, simply thaw at room temperature or gently warm.
Delightful Toppings for Your Lefse
The beauty of lefse lies not only in its unique flavor but also in its versatility with toppings. This is a topic of joyful debate in many Norwegian-American households! The most classic and beloved way to enjoy lefse is by spreading it generously with softened butter, sprinkling it with sugar, and then rolling it up. (My personal stance? A teaspoon or two of sugar per buttered sheet is absolutely essential for a truly civilized experience! 😉)
However, the possibilities extend far beyond this beloved combination:
- Sweet Sensations:
- Butter and Sugar: The traditional favorite.
- Cinnamon Sugar: A warm, aromatic twist on the classic.
- Brown Sugar: Adds a deeper, caramel-like sweetness.
- Jellies and Jams: Lingonberry jam is a popular Scandinavian choice, but any fruit preserve works beautifully.
- Savory Adventures:
For those who prefer a more savory profile, lefse can be a surprising base for:
- Cottage Cheese: A simple, wholesome filling.
- Smoked Salmon: A sophisticated pairing, often with a dill cream cheese.
- Liver Paste: A traditional, robust option for some.
- Lutefisk: Yes, some even pair it with this notoriously strong Scandinavian delicacy! (Though I must admit, lutefisk and liver push the boundaries of my own culinary preferences!)
Ultimately, the best way to enjoy your lefse is exactly how you like it. Don’t be afraid to experiment and discover your own favorite combinations!
Frequently Asked Questions About Lefse
Can I double the recipe?
Absolutely! This recipe is easily scalable. Simply multiply all the ingredients by two to yield approximately 16 large lefse sheets, or about 32 snack-sized servings. Keep in mind that doubling the recipe will also require more time for prep and cooking, and you’ll need ample workspace for rolling out the larger quantity of dough.
Lefse Recipe Process Photos (Visual Guide)
To help you visualize each stage of this traditional recipe, here are some process shots that will hopefully make your lefse-making journey even smoother.

- Ricing Potatoes (First Pass): The initial ricing of warm, cooked potatoes for a coarse texture.
- Ricing Potatoes (Second Pass & Butter): Rice the warm potatoes a second time into a ceramic container containing chopped, room-temperature butter. Ensure the butter is completely melted and thoroughly integrated into the potatoes. This mixture then stands at room temperature for 1 hour, followed by refrigeration (uncovered) overnight.
- Mixing the Dough: Combine the chilled potato-butter mixture with flour, cream, and salt. Get in there with your hands and mix until well combined, aiming for a consistent, slightly crumbly dough texture.
- Portioning the Dough: Weigh the total dough and divide it into eight equal portions for consistent lefse size.
- Shaping Dough Balls: Roll each portion into a smooth ball, place on a plate, and return to the fridge while your lefse grill preheats to 500°F (260°C).

- Flouring Your Workspace: Liberally flour your rolling mat cloth and the rolling pin cover. Rub the flour in thoroughly to create a non-stick surface.
- Rolling Out Lefse: Take one dough ball from the fridge, gently flatten it by hand, and then use your corrugated rolling pin to roll it out as thin as possible on the floured mat. Remember to be gentle and apply consistent pressure.
- Transferring to Grill: Once rolled thin, use your lefse turning stick. Slide it gently beneath the center of the disc, lift, and carefully drape the lefse onto the preheated 500°F (260°C) grill.
- Grilling Initiation: Lay the first half of the dough onto the grill, then, by turning the stick, gently fold the other half onto the grill. Start your timer immediately.
- Cooking and Flipping: Grill for 1 minute and 30 seconds. At this point, use the turning stick to carefully flip the lefse. Continue cooking on the second side until the timer reaches a total of 3 minutes. Remove the cooked lefse to a large plate to cool. Repeat for remaining dough balls.
Lefse Recipe Using Real Potatoes – A Norwegian Tradition
Author: Ben Myhre
Prep Time: 12 hours 30 minutes
Cook Time: 30 minutes
Total Time: 13 hours
Yield: 8 lefse (approx. 16 servings)
Category: Holiday
Method: Grill
Cuisine: Norwegian
Print Recipe
Description
Lefse is a beloved Norwegian treat, deeply rooted in family traditions. This comprehensive guide and recipe empower you to bring this rewarding custom into your home, crafting some of the finest, most authentic lefse you’ve ever tasted. Learn the nuances of working with real potatoes to create a delicious and memorable potato flatbread that will become a cherished part of your gatherings.
Ingredients
- 2.5 pounds of Russet potatoes, peeled and weighed after peeling
- 1 stick (½ cup) room temperature salted butter, chopped
- ½ cup heavy cream
- 1 teaspoon salt
- 1 cup all-purpose flour, plus additional flour for dusting the rolling equipment
Instructions
- Prepare Potatoes: Peel the Russet potatoes and simmer them in a large pot of water for approximately 45 minutes, or until they are completely tender throughout.
- First Rice: Strain the cooked potatoes thoroughly to remove all water. Using a potato ricer, rice the warm potatoes into a large bowl.
- Second Rice & Butter: Place the chopped, room-temperature butter at the bottom of a ceramic or glass bowl. Rice the potatoes a second time directly into this bowl. The heat from the potatoes will help melt the butter.
- Combine Butter and Potatoes: Using a fork or your hands, gently fluff and mix the potatoes, ensuring the butter is fully melted and completely incorporated. Avoid over-mixing, as the goal is to keep the potatoes light and fluffy. Ensure no chunks of solid butter remain.
- Chill Overnight: Allow the potato-butter mixture to sit on the counter at room temperature for one hour. Then, place the uncovered container into the refrigerator overnight (at least 8-12 hours) to cool completely. This chilling period is crucial for the dough’s consistency.
- Form Dough: The next day, remove the chilled potato mixture from the fridge. In a large mixing bowl, combine the potato-butter mixture, heavy cream, the measured 1 cup of all-purpose flour, and salt. Get your hands in there and mix thoroughly until a cohesive dough forms. The consistency should be somewhat like a bread dough but might feel a bit more crumbly.
- Portion Dough Balls: Weigh the entire dough and divide it into eight equal portions. Roll each portion into a smooth ball. Place all the dough balls on a plate and return them to the refrigerator to keep them firm while you prepare your workspace.
- Preheat Grill: Preheat your lefse grill to 500°F (260°C). Allow it to preheat for at least 10-15 minutes to reach a stable temperature.
- Prepare Rolling Station: Securely stretch and tie your rolling mat cloth over the rolling board. Liberally apply flour to both the rolling mat cloth and the cloth covering your corrugated rolling pin. Rub the flour in well to ensure a non-stick surface. Reapply flour as needed throughout the rolling process.
- Roll Out Dough: Take one lefse ball from the fridge. Gently flatten it into a disk with your hands. Place it on the center of your floured rolling mat. Using the corrugated rolling pin, gently and evenly roll out the dough ball into a very thin, circular disk. Rotate the dough frequently. If the dough starts to stick, add a small amount of flour to the mat and pin. Aim for it to be as thin and large as possible without tearing.
- Prepare for Transfer: Once the lefse is rolled out thinly, slide the lefse turning stick gently underneath the center of the rolled-out disk. Ensure the stick is fully under the dough without tearing it.
- Transfer to Grill: Lift the rolled-out dough (supported by the stick) and carefully drape it onto the edge of the preheated 500°F (260°C) lefse grill. Gently lay the first half of the disk onto the grill, then, by turning or rolling the lefse stick, gently unfold the other half onto the grill. Start a timer immediately.
- First Side Cook: Allow the lefse to grill for 1 minute and 30 seconds. You should see light brown spots begin to form on the underside.
- Flip and Finish: At the 1 minute 30 second mark, use your turning stick to carefully flip the lefse over. Continue cooking on the second side until your timer hits a total of 3 minutes (1:30 per side).
- Remove and Repeat: Once fully cooked, remove the lefse from the grill and place it on a large plate or cooling rack. Repeat steps 9 through 14 for the remaining dough balls, making sure to re-flour your equipment between each lefse and allowing the grill to fully reheat if necessary.
- Cooling: Allow all cooked lefse to cool completely (unfolded) at room temperature for at least one hour before stacking or storing.
- Serve: Spread cooled lefse with your desired toppings, such as softened butter and a sprinkle of sugar. Roll it up.
- Enjoy: Cut each rolled lefse in half and serve immediately.
Notes
- For the best experience, consider purchasing a lefse making kit! It makes a significant difference.
- Always use Russet potatoes for their ideal starch content, and ensure all skin bits are removed during peeling.
- Always use room temperature butter and ensure it’s fully melted and integrated into the warm riced potatoes.
- Chilling the potato mixture overnight is a non-negotiable step for optimal dough consistency.
- Handle the dough with extreme gentleness at all stages.
- If lefse sticks to your grill (especially aluminum), carefully wipe the grill clean with a wet cloth and allow it to reheat fully before proceeding.
- Allow cooked lefse to cool for at least one hour. Store in an airtight container in the refrigerator for up to a week, or freeze for up to 6 months.
- The nutritional information below includes an estimation of 0.5 cups of flour to account for dusting the equipment.
- Please note that the nutritional information does NOT account for any toppings you may add.
Nutrition
- Serving Size: ½ lefse sheet
- Calories: 164 calories
- Sugar: 1 g
- Sodium: 151 mg
- Fat: 3 g
- Saturated Fat: 2 g
- Unsaturated Fat: 0 g
- Trans Fat: 0 g
- Carbohydrates: 30 g
- Fiber: 2 g
- Protein: 4 g
- Cholesterol: 12 mg
Recommended Tools for Your Lefse Journey
To help you get started on your lefse-making adventure, here are some of the tools we recommend:
- Non-Stick Lefse Making Kit or Aluminum Lefse Making Kit
- Potato Ricer
- Kitchen Timer
Did You Make This Traditional Norwegian Lefse?
We truly hope you cherished the experience of making and tasting this wonderful Norwegian tradition! Your feedback and experiences are incredibly valuable to us. Please share how your lefse turned out in the comments section below. We’d be absolutely delighted if you would share this recipe with your friends and family on Pinterest or Facebook, or even send it to your grandma! Don’t forget to subscribe to our email list to receive more delicious, from-scratch recipes directly in your inbox in the future.