
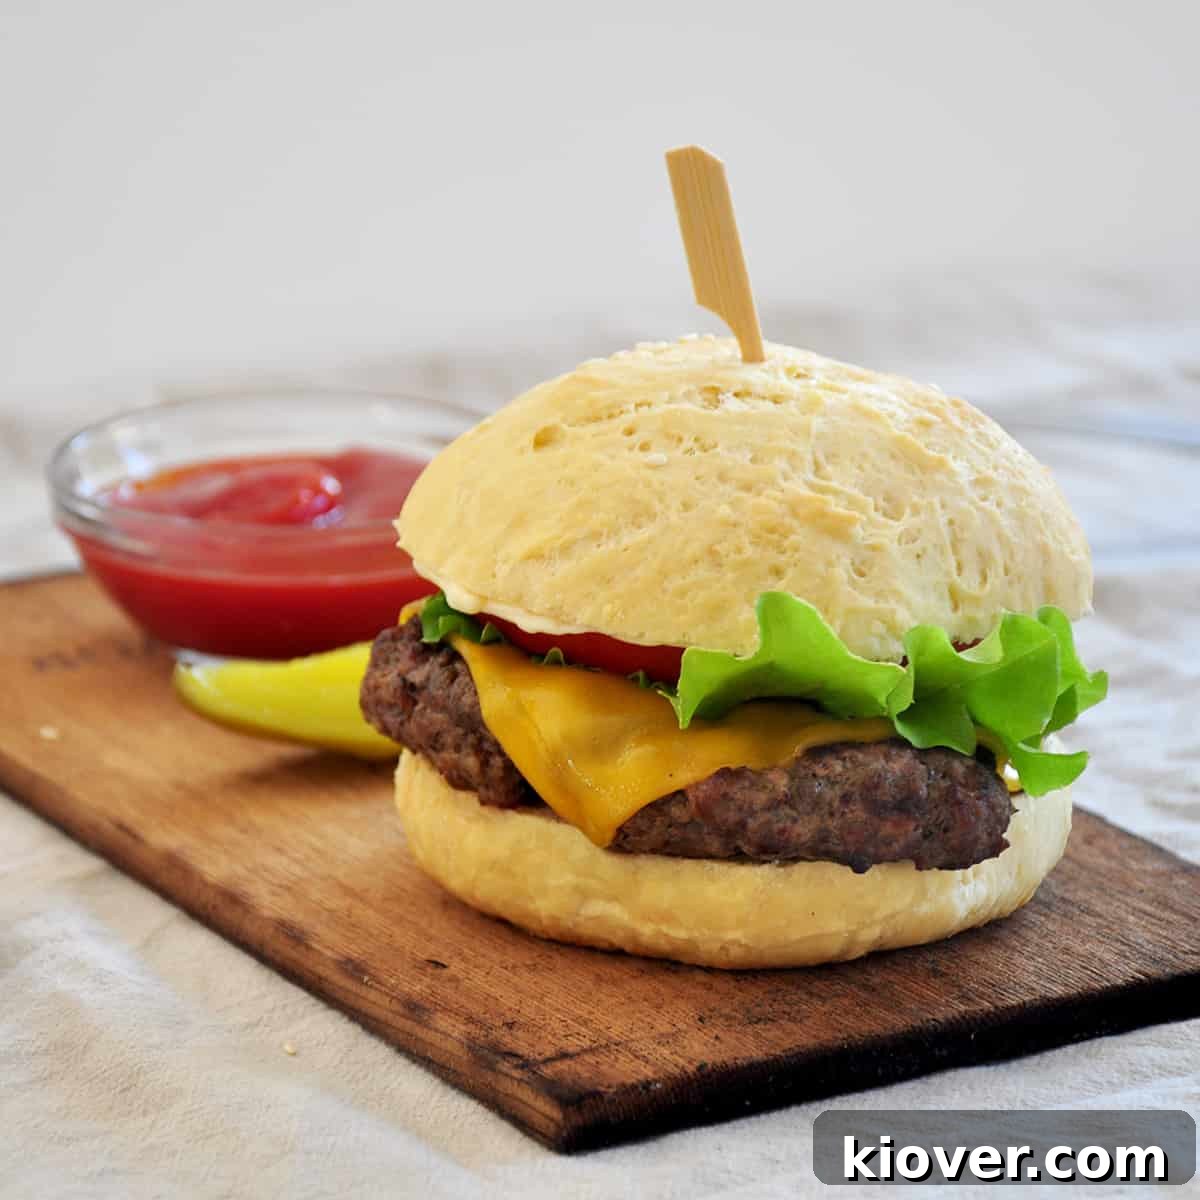
Imagine crafting the perfect burger patty from scratch, right in your own kitchen. It’s easier than you think, and you don’t need a fancy meat grinder! With just a little time and a common kitchen appliance – your trusty food processor – you can create delicious, custom ground beef patties that elevate your homemade burgers to an entirely new level. This comprehensive guide will show you how to take control of your burger experience, ensuring every bite is packed with flavor and exactly to your liking. Get ready to ditch the pre-made patties and embrace the incredible taste of truly homemade burgers.
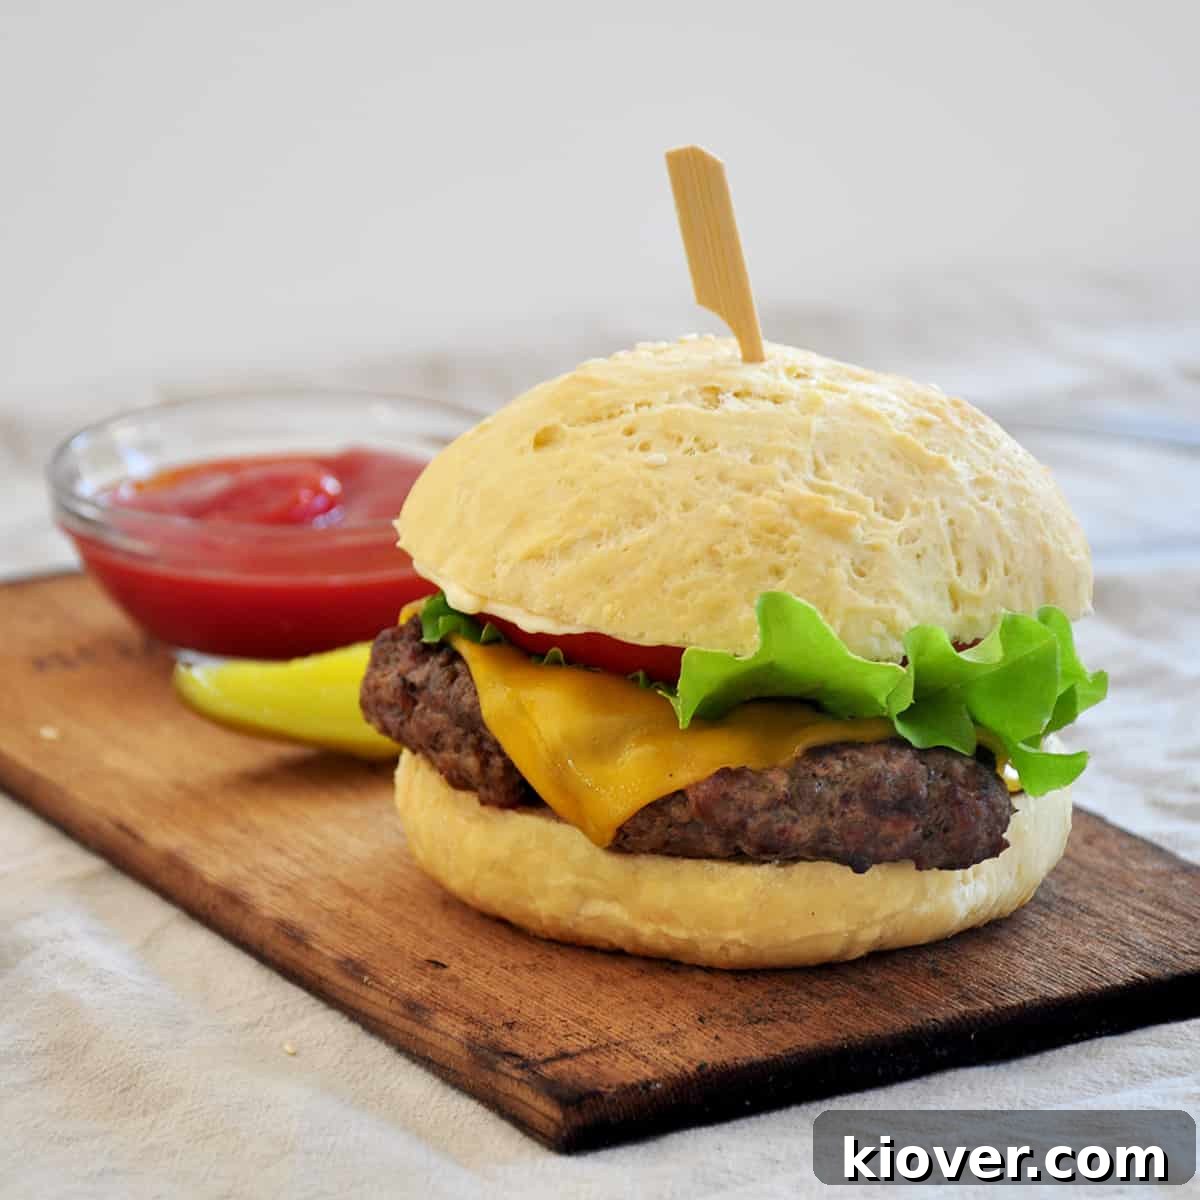
🍔 Why Craft Your Own Ground Beef Patties?
In the quest for an exceptional hamburger, the quality of the patty is paramount. While visiting your local butcher might seem like the easiest option, you often end up with a blend they already have on hand, with little to no input on the specific cuts or fat content. Many assume a meat grinder is essential for homemade ground beef, but this recipe shatters that misconception, offering a simple and effective alternative.
This method empowers you to transform readily available cuts of beef into a gourmet burger experience using a tool many already own: a food processor. This approach provides unparalleled control over the meat’s freshness, blend, and fat ratio, allowing you to tailor each patty to your exact preference. Whether you prioritize rich flavor, a specific texture, or simply want to avoid additives found in store-bought options, making your own ground beef with a food processor is a game-changer. It’s a fantastic way to experiment with different meat combinations and achieve a truly custom burger that stands out from the rest.
Beyond the core recipe, consider exploring other fantastic burger and side dishes we offer. If you happen to have a meat grinder, don’t miss our sirloin burger recipe for an equally impressive result. And for the perfect accompaniment to your culinary creations, try these crispy grilled Jo Jos and our refreshing easy coleslaw recipe – ideal complements to any burger feast.
Table of Contents
- 🍔 Why Craft Your Own Ground Beef Patties?
- 🍖 Selecting the Perfect Beef Cuts for Your Food Processor
- 🍲 Step-by-Step Instructions for Homemade Patties
- 🤷 Customization and Flavor Variations
- 📦 Storage and Freezing Your Homemade Patties
- 🎓 The History of the Humble Hamburger
- ❓ Frequently Asked Questions
- 📝 Expert Tips and Tricks for the Perfect Burger
- 🛠 Essential Tools for This Recipe
- 😋 Your Creations Matter!
- DIY Food Processor Ground Beef Patties Recipe Card
🍖 Selecting the Perfect Beef Cuts for Your Food Processor
The secret to an outstanding homemade burger patty lies in the quality and combination of your beef. While many cuts can be used, a thoughtful blend ensures optimal flavor and juiciness. For this recipe, we chose a balanced mix of deboned Short Ribs and Beef Chuck Steak, aiming for a rich, flavorful patty with excellent texture.
Short Ribs: These are prized for their exceptional marbling and deep, beefy flavor. The fat content in short ribs contributes significantly to the succulence and richness of the final burger. Deboning them yourself ensures you get pure meat, ready for processing. Their natural richness makes them a fantastic base for gourmet burgers.
Beef Chuck Steak: Chuck steak is a classic choice for ground beef due to its robust flavor and good balance of meat and fat. It provides a firm structure and complements the richness of the short ribs beautifully. Combining chuck with short ribs helps achieve a desirable fat percentage, typically around 30%, which is ideal for a juicy, flavorful burger that doesn’t dry out during cooking.
While a 70% lean / 30% fat ratio is often considered the gold standard for gourmet burgers, anything between 70-80% lean will yield excellent results. The fat is crucial for carrying flavor, preventing dryness, and creating that satisfying sizzle on the grill. Don’t be afraid of a little fat – it’s what makes a burger truly great!
Other Cuts to Consider (and their food processor suitability):
- Brisket: Known for its incredible flavor and high fat content, brisket can be an excellent addition or substitute, especially the fattier flat cut.
- Sirloin: While sirloin offers a lean, robust flavor, it tends to be less forgiving in a food processor. It works wonderfully in a traditional meat grinder for a leaner burger, but its lack of fat can make it challenging to achieve the right consistency without turning it into a paste in the food processor. If using sirloin, ensure it’s well-chilled and process in very small, quick pulses.
- Oxtail: For an incredibly rich and gelatinous burger, a small amount of oxtail (after deboning and chilling) can add a unique depth of flavor and moisture.
Ultimately, the best blend is one you enjoy. Don’t hesitate to experiment with different combinations to discover your signature burger patty!
🍲 Step-by-Step Instructions for Homemade Patties
Creating your own ground beef patties in a food processor is a straightforward process, but a few key steps ensure a superior result. Follow these instructions carefully to achieve the perfect texture and flavor for your homemade burgers.
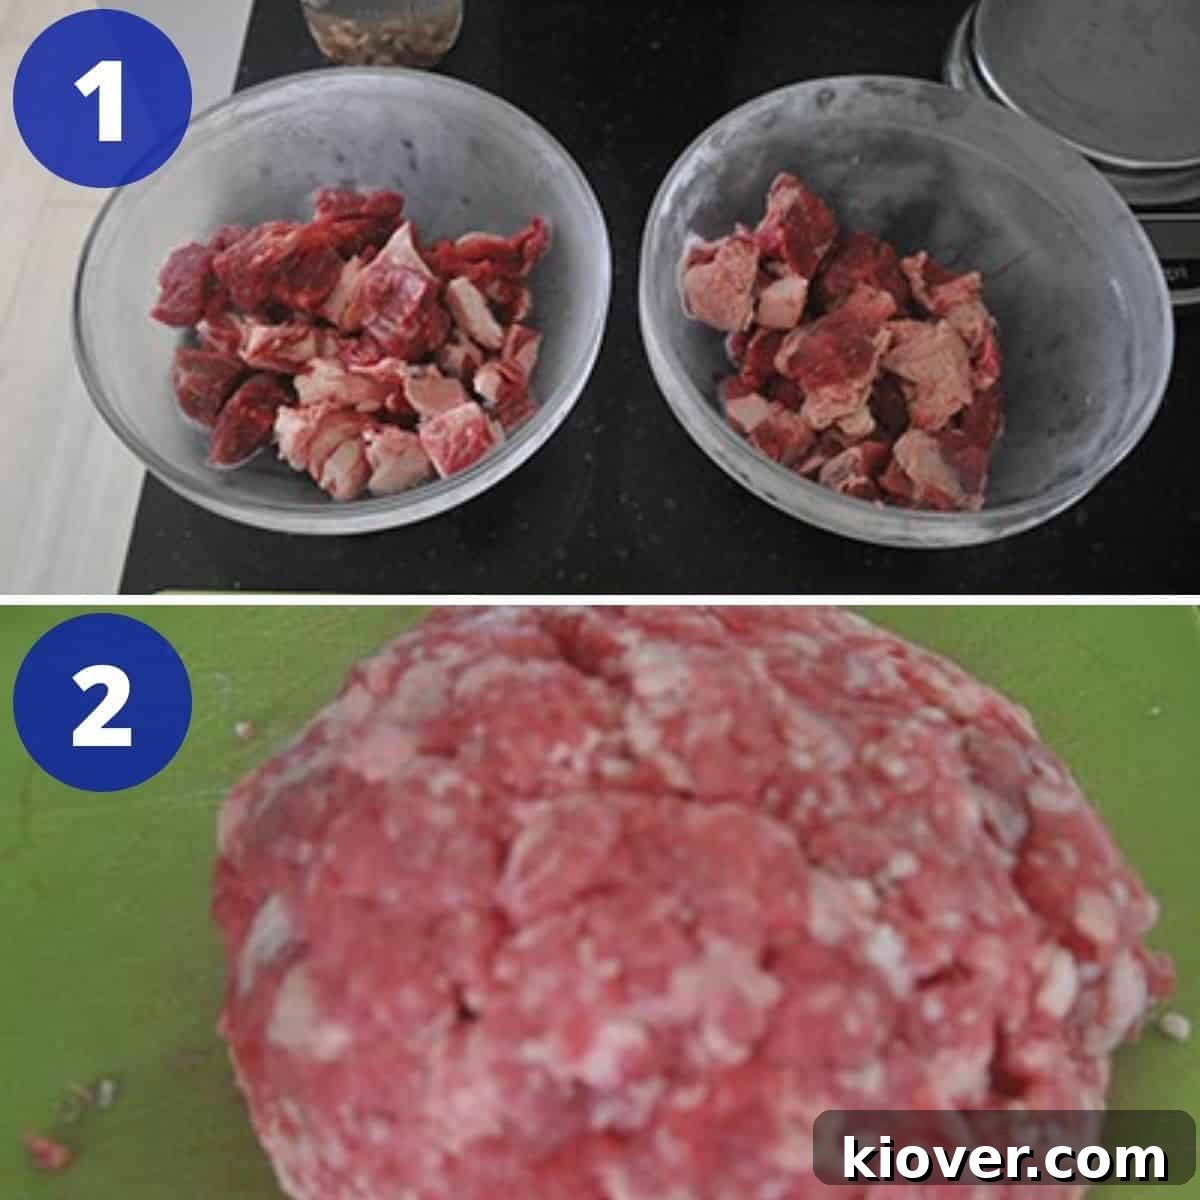
- Prepare the Meat: Begin by cutting both the deboned short ribs and beef chuck steak into approximately 1-inch cubes. Keep the different types of meat in separate bowls for now. This uniform cubing is essential for even processing.
- Clean the Meat Thoroughly: Inspect each cube carefully. Remove any visible silver skin, tough connective tissue, or gristle. Silver skin is a silvery, membrane-like tissue that doesn’t break down during cooking and can make your burger chewy. Trimming it ensures a tender, uniform patty.
- Chill the Meat: Place the cubed and cleaned meat into the freezer for about 45 minutes to 1 hour. This step is critical! Chilling the meat firms up the fat and muscle fibers, preventing the food processor from “smearing” or creating a paste-like texture. Cold meat grinds much cleaner, resulting in distinct strands of ground beef, similar to what you’d get from a traditional grinder.
- Process in Small Batches: Once thoroughly chilled, remove the meat from the freezer. Working with very small batches (about 4-5 cubes at a time) of the same meat type, place them into your food processor. Using small batches prevents overcrowding and allows the blades to work efficiently without overheating the meat.
- Pulse to Desired Consistency: Use the “pulse” function on your food processor for short bursts of 1-2 seconds. Avoid continuously running the processor, as this can quickly turn your meat into a mushy paste. After a few pulses, open the lid and check the consistency. You’re looking for a coarse, ground burger texture, where the meat is broken down into small, distinct pieces, not a smooth paste.
- Repeat as Necessary: If the meat isn’t yet at the desired consistency, pulse again for another 1-2 seconds. Continue this process, batch by batch, until all of your meat is ground to a rough burger consistency. Be patient and pulse carefully to avoid over-processing.
- Combine and Mix: Once all the individual batches of short rib and chuck steak are ground, gently combine them in a large bowl. Use your hands to mix the two meats thoroughly but carefully. Avoid overworking the meat, as this can make the patties tough. The goal is just to evenly distribute the different cuts.
- Form the Patties: Divide the ground beef mixture into ⅓ pound portions (or your preferred size). Gently form each portion into a patty, approximately ¾ to 1 inch thick. To prevent the burger from bulging in the center and shrinking excessively during cooking, create a slight indentation or “divot” in the center of each patty with your thumb.
- Cook Your Way: Your homemade ground beef patties are now ready for cooking! Choose your favorite method – whether it’s grilling over an open flame for a smoky char, pan-frying on a hot cast-iron skillet for a perfect crust, or even baking in the oven for a hands-off approach. Cook to your desired doneness, and get ready to enjoy the best burger you’ve ever made.
🤷 Customization and Flavor Variations
The beauty of making your own ground beef patties in a food processor is the endless opportunity for customization. You’re not just making a burger; you’re crafting a culinary experience. Feel free to unleash your creativity based on the types of meat available, your desired fat content, and the flavor profile you’re aiming for.
Experiment with Different Beef Cuts: While our recipe highlights short ribs and chuck steak for their excellent balance, don’t shy away from other cuts. Adding a small percentage of brisket can introduce an even deeper beefy flavor and more fat for extra juiciness. If you prefer a leaner burger, you could slightly increase the proportion of chuck steak or even try a small amount of top round, though remember to add some fat back in for moisture and flavor. I experimented with sirloin, and while it’s great in a meat grinder, it tends to be too lean and can become mushy if over-processed in a food processor without enough fat to balance it.
Beyond Beef: For truly adventurous palates, consider incorporating other meats into your blend. A small amount of fatty pork shoulder or even bacon (processed separately and then mixed in) can add incredible flavor and moisture. Lamb can also be ground in the food processor to create unique, Mediterranean-inspired patties.
Infuse Flavors Before Cooking: One of the biggest advantages of homemade patties is the ability to season and flavor the meat directly. Before forming your patties, gently mix in your favorite seasonings. This could include:
- Classic Savory: Onion powder, garlic powder, a dash of Worcestershire sauce, smoked paprika, black pepper, and a touch of salt.
- Herbal Notes: Finely chopped fresh herbs like parsley, chives, thyme, or rosemary can elevate the aroma and taste.
- Spicy Kick: A pinch of cayenne pepper, red pepper flakes, or a finely minced jalapeño (seeds removed for less heat) can add a pleasant warmth.
- Umami Boost: A spoon of mushroom powder, a dash of soy sauce, or even a tiny amount of anchovy paste (it disappears into the flavor, adding depth, not fishiness!) can enhance the overall savoriness.
Remember to mix gently to avoid compacting the meat, which can lead to a tough burger. The less you handle the meat, the more tender your patties will be.
By taking the time to customize your meat blend and infuse it with complementary flavors, you’ll discover a world of burger possibilities far beyond what any store-bought patty can offer.
📦 Storage and Freezing Your Homemade Patties
Making a larger batch of homemade ground beef patties is an excellent way to save time later. Proper storage ensures your efforts result in fresh-ttasting, ready-to-cook burgers whenever a craving strikes.
Refrigeration: For immediate use, your freshly prepared ground beef mixture or formed patties should be used or frozen within 3 days of purchase of the fresh meat. Store them in an airtight container or tightly wrapped in plastic wrap in the coldest part of your refrigerator.
Freezing Patties for Later: Freezing is a fantastic option for meal prep. Here’s how to do it effectively:
- Form Patties: First, form your patties as described in the instructions.
- Layer with Wax Paper: Place a square of wax paper or parchment paper between each patty. This prevents them from sticking together, allowing you to easily grab just one or two when needed.
- Airtight Packaging: Stack the layered patties and wrap the entire stack tightly in plastic wrap, then aluminum foil. Alternatively, place them in a freezer-safe, airtight container or a heavy-duty freezer bag, squeezing out as much air as possible. For best results and to prevent freezer burn, a vacuum sealer is ideal.
- Label and Date: Always label your frozen packages with the date to keep track of freshness.
- Shelf Life: Properly stored, homemade ground beef patties can last in the freezer for up to 3-4 months.
Thawing Frozen Patties: The best way to thaw frozen patties is overnight in the refrigerator. For quicker thawing, you can place the sealed package in a bowl of cold water, changing the water every 30 minutes until thawed. Avoid thawing at room temperature for food safety reasons.
🎓 The History of the Humble Hamburger
The hamburger, a staple of American cuisine and beloved worldwide, has a surprisingly rich and debated history. While its exact origins are shrouded in various claims, one fascinating tidbit points to an early fast-food pioneer. Did you know that White Castle, one of America’s first fast-food chains established in 1921, is widely credited with inventing the modern hamburger bun? Before White Castle, ground beef patties were often served between slices of bread, but their innovation of a soft, square bun specifically designed to cradle the patty revolutionized how we eat burgers today. This small but significant change made the hamburger a more convenient and enjoyable handheld meal, paving the way for its incredible popularity. To delve deeper into the intriguing journey of this iconic food, explore our dedicated Hamburger origin story article.
❓ Frequently Asked Questions
Absolutely! This recipe provides a step-by-step guide on how to efficiently make delicious, perfectly textured hamburger patties using a standard food processor. It’s a fantastic alternative to a traditional meat grinder and gives you full control over your burger’s quality.
For a juicy, flavorful burger, a fat content of about 30% is often considered ideal, meaning a 70% lean / 30% fat ratio. However, anything between 70-80% lean (20-30% fat) will yield an excellent burger. The fat is crucial for moisture, flavor, and preventing the patty from drying out during cooking.
Silver skin is a tough, silvery-white connective tissue found on certain cuts of beef and pork. Unlike fat, it does not break down during cooking and can make your ground meat chewy and unpleasant. It’s important to trim it away before grinding to ensure a tender and enjoyable hamburger texture.
Chilling the meat thoroughly before processing is a crucial step. It firms up the fat and muscle fibers, allowing the food processor blades to cut the meat cleanly rather than smearing it. This results in a desirable coarse texture for your ground beef, preventing it from becoming a mushy paste.
To minimize shrinking, avoid overworking the meat when forming patties. Additionally, creating a slight indentation or “divot” in the center of each patty with your thumb before cooking helps the patty maintain a flatter shape as it cooks and prevents it from bulging in the middle.
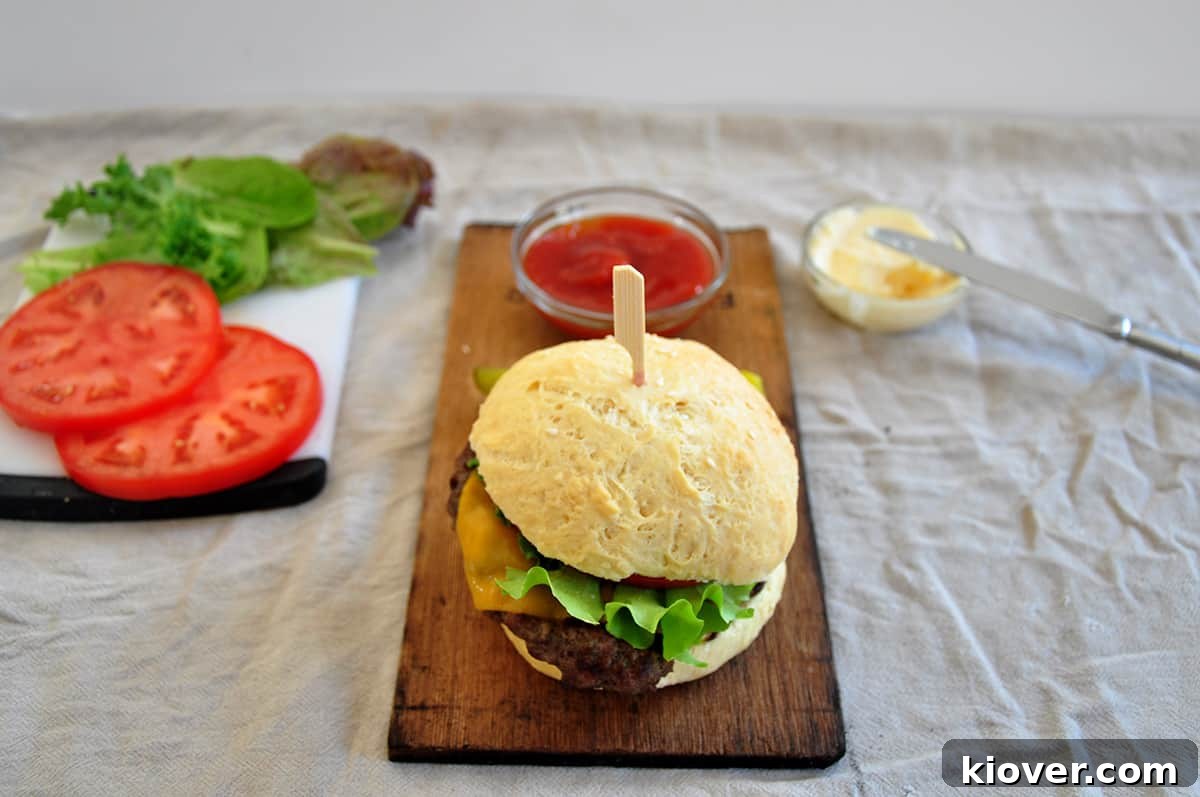
📝 Expert Tips and Tricks for the Perfect Burger
Achieving burger perfection goes beyond just grinding the meat. These expert tips will help ensure every homemade patty you create is a culinary triumph:
- Weigh After Cleaning: Always weigh your meat AFTER you have cleaned it and removed all silver skin, gristle, and bones. This ensures accurate ratios for your desired fat content and recipe yield.
- Don’t Overwork the Meat: When mixing your ground beef and forming patties, handle the meat as little as possible. Overworking compresses the meat fibers, resulting in a tough, dense burger. A light touch keeps them tender and juicy.
- Season Generously: Ground beef loves seasoning! Don’t be shy with salt and freshly ground black pepper, and consider adding other spices or aromatics directly into the mix before forming patties for an even flavor distribution.
- Create a Divot: As mentioned, pressing a small indentation into the center of each patty with your thumb prevents it from puffing up in the middle and helps it cook evenly.
- Avoid Pressing During Cooking: Resist the urge to press down on your burgers with a spatula while they cook. This squeezes out all the delicious juices and fat, leading to a dry, less flavorful patty.
- Rest Your Burgers: Just like steaks, cooked burgers benefit from a short resting period (2-3 minutes) after coming off the heat. This allows the juices to redistribute throughout the patty, resulting in a more succulent bite.
- Experiment with Blends: Don’t be afraid to try different combinations of beef cuts! Brisket, short rib, and chuck each offer unique flavor and fat profiles. Finding your perfect blend is part of the fun of DIY burgers.
🛠 Essential Tools for This Recipe
While the beauty of this recipe is its simplicity, a few key tools will make the process smooth and enjoyable:
- Food Processor: This is the star of our show! A robust food processor with sharp blades is essential for effectively grinding the meat to the right consistency. A reliable model can be found here.
- Sharp Knife: For cubing the beef and trimming silver skin, a sharp, sturdy chef’s knife is indispensable.
- Cutting Board: A large, stable cutting board will make prepping the meat much easier and safer.
- Large Bowls: Several bowls are handy for separating meat cuts and chilling.
- Baking Sheet and Parchment Paper: Useful for chilling cubed meat in the freezer and for separating formed patties if freezing.
- Kitchen Scale (Optional but Recommended): For precise measurement of meat proportions and patty sizes, a digital kitchen scale is a great investment.
😋 Your Creations Matter!
We absolutely love seeing what you create in your kitchen! If you’ve given this food processor ground beef patty recipe a try, we’d be thrilled to hear about your experience. Your feedback helps us improve and guides other home cooks in their culinary adventures. Please consider leaving a rating and comment in the section below to share your thoughts. It means the world to us and assists others in deciding if this recipe is right for them. Thank you for visiting Ramshackle Pantry and for being a part of our cooking community!
Print

DIY Food Processor Ground Beef Patties
5 Stars 4 Stars 3 Stars 2 Stars 1 Star
5 from 1 review
Author: Ben Myhre
Prep Time: 1 Hour 30 Minutes
Total Time: 1 hour 30 minutes
Yield: 4 Hamburgers
Category: DIY
Method: Blend
Cuisine: American
Description
Craft your own exceptional ground beef patties with this DIY recipe, utilizing your food processor for perfect texture and customizable flavor. Elevate your homemade burgers with fresh, high-quality ingredients.
Ingredients
- ½ pound Short Ribs (deboned and trimmed)
- ½ pound Beef Chuck Steak (trimmed of silver skin and gristle)
- Optional: Salt and freshly ground black pepper to taste
- Optional: Your choice of seasonings (e.g., garlic powder, onion powder, Worcestershire sauce)
Instructions
- Prepare the Meat: Cut each of the meats (Short Ribs and Beef Chuck Steak) into approximately 1-inch cubes. Keep them in separate bowls.
- Clean and Trim: Carefully remove any silver skin, tough connective tissue, or gristle from the chuck steaks and short ribs.
- Chill in Freezer: Place the cleaned and cubed meat into the freezer for 45 minutes to 1 hour. This step is crucial for achieving the correct ground texture.
- Process in Batches: Working with very small batches (4-5 cubes at a time) of the same meat types, pulse them in your food processor for 1 or 2 seconds per pulse.
- Check Consistency: After pulsing, check the meat’s consistency. It should resemble a rough, coarse ground burger. If not, pulse again for a short burst. Avoid continuous processing to prevent a paste-like texture.
- Repeat Processing: Continue processing the remaining meat in small batches until all pieces have reached the desired ground consistency.
- Combine and Mix: Once all meat is ground, combine the two types in a large bowl. Gently mix them by hand until just combined, being careful not to overwork the meat. At this point, you can also gently mix in optional seasonings like salt, pepper, garlic powder, or Worcestershire sauce.
- Form Patties: Divide the mixture into equal portions (e.g., ⅓ pound each) and gently form them into patties, about ¾ to 1 inch thick. Create a slight indentation in the center of each patty with your thumb to prevent bulging.
- Cook: Cook your homemade patties using your favorite method, such as grilling, pan-frying, or oven-baking, to your desired doneness.
Notes
- Feel free to experiment with different cuts and ratios of beef to find your perfect blend! Consider adding a small amount of brisket for extra richness.
- Ensure to weigh the meat AFTER cleaning and removing any silver skin, gristle, or bones for accurate recipe proportions.
- Don’t over-process the meat in the food processor; short pulses are key to a good texture.
- For best results, always handle the ground meat gently when mixing and forming patties to keep them tender.