
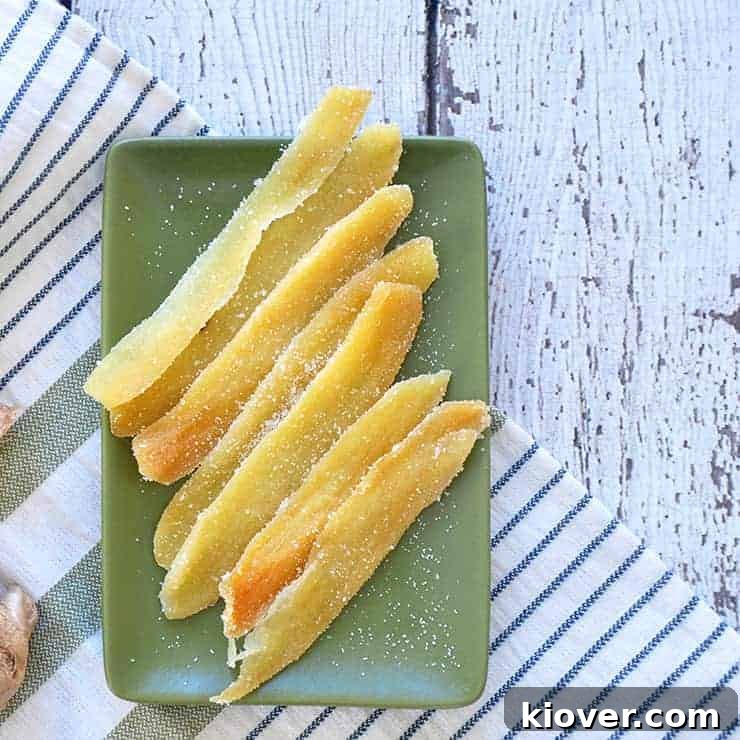
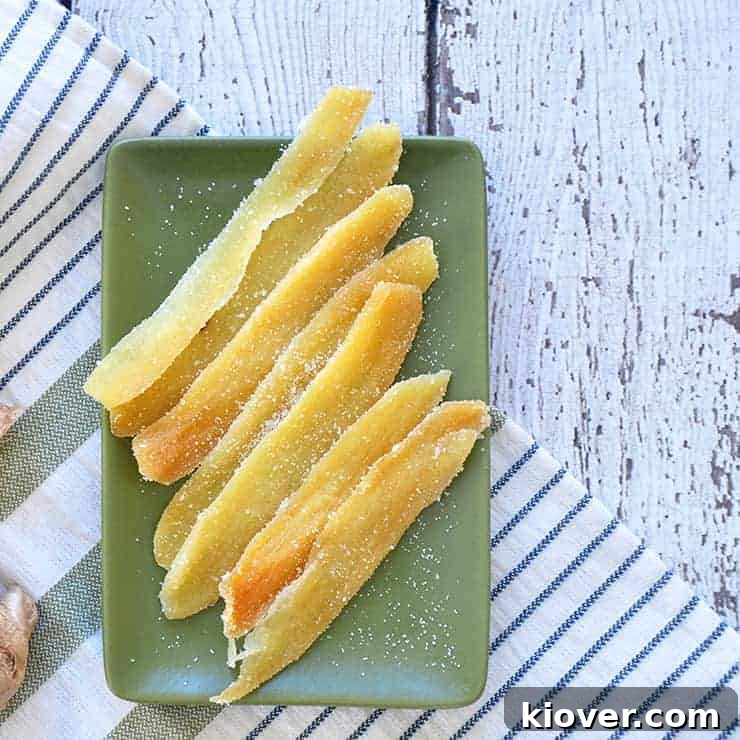
Embark on a delightful culinary journey with this irresistible Candied Ginger recipe, a treat that perfectly balances fiery zest with comforting sweetness. For nearly a year, I’ve been perfecting this simple yet profoundly satisfying confection, and it’s finally time to share the secrets to creating these incredibly addictive little bites. If your palate appreciates a sweet indulgence with a distinctive ginger kick, you’ve found your new favorite recipe. This straightforward method transforms humble ginger root into exquisite candy that’s not only easy to make but also disappears remarkably fast from any serving platter. Prepare to captivate your taste buds and impress your guests with a homemade delight that’s truly extraordinary.
Unveiling the Magic: What is Candied Ginger?
Candied ginger, also known as crystallized ginger, is a traditional confection made by cooking fresh ginger root in a sugar syrup until it becomes translucent, tender, and saturated with sweetness. The process not only softens the ginger’s fibrous texture but also infuses it with sugar, mellowing its intense spice while preserving its distinctive flavor. A final dusting of sugar gives it that classic crystalline, chewy-yet-firm candy coating. This ancient delicacy has been cherished for centuries, not just for its unique taste, but also for the purported health benefits of ginger itself.
The Allure of Ginger: Health Benefits and Flavor Profile
Beyond its culinary versatility, ginger is a powerhouse of wellness. Known for its potent anti-inflammatory and antioxidant properties, ginger has been used in traditional medicine for millennia. It’s often lauded for its ability to soothe digestive issues, alleviate nausea, and even reduce muscle pain. When ginger is candied, it offers a delicious way to incorporate these benefits into your diet. The sharp, pungent, and slightly peppery notes of fresh ginger transform into a warm, aromatic sweetness that retains a pleasant, invigorating bite, making candied ginger a truly unique flavor experience.
Mastering the Basics: Your Candied Ginger Recipe Guide
The true brilliance of this candied ginger recipe lies in its elegant simplicity. With just a few staple ingredients – fresh ginger, sugar, and water – you can create a gourmet treat right in your own kitchen. The fundamental process involves carefully preparing the ginger, then simmering it gently in a sweet syrup, allowing the root to soften and absorb the sugary goodness. A final touch of sugar dusting and a cooling period in the refrigerator complete the transformation, yielding a deliciously sweet and mildly spicy candy that’s a joy to behold and even more delightful to consume.
Selecting the Perfect Ginger Root for Candying
The foundation of exceptional candied ginger starts with selecting the right root. When shopping, look for ginger that is firm, smooth-skinned, and heavy for its size. Avoid any pieces that appear shriveled, moldy, or have soft spots, as these indicate older or damaged ginger. While much produce today is bred for uniformity, ginger retains its wonderfully irregular, knotty character, which I personally find charming. This means your candied ginger will be as unique as the root itself!
To maximize your slicing potential, seek out larger pieces of ginger with at least one substantial, girthy section that will allow for longer, more uniform cuts. A fresh, aromatic ginger root will impart the best flavor to your candied creation, ensuring each bite is bursting with its signature spicy-sweet essence.
The Art of Slicing: Crafting Your Candied Ginger
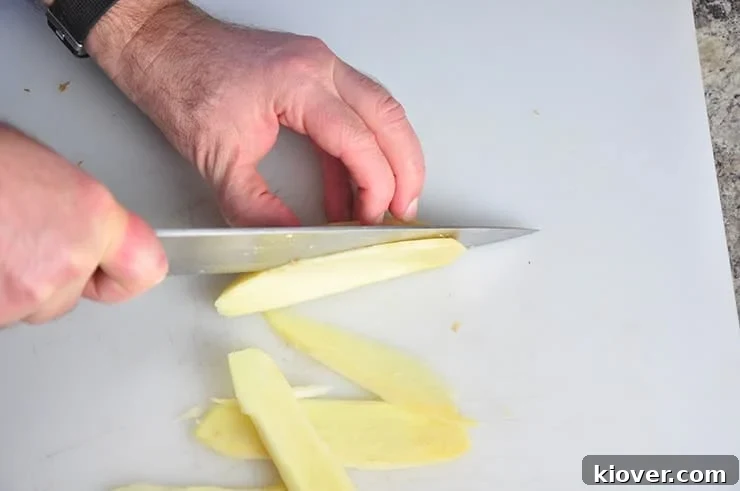
How you slice your ginger root is largely a matter of personal preference, but it significantly impacts the final texture and appearance of your candied treats. I often prefer to create long, thin strips, reminiscent of thinly cut beef jerky. However, ginger can also be cut into small rounds, dices, or even irregular chunks – each shape offers a different eating experience.
Peeling and Precision Cutting Techniques
Before slicing, peel the ginger. A spoon works surprisingly well for scraping away the skin, especially around the knobby sections, minimizing waste compared to a vegetable peeler or knife. Once peeled, you can decide on your preferred cut:
- Long Strips: For these, first make lengthwise cuts to create small planks or slabs of ginger. Then, slice these planks into thin strips. This is great for a chewy, substantial candy.
- Rounds: Simply slice the ginger root crosswise into thin coin shapes. These are aesthetically pleasing and offer a consistent bite.
- Diced: For smaller, more delicate pieces, slice into planks and then dice them. These are perfect for baking or adding to granola.
A crucial tip for this recipe is to understand that the thickness of your ginger slices directly influences the candying time. Thicker pieces will require a longer simmering period to become tender and fully saturated with syrup. For optimal results, aim for a consistent thickness of ¼ inch or less, regardless of whether you’re cutting lengthwise or crosswise. Uniformity ensures even cooking and a perfectly candied texture throughout the batch.
The Simmering Process: Infusion and Transformation
Once your ginger is prepped, the magic truly begins on the stovetop. Combining the sliced ginger with water and sugar in a medium pan and bringing it to a gentle boil initiates the softening and infusing process. Reduce the heat to a simmer and let it cook for approximately one hour. This extended, low-heat cooking allows the ginger fibers to break down, making it wonderfully tender and edible, while simultaneously enabling the sugar syrup to deeply penetrate the root. As the water slowly evaporates, the sugar concentration increases, slowly transforming the pungent ginger into a sweet, translucent confection. This slow infusion is key to achieving that perfect balance of spicy warmth and sugary sweetness.
The Golden Elixir: Don’t Discard the Ginger Syrup!
One of the most exciting aspects of making candied ginger is the fantastic byproduct: a rich, aromatic ginger-infused syrup. This golden elixir is far too valuable to simply discard and offers a perfect opportunity for dual-use creativity in your kitchen!
Here are just a few ideas for harnessing the delicious leftover ginger syrup:
- Craft Cocktails: Elevate your mixology game. It makes an excellent base for ginger-flavored cocktails like a Moscow Mule, Dark ‘n’ Stormy, or even a sophisticated non-alcoholic mocktail when mixed with sparkling water.
- Sweetener for Beverages: Stir a tablespoon into your morning tea, coffee, or hot lemon water for a soothing, warming boost. It also adds a delightful zing to homemade lemonade or iced tea.
- Culinary Glazes: Brush it over grilled meats (pork, chicken, salmon) for a sweet and savory glaze, or drizzle it over roasted vegetables for an unexpected flavor twist.
- Baking Enhancer: Use it to moisten cake layers, flavor frostings, or as a unique sweetener in marinades for fruit salads.
- Dessert Topping: Drizzle generously over pancakes, waffles, oatmeal, yogurt, or even ice cream for a gourmet touch.
- Candied Fruit Base: It can serve as a starting point for candying other fruits, imparting a subtle ginger flavor.
Store your ginger syrup in an airtight container in the refrigerator, where it will keep for several weeks, ready to add a burst of flavor to countless dishes and drinks.
The Final Flourish: Dusting and Refrigeration for Perfection
Once the ginger has simmered to tender perfection, it’s time for the final steps that give it that classic candied appearance and ideal texture. Carefully remove the ginger pieces from the syrup using tongs, allowing any excess liquid to drip away. While still warm and slightly tacky, transfer the ginger to a sealable container or a sturdy bag with a few tablespoons of granulated sugar. Cover and shake vigorously until each piece is beautifully coated with sugar granules, creating that delightful candied feel.
Achieving the Ideal Texture
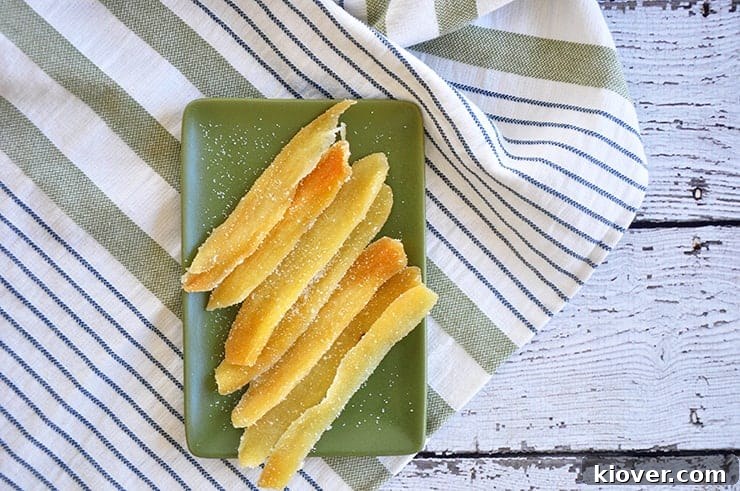
The journey to perfect candied ginger isn’t complete without proper cooling and drying. After dusting, arrange the candied ginger pieces in a single layer on a plate lined with paper towels or, even better, a wire rack. The key here is to allow ample air circulation around each piece. Placing them directly on a solid plate without a permeable barrier can trap moisture, preventing the ginger from solidifying and resulting in a sticky, goopy mess rather than firm, chewy candy.
Transfer the plate or rack to the refrigerator and allow the ginger to chill for at least four hours, or preferably overnight. This cold resting period is crucial for the sugar coating to set and the ginger to firm up, achieving that desirable chewy yet slightly crisp texture. These little treats are truly best served cold, offering a refreshing burst of flavor and texture that’s utterly irresistible.
Creative Variations & Serving Suggestions
Once you’ve mastered the basic candied ginger recipe, the possibilities for customization and enjoyment are endless!
- Chocolate-Dipped Delights: For an extra layer of indulgence, dip your cooled candied ginger pieces halfway into melted dark chocolate. Allow the chocolate to set on parchment paper for an elegant dessert.
- Spice it Up: Experiment by adding a pinch of other spices to your simmering syrup, such as star anise, cinnamon sticks, or a few cardamom pods, for a more complex flavor profile.
- Baking with Candied Ginger: Chop the candied ginger into small pieces and incorporate it into your favorite baked goods. It’s excellent in gingerbread cookies, fruitcakes, muffins, scones, or even homemade granola.
- Garnish and Glee: Use thinly sliced candied ginger as a beautiful and flavorful garnish for cocktails, desserts, or even savory dishes like roasted duck or pork.
- Homemade Gifts: Pack your homemade candied ginger in attractive jars or decorative bags for a thoughtful and delicious edible gift. They are always a hit!
Troubleshooting Common Candied Ginger Issues
While this recipe is straightforward, sometimes things don’t go exactly as planned. Here are some common issues and how to troubleshoot them:
- Ginger is too soft/mushy: This usually means it was simmered for too long or cut too thin. For future batches, reduce simmering time slightly or cut thicker pieces.
- Ginger is too hard/chewy: It might not have simmered long enough to tenderize properly, or the heat was too high. Ensure a gentle simmer for the recommended time.
- Ginger is too sticky/goopy: This is often due to insufficient cooling and drying, or not enough sugar dusting. Make sure to dry it thoroughly on paper towels or a wire rack in the fridge. You can also re-dust with more sugar if needed.
- Not enough ginger bite: If you prefer a stronger ginger flavor, you can try blanching the ginger in plain water for a few minutes before adding it to the sugar syrup. This helps remove some of the initial bitterness, allowing the pure ginger flavor to shine through the sweetness.
Storage and Shelf Life
Candied ginger, when stored properly, has a surprisingly long shelf life. Keep your finished treats in an airtight container in the refrigerator. Stored this way, they will remain fresh, chewy, and delicious for up to one month. For even longer storage, you can freeze candied ginger for several months. Just be sure to separate the pieces with parchment paper before freezing to prevent them from sticking together. Thaw at room temperature or in the refrigerator before enjoying.
I genuinely believe these candied ginger treats will become a fast favorite in your home. They don’t last long once they’re made, but that’s a testament to how utterly tasty they are! If you enjoy this recipe and make it your own, please let me know your thoughts in the comments below. Your feedback and creativity are always appreciated! Otherwise, be sure to share this Candied Ginger recipe on Pinterest to inspire others, and subscribe to our email updates so you never miss another delightful creation!
Products That Enhance Your Candied Ginger Making
- Kitchen Tongs: Essential for safely handling hot ginger.
- Airtight Glass Container: Perfect for dusting and storing your candied ginger.
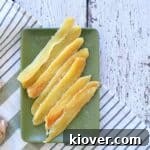
Candied Ginger Recipe
5 from 1 review
Author: Ben Myhre
Prep Time: 5 minutes
Cook Time: 1 hour 15 minutes
Total Time: 1 hour 20 minutes
Yield: 6 Servings
Category: Snacks
Method: Simmer
Cuisine: Global
Description
You will have never seen a candy disappear so fast. This Candied Ginger recipe is so easy and delicious that you will be racing to your kitchen to make more.
Ingredients
- 6 Ounces of ginger (approximate)
- 2 cups of sugar + 2 tablespoons for dusting
- 2 cups of water
Instructions
- Peel and slice (lengthwise) ginger root. Aim for ¼ inch thickness or less for best results.
- Add all ingredients, minus the two tablespoons of sugar reserved for dusting, to a medium pan. Bring the mixture to a rolling boil over medium-high heat.
- Once boiling, reduce the heat to a gentle simmer. Cook for approximately 1 hour, or until the ginger is tender and translucent, and the syrup has thickened.
- Using kitchen tongs, carefully remove all ginger pieces from the hot syrup. Lightly pat them with paper towels to remove any excess moisture.
- Immediately transfer the warm ginger and the remaining two tablespoons of sugar to a sealable container (like Tupperware) or a large Ziploc bag. Seal and shake vigorously until all ginger pieces are thoroughly coated with sugar.
- Arrange the sugar-coated candied ginger in a single layer on a plate lined with paper towels or a wire rack. Place in the refrigerator for at least 4 hours, or preferably overnight, to allow them to cool completely, firm up, and crystallize.
- Store your finished candied ginger in an airtight container in the fridge and enjoy within 1 month.
Notes
Much of the sugar remains in the syrup, making it challenging to determine exact calories absorbed by the ginger. My ESTIMATE is that each serving (approximately 1 ounce or 2-3 pieces) soaks up about 2 tablespoons of white sugar from the syrup and is coated with an additional two teaspoons of sugar.